Week 4: 3D Scanning & Printing
This week we had two assignments: "design and 3D print an object (small, few cm) that could not be made subtractively" and "3D scan an object".
3D Printing: Sine Wave Generator
Software(s): Solidworks (MCAD) and Matlab (math)
I used 3D printers multiple time in the past, but always for really simple and static parts (mounting plate, sensor mounts, 3D printed PCBs (for mechanical integration
testing). This week I wanted to print a complete mechanism, something that moves. After paper sketching some ideas, I decided to make a mechanical sine wave generator.
The first step was to design a cam that would make a stick move according to a sine wave. My Solidworks equation skills being limited, I calculated the shape with a simple
Matlab script:
% Mechanical sine-wave generator
% JFDuval 09/25/2013
clc;
clear all;
close all;
points = 16; % number of segments
radius = 15; % mm
swing = 5; % mm
degrees_per_point = 360/points;
t = 0:degrees_per_point:360-degrees_per_point
sine_wave = radius + swing*sind(t)
I then drew the part in Solidworks, with a spline touching my 16 calculated points:
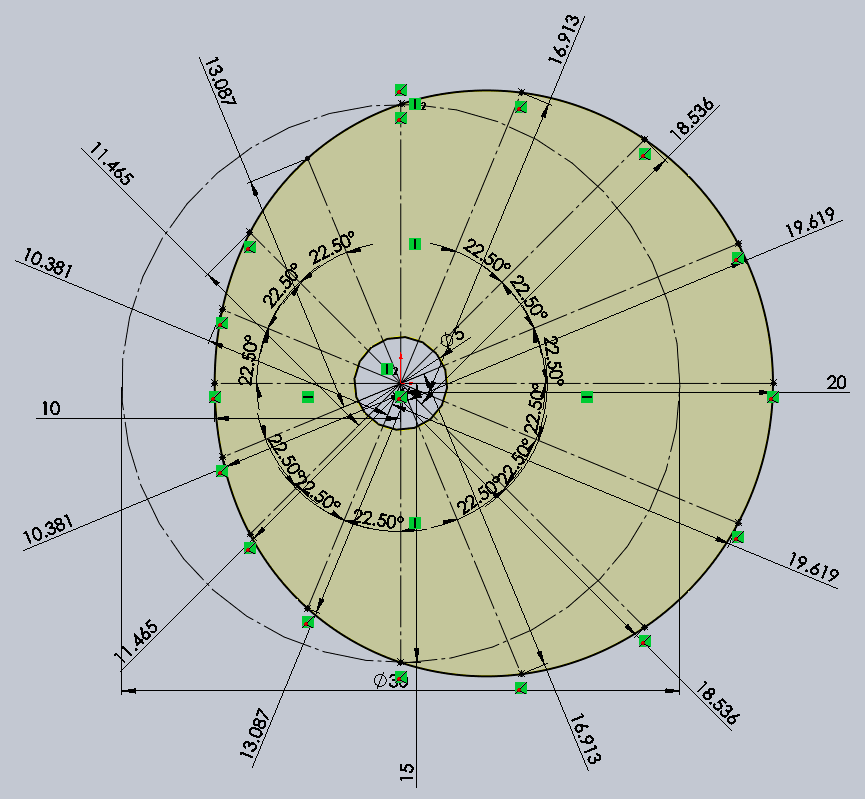
Making a full wave would have been too big. I decided to assemble a half wave with 8 cogs spaced 22.5 degrees apart:

Add to that a central axle, a wheel and a box and you get the final product:
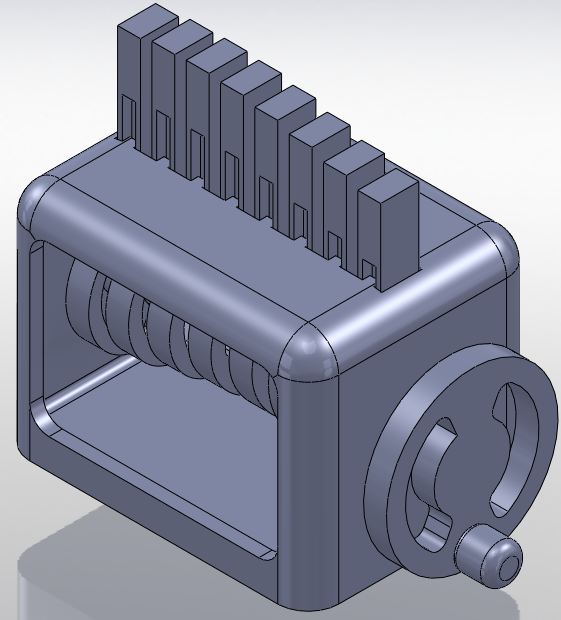
For all the moving parts I designed a play of 0.5mm (diameter). Animated GIF that I made with Solidworks Motion Study + GIMP:
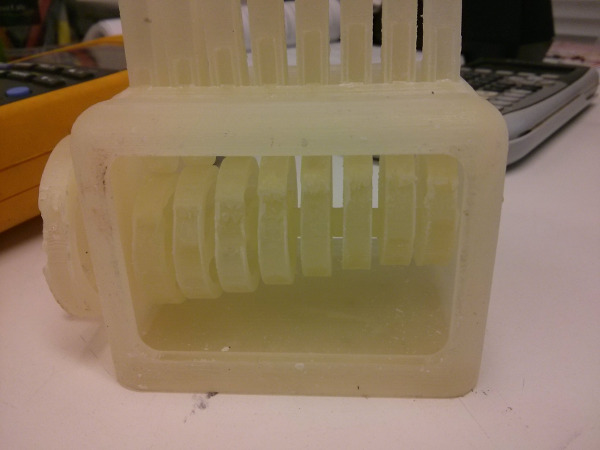
I sent the files to Tom and John, asking them to make it with SLA technology. They printed the part on the InVison 3D printer:
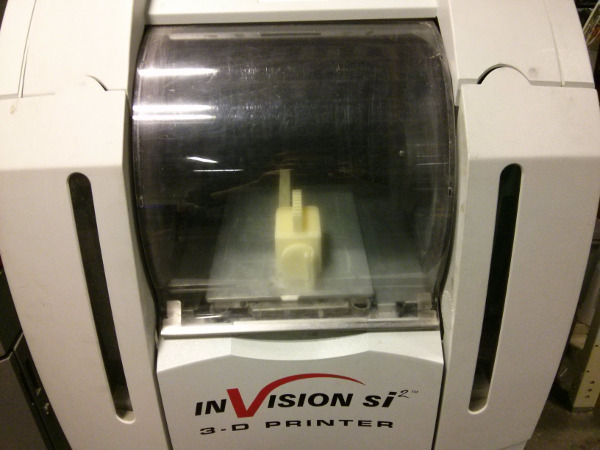
The printer had tome issues that created defects in the part. It seems that it was cause by a problem in another part that was printer in the same batch.
It's a sine wave + noise generator. Too bad it's not true random noise...
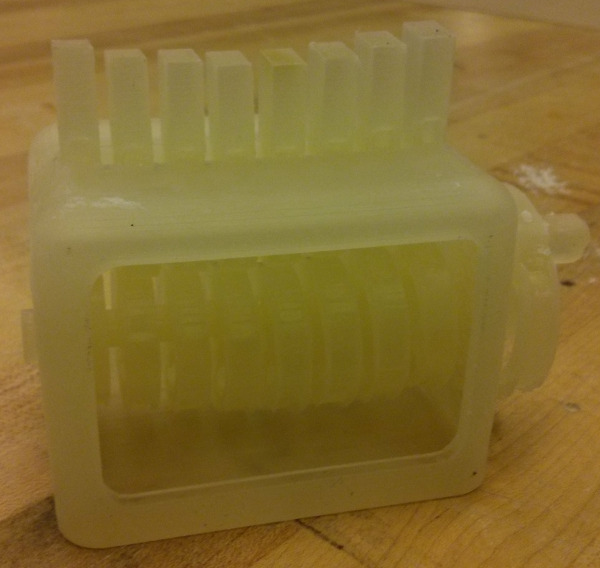
Here's the final product, after a lot of manual cleaning (after several hours in the oven there was still some was deposits). it "works". I have
too much play on the sticks so they tend to stick. They should also be heavier.:
Tom took the initiative to print my files on the FDM printer when he saw the defects. The results are MUCH better than with the InVision SLA! No cleaning was necessary. I applied a little bit of silicon
lubricant and the mechanism works perfectly.
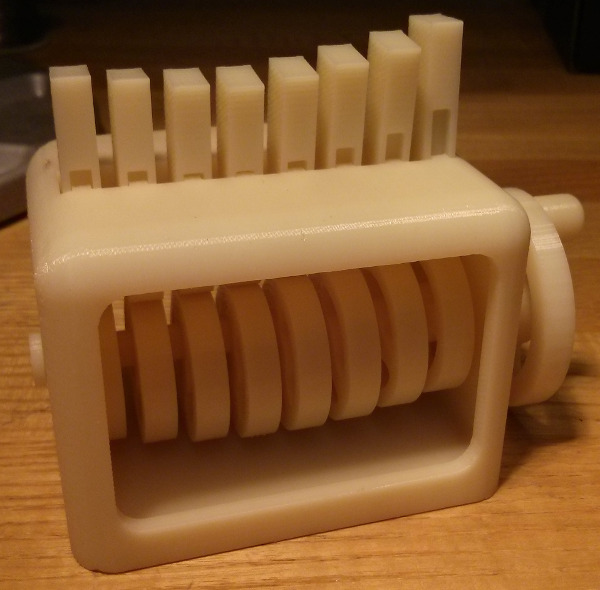
Conclusion: For this application the FDM did a much better job. All in all, I have 2 working sine wave generators on my desk.
3D Scanning: Panavise and Fluke
Software(s): Autodesk 123D Catch
Although I know that using a "real" 3D scanner would give me better results I decided to try 123D. I like the end-user simplicity: you take your cell phone, take
several pictures of an object and send them to the Autodesk cloud. Two or three minutes later you receive the processed result. And it's not too bad!
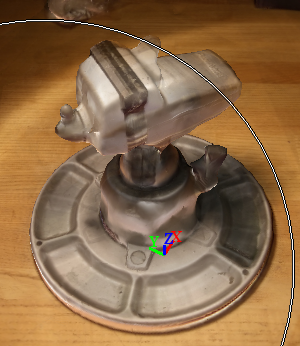
My first attempt was to scan a Panavise electronics vise:
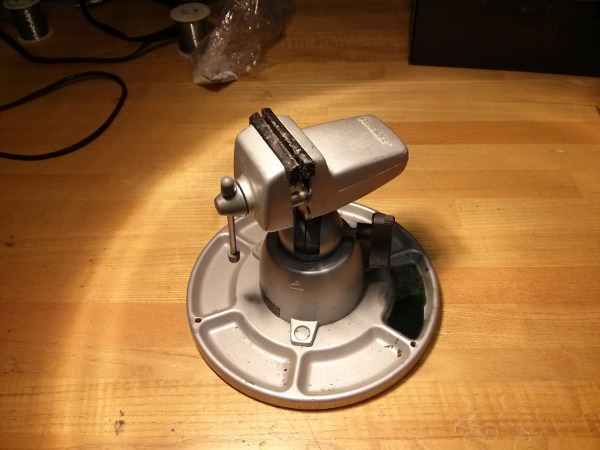
This is not the simplest object to scan; it has rounded edges and shiny finish. With 33 pictures and some manual stitching I obtained:
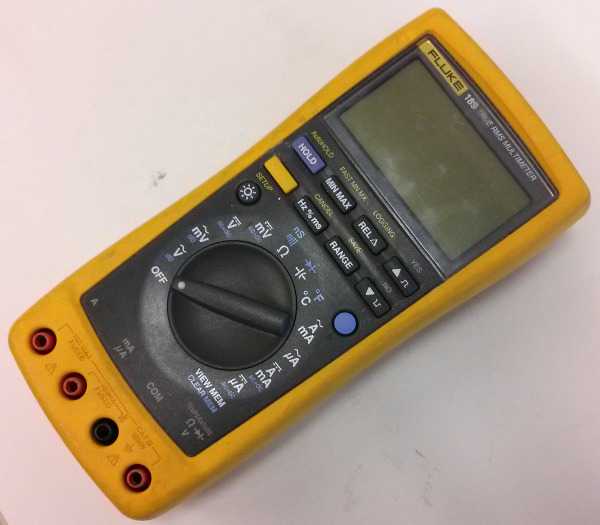
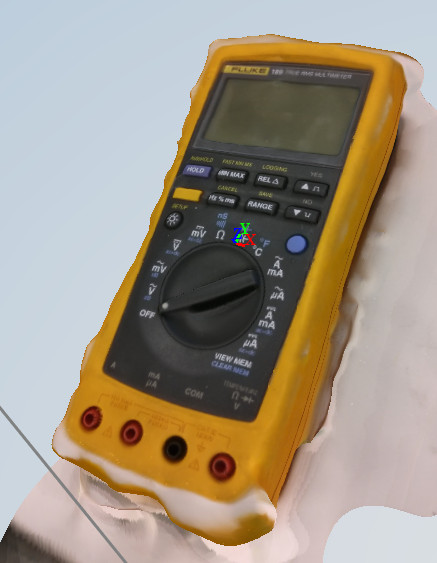
I decided to try a simpler object; a Fluke DMM:
The face is really good but the sides are so-so:
Conclusion: I think that with more care while taking the pictures (better lightning, more pictures, even coverage of all the faces, ...) you can get decent results with 123D catch.


Jean-Francois (Jeff) Duval - jfduval(@)media(.)mit(.)edu - 2013
Top | MIT Media Lab | How To Make (almost) Anything 2013 | Index
"Hidden" keywords: Jean-François Duval, JFDuval, Jeff Duval, PCB, Dishpenser, MIT Media Lab, Biomechatronics, Electronics, Robotics, DIY, Hack, Hacker