Week 7: Molding and casting
This week's assignment was to "design a 3D mold, machine it, and cast parts from it".
Fifty Shades of White: Color-programmable high-power LED lamp
During Week 6 I started thinking about projects that
could be made on more than one week. I decided to design and build an LED lamp. Specs:
- Minimum of 500 lumens
- Adjustable color temperature: from cold white to warm white
- Adjustable intensity
- Capacitive slider and/or buttons
- Simple wall-wart power supply
- Electronics based on a PSoC 4
Cree LEDs are really common in LED lighting applications. I decided to use the XH-G series:
The XLamp XH-G LEDs are the first mid-power, ceramic LEDs that offer no-compromise performance and reliability. Unlike common mid-power
plastic packages of today, the ceramic-based XH LEDs are designed to deliver the long L70 lifetimes of Cree’s other high-power LEDs, such
as XP or XT LEDs. XH LEDs are optimized for fluorescent replacement lighting applications, such as troffers and panel lights, where high
efficacy, long lifetime and smooth appearance are critical. The XH LEDs enable lighting manufacturers to create a new generation of more
energy-efficient, longer-life LED lighting solutions without sacrificing cost or performance. The XH-G LED delivers leading efficacy levels
of up to 170 lumens-per-watt at 65 mA, 5000 K, 80 CRI.
Source: http://www.cree.com/led-components-and-modules/products/xlamp/discrete-directional/xlamp-xhg
On Digikey, I picked:
- XHGAWT-02-0000-00000HWE7CT-ND 0.39$ 3150K (2600K ~ 3700K) 25/85lm
- XHGAWT-00-0000-00000HXE5CT-ND 0.49$ 4350K (3700K ~ 5000K) 29/99lm
- XHGAWT-00-0000-00000HXE3CT-ND 0.49$ 5000K (4750K ~ 5350K) 29/99lm
- XHGAWT-00-0000-00000HXE1CT-ND 0.49$ 6500K (6100K ~ 7250K) 29/99lm
Assuming a minimum of 25lm/LED I need 20 LEDs (~10$). However, when CADing the lamp, I found it easier to use an even number of
rows and columns. I used 16 of them. I'll have to push more current in them. I should be able to get from 400 to 1400lm total. That's really
bright!
I'll wire them as four strings of 4. 4*3.4V = 13.6V. It's easy to find 18V power supplies. 18V - 13.6V = 4.4V to drop. At 250mA, I need a 17.6 ohm 1.1W resistor per string.
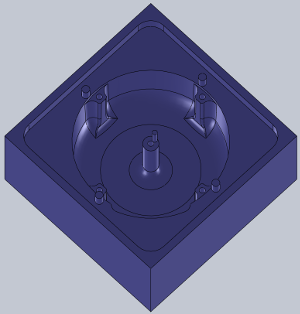
I'll use PWM to change the intensity and the color temperature. This is what I designed last week:
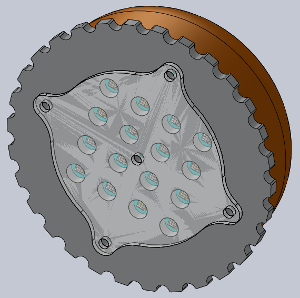
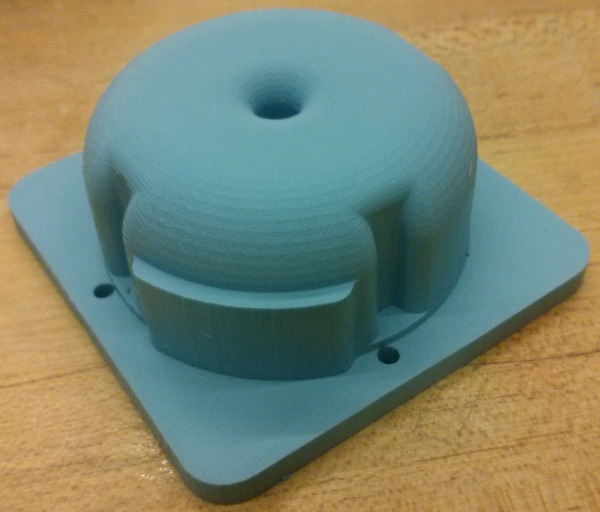
However, the external diameter of the orange part was 73mm (2.87in): too big for the 3x3.5x1.5" blocks of wax. After last Wednesday's class I quickly modifed my CAD to get.
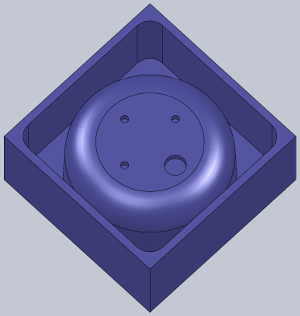
a diameter of 64.2mm (2.53in). This is the result:
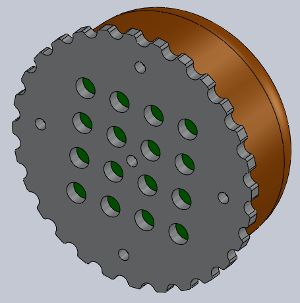
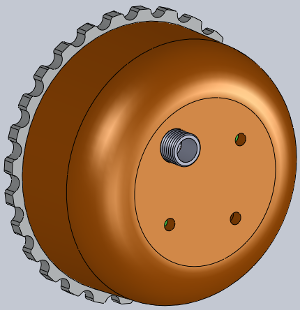
As you can see I didn't bother placing the LEDs in the assembly and I didn't redesign the diffuser plate. All my attention was on the casted part.
The threaded tube that you can see on the back face is a standard 5.5mm barrel jack that I'll use to plug the lamp.
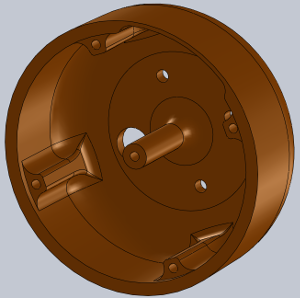
I designed a 2-part mold in Solidworks, using the Insert Part in Part feature. I manually added the walls and the vents. Special thank you to
Matt Carney for fool-proofing my design and teaching me Solidworks tricks.
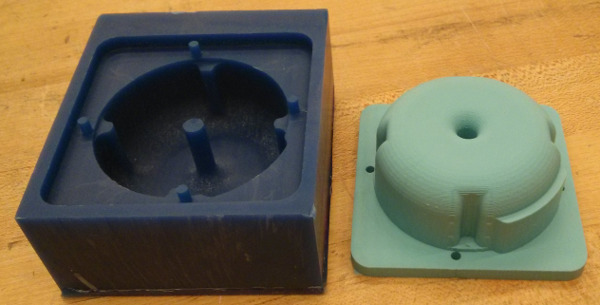
Here are my two parts:
I started by making the Inner wax mold. Here's what I noted in my logbook:
- Saved as STL file (MOLD_INNER_0_1)
- Loaded in PartWorks 3D
- Top surface is: Front, Units in mm, part is the right size
- Placed the zero on top face, bottom left corner
- Installed an 1/8in ballmill, long shank
- Generated the preview: WRONG. I designed with an endmill in mind. Can't live with the "z-radius"
- John found a long shank 1/8" endmill. Warned me that I'll get bad finish.
- Rough stepover: 50%, finish stepover: 7%. It should help with the endmill.
- Estimated time: 23mins
- Save all in 1 file, open ShopBot
- Zero XYZ
- Part File Load
- Machining! Real time: 30mins
- The central air output broke. The other 4 are ok, should be fine.
- Finish is better than expected.
- No easy way to do my holes. I tought I could simply use a drill bit, but I can't fit if in the collet. The 1/16" PCB endmill isn't long enough to reach the bottom. I'll post machine them on the final part.
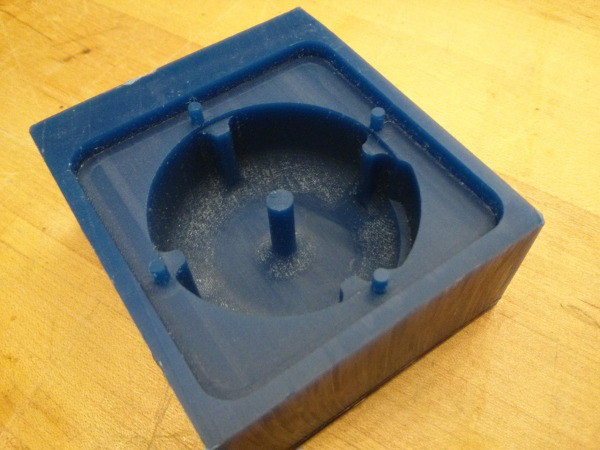
- Cleaned the mold with my fingers and my swiss knife


Completed wax mold:
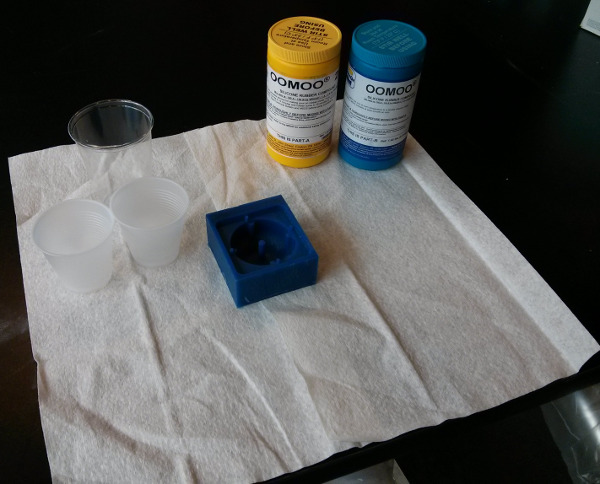
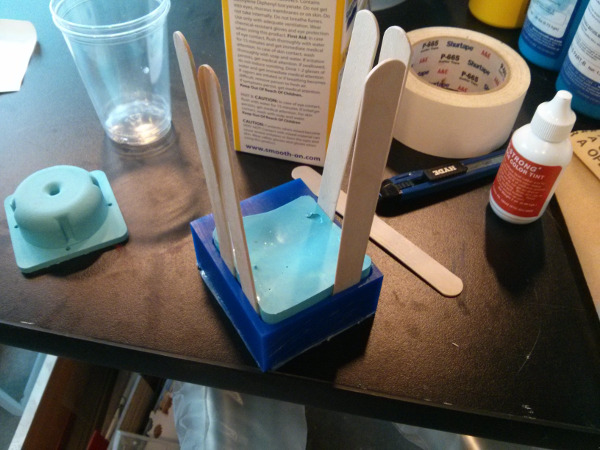
I decided to try the OOMOO right away:
Ready to remove the bubbles:
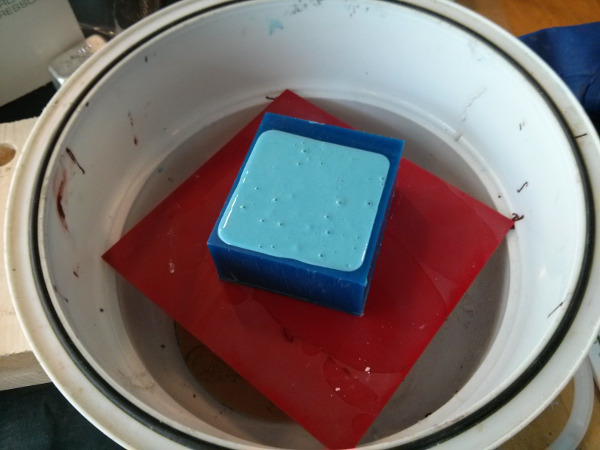
I added a plate of acrylic on the top to get a flat surface:
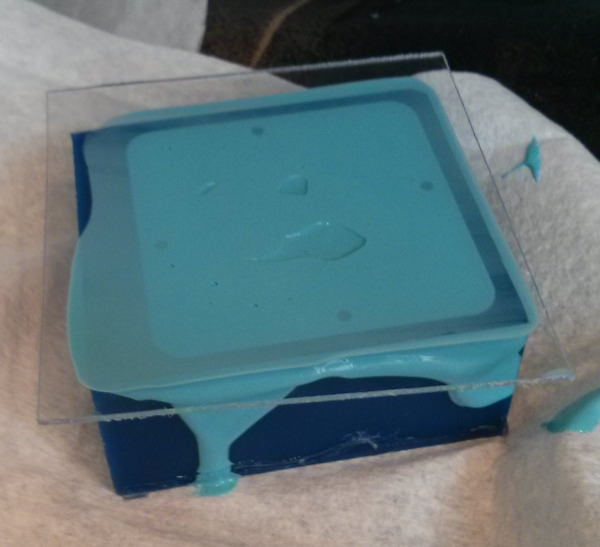
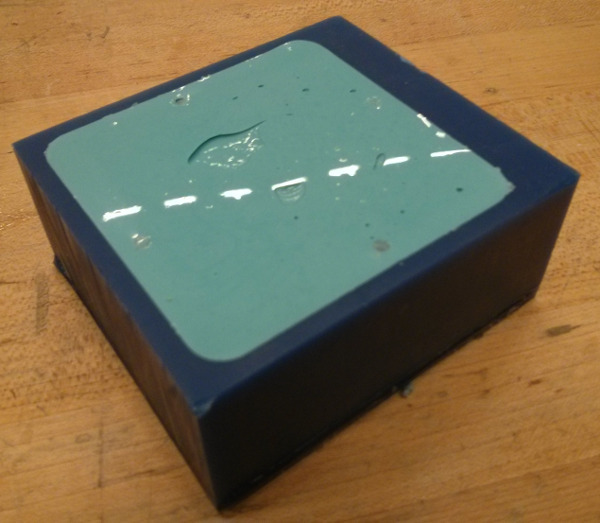
Fully cured OOMOO (~2h):
Me carefully extracting the OOMOO from the wax:
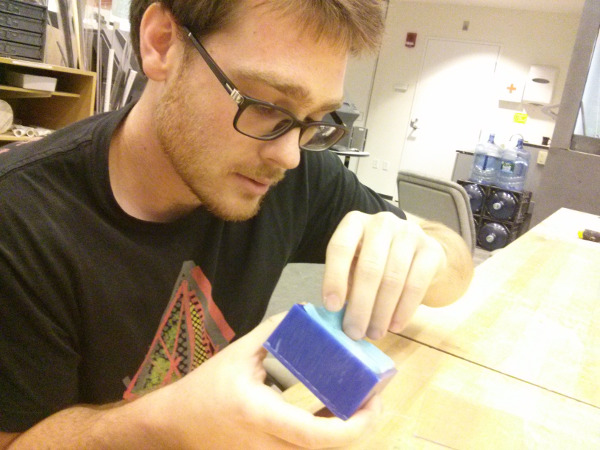
And here's the final result:
I followed the same procedure to machine and cast the Outer mold. My 3 mounting holes were too small; they didn't get machined.
That's no big deal as I can easily post-machine them.
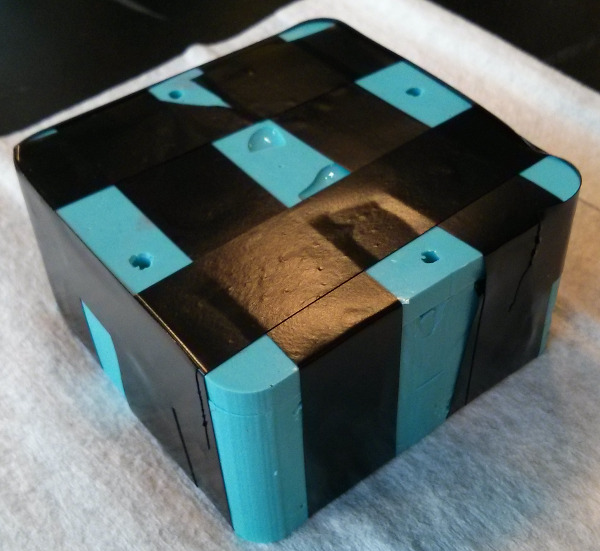
Here's the Outer wax mold:

Pulling the OOMOO mold was trickier than before. Although I waited the same amount of time (2h) as for the first time, the OOMOO was not as cured. I made a way
bigger batch with Hasier: maybe we didn't mix it as well?
I left the un-molded OOMOO part under the hood for the night to let it cure. Here's the result:
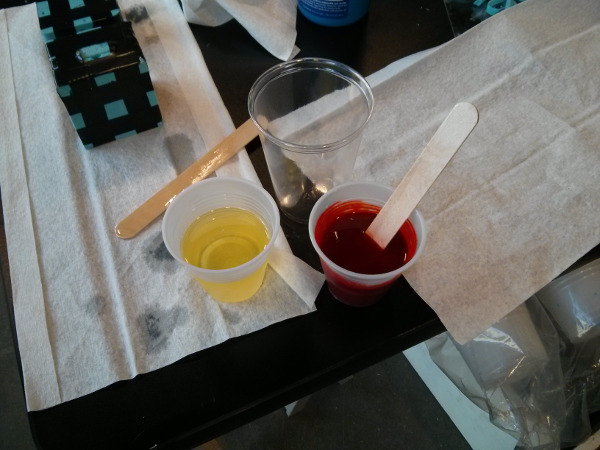
I went to Reynolds to buy castable urethane plastic. My initial idea was to get either Task 4 (sold for thin walls) or Onyx Black (this one has an awesome
flashy black finish). They told me that the Onyx was really weak for small features. They recommended the Task 3 instead of the 4 as it has a lower viscosity. I
bought a Trial pack of Task 3 and a small bottle of So-Strong orange pigments. According to Smooth-On I need to use from 0.01 to 3% of the urethane volume in So-Strong.
Putting too much can prevent cure. I want it dark and bright, but I also want to be safe: let's do 2.0%.
I started by assembling my 2 part mold, holding the parts with electric tape. I applied some mold release on the two parts. It’s clear that my external walls are too thin.
I need to expect some deformation. Machining in a bigger block of wax would have been better.
Hasier and I made the Task 3 mix. I added 4% of the B part’s weight in Orange So-Strong. It will give us a little bit less than 2% of the total weight. It’s really really
dark! I could have used lot less. You only know when you start stirring.
The Task 3 is not too viscous, I felt confident that I could pour it in my (way too small) holes. Turns out that I had to pour it drop by drop… the surface tension is
too big on such a small tube. After maybe 10 minutes of slowly pouring it from 2 different holes (keeping the other 2 as vents) the mix started to get hot. I started to
fill from the 3rd hole, hoping that I could fill the mold.
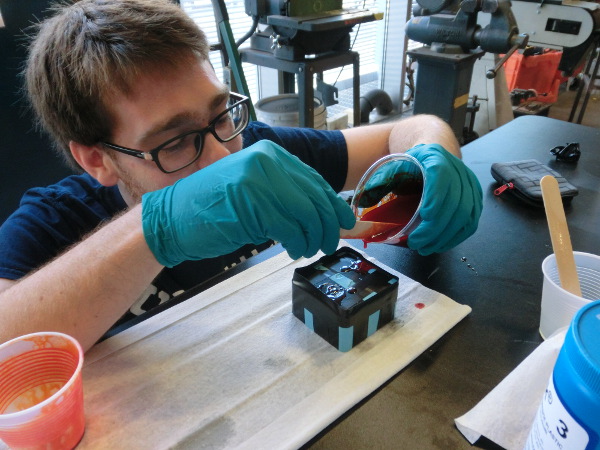
Hasier tried to fill his mold, without any success; it simply didn’t flow. We exceeded the pot life: it was like hot wax now. In a desperate attempt, I removed all the black tape,
lifted the top mold and dropped a big blob of Task 3 straight in my mold. I then pressed the top part (Inner mold) back in place. A bunch of red urethane dripped on the sides. It looks
like a scene from Dexter…
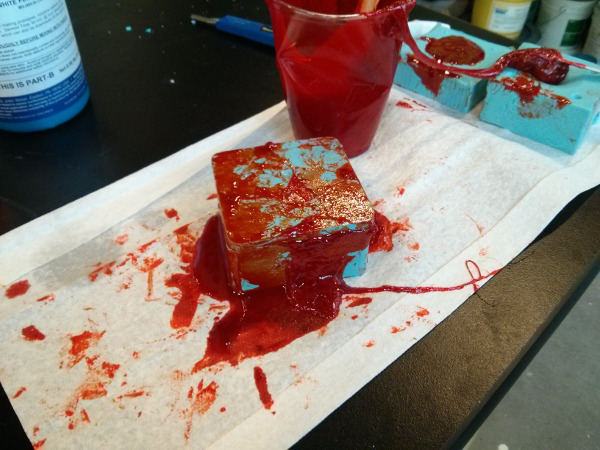
We left our parts cure in the shop for 90 minutes.
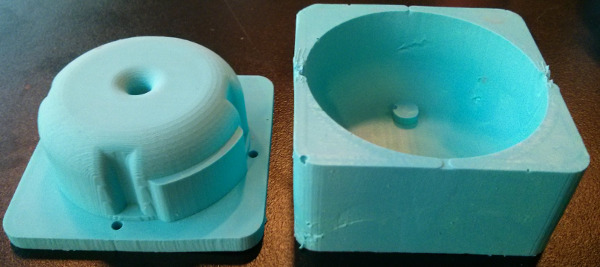
The results are not as good as I initially expected… but way better than what I expected after all the pouring problems! It was really easy to demold. Here’s the part after I
removed the outer mold:
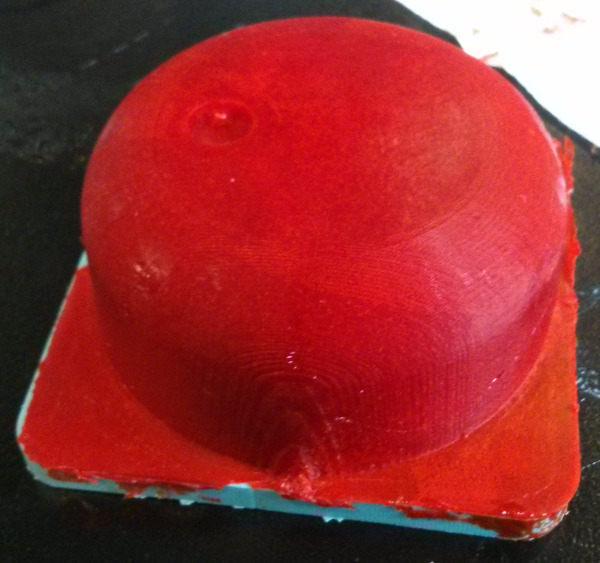
The molds seem intact. I’ll be able to use them again. Two-part silicone mold with casted urethane part:

After some manual cleaning with a sharp blade:
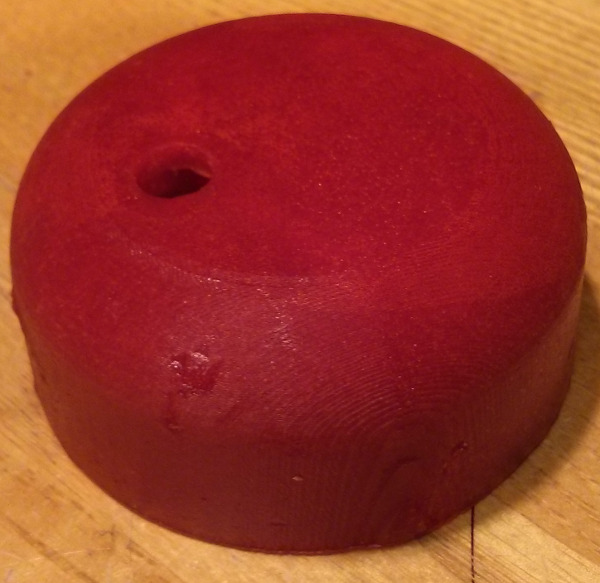
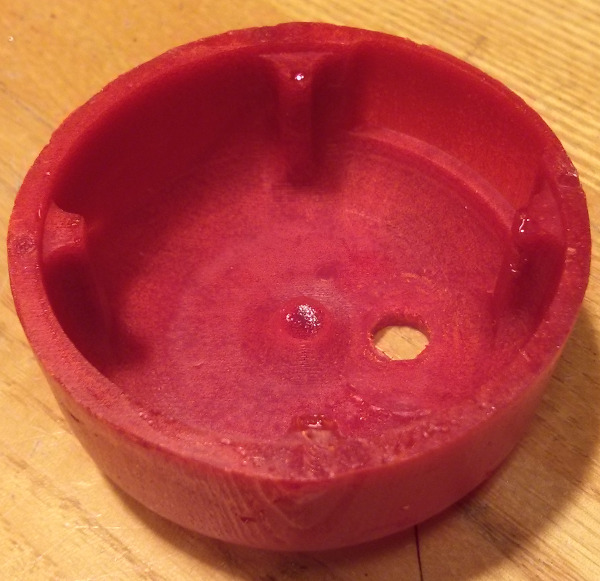
As you can see, the middle tube didn’t get casted. The small post that broke while machining the inner mold was useful after all... The plastic is also softer
than I expected. Maybe it isn’t fully cured yet? Time will tell.
Conclusion:
- Some of my features didn’t get machined. I need to be more careful when designing. I need to find a way to do a DRC in Solidworks or PartWorks
- OOMOO is soft. I need thicker walls on my silicone mold.
- Next time I need bigger pouring holes and vents
- It’s possible to get a good finish with an endmill, but it takes longer than with a ball mill (you need a lower step over %)
- 2% So-Strong = Bloody Red. I'll try 1% next time
- Testing my LED lamp design would have been much faster on the 3D printer. For a mold to be useful, it needs to be better designed than mine so you can use it dozens of times.
Final Project Update
My Week 1 page describes the first idea I had for my final project, the Dishpenser. Six weeks later
I'm still thinking about this and I took the decision to go ahead and start designing the system. To make sure I can complete it before the end of the semester, I decided
to start with a unit that only cleans glasses.
I sketched some rough ideas. I'll post them soon, with the initial CAD files.
Ideas/specs/details/random:
- In 2008 my team and I used a mechanism that was inspired by a gun’s cylinder to pick and sort balls for Eurobot. I like that mechanism; I’ll base my Dishpenser design on it (Click here for more details)
- I’ll use the BLDC driver that I designed in Week 6 to control it
- I’ll use the capacitive sensor that I made on Week 6 for the user input
- I need to think about the water flow
- I’ll have to design a motorized brush
- I want this project to look like a commercial product. Adding a small OLED display could be nice.
- It will store up to 12 glasses
- I’m expecting that it will be roughly 18*18*6”


Jean-Francois (Jeff) Duval - jfduval(@)media(.)mit(.)edu - 2013
Top | MIT Media Lab | How To Make (almost) Anything 2013 | Index
"Hidden" keywords: Jean-François Duval, JFDuval, Jeff Duval, PCB, Dishpenser, MIT Media Lab, Biomechatronics, Electronics, Robotics, DIY, Hack, Hacker