Week 1: Press-fit Construction Kit
This week we were trained to use the Epilog Laser cutter in the Media Lab, and the assignment for the week was to design a press-fit construction kit out of cardboard, and then assemble the pieces into into varuious 3D structures. I found there to be two approaches to the design of the consturction kit. The first and most popular approach among the students was to define a structure to be assembled and then make the particular pieces for that structure.The second approach was to just make a large number of simple peices that can assemble into a variety of simple or complex structures.I was initally planning to build a construction kit that assembles into a mechanical iris. However, with no prior experience in CAD, I found the design to be too timeconsuming. Thus I chose to take the the second approach.
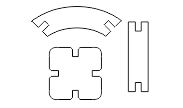
I wanted to design a constructuion kit that consists of as few basic shapes as possible, and then see whan are all the different things I can make from those basic shapes. The task now was to determine how many basic shapes to design and what should those shapes be. After exploring various ideas and sources, I found the one linked here to be the most appropriate to take as a starting point. I chose to modify this design slightly and also add an additional basic shape as shown.
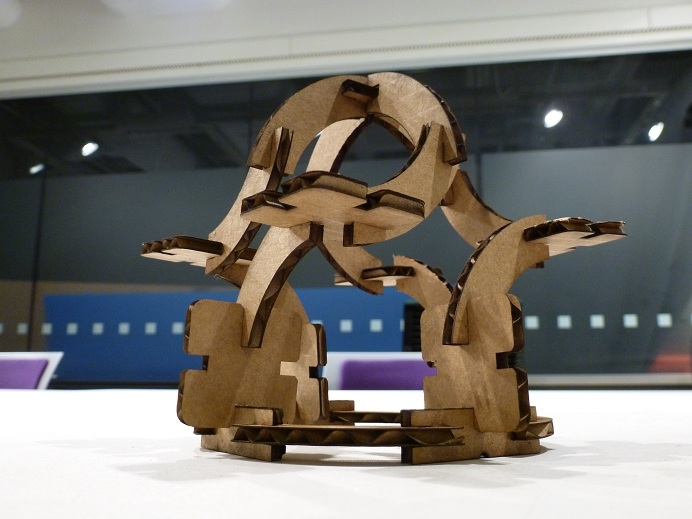
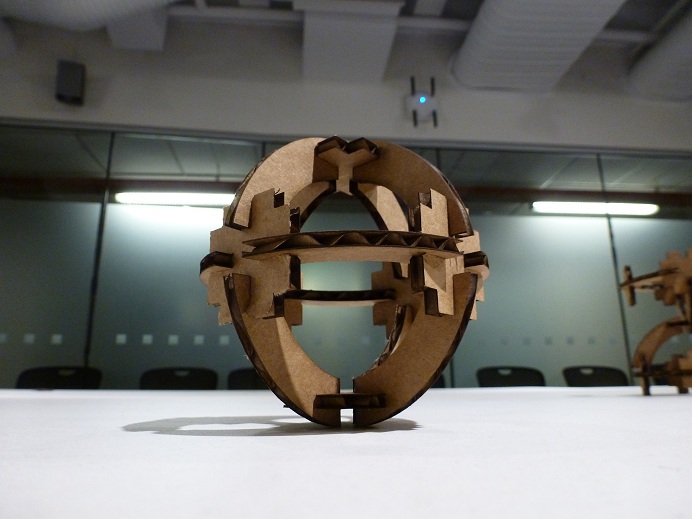
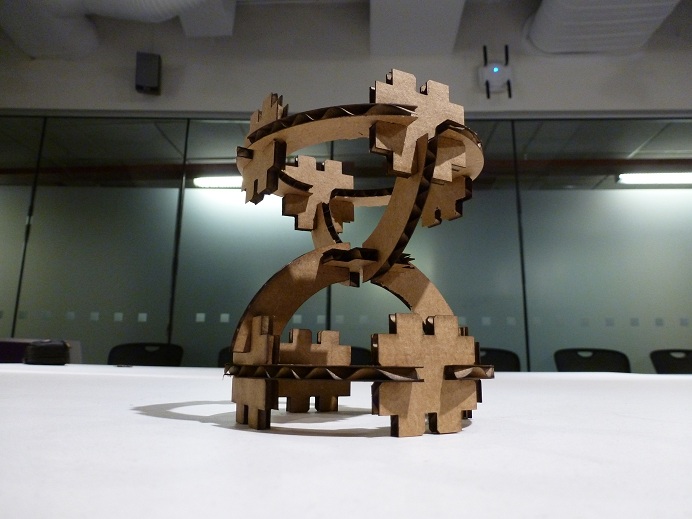
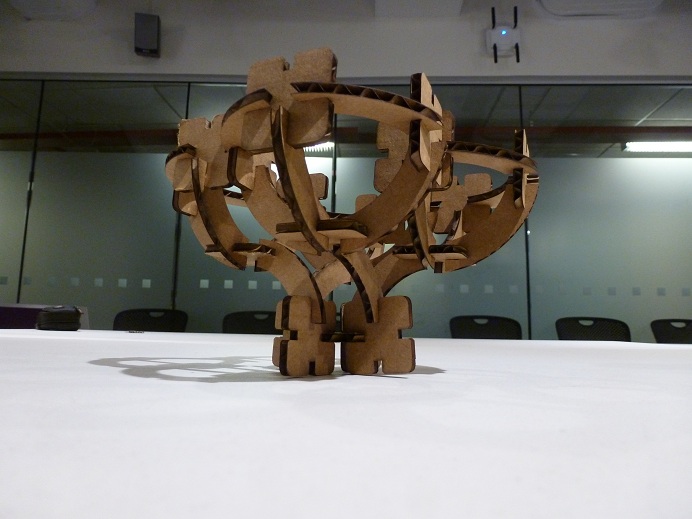
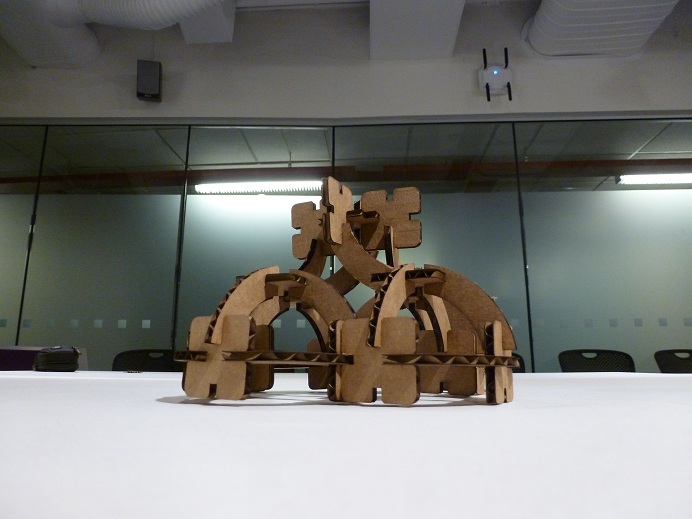
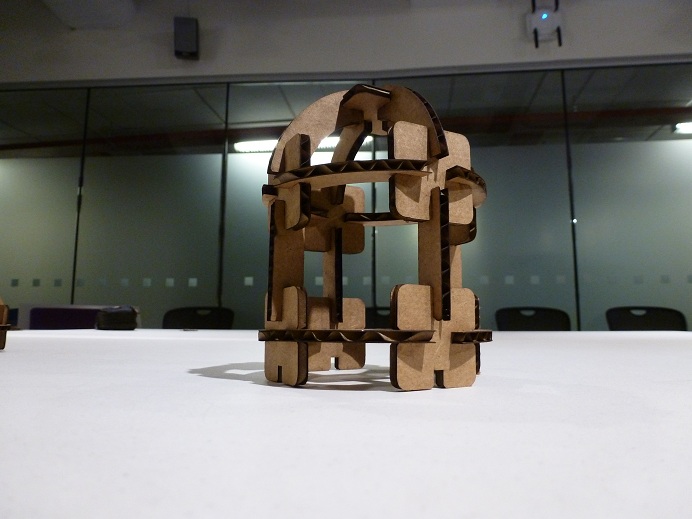
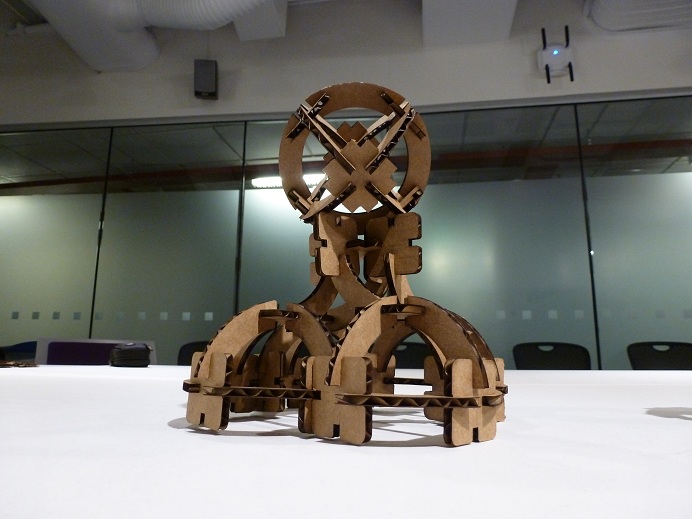
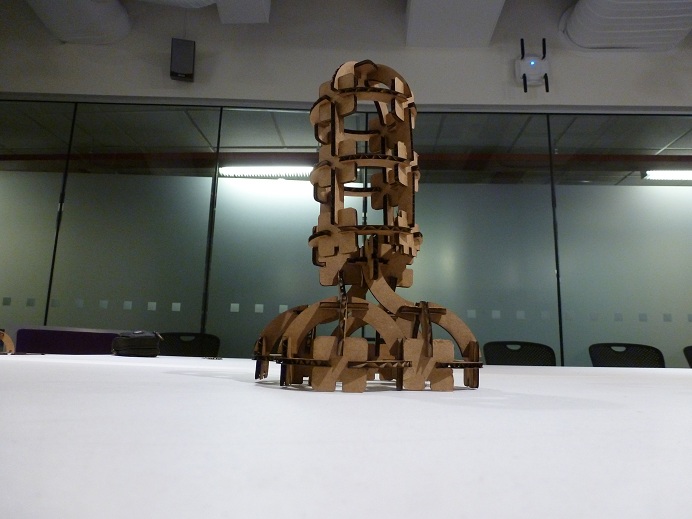
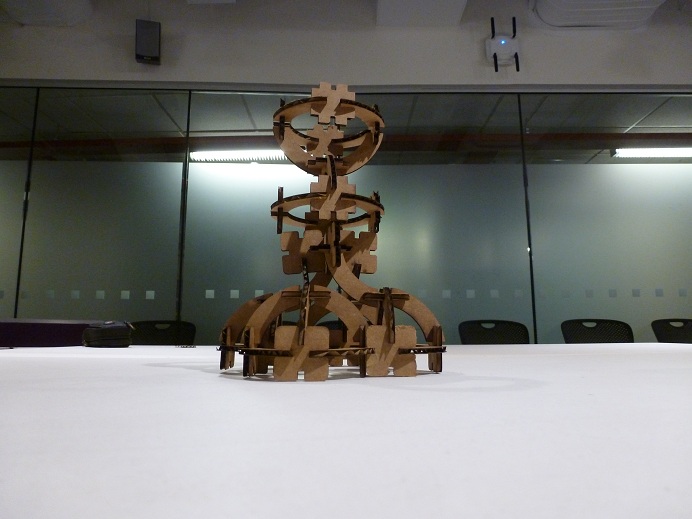
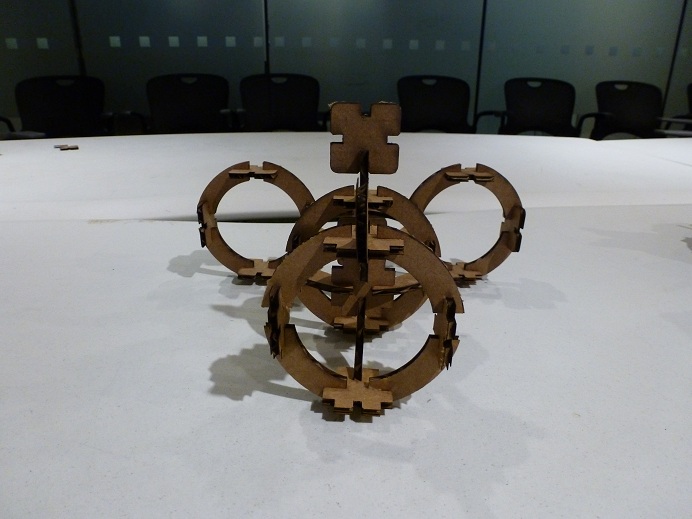
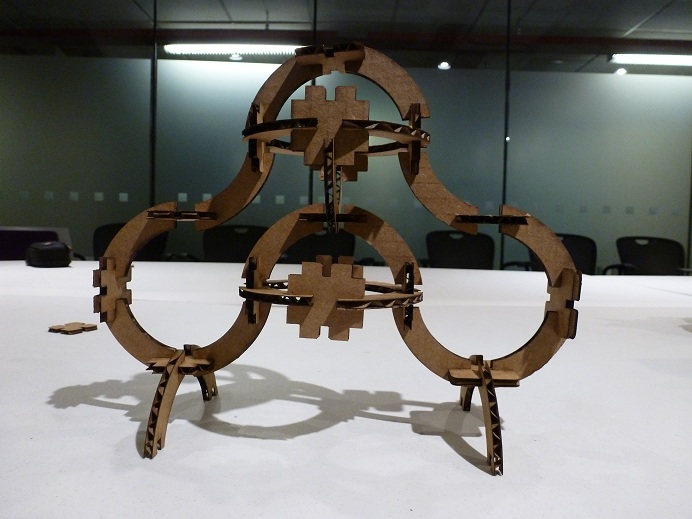
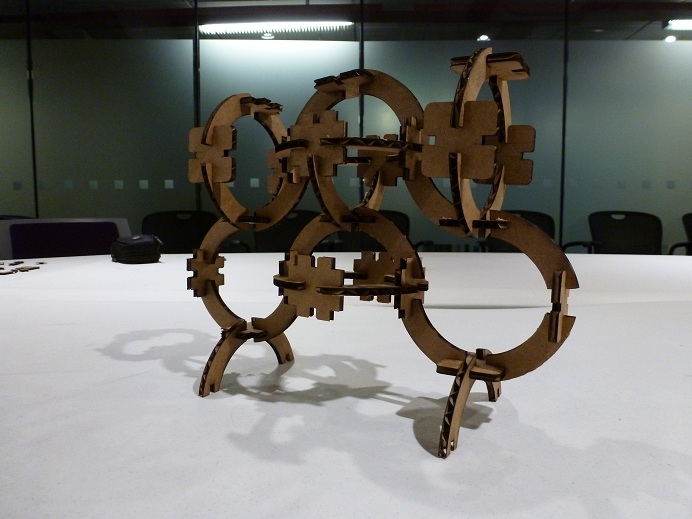
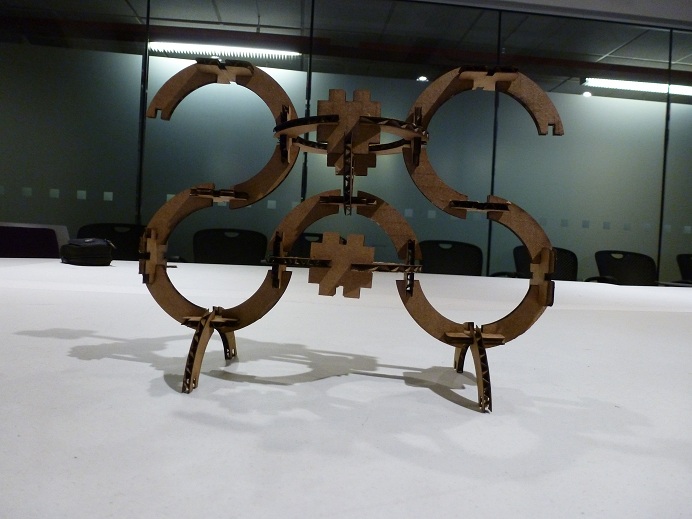
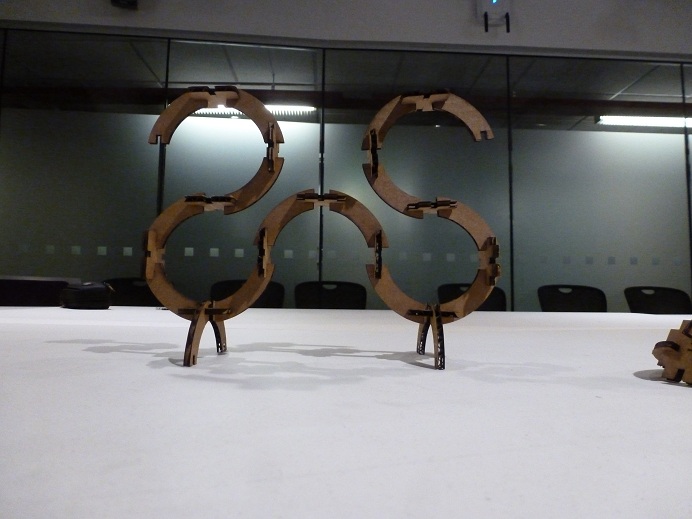
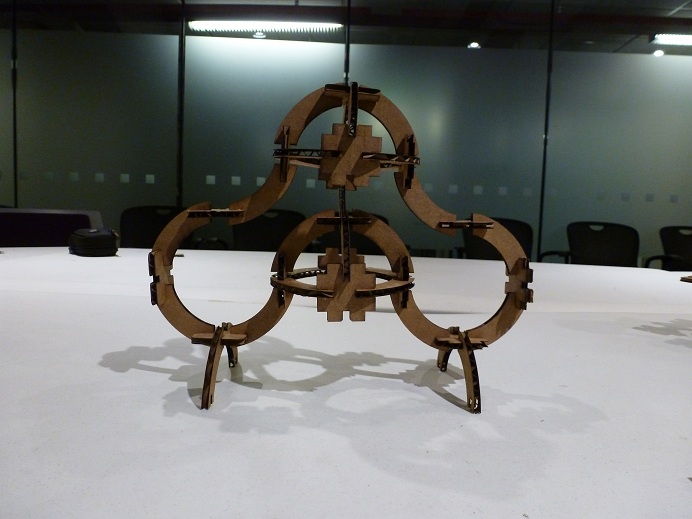
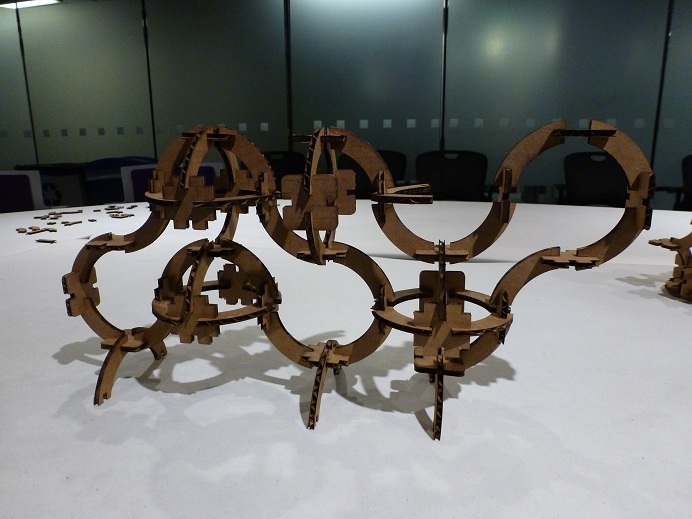
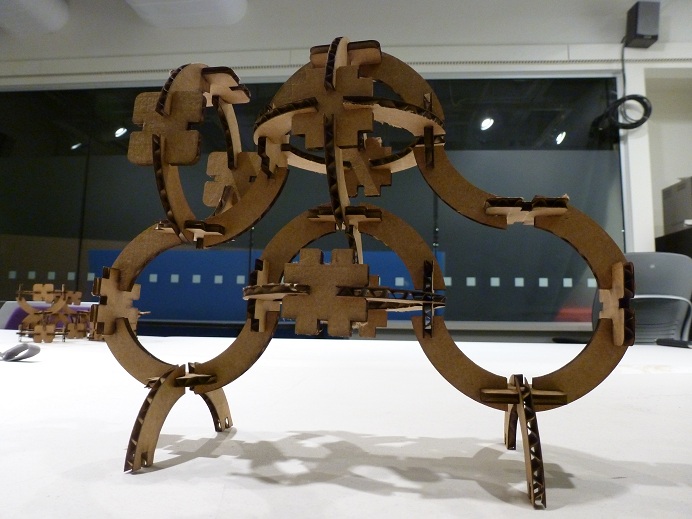
After choosing what my basic shapes would be, I measured the thickness of the cardboard (0.170 in) and set the width of the joints slightly less than the cardboard thickness (0.160 in), since the cardboard tends to compress (Thanks to Eric for this suggestion.) Then, I cut a few dozen pieces of each basic shape using the Epilog laser cutter. Finally, I spend a couple of hours playing with the construction kit, letting my imagination run wild and building a variety of structures. Here are some of the results.
 |
 |
 |
 |
 |
 |
 |
 |
 |
 |
 |
 |
 |
 |
 |
 |
 |
 |
There were several setbacks, mistakes, and lessons learned during the process of making the kit. The first one was at the very beginning, when I was still working on building an iris. I ended up spending over a day learning the basics of SolidWorks and using the environment to build simple 2D sketches and 3D parts. I also learned a great deal about assemblies in SolidWorks. After abandoning the iris idea, I did the modeling of 3 shapes in CorelDRAW. I had not used CorelDRAW in years, so this served as a good refresher for my skills.
When it came to laser cutting the pieces, that is where I encountered a variety of problems. Initally, I did not know what speed/power/frequency combination to use for the case of 120Watt laser cutting cardboard. The issue was further complicated by the fact the laser in the machine was old and so it was no longer 120Watt. After several trials and erros and after input from others, I was able to find settings that worked (Speed ~30%, Power ~75%, Frequency ~2500Hz). During one of the cutting operations, I had the power at 80% and the speed at about 25% and this resulted in a flame. After it became clear that it won't self-extinguish, I had to pause the laser, open the cover, and extinguish it manually. Nevertheless, even at those settings I still ended up having pieces that were not fully cut. Thus, I learned that there really is not a perfect setting that ensures that all pieces are fully cut and that no flames occur. This is further complicated by the fact that the cardboard sheets are not perfectly flat, some some parts of the sheet are closer to the laser than others. This additional complication can partly be resolved by taping the edged of the cardboard to bed of the laser cutter.