Elina Oikonomaki
How to Make (Almost) Anything
Electronics Production
1. Milling the board
I started milling my board with the hope that it will be a fast - simple process, only to realize after the milling was done that the endmill was broken! And it was not the only broken endmill !!!
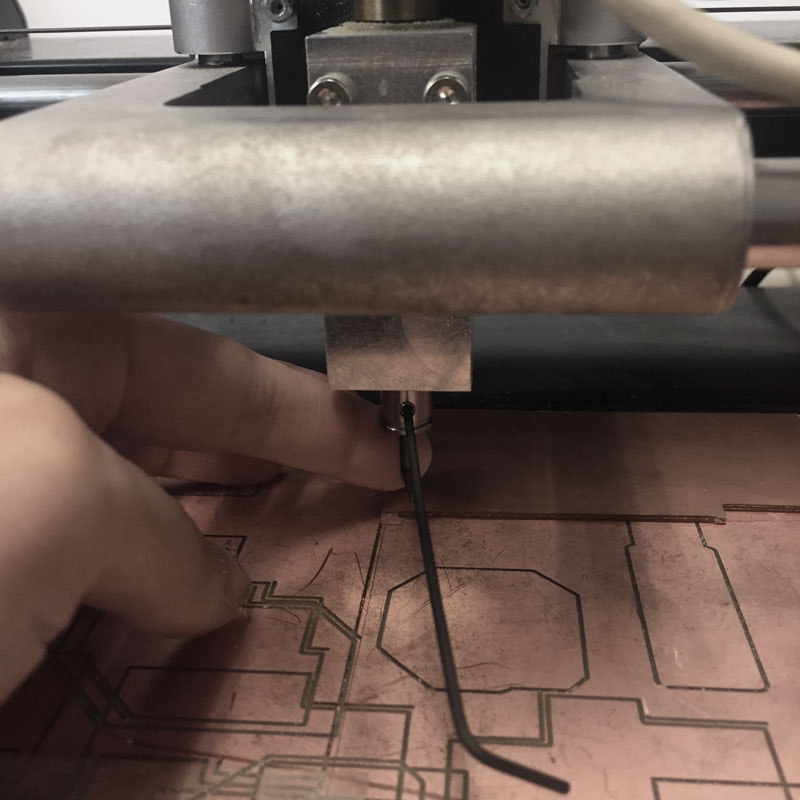
- Placing endmill in the correct distance -
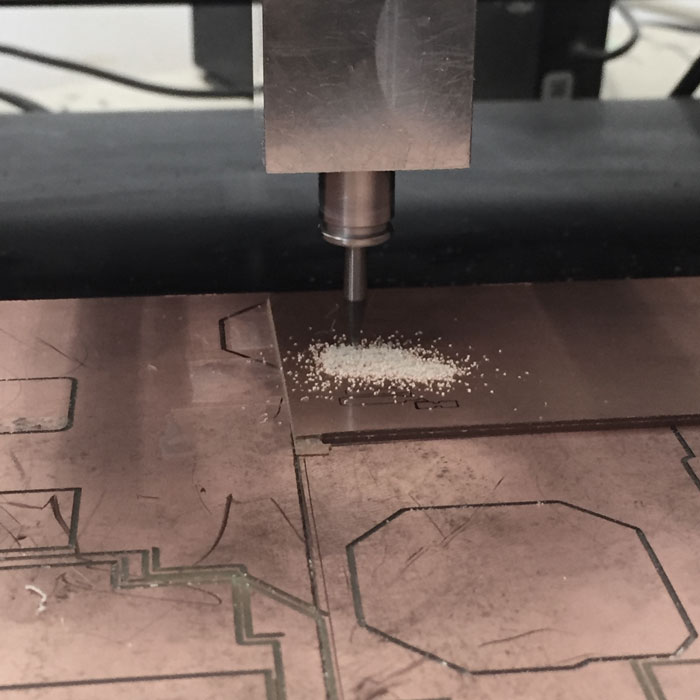
- Milling first the traces with 1/64 endmill -
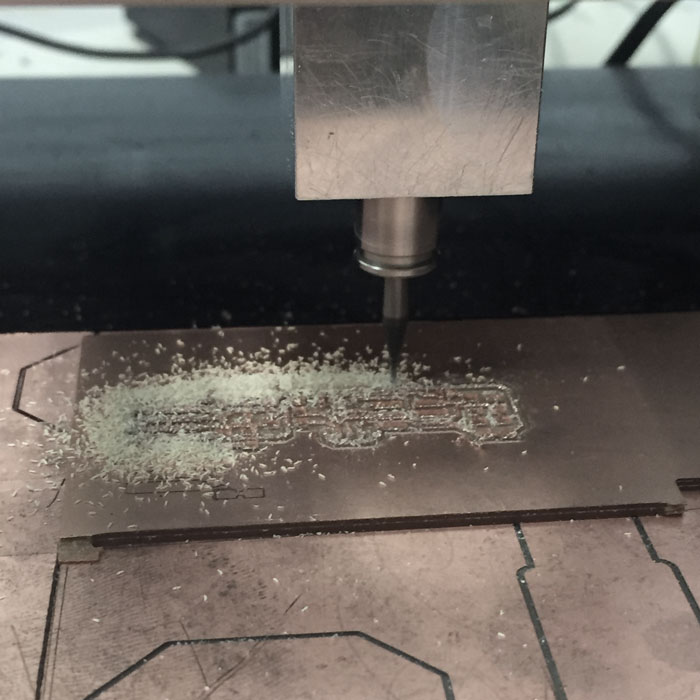
- Milling after the outline with 1/32 endmill -
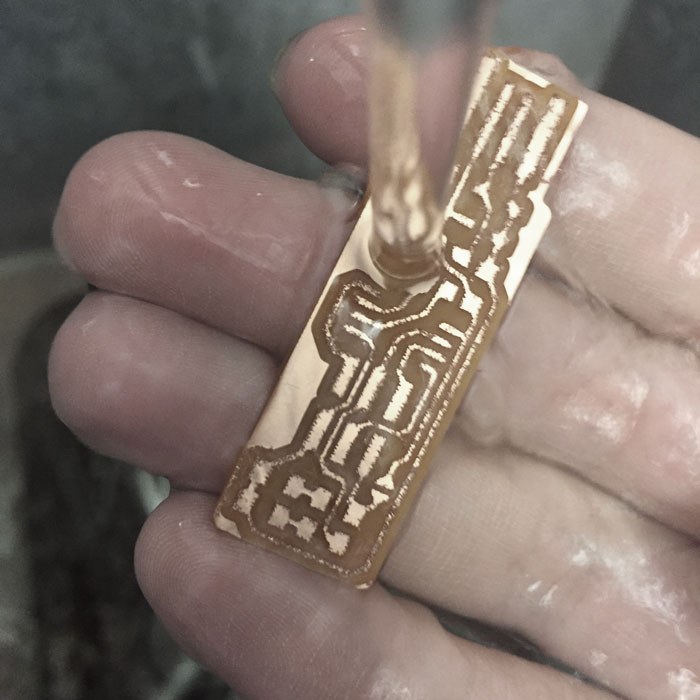
- Washing with soap -
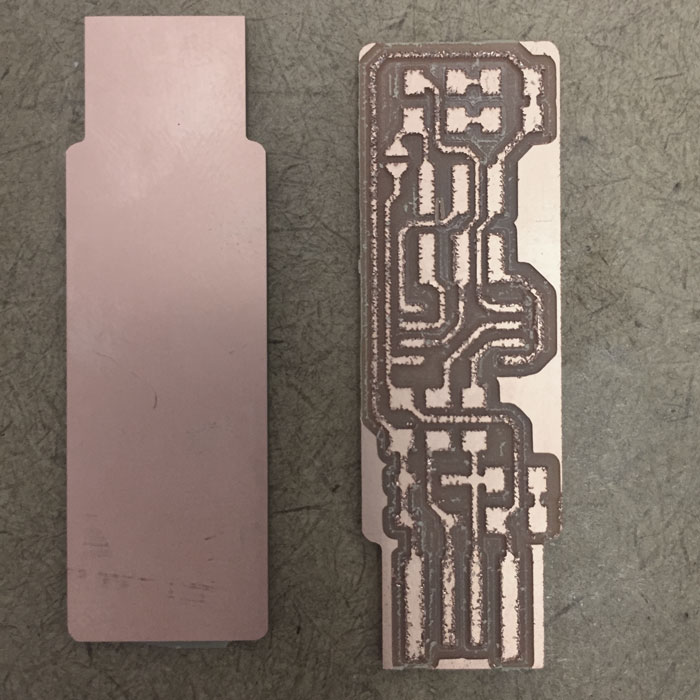
- Clearing realizing that I had to do it all over again! -
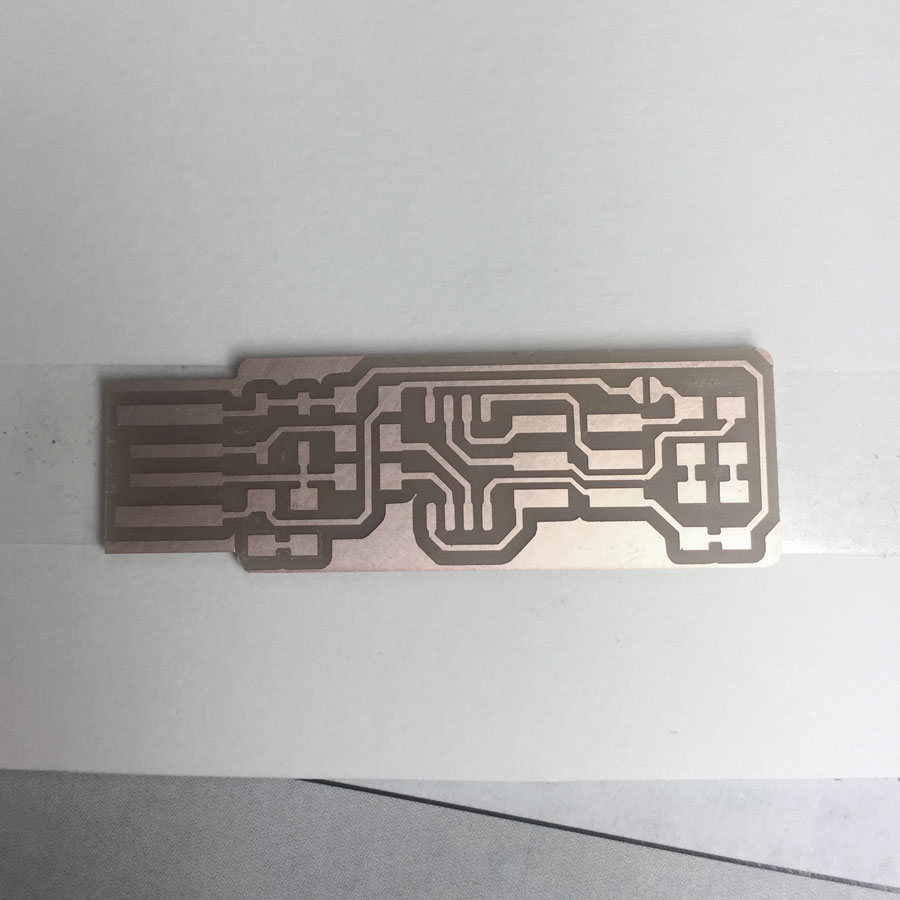
- New correct milled board with a non broken endmill -
2. Soldering
This was the part that I worried about the most in the beginning as I was totally unfamiliar with soldering. First, I did some practice on one of the many failed milled boards, and then slowly I started soldering in my board. I was in the final state of soldering the ISP, and accidentally as I was trying to align the ISP I pilled it off and ruined my board!
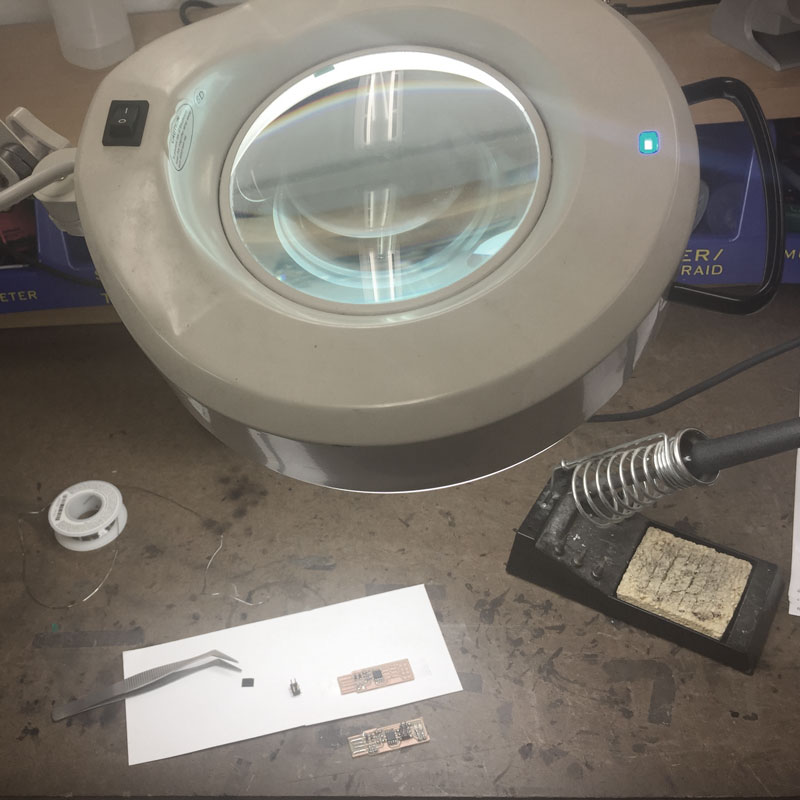
- First setting up my workplace and grouping the components -
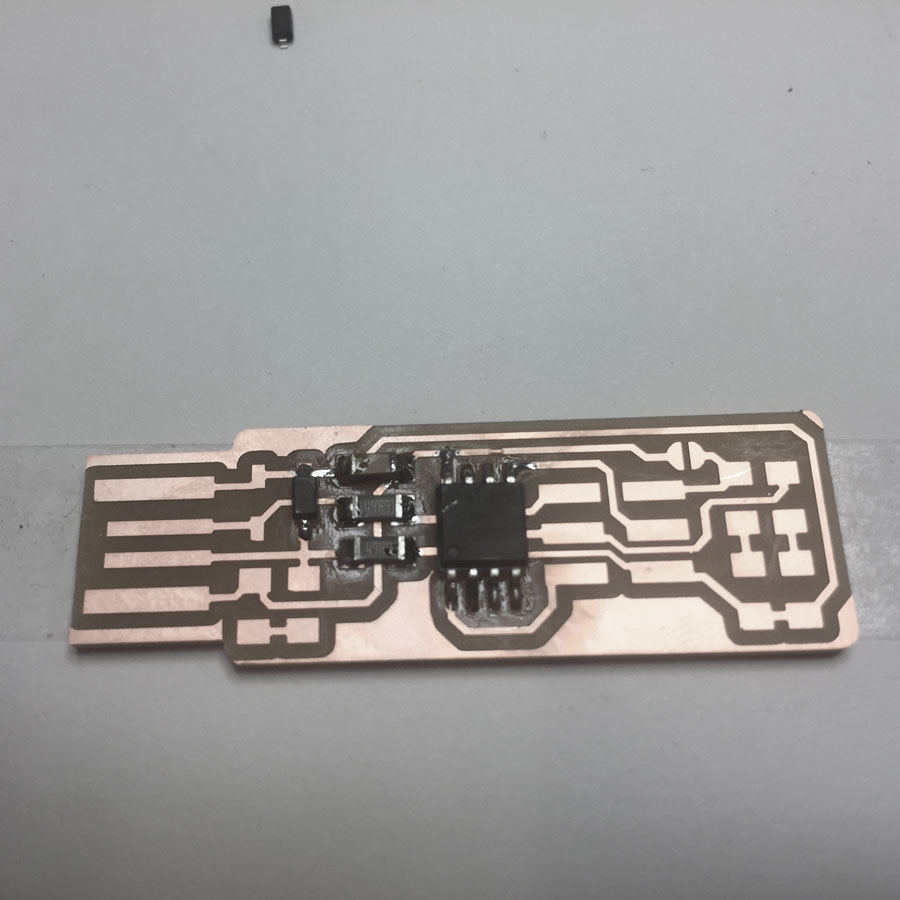
- After practing with soldering, I started soldering the components on my board -
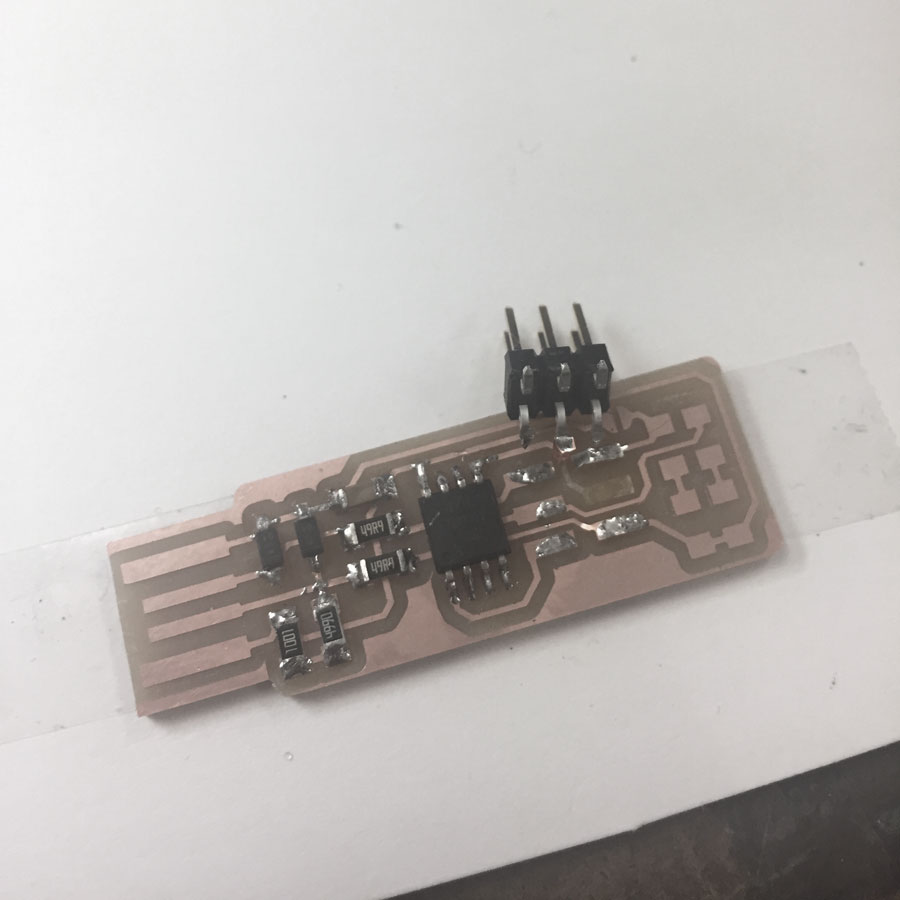
- As I was almost over, I tried to align perpendicularly the ISP and it was pilled off along with the traces!!!!!! (can't really descibe my feelings at that moment... -
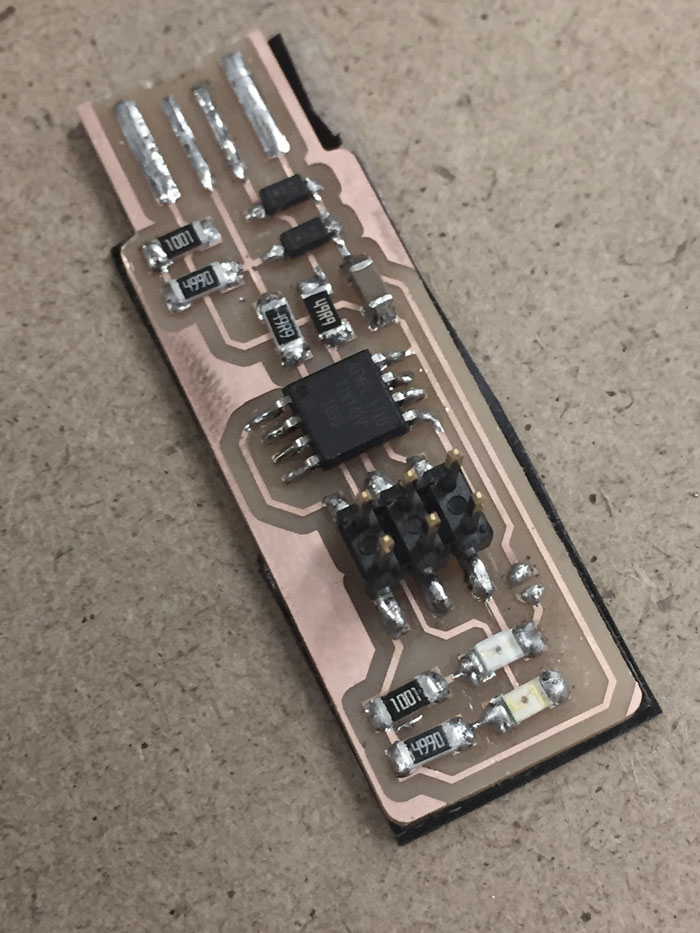
- This is my final board. I had to do milling and soldering from the start again but I had practiced alot through failing, I managed to do it successfully in 1,5 hour ! -
3. Programming
First I had to make sure that I connect the ISP of the board in the right direction with the atmelice programmer (ICE orientation), otherwise the red led will not turn on. With the first try it worked!
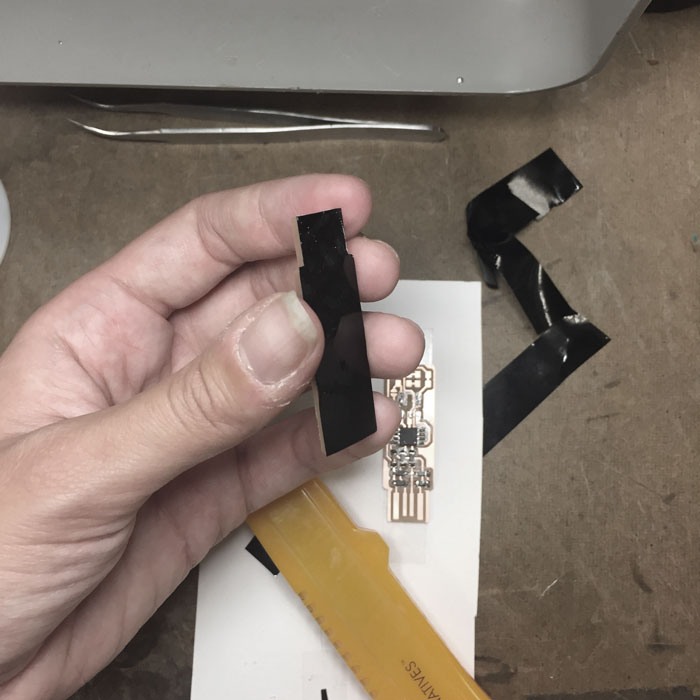
- Adding some tape for better USB connectivity -
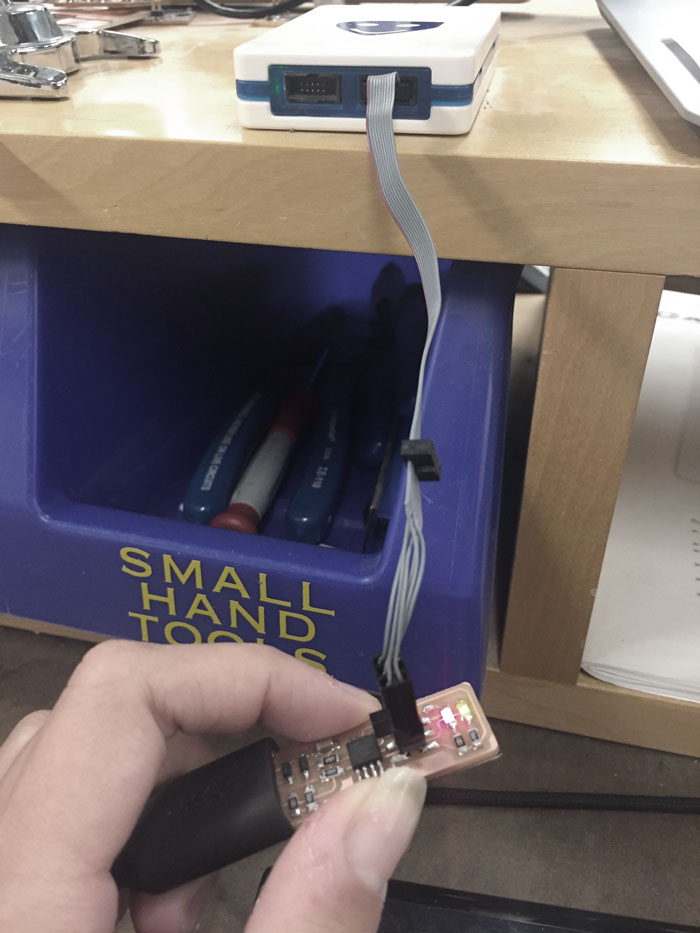
- Connecting the board to USB and YES ! The lights turn on!!! -
