Computer-controlled Cutting
02Electronics Production
033D Scanning and Printing
04Electronics Design
05Computer-Controlled Machining
06Embedded Programming
07Molding and Casting
08Input Devices
09Output Devices
10Networking and Communications
11Mechanical Machine Design
12Interface and Application Programming
13Wildcat Week
Elina Oikonomaki
How to Make (Almost) Anything
Embedded Programming
For this week we had to program our hello-echo board !
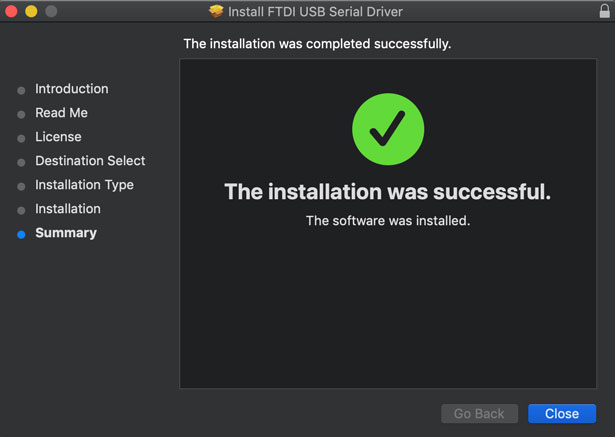
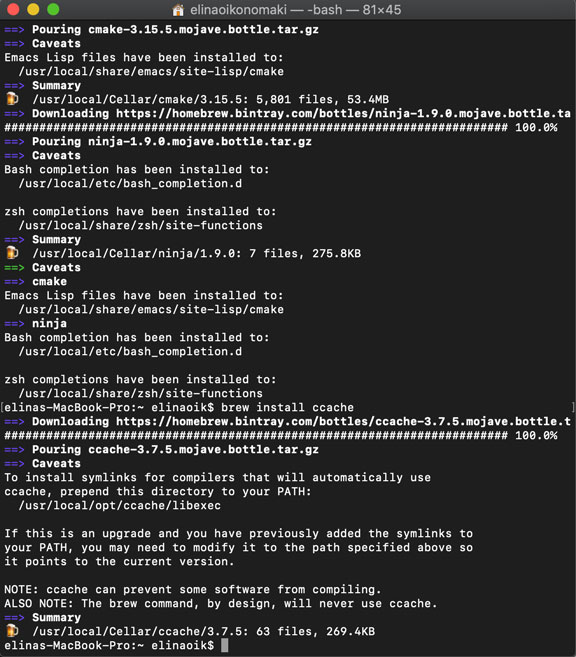
1. Installing drivers for the FTDI cable
-Homebrew -

- FTDI drivers -

- -
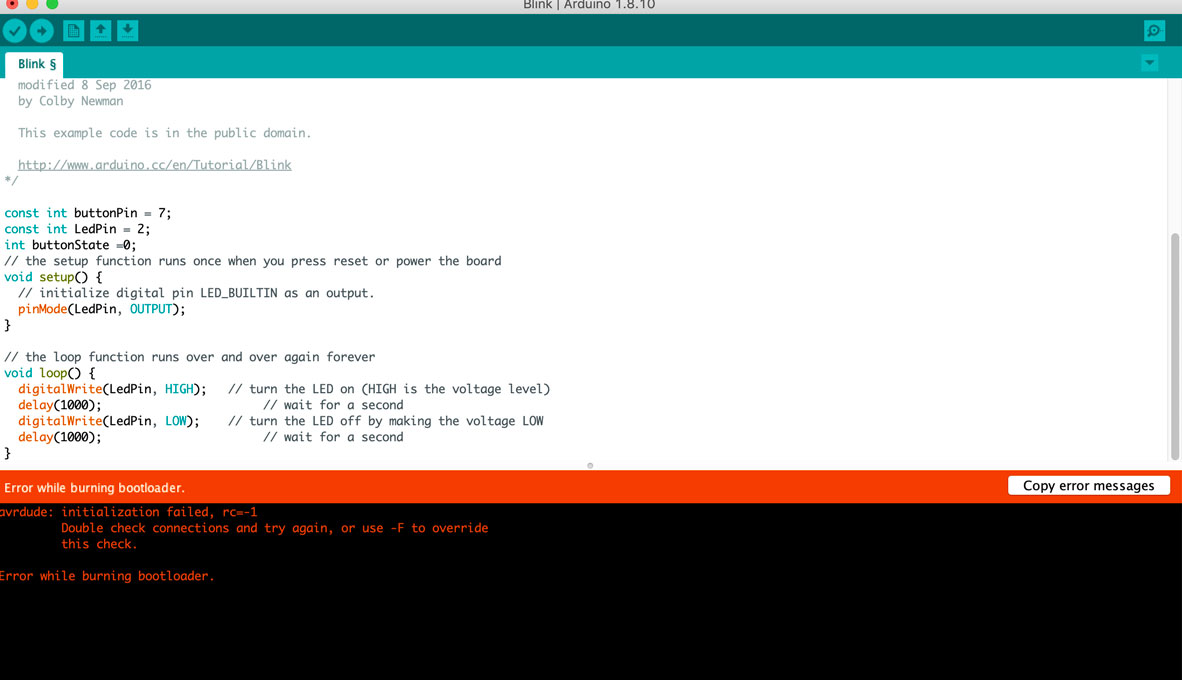
2. Arduino IDE
I bought an FTDI cable to complete my setup and to begin programming. This time, I tried the Arduino editing environment so that I could simply change a few lines of pre-existing code to alter the behavior of my board.
Setting up Arduino IDE
After installing the package, the ATtiny24/44/84 board appeared in a subheading of the Tools > Board menu labelled ATtiny Microcontrollers along with ATtiny25/45/85.I selected the ATtiny44 processor from Tools > Processor. Then : I selected the external clock from Tools > Clock. I selected the programmer from the list of devices in Tools > Ports. Finally, I selected the programmer from Tools > Programmer .
I referenced the pin configuration of the ATtiny44 so that I could change the example file to match my as-built board configuration in which I had connected the LED to Pin 8 (in position 5 of the microprocessor).