Week 04
Molding and Casting
Cast Chain Mail
For this week's assignment, I decided to tried to make cast chain mail. The challenge here is creating mold that can open up to loop around the previous link. The mold has to be small enough to fit through the previous element of the chain
but substantial
enough to be castable with decent registration. After experimenting with a few types of registration, I realized that if the surface of the mold is curved, this could be enough to register the two halves of the mold. Furthermore, if the
curvature of the surface is symmetrical, the two halves of the mold could be identical, meaning I would only have to machine one half of the mold from wax and could cast silicone off of that cavity twice.
I started with a hyperbolic paraboloid and projected a circle onto this surface. I then ran one half of a diamond shape along the projected circle and added a sprue geometry to yield the final geometry to machine.
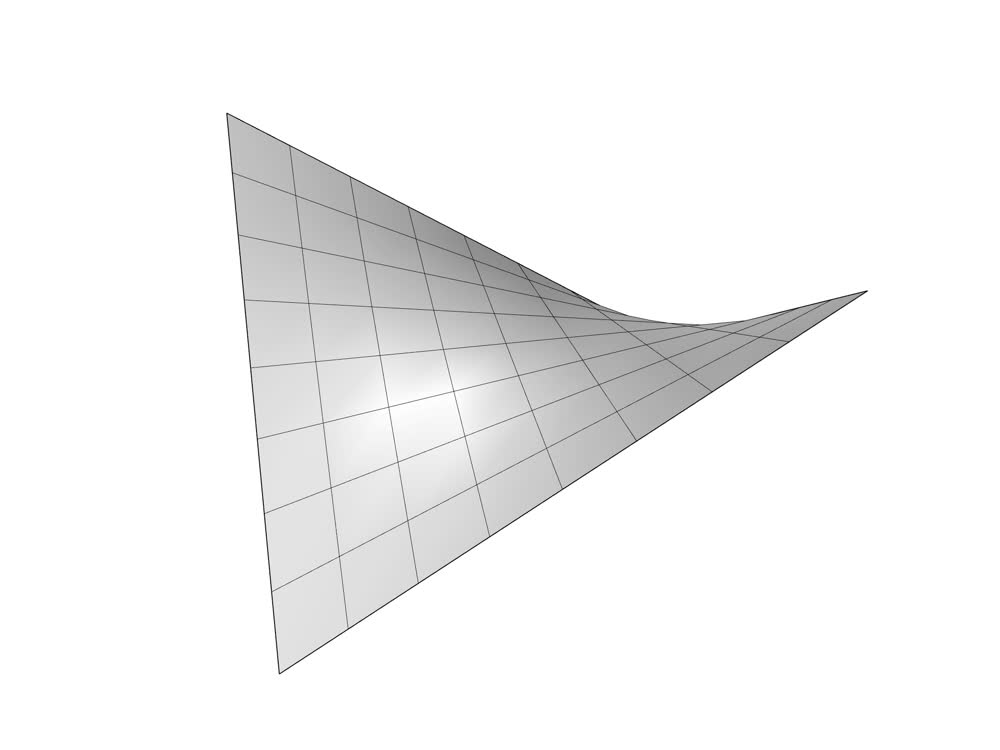 Hyperbolic paraboloid.
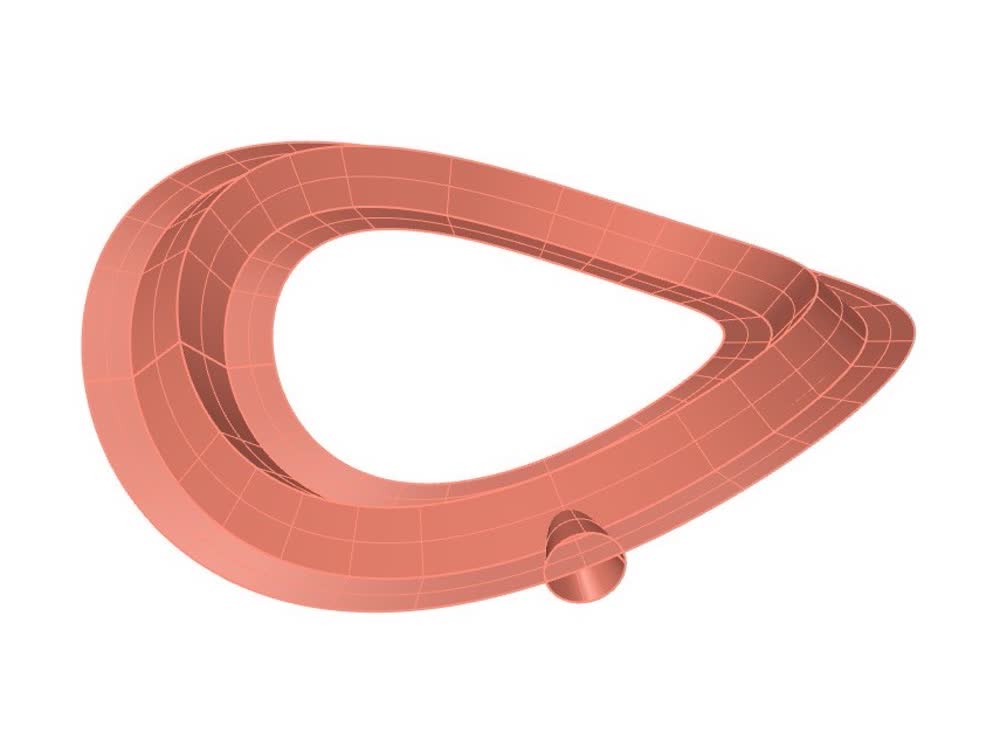 Geometry to machine.
I machined the wax on a Prototrak knee mill. I started with a paralell roughing pass using a 1/4" flat end mill and finished up with a scallop finishing path using a 1/8" ball end mill. I made an error when setting the origin on my stock but
luckily the part still fit on the wax.
Machining wax.
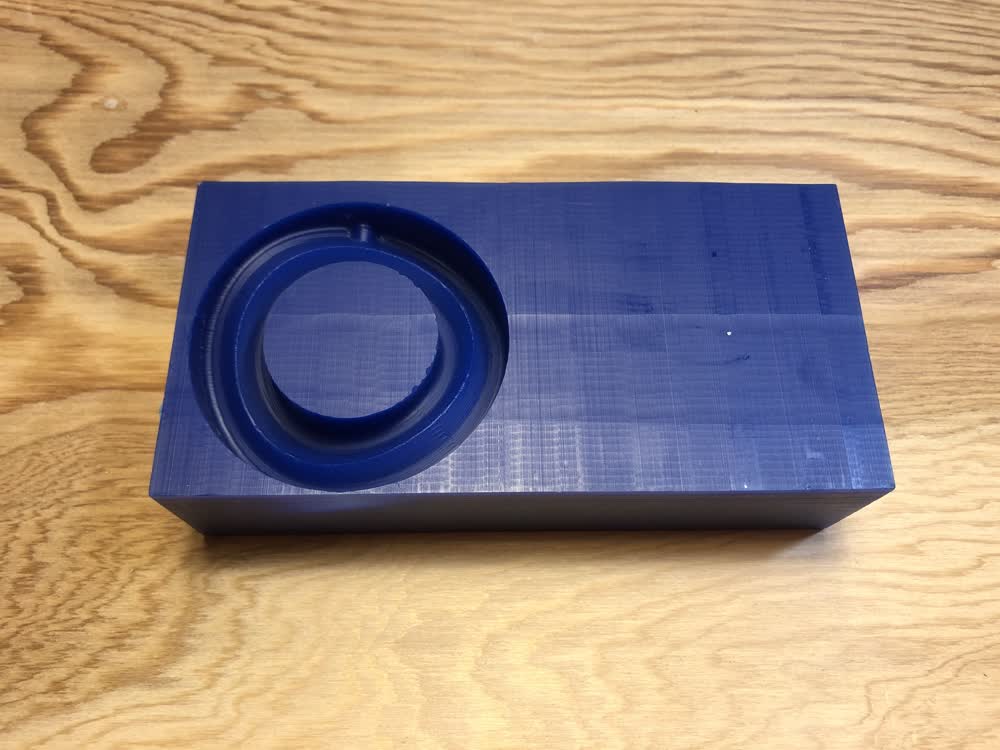 Machined wax mold.
Next I cast silicone off of the wax twice, yielding the two halves of the mold.
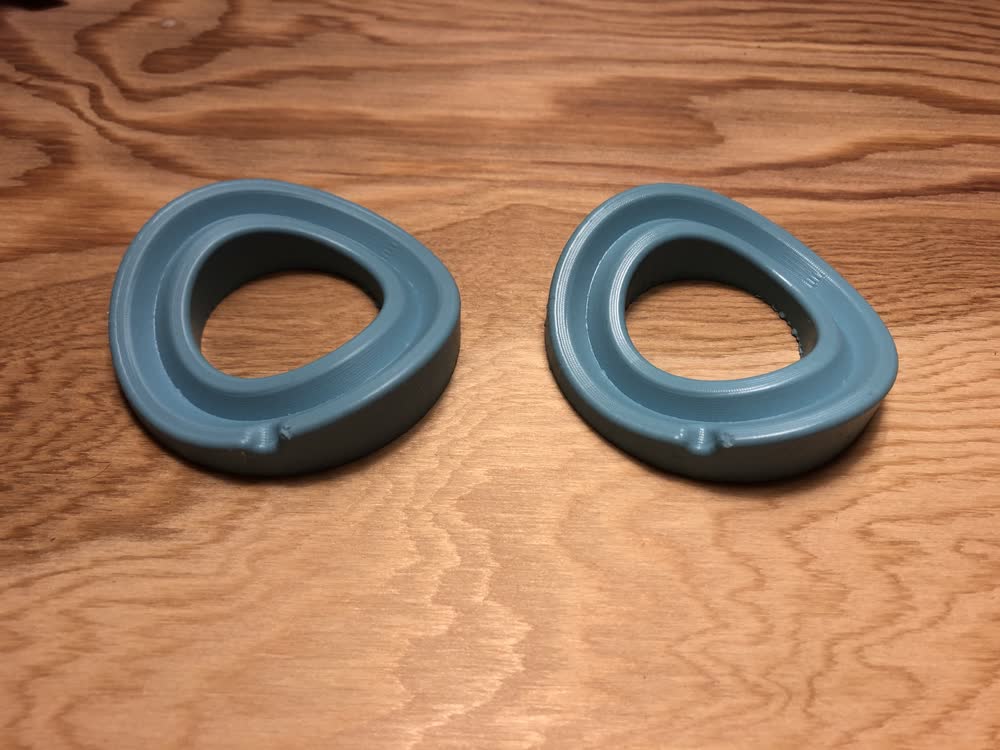 Two identical halves of mold.
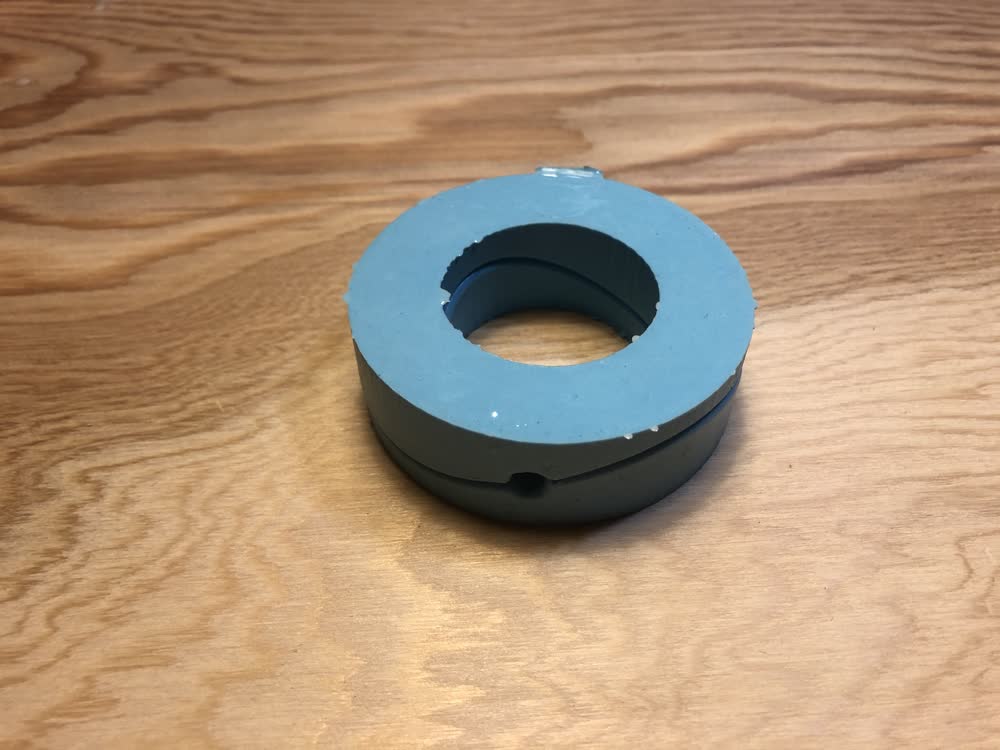 Assembled mold.
Time to cast!
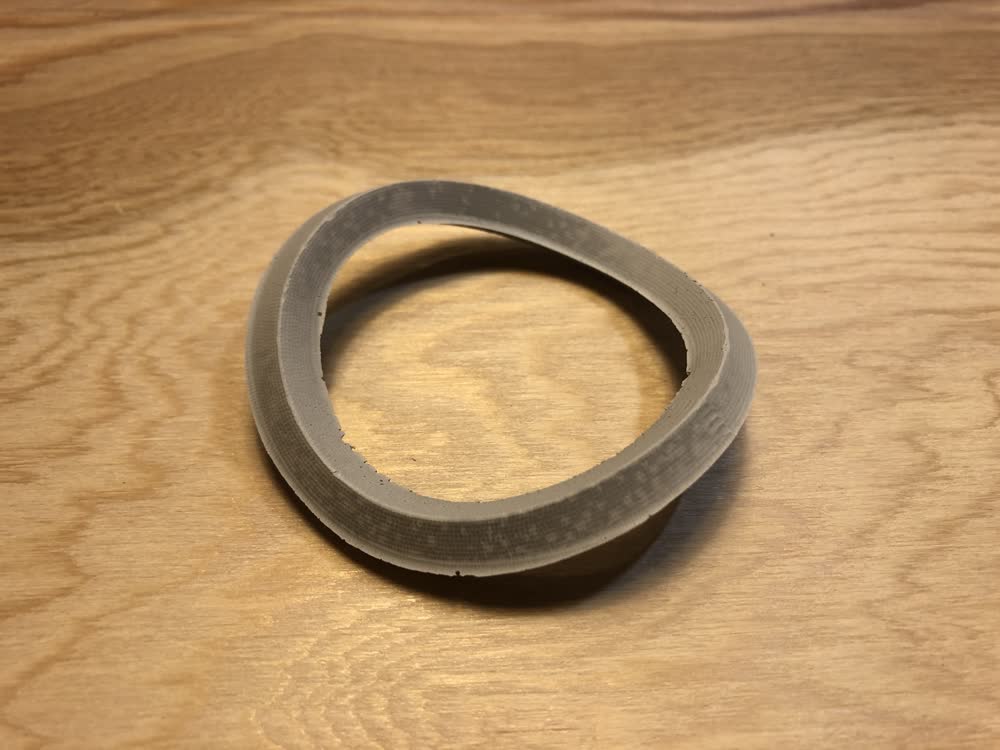 First cast from the mold.
In order to make a chain I had to cut the mold. This is done in a sort of jagged pattern so that the two halves of the cut can grip onto each other better than if this was a smooth cut.
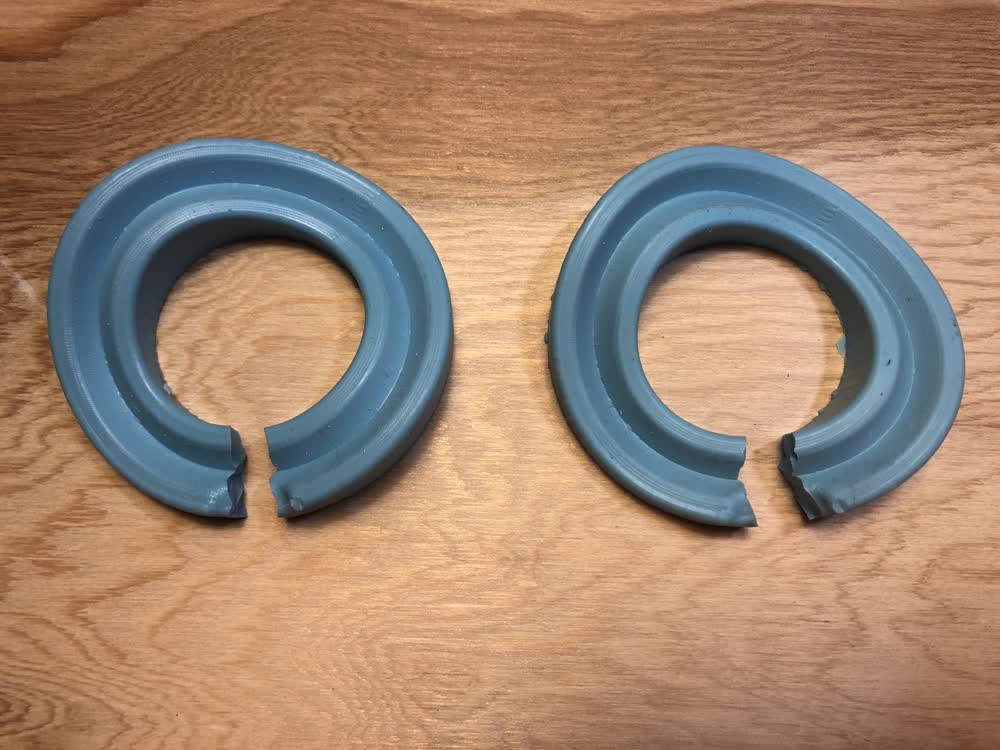 Cut open mold.
When making subsequent casts, the mold is looped around the previous link. I added some cardboard for support and to help hold everything together (not pictured: tape).
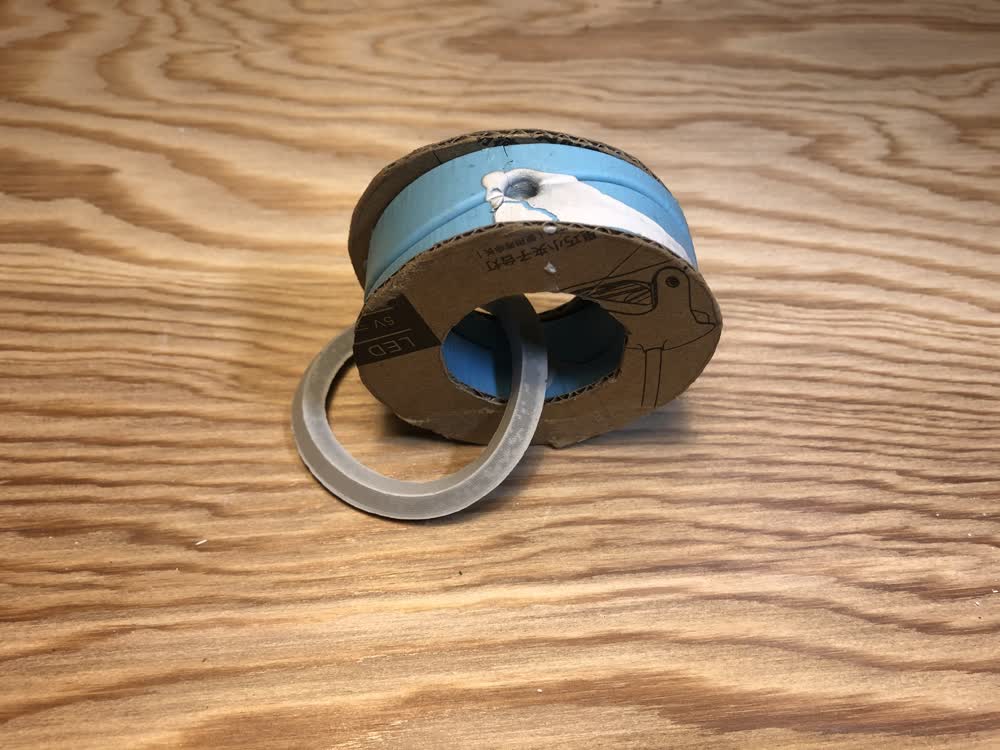 Second cast in progress.
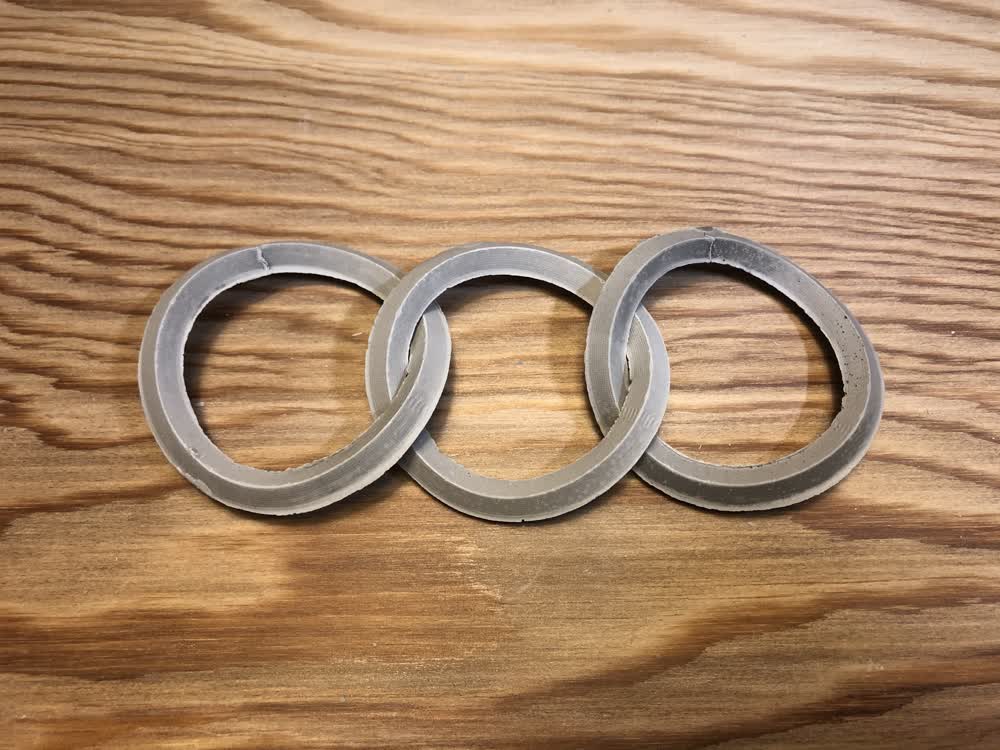
 Two links.
Rinse and repeat.
 Rinse...
 and repeat.
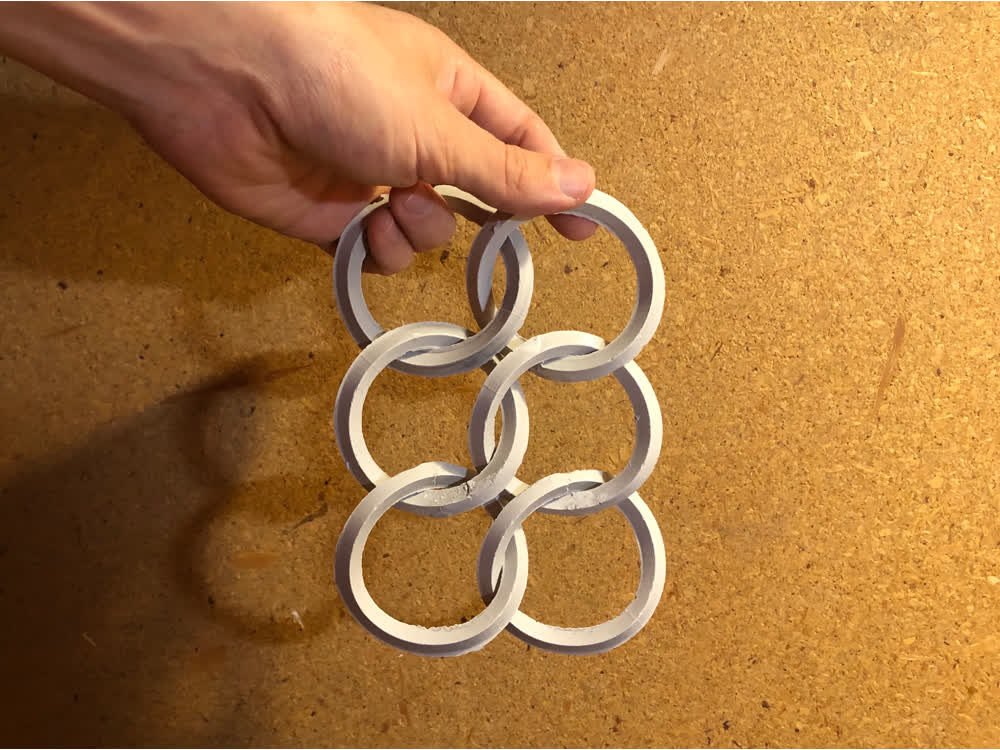 Chain mail.
Files: 201005_chain_mail.3dm