Weekly Progress
Week 1: Computer Controlled Cutting
Laser Cutting and Vinyl Cutting
This week's task is to experiment with two essential shop tools for 2D computer-controlled cutting -- the laser cutter and vinyl cutter. It was my first time using the vinyl cutter, and I was curious to experiment with the tool beyond cutting a sticker.
My goal was to parametrically model a single object which would involve using both the vinyl cutter and the laser cutter. I achieved this with mixed results, but with a good intuition for how to move forward in the future and where to expierment futher.
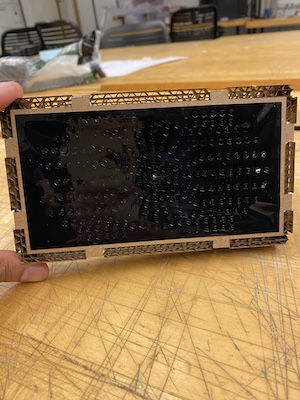
The object I designed is a small lightbox/lamp that would project patterns of light (perforated onto the skin of the lamp) onto its environment. Intended the be used with an iPhone as a light source, this would perhaps be a miniature prototype version of a future larger scale installation (that could maybe involve similar materials and tools).
Step 01: Parametric Modeling
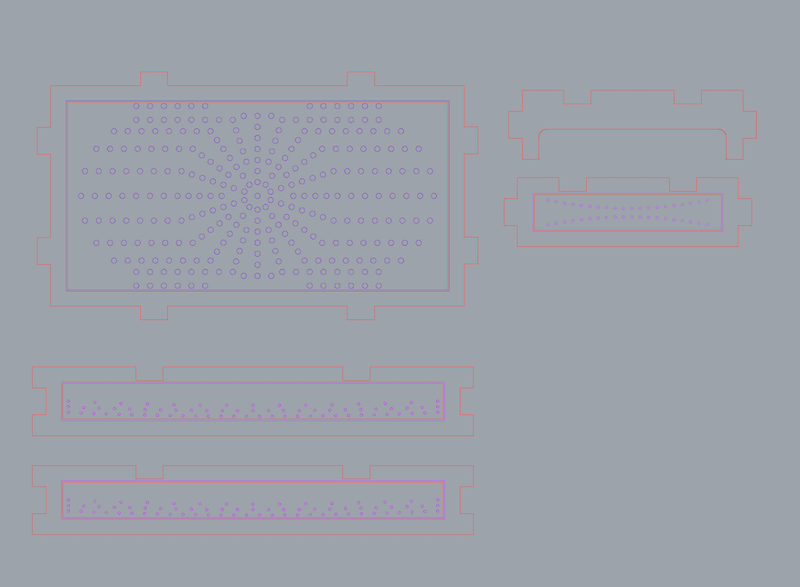
I used grasshopper to model both the vinyl cut and the lamp frame parametrically. A paramteric model would enable me to make adjustments in the future should I desire to use a different material (with a different thickness), use a different laser cutter (with a different kerf thickness) or make design changes (like resizing the frame, adjusting the form of the shape -- I laser cut a box frame, but modeled the geometry such that it could be deployed as something more complex in the future, resizing/reshaping joint connections), and the perforation patterns on the skin that would be cut using the vinyl cutter.
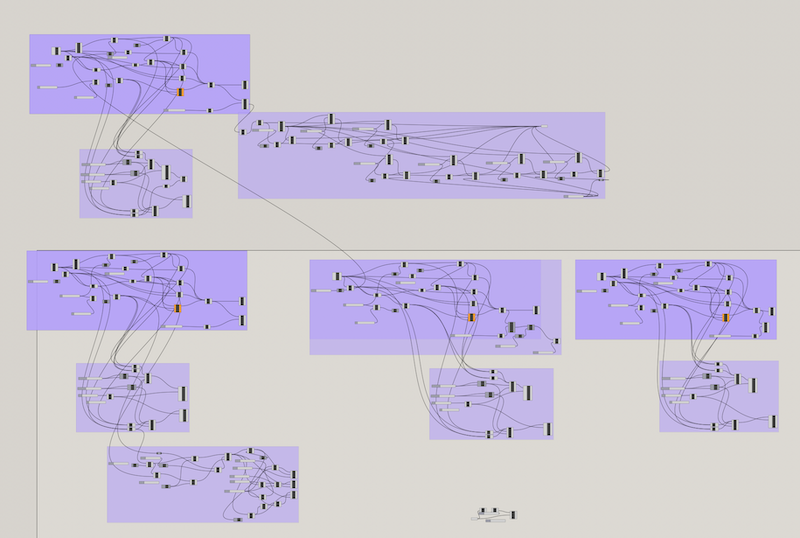
(I need to figure out a way to document grasshopper scripts like this in more detail so that others can read/decipher what I've done)
Once baked on to grasshopper, I oriented the cut files to minimize material waste. (A software like DeepNest would be worth trying out in the future to really optimize this area of material inefficiency.)
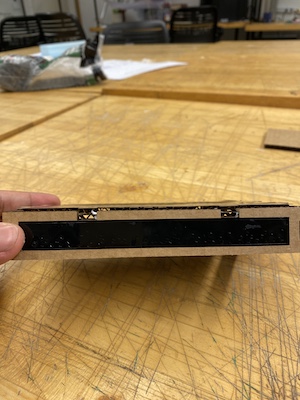
Step 02: Laser Cutting
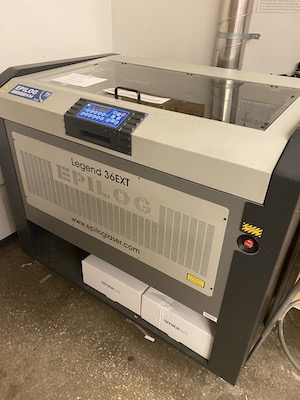
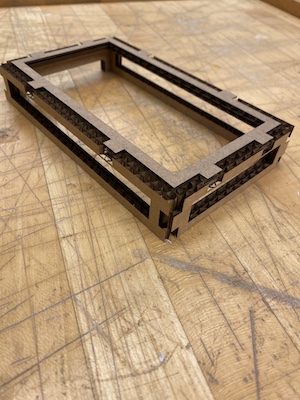
I used the 70 watt Epilog laser cutter in the archshops. Key to a succesfull laser cut is manually focusing the laser head and running a succesfull test before sending the files to the cutter. The material is would be cutting was the corrugated cardboard supplied by the HTM(a)A class. I used the recommended settings (speed/power) on a small square for a test for 1/8" chipboard and the material cut well.
I found that I possibly did not measure the material thickness correctly (as it was slightly thicker than I was expecting). But the pieces still came fit together, so I did not think it was too important to redo.
Step 03: Vinyl Cutting
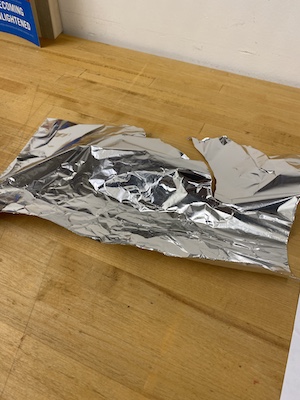
I wanted my lamp to enhance the brightness of the relatively dim iPhone flashlight (while only letting light through the perforations, so I was interested in seeing if I could use aluminum foil on the cutter). I did a few tests first using the shop supplied vinyl to make sure I understand how the machine worked, then attempted cutting the foil.
Unfortunately, I found that the foil was too fragil to use with the cutter (at least with the force and speed settings that were recommended). I'd be curious to see if the with futher experimentation (in particular by significantly reducing the downcut force and reducing the speed of the cutter I might be able to successfully cut the highly maleable material). I also saw (online) examples of people successfully cutting aluminum foil after applying it to a thicker material (like transfer paper).
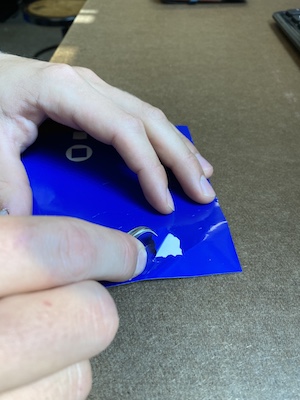
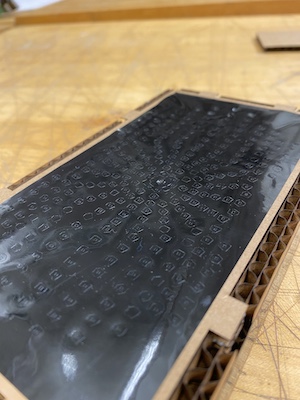
I ended up trying to cut my highly detailed perforation on vinyl sticker material. While the larger shapes cut fine and were easly removed from the adhesive backing, my 2mm diameter perforations etched but did not cut holes. My 1mm diameter perforations etched much less acurately and clearly the machine struggled to produce rounded edges at that fine resolution. Perhaps a slower cut speed would improve this in the future...more to experiement, but this would good to experience and learn.
Step 04: Conclusions
These were not the results I wanted, but these experiments gave me good experience with parametric modeling and a good idea of where I should try to spend more time experimenting/fine tuning settings. Obviously the vinyl does not have the reflective qualities of the aluminum, but I think there would be great potential in using the vinyl cutter for other alternate materials. I will be definetly trying this in the near future.