Weekly Progress
Week 5: Computer-Controlled Machining
Making A Small Table with the Onsrud CNC
This week we were each given a 4' x 8' sheet of 0.5" OSB and were told to make something big using a CNC.
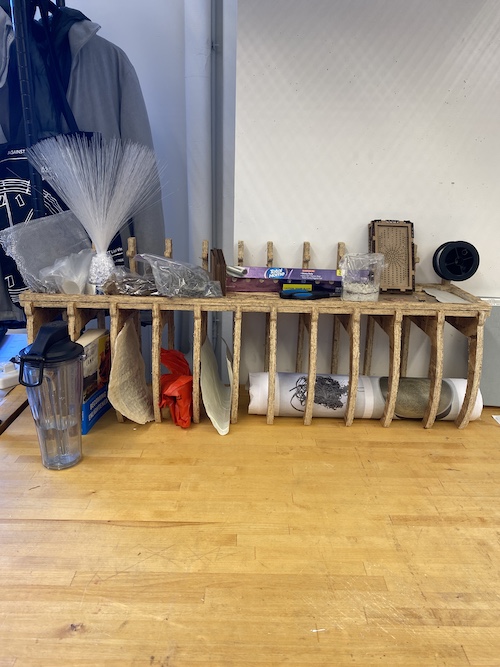
My desk in my architecture studio has needed some organization for a while, so I decided to make a small table that would help me organize my books, small items and other miscelanious items.
Step 01: Designing the table
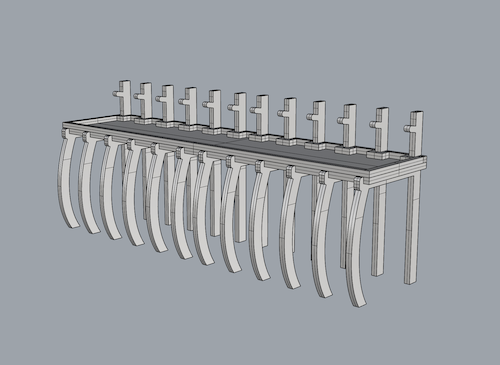
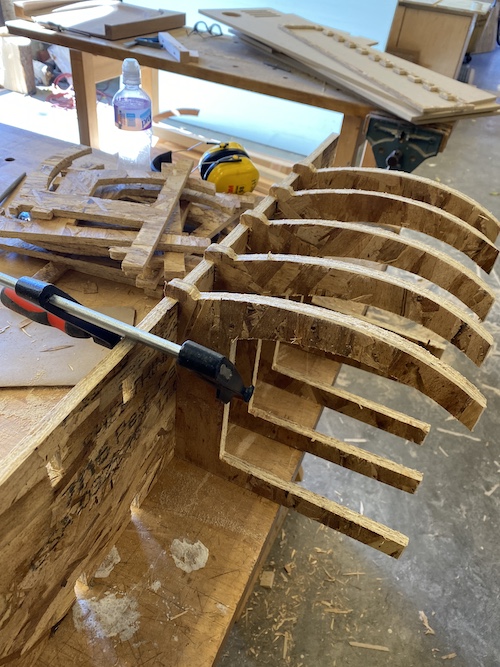
I designed the table in Rhino. OSB is not a great material to be building anything structural (or really anything really), so I tried to minimize long spans and give appropriate structural depth where possible. I thought this "rib-cage" design looked kind of cool and would give the table some versaility as a divider/bookshelf for small books. I also designed the table to not need screws or glue. From the group assignment we learned that given the irregularlity of the OSB's thickness, it is best to design joints to be the stated thickness of 0.5" even though when measured with a caliper thickness will vary significantly.
I then prepared the cut file to then be exported into the CAM software we would be using, Mastercam. The points (white dots) designate drill holes which will be used for "dog-bone" corners. This is done because it is difficult to get sharp angles when
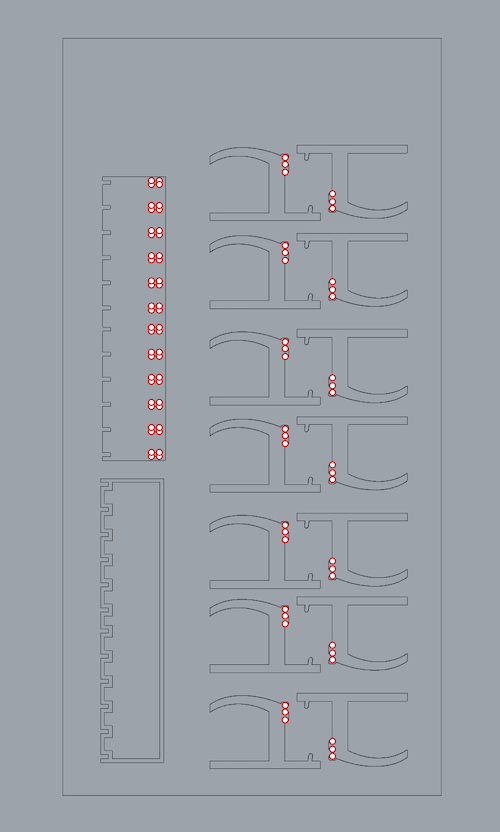
Step 02: Preparing the CAM file
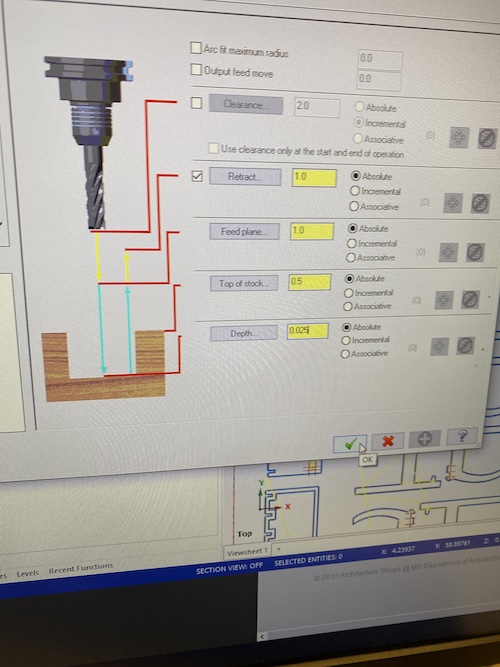
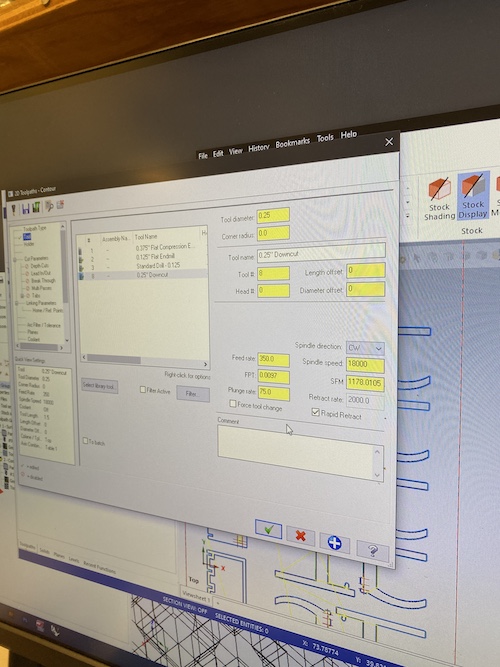
Ultimately, the ONSRUD, the CNC machine we are using, will read g-code that will tell it what tool to use, the speed of the spindle, the speed of all other movement (in 3-axes), and the toolpath itself. When CNC cutting we want to leave an onionskin to ensure the material remains attached to the spoil board (which in this case is held down by a vacuum). A key element to remember when designing to tool path is that we want to be cutting climb cuts (such that the router is pushing material into the board rather than tearing it away when cutting -- clockwise when looking down). Then we just need to make sure each tool path is cutting on the correct side of the cut line. Initially we gave it a 0.025 (inch?) thick onion skin, but after the first attempt at cutting, realized that the fragile material would break if we exeterted too much effort trying to remove parts from the onion skin. We ended up cutting the main router cut again at a higher speed (to save time) and with a 0.01 thick onion skin. Still, because we are working with OSB, the parts needed some cleaning and work to remove the onion skin.
Setting the depth cut "onion skin" thickness in Mastercam.
Readjusting the speed for the second pass.
Step 03: CNC Cut
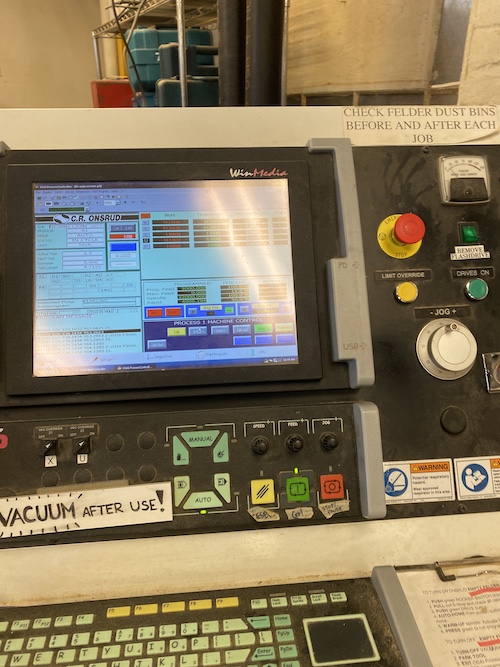
With the three toolpaths programed -- drilling for dog-bone cuts, milling, remachining (to clean corners), the cut took ~25 minutes + time to recut the onionskin.
The Onsrud interface at the machine.
Onsrud cutting the OSB with the brushes down.

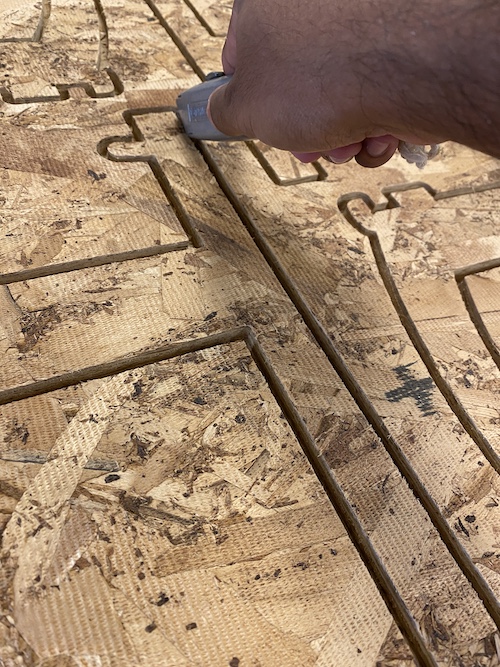
After cutting, I had to use a knife to remove the parts from the larger sheet/onion skin.
Sanding the edges to remove splinters/remains of the onion skin on outer edges.
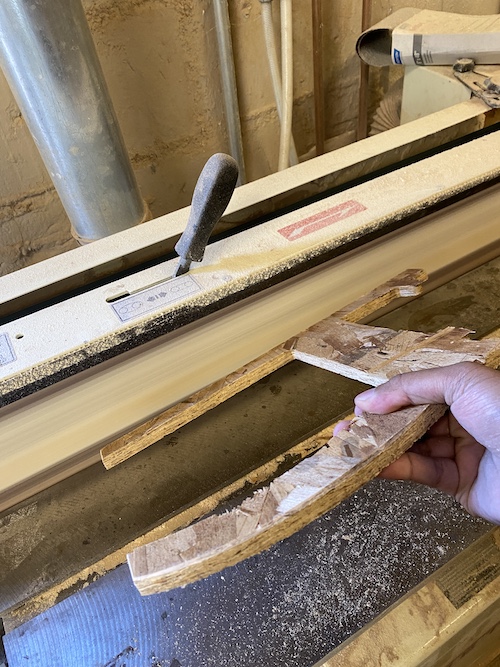
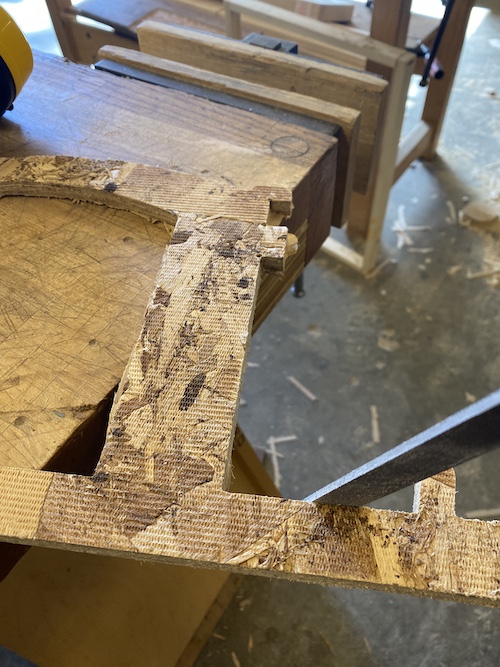
Filing to remove clean remaining edges.
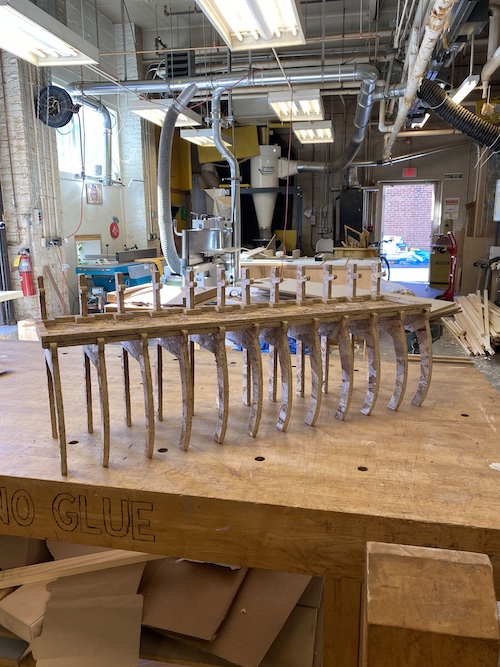
I used clamps to squeeze the parts in place. I was concerned at first that they would not fit, but when pressured in, they fit perfectly and the joints are tight -- so I didn't need to use glue.
Step 04: Conclusions
The post-processing and assembly of the table took a lot longer than I was expecting, but I am quite happy with how my new table for my table turned out. It seems to be strong enough to last for a while. I'm curious how different this process would be if I tried the same design again, but with a different (better) material. I had prepared spare legs for the table, but ultimately did not need them!