HYEMIN.BAE
How to Make Almost Anything 2021
How to Make Almost Anything 2021
Week_4: Electronics Design
With no fundamental understanding of electrical engineering, this week was the giant huddle for me.
AmongEagle and Kicad, I chose eagle since it can be used with fusion 360.
Since I had no understanding, I watched both the 2020 and 2021 tutorials and followed each step to understand how to use the tool; it was pretty straightforward,
and I had a little struggle to use the tool, especially with the pre-existing fab library. Some missing or new components,
I just googled the name of the chip + eagle schematic to download.
However, reading the datasheet and figuring out which pin did what was difficult; therefore had to do lots of googling in every step.

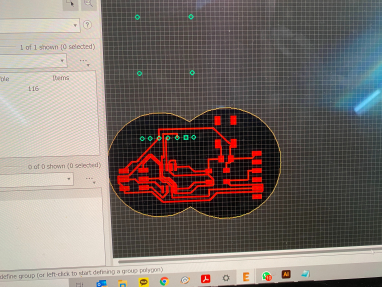
Mostly, I followed the 2021's tutorial to design this board Attiny45, added a button, and led for the assignment requirement.
Also, I wanted to add a Lidar sensor for next week's assignment, the input device.
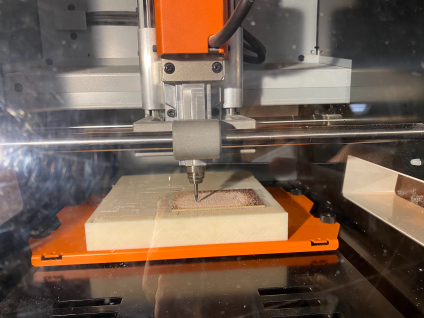
Exporting the file, milling the PCB, and soldering all the components were easy since I've already done and had many failures during week 2.
However, after talking to Nathan that Attiny45 is hard to bootload and nobody is to help me during this week,
I decided to move on to ESP32 - WROOM.
I used Neil's esp32 board from networking week examples as a reference.
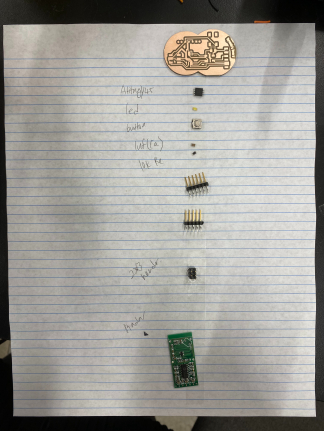
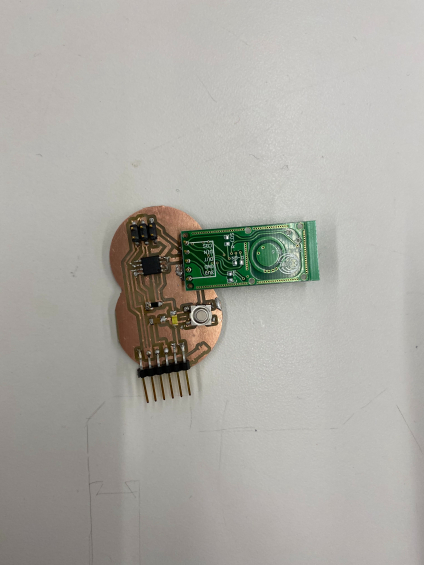
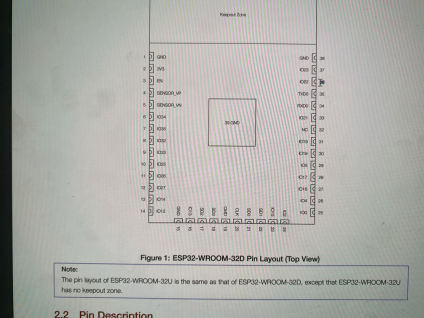
By checking the ESP32 Wroom's datasheet, I added a button, 3.5 charging port, and extra pins to connect other sensors for later's project.
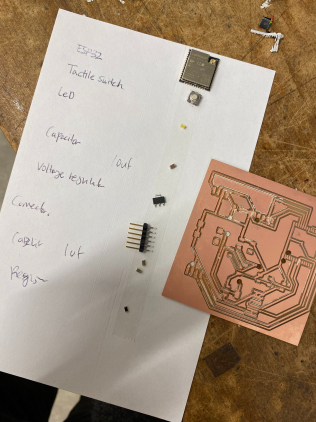
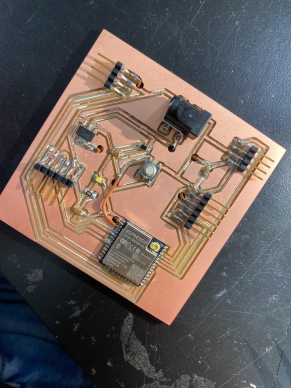
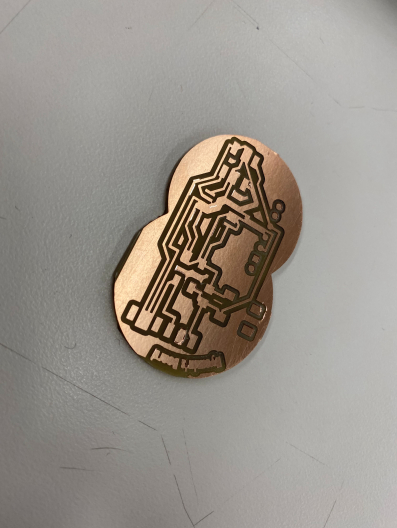
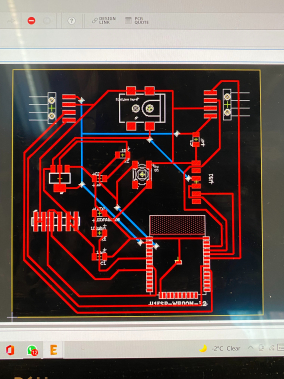
The board got a little complicated, so it needed seven holes for vias.
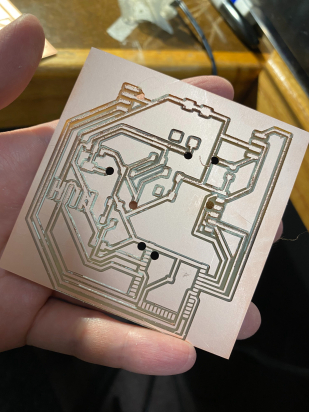
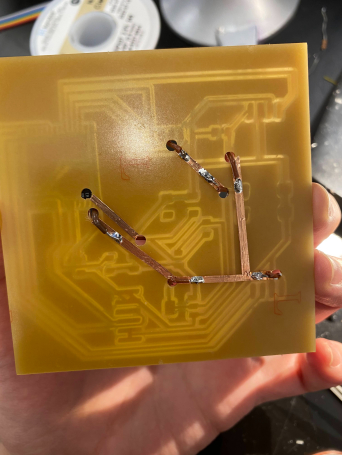
After failing several times to mill the other side's traces accurately, I made a hand-cut trace using copper tape,
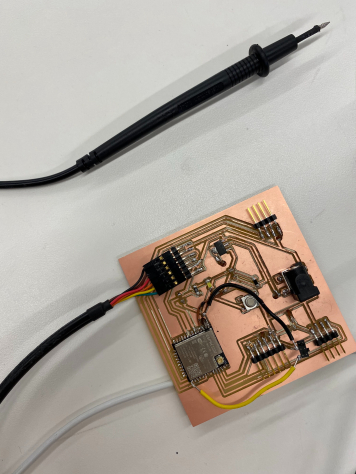
wire, and some soldering. As you can see in the picture, I added the slide switch to program the board.
Here is the video; the light and button are working.
ESP32 Wroom 32d datasheet
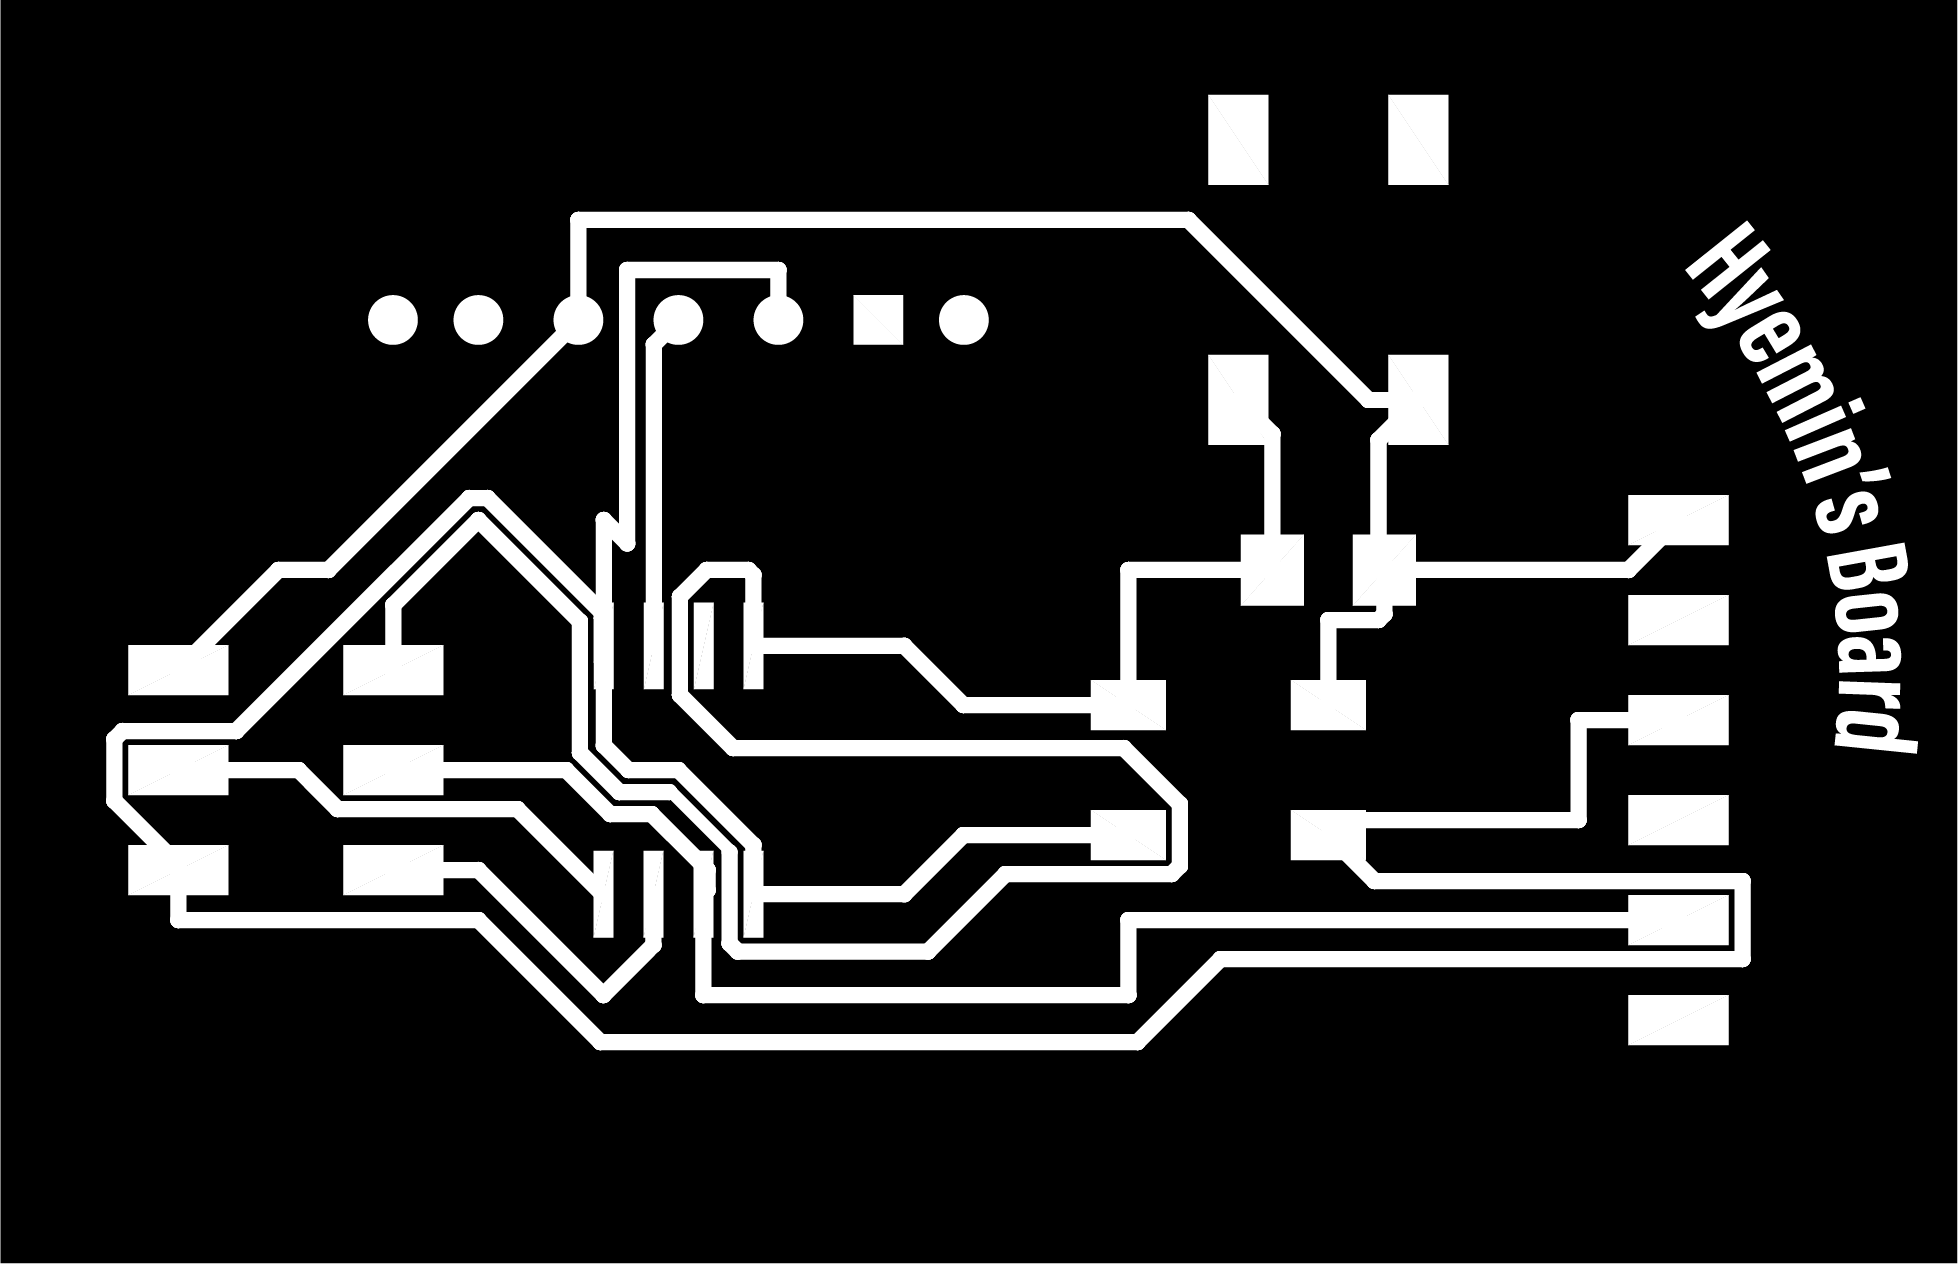
Exterior ATtiny45 png
Trace ATtiny45 png