HYEMIN.BAE
How to Make Almost Anything 2021
How to Make Almost Anything 2021
Week_5: Computer-Controlled Machining

This week’s assignment was my favorite, making something big in meter-scale.
I want to explore more once I finish this chaotic-overloading semester to build furniture on my own.
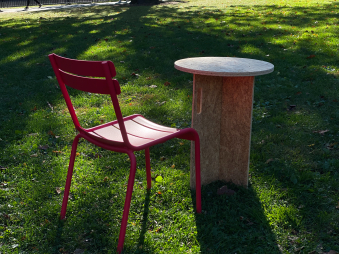
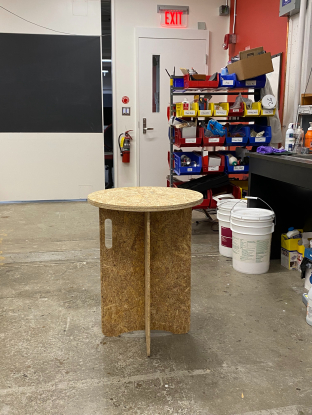
The goal was to design an outdoor table for my new home so that the free material would work fine with my usage.
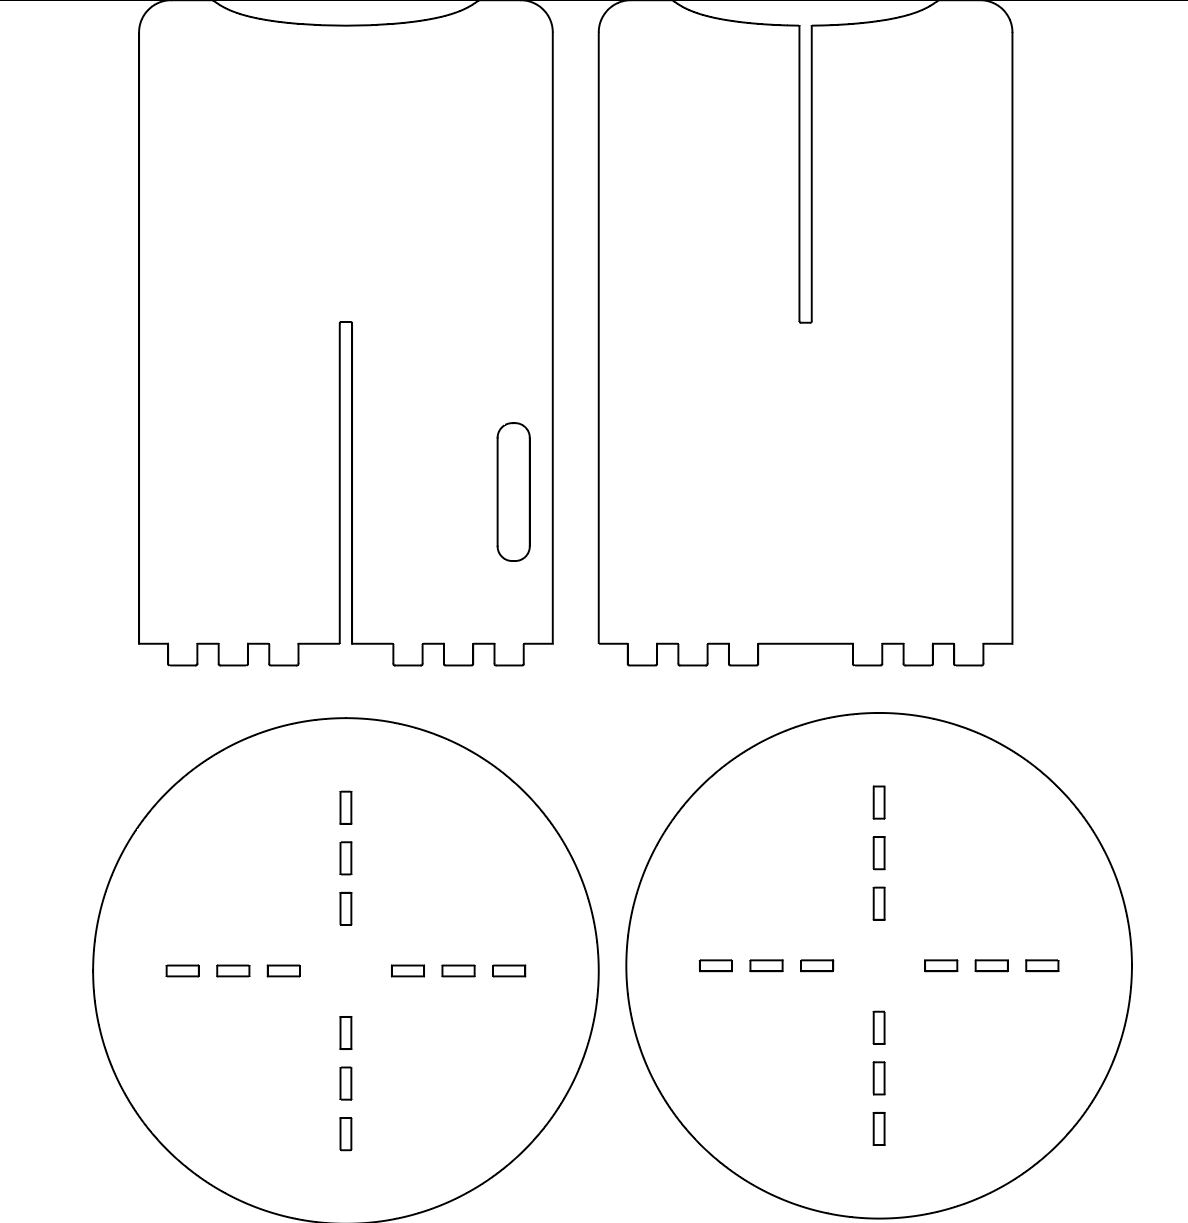
As always, I used NX software to design my table and made sure to put measurements for desirable height,
the thickness of the material, and tolerance for assembly, which is +1.588mm for the hole.
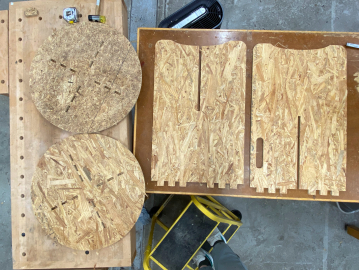
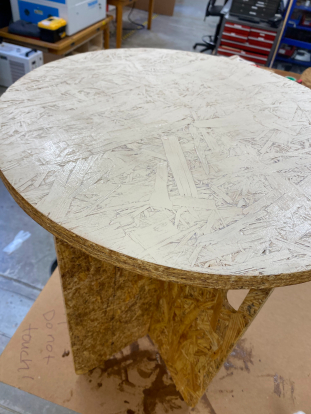
For the proportion-wise, I decided to add one more layer for the top, as you can see in the picture,
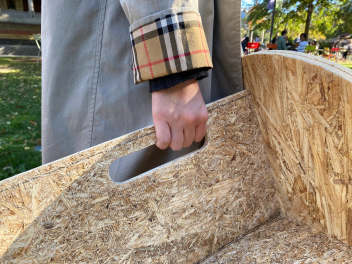
and also added a handle on one side just in case I want to move around the table(i found it out it is much easier to move it around
holding the top but looks like it has more detail, so I love it.) I lay all the pieces flat and converted them to dxf. Following Joon’s tutorial, I converted them into an Aspire file.
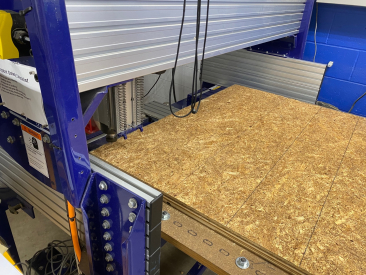
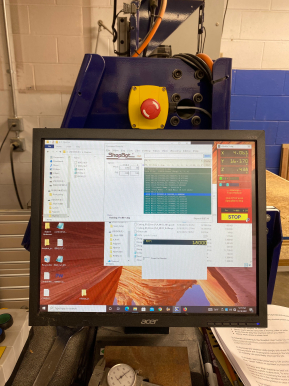
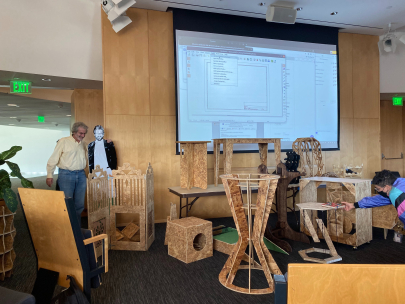
Following Rob’s guideline, I set up the shopbot machine, nailing the board, measuring the zero, and previewing the tool path in the air.
Everything went smoothly, so it took only about 45minute to cut all pieces.
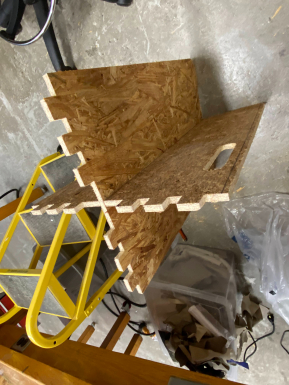
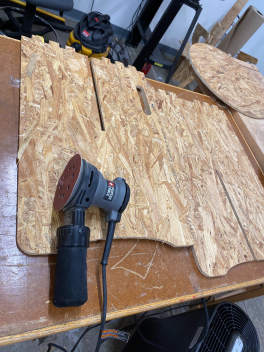
I pre-assemble to see if it has any problem with assembly then, I took it apart to sand all the rough surfaces.
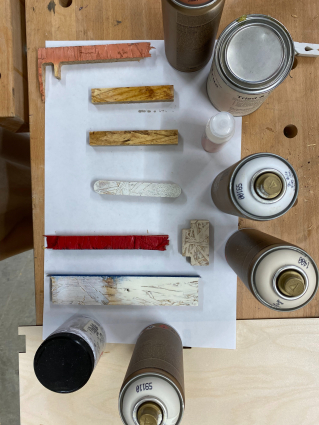
The next step was assembling and filling the gaps using wood putty and spray paint.
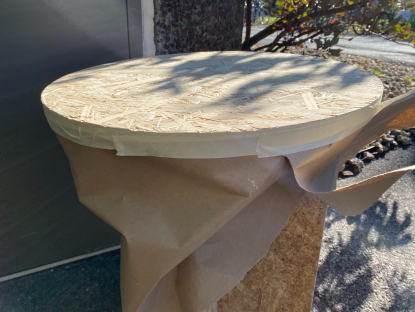
This is the final design and a demo video.