Electronic Production

Milling, Soldering, and Bootloader

For this excercise, we went through the steps required to make a very basic micro controller. 

1

Mill

Using the png images provided, mill the board on the roland milling machine or a different milling machine of your choice using a 1/64" endmill for the traces (interior desing) and a 1/32" end mill for cutting out the copper pcb

2

Solder

Solder the various electronic components pictured on the schematic. Flux is a very good friend when soldering and also using a microscope can be helpful for small parts

3

Load program

There are good documentation of how to go about loading the program into the pcb here.

Program Loaded 

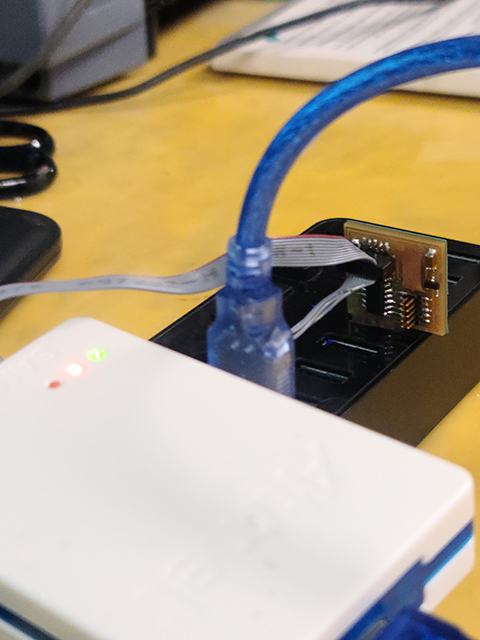
There was a bit of trouble running the sudo ./edbg because the file name on the web was different from the file name on the local directory was different. However after some troubleshooting with a friend and fellow classmate, we got it to work.