I decided to build an interface that can be used while tattooing to create a beautiful art installation in response to the tattooing process and simultaneously design an interface via which a client can communicate their levels of pain to the tattooer. This type of interface can also be adapted for use in other medical contexts where information about a patients internal state may not be available for verbal expression.
The way I imagined the project is to have 2 major components and multiple subparts to it.
Major Components:
1. A visual installation that is responsive and becomes a backdrop or passive art object in the studio (similar to a fishtank or a screensaver)
2. A communication system that the client can use to share their levels of pain without needing to vocalize it.
Subparts:
A. I decided to create an installation in a vase. A submerged form that changes in response to tattooing ( Inspiration - magnetic particles moving around in water in response to magnet
B. Secondly I imagined there would be an LED component that changes over time as well. It can be the way via which the client communicates how they are feeling
C. A capacitive touch pressure sensor that the client uses to communicate pain (ideally it would be a non conscious user interface such as muscle strain sensor, or eeg sensor that detects changes in internal state, but due to time restriction I decided to go with a capacitive touch pressure sensor instead)
HTMAA FINAL
Trials and Tribulations
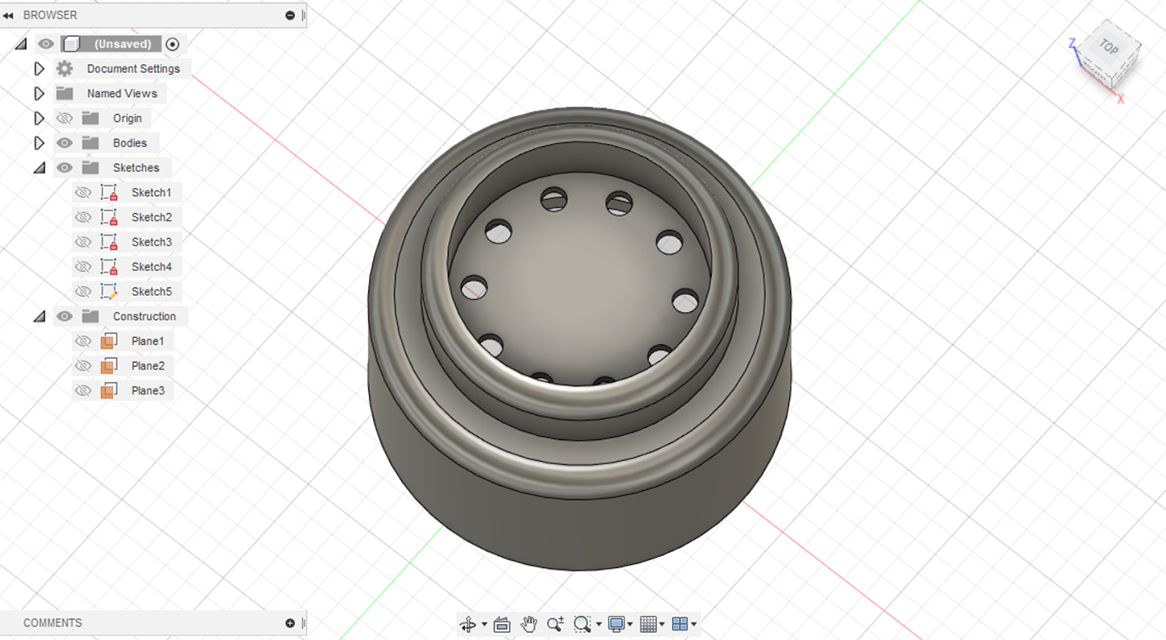
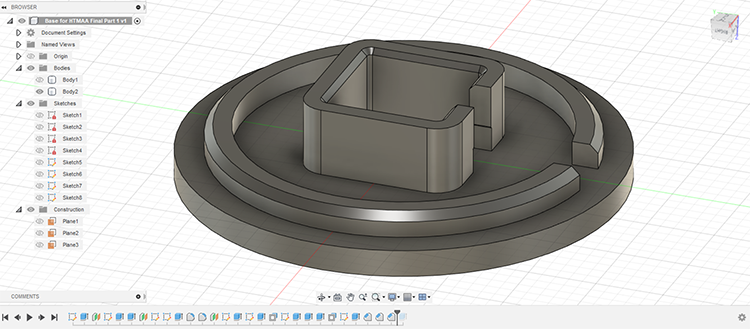
First I used Fusion 360 to map out a design for the base that will house the vase for my art object.
It has fre hopes in the base to allow LED lights to shine through and change the color of the vase. Everything was meassured with a caliper to make sure that the 3D printed components fit nicely together with the prefabricated parts such as NEMA 17 Stepper motor and the glass vase and so on
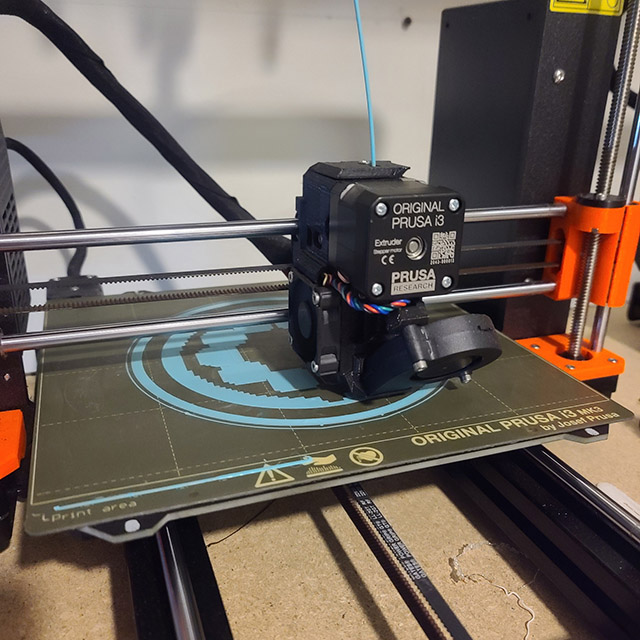
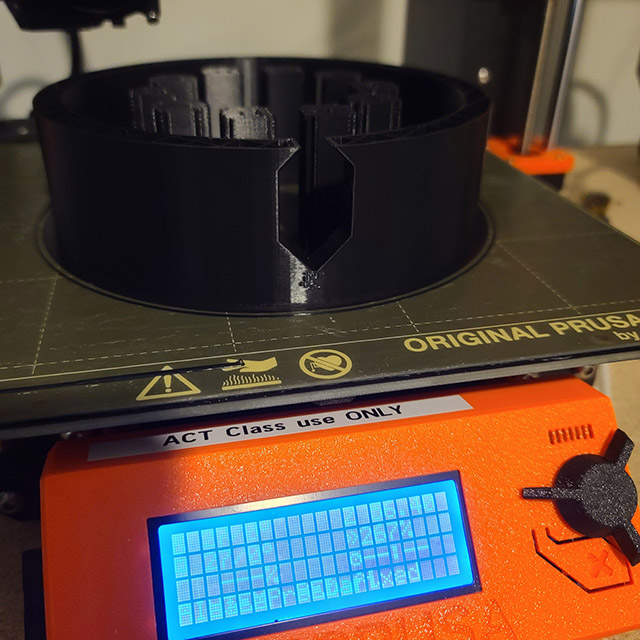
I had access to a few Prusa MK3 3D printers to print the base components so I did that but not without a hefty dose of failures.
After slicing the 3D stl files, it turned out to be upwards of 14 hrs for the top part of the base and about 6.5 hrs for the bottom part.
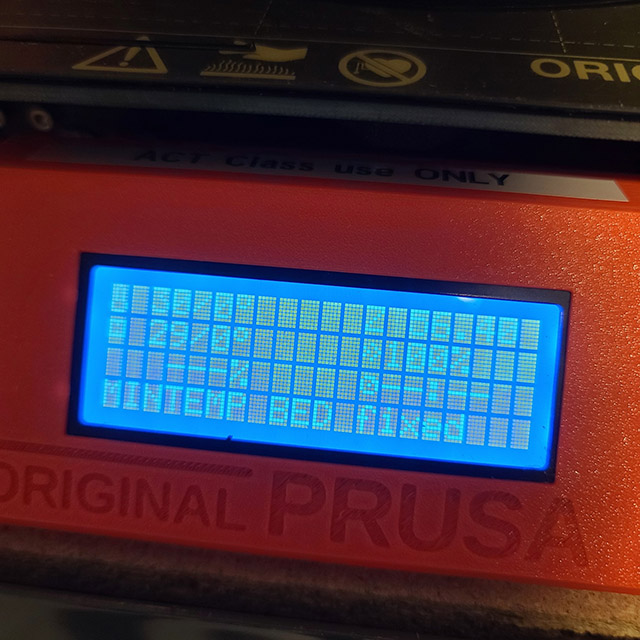
I had the print fail on me 4 times. These repeated failed prints on such long print jobs ended up taking a lot more time than I anticipated but eventually I was able to print it using another Prusa 3D printer. The main error I kept getting in the upstairs printer is a "Mintemp Bed Fixed"
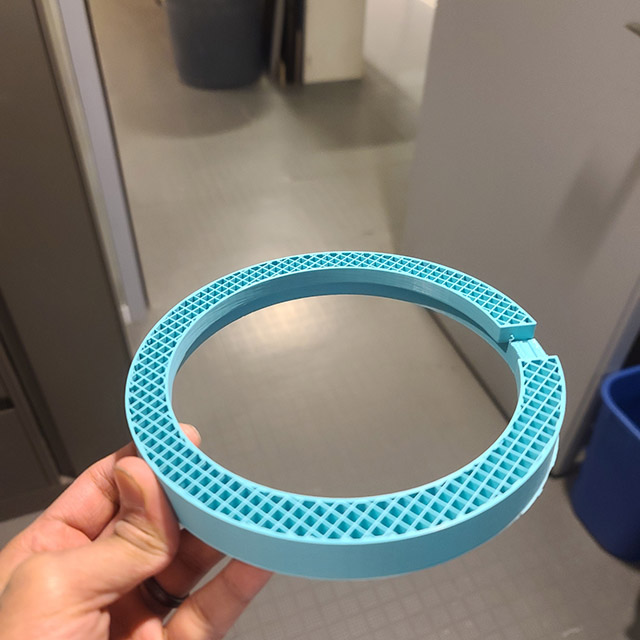
The Mintemp Bed Fixed error could be due to two main strands of possibilities,
1. The printer is faulty
2. The room/environment temp kept fluctuating and getting too cold for the printer to operate
After multiple failed prints and many lost hours, I came to the conclusion that the printer had some error and would need to be fixed. So I moved on to a different printer downstairs and finally was able to pick up my print after 42 hrs of trial and error with failed prints.
At the same time as the prints were printing, I started to work on the stepper motor components. I decided to use magnets to create a vortex/stirring motion within the art installation. I was thinking of how bacteria is incubated at a constant circular shaking motion and also how we use a similar technique to dissolve support from stratysis j22 3D prints.
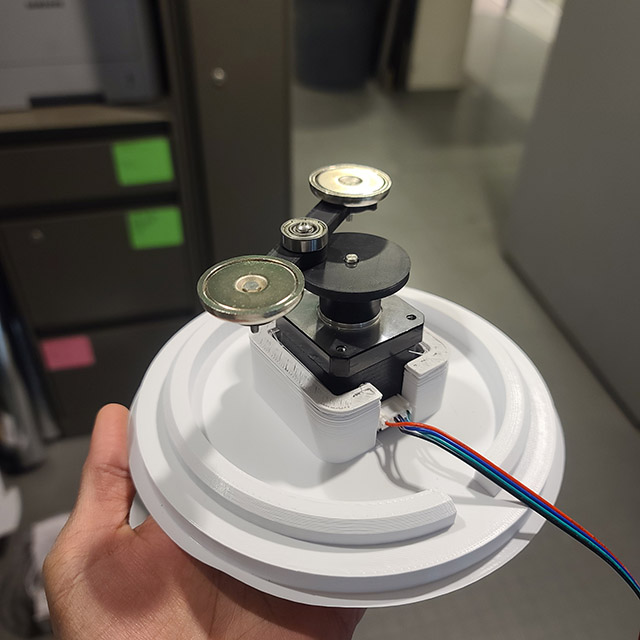
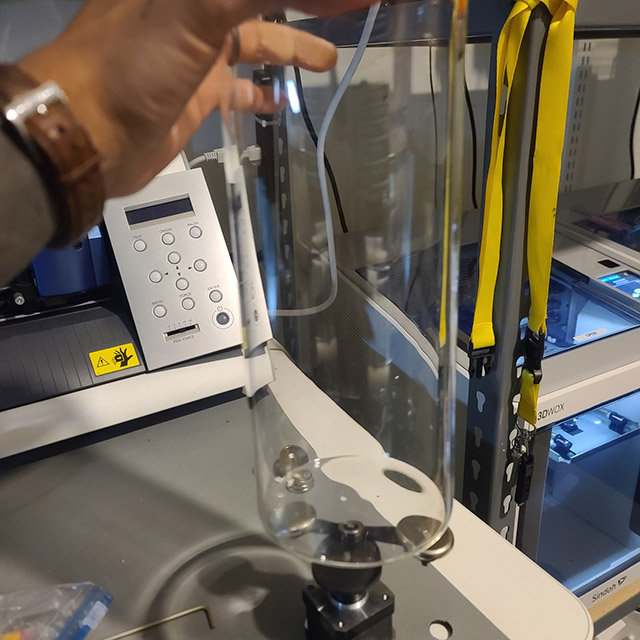
Previously I have made a somewhat hello world version of a stepper motor controller for output design week. So for this final project I decided to make a more involved version that had a different switch component, an LED pin out for controlling serial LED, and some pins for creating a capacitive touch stress ball. I wanted to create an interface where the input from the stressball would change the light in the installation. As in, the harder someone squeezes, the more red or aggitated the system's colors become. Thats one of the two input output combination on my design. The second one is the input coming from my tattooing. My plan was to use contact switches attached to the foot pedal of my tattoo machine so that once the foot is engaged, the installation starts to move at increasingly higher speeds.
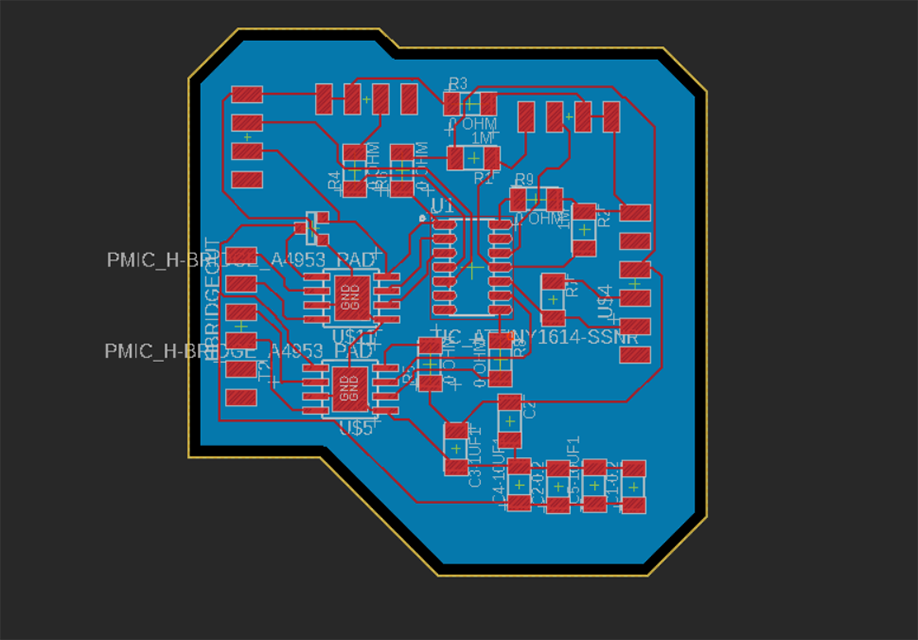
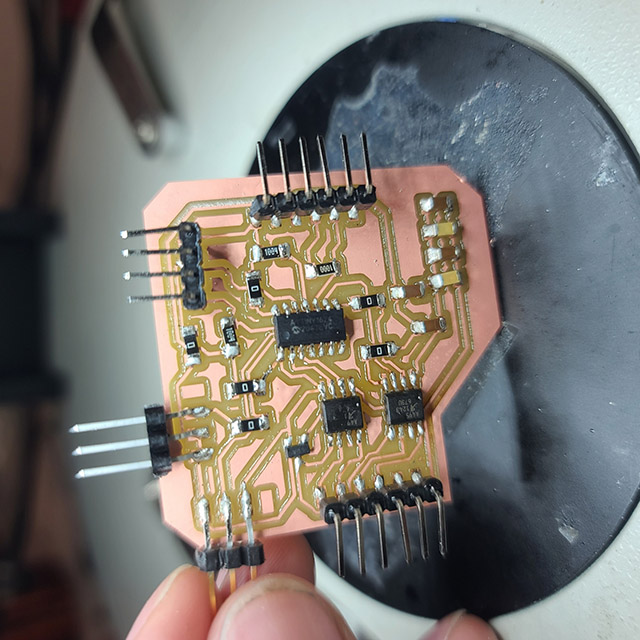
Needless to say, my board would not fully power the stepper motors. It would get a slight touch of power but I could not get the motor to do what I would ask it to do. I tried countless things in desperate attempts to get the board to work but it just would not cooperate. The schematic is very closely based on the previous one I made which was working fine, but for some reason this would not realiably control the motor.
It was doing all sorts of funky things such as moving on its own and swithing speed and direction constantly as it deemed fit. It was as though the stepper had gone rogue. I tried switching out multiple components in an attempt to debug and trouble shoot, a process in which I ended up destroying my older plate that was previously working.
However the sad story is that it still did not work!
Another couple of all nighters in, I decided to abandon that ship and go back to the older pcb that had worked in the past and just re soldered the parts I damaged before.
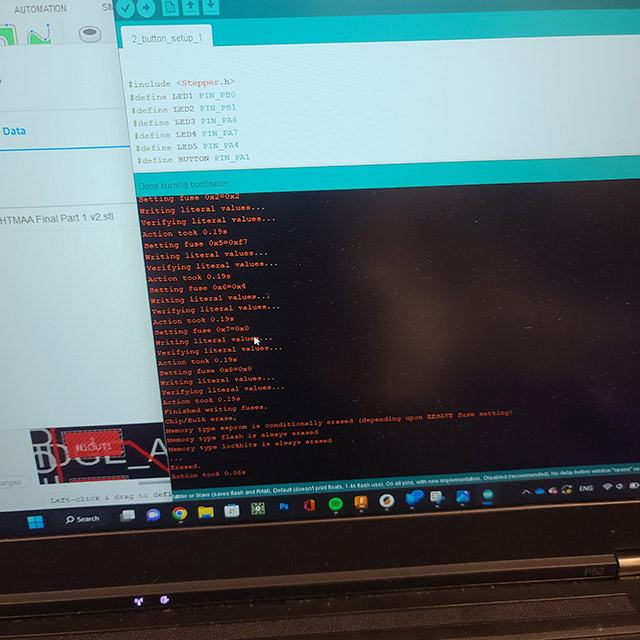
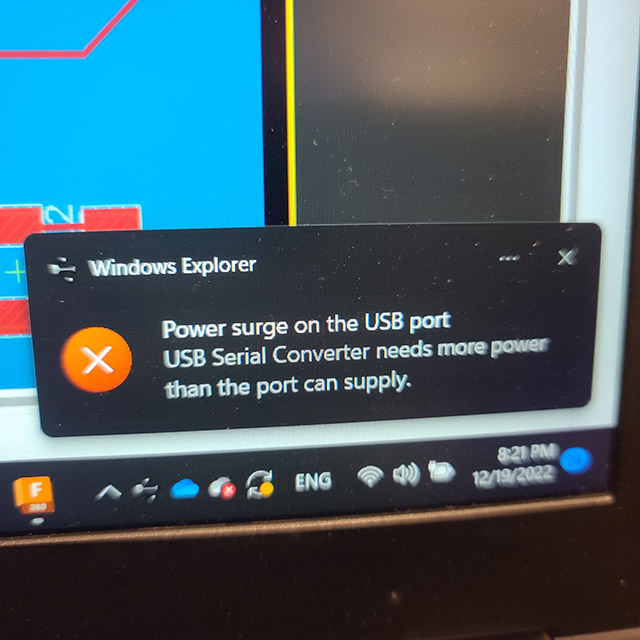
I decided to put things together even though the project isnt complete. After many all nighters, it felt like the appropriate choice to make. Currently the final project has only one component. a switch that turns a stepper motor with increasingly highter sppeds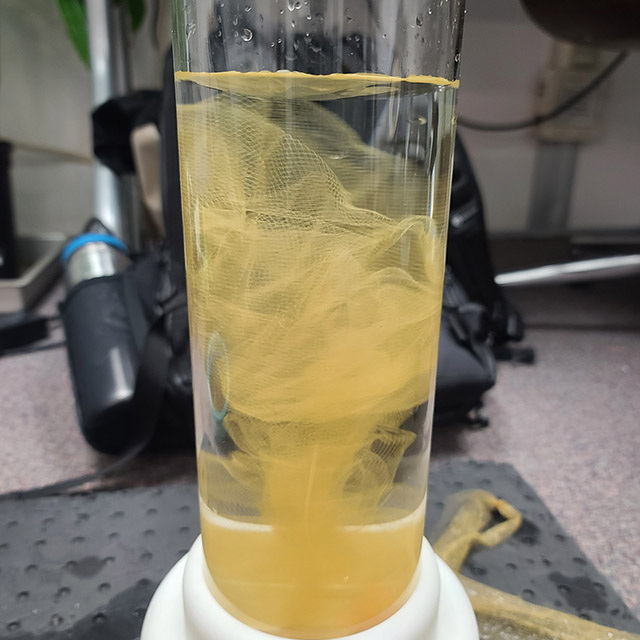
In total I have probably spent around 30 to 50 dollars on parts, however I do wonder how many parts we ended up throught away and discarding because the wall to the ground or that it wasnt the right component or various other reasons for missing or throwing away components that are not useful to us or is a hasle to put back into its designated location. This idea of waste is an interesting one and I habe tried my best to put things back and only take what I need. But I am sure a lot of parts got wasted if we account for all the people who are in the class.
In Conclusion: my evaluation criteria for myself is that I kept at it despite the countless failures and if there is anything I take away from this class, it is to fail gracefully and learn and keep pushing. And also to lower expectations of what what is possible the in the short amount of time when learning a new skill.
All in all, this class has been a tremendous learning experience and I am certain I will feel atleast somewhat familiar with concepts of digital fabrication in the context of my research and art practice.
created with
Website Design Software .