Week 6: Embedded Programming
UGHHHHHHHHHHHHHHHH
This week I had planned to finally get the PCB I designed during week 4 to light up in blinking patterns.
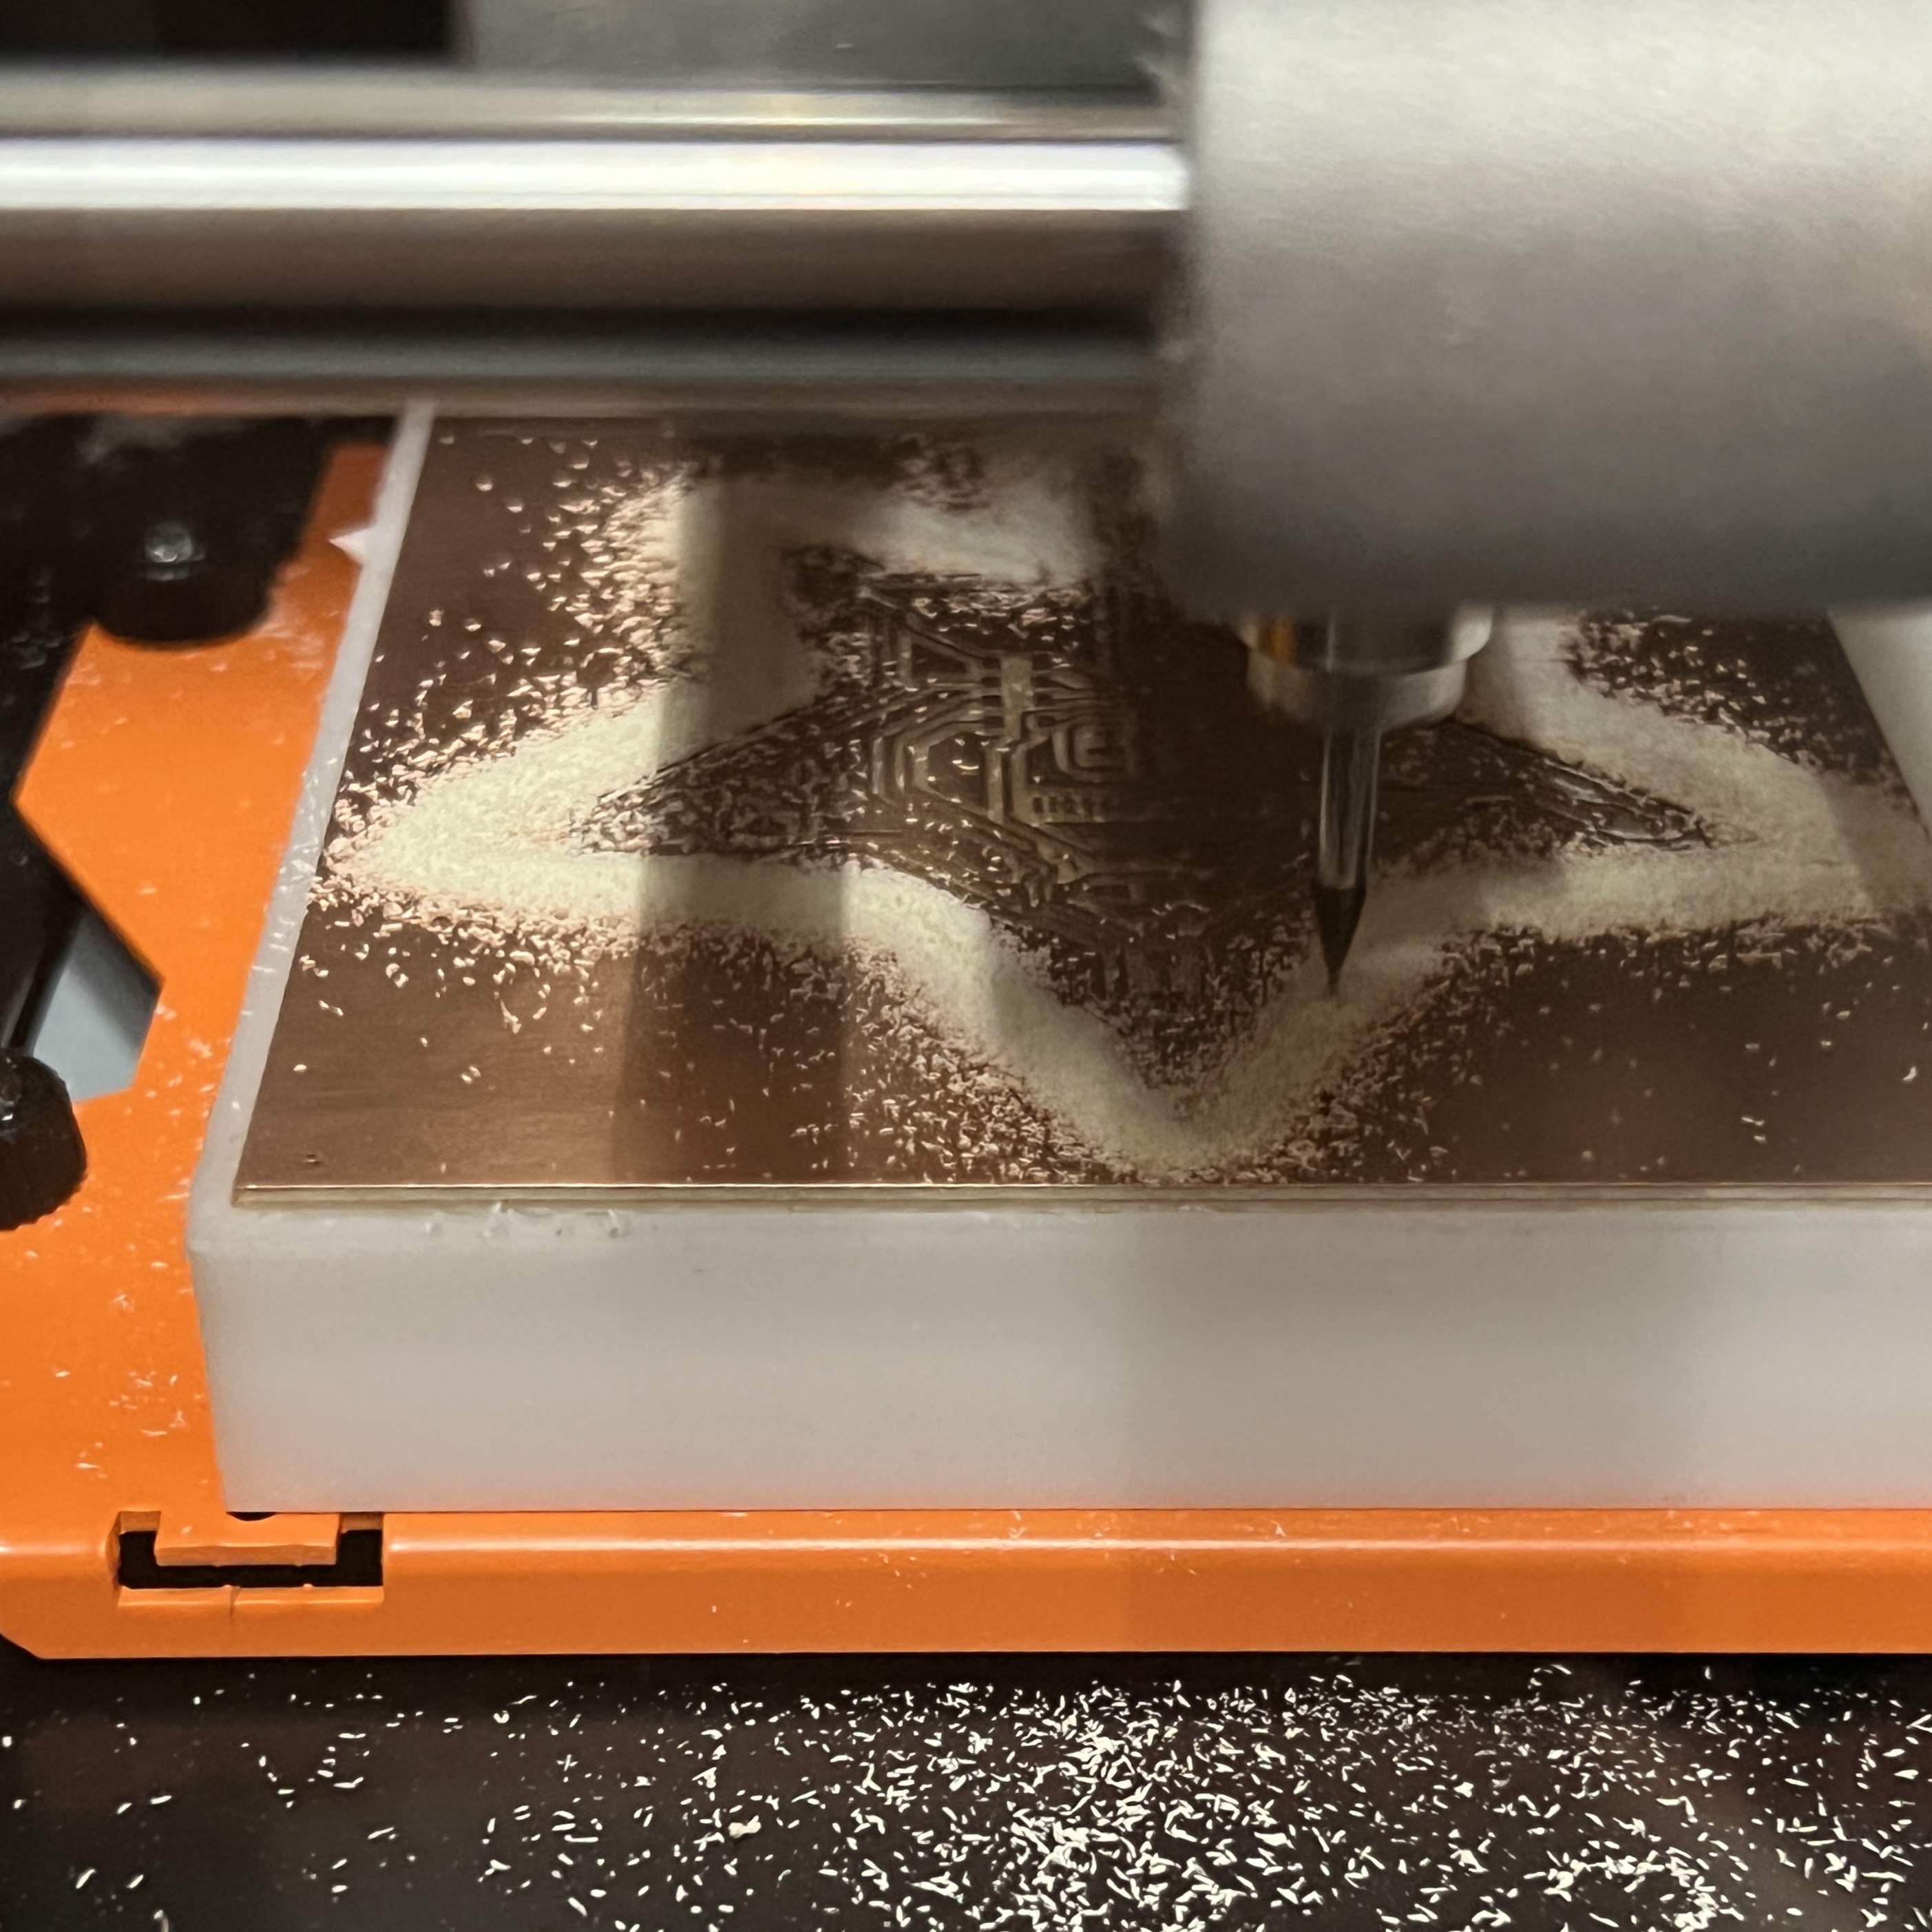
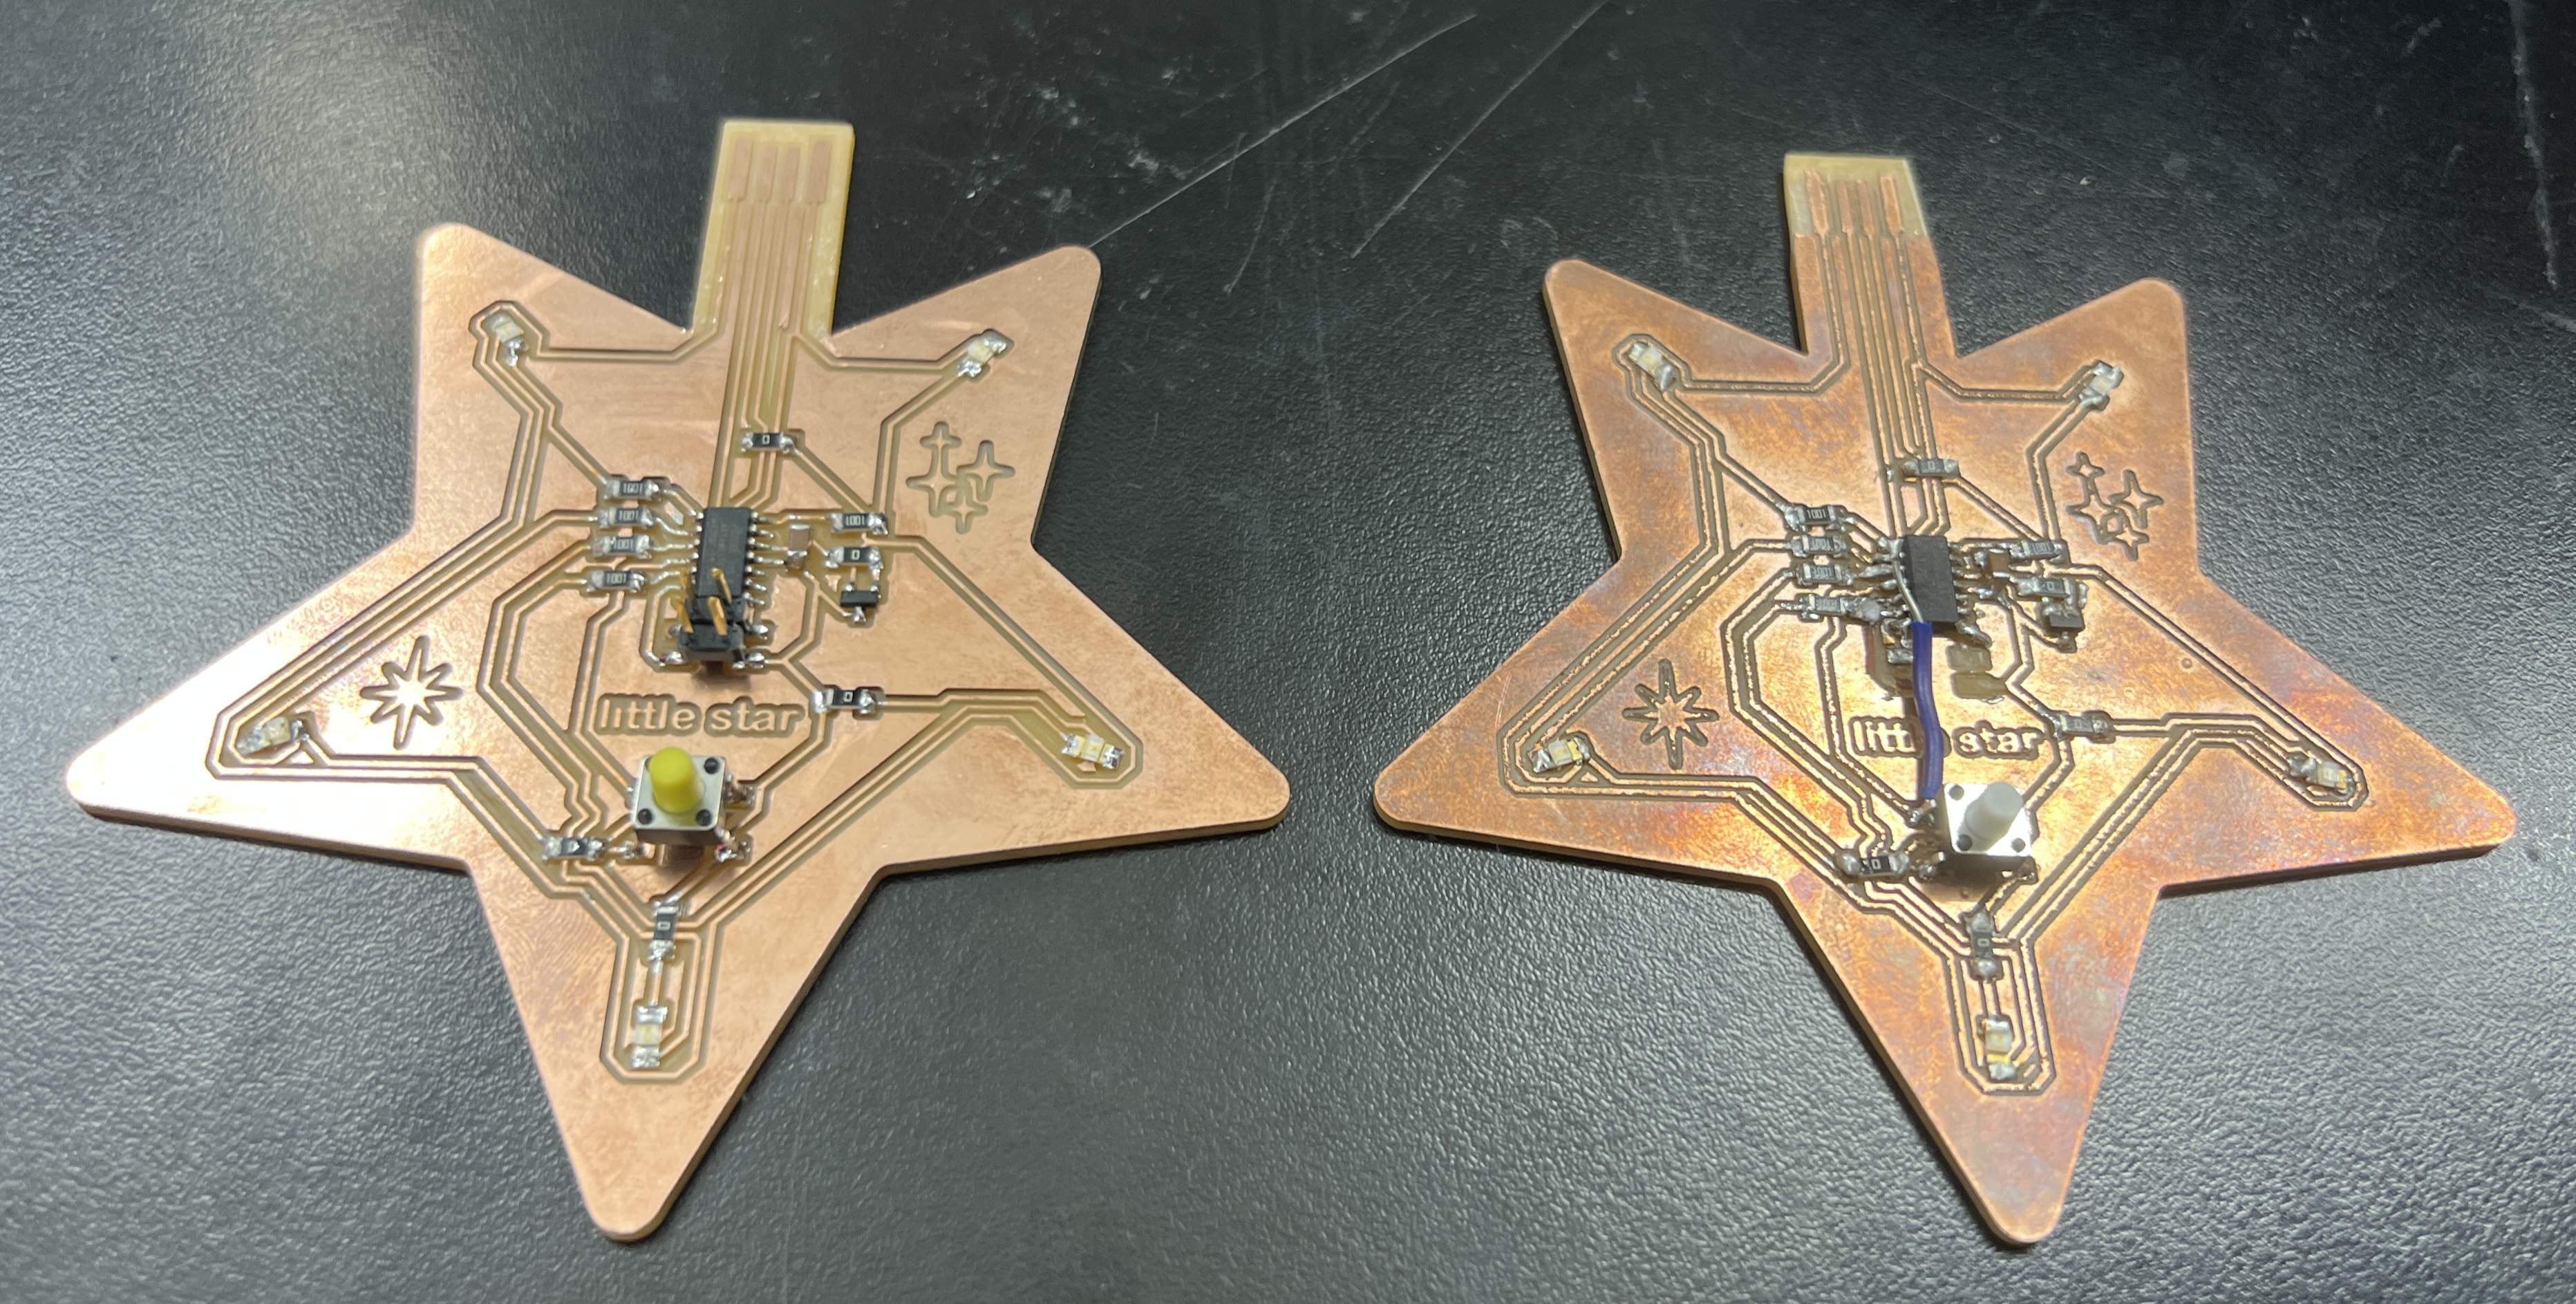
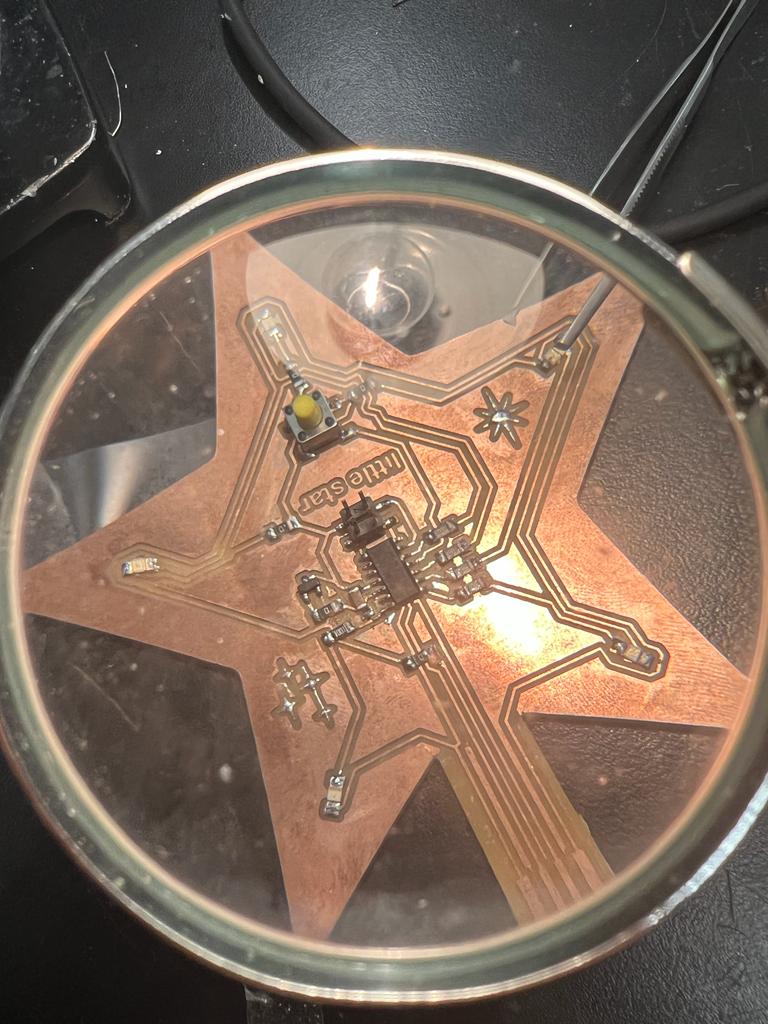
I went ahead and re-milled and soldered a new board because my old one was rusty and poorly soldered (I've evolved since then). PRO TIP: some say to wash the board with soap and water before soldering to make it shiny, I found that it just makes it oxidize faster and look rusty. Guess which is the old and new board below:
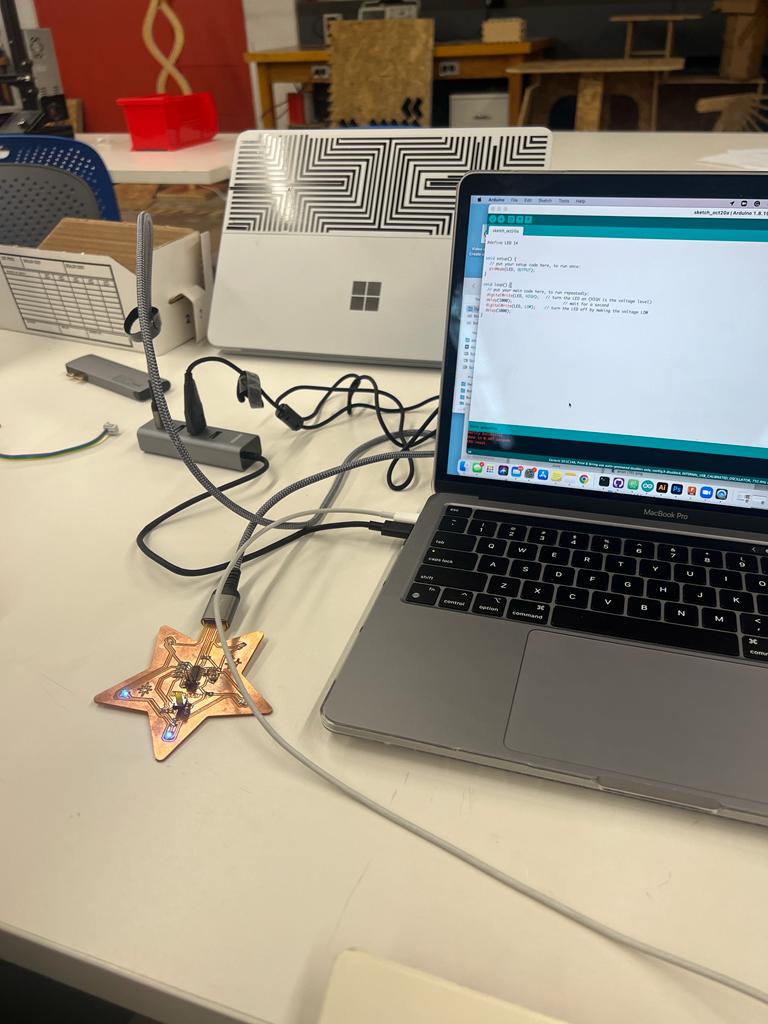
My initial soldering looked so perfect that I was deceived into believing I could program it easily. Spoiler alert: I was wrong. I began attempting to program it using Leo's guide linked here.
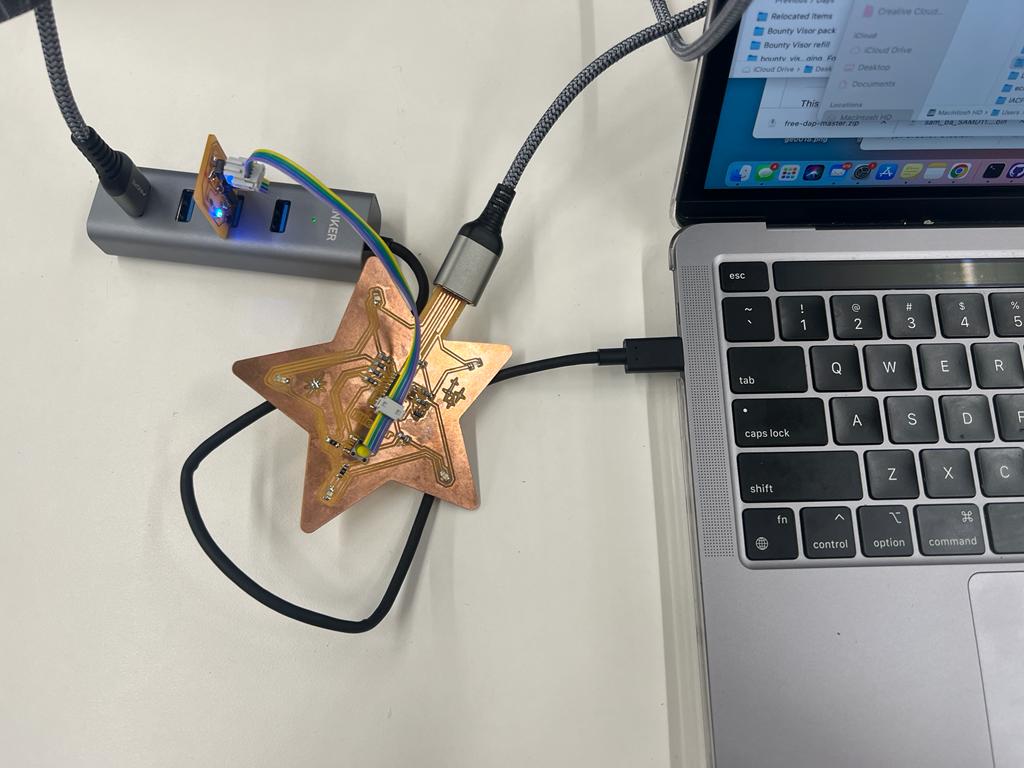
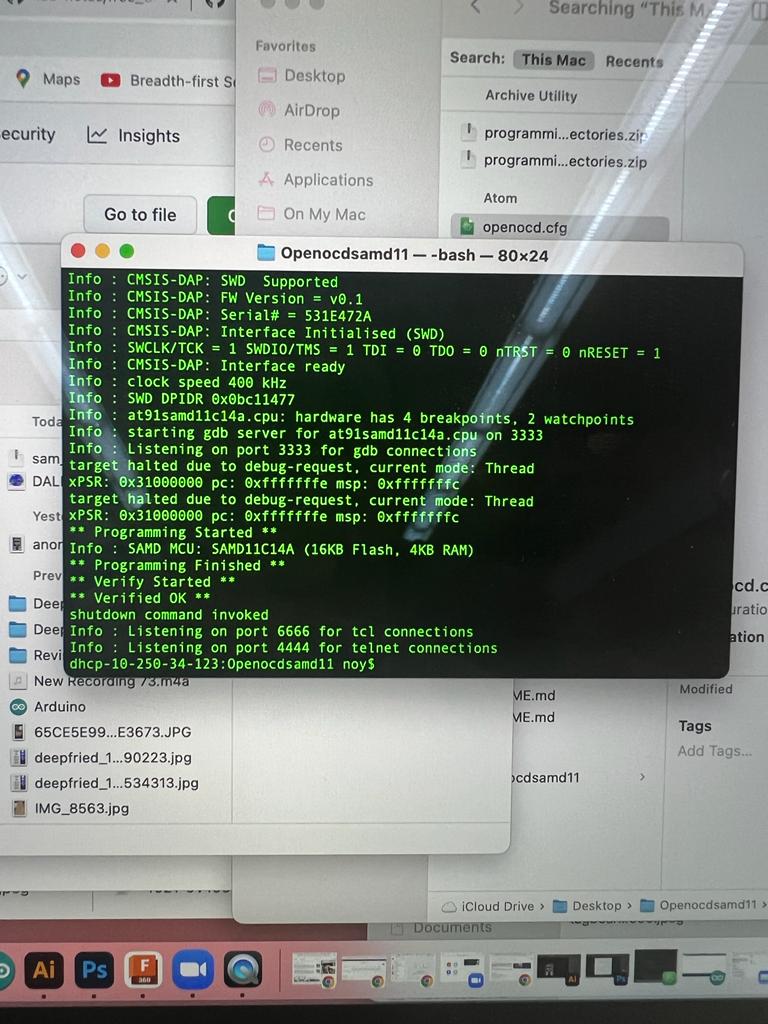
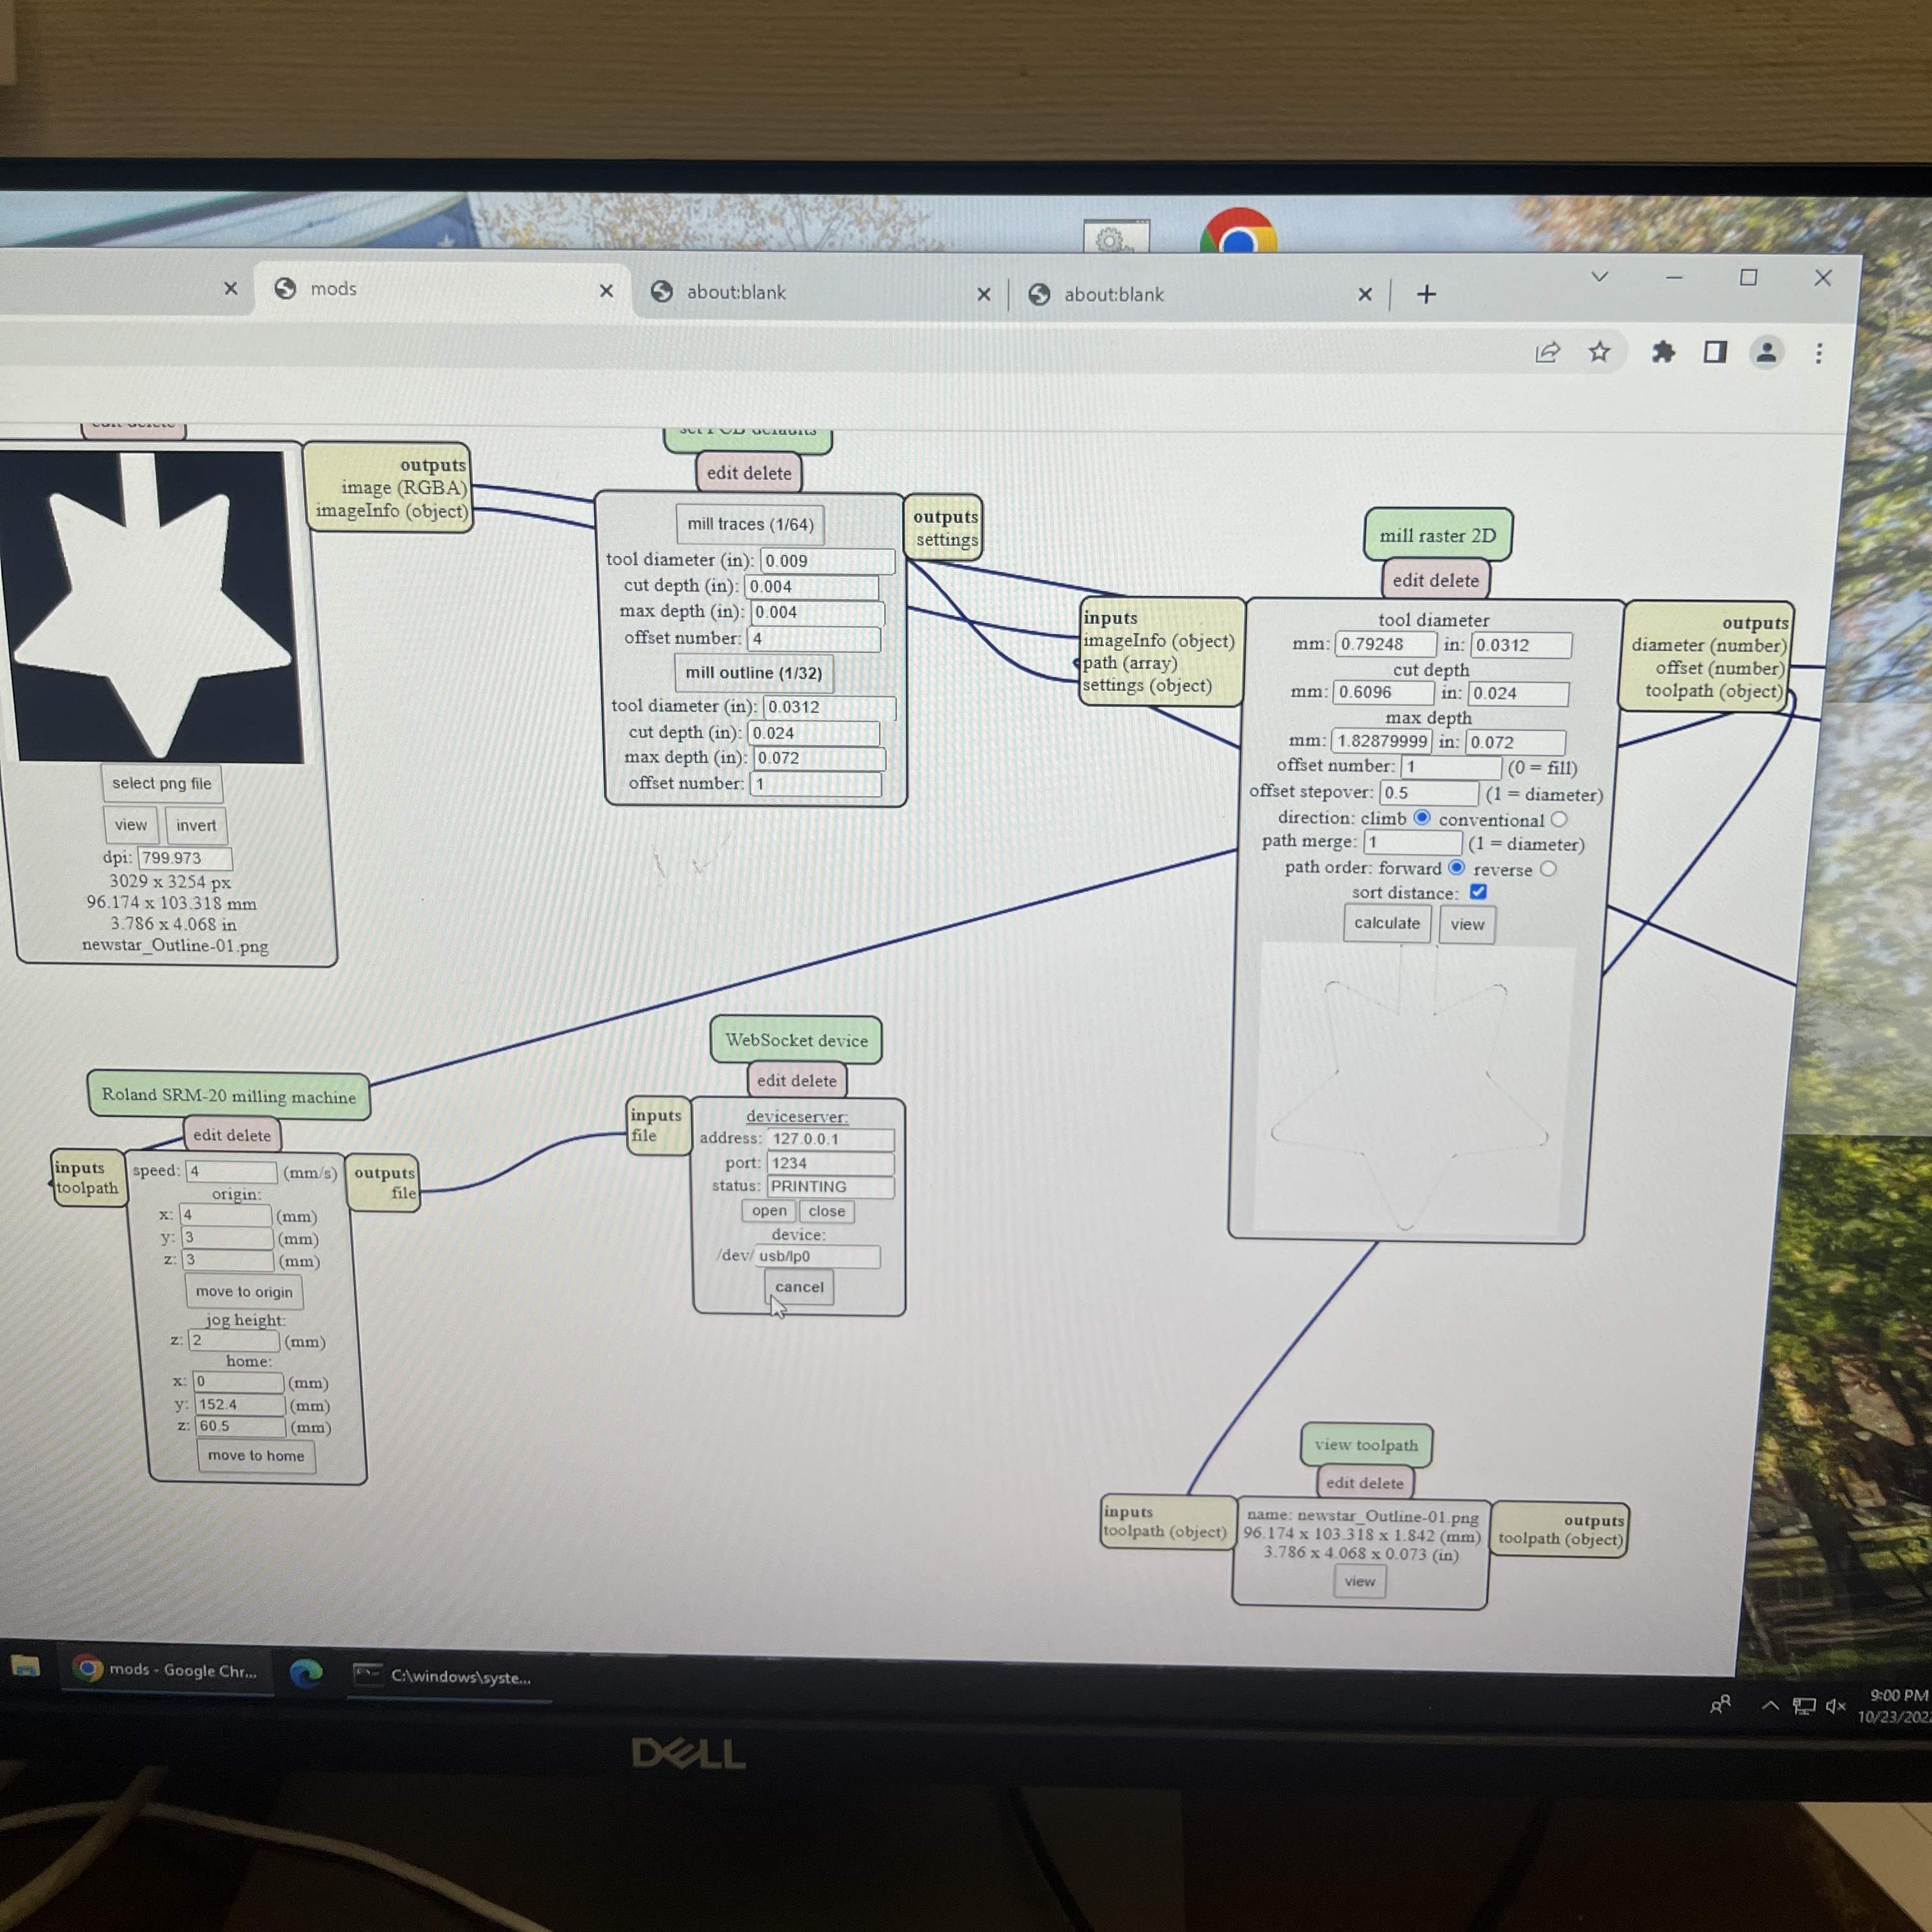
Because I was using a 2x2 header on my board, I had to use a 2x2 pin header programmer and make a 2x2 bootloader cable using wire and female header clamps. Once that was done, I connected the two and plugged them in. I then flashed the board using openocd. It took a couple tries to get the computer to recognize my usb. I layered tape on the back of the usb part of the board to add width. I also installed lsusb as a command which made it much easier to see what was plugged into the computer. Once it was finally flashed I moved onto programming in Arduino ->
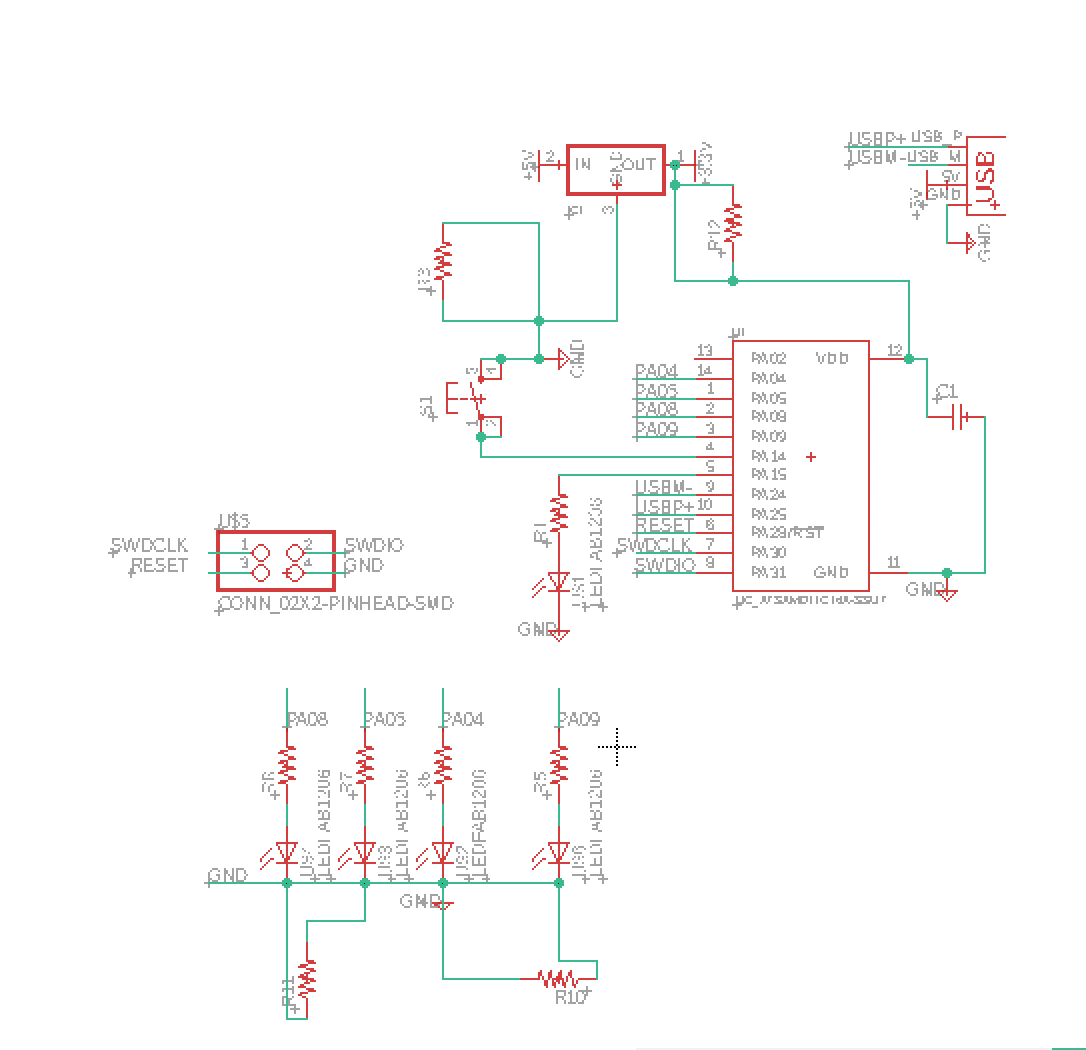
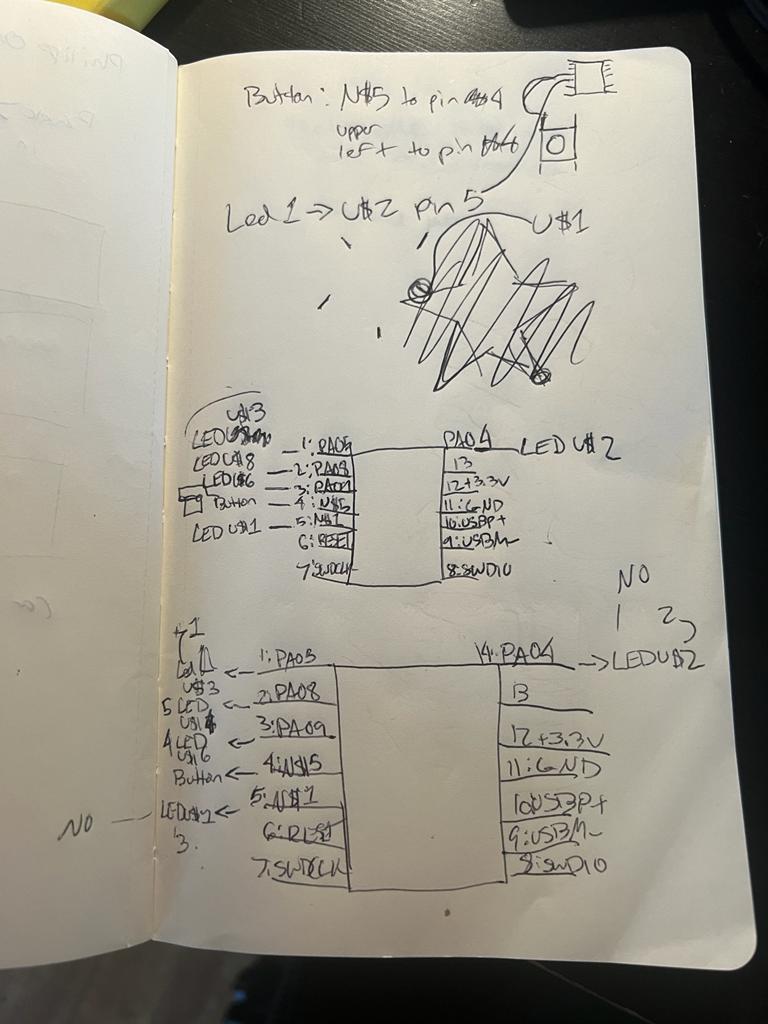
Just kidding. before programming in Arduino, I made a diagram so I knew exactly which pins on the microcontroller the LEDs and button connected to (for reference I used the SAMD11C, although many others used the SAMD21).
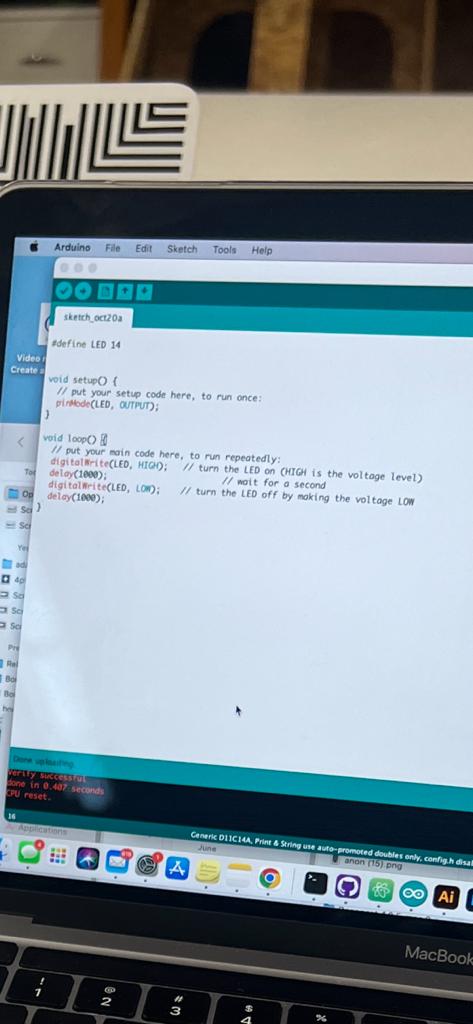
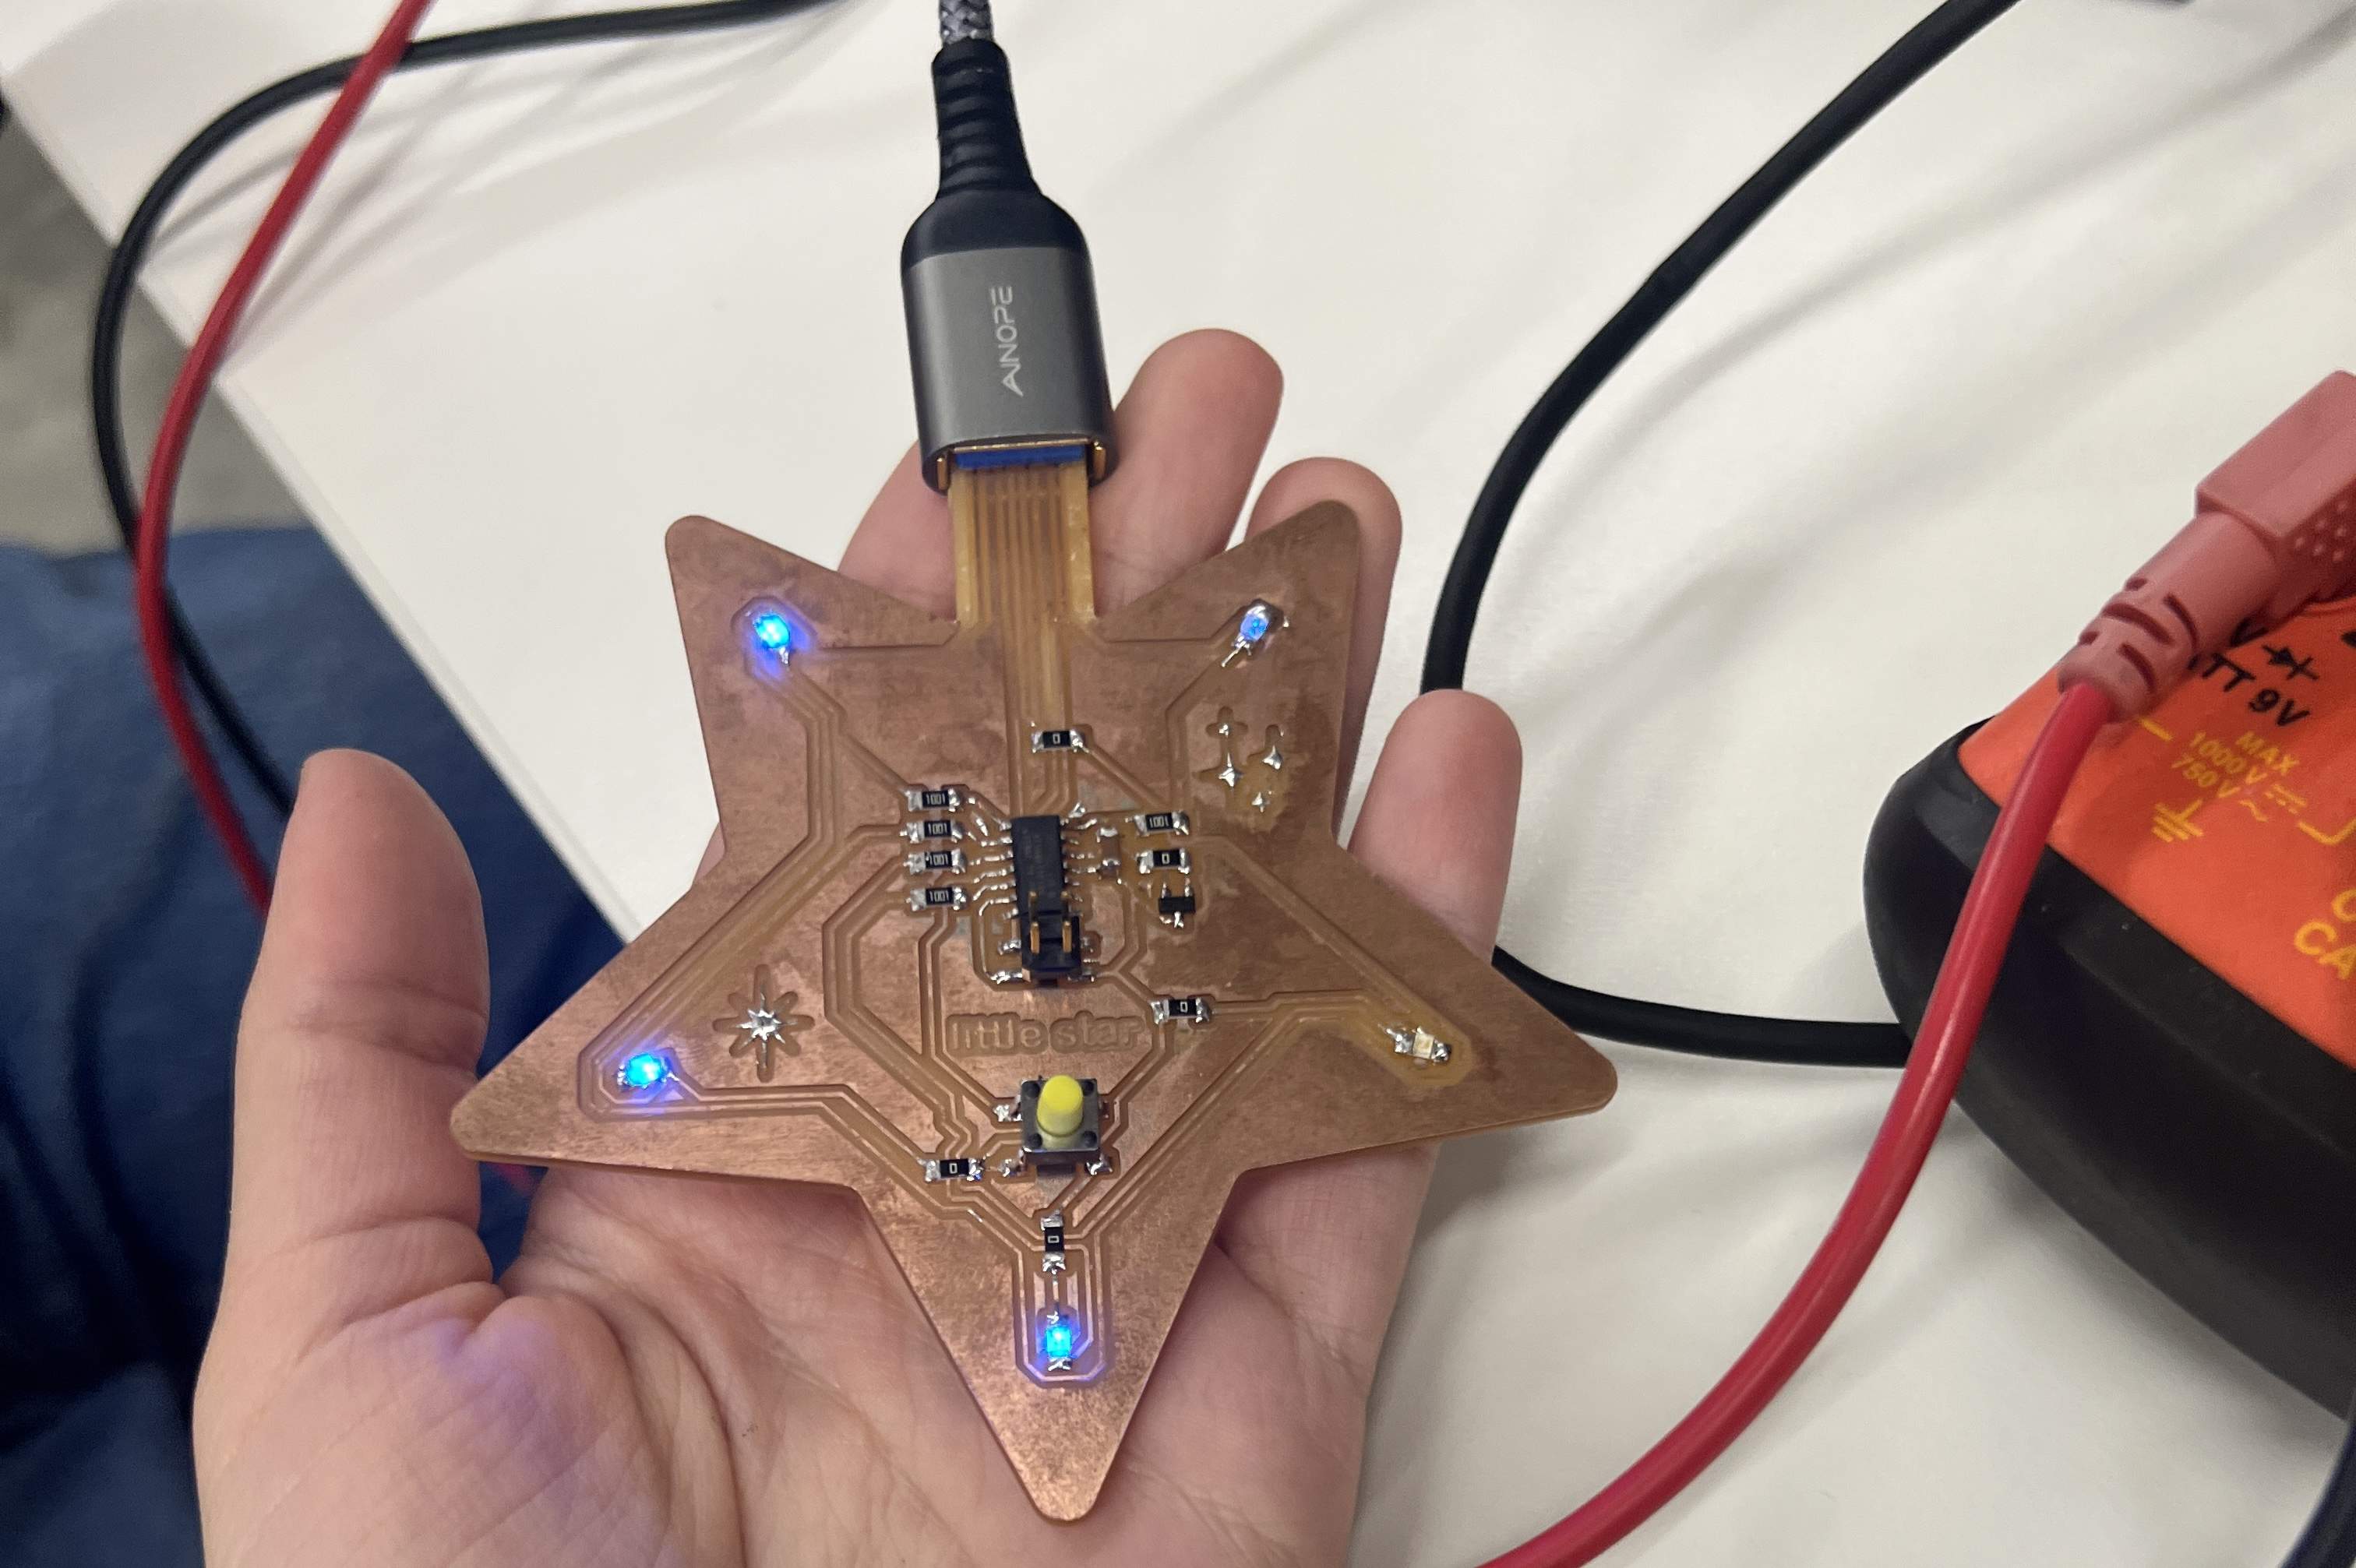
In the code, I defined my pins and wrote it to get the leds to blink. They did not do that, instead the leds simply lit up. I was very gleeful about this achievement until I realized they were not doing what I wanted them to do. I changed the code a bit and checked my pins again and again. They all looked fine. I began my 5 hour dive into troubleshooting and iterating. I wish I could document this process better but honestly I think I blacked out.
For example, in one of my troubleshooting iterations, I used the buzzy machine thing (forgetting what its called right now) to check if there was a short. thought there might have been a short at LED 2 and 3. So I took them off and resoldered them on, I plugged in the board and it still didn't work. I changed the code and it still didn't work. I checked I had defined the correct pins AND IT STILL DIDN'T WORK.
Reader, I was losing my mind. I performed surgery on this board so many times and it kept misbehaving. The leds would blink when I wrote them to simply turn on. The wrong leds would turn on when I would take them out of the code. My child was behaving erratically and I was growing more and more dissapointed.

Eventually, I decided the best thing to do in that moment was to ignore it for a little while and see if anything changed. So I took a trip to Tasty Burger. When I came back and plugged my board in... It still didn't work. So I manically soldered the leds again. I ended up burning off a pad. PRO TIP: do not solder while in a fragile state.
UPDATE!
In class Neil informed us that the SAMD11 dtatasheet is confusing in terms of pin names and directed us to Quentin's samd11 diagram. I realized that this was probably what was wrong with my board. When I got home I changed the pin names in my Arduino code and it worked! Sadly, I had since fried my board so badly in all my attempts to debug through soldering. I could almost hear the poor thing whimper.