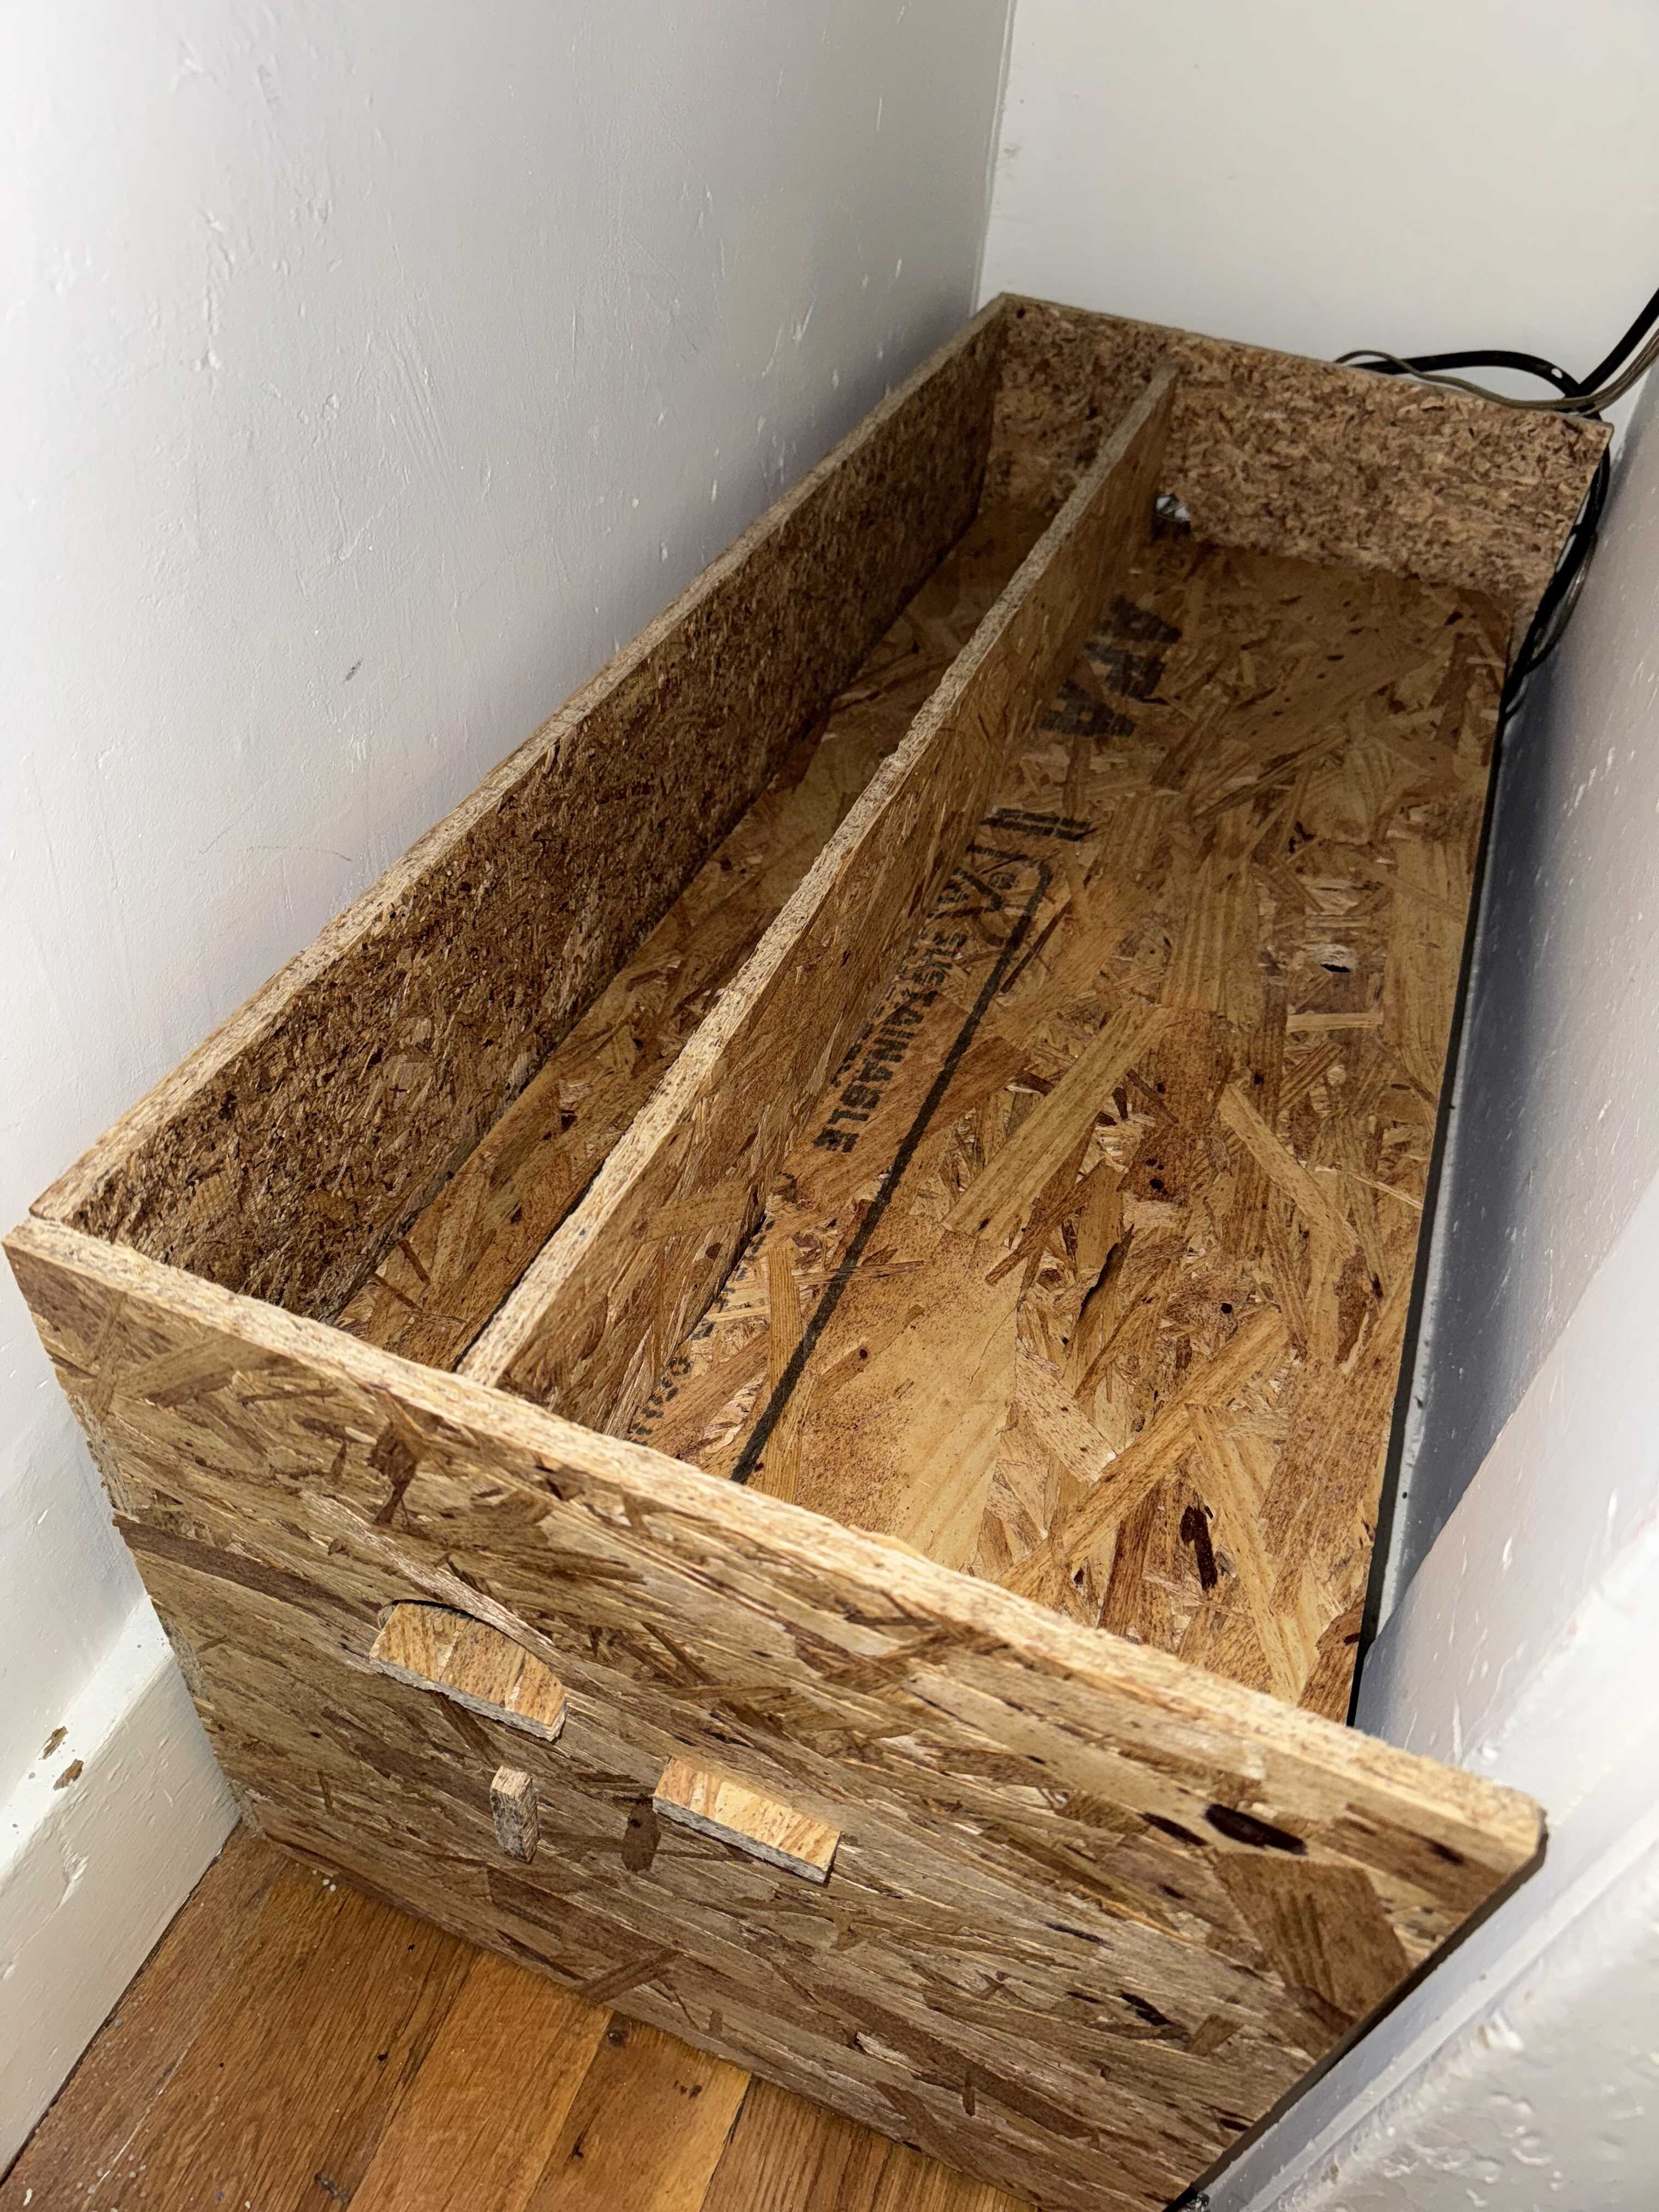
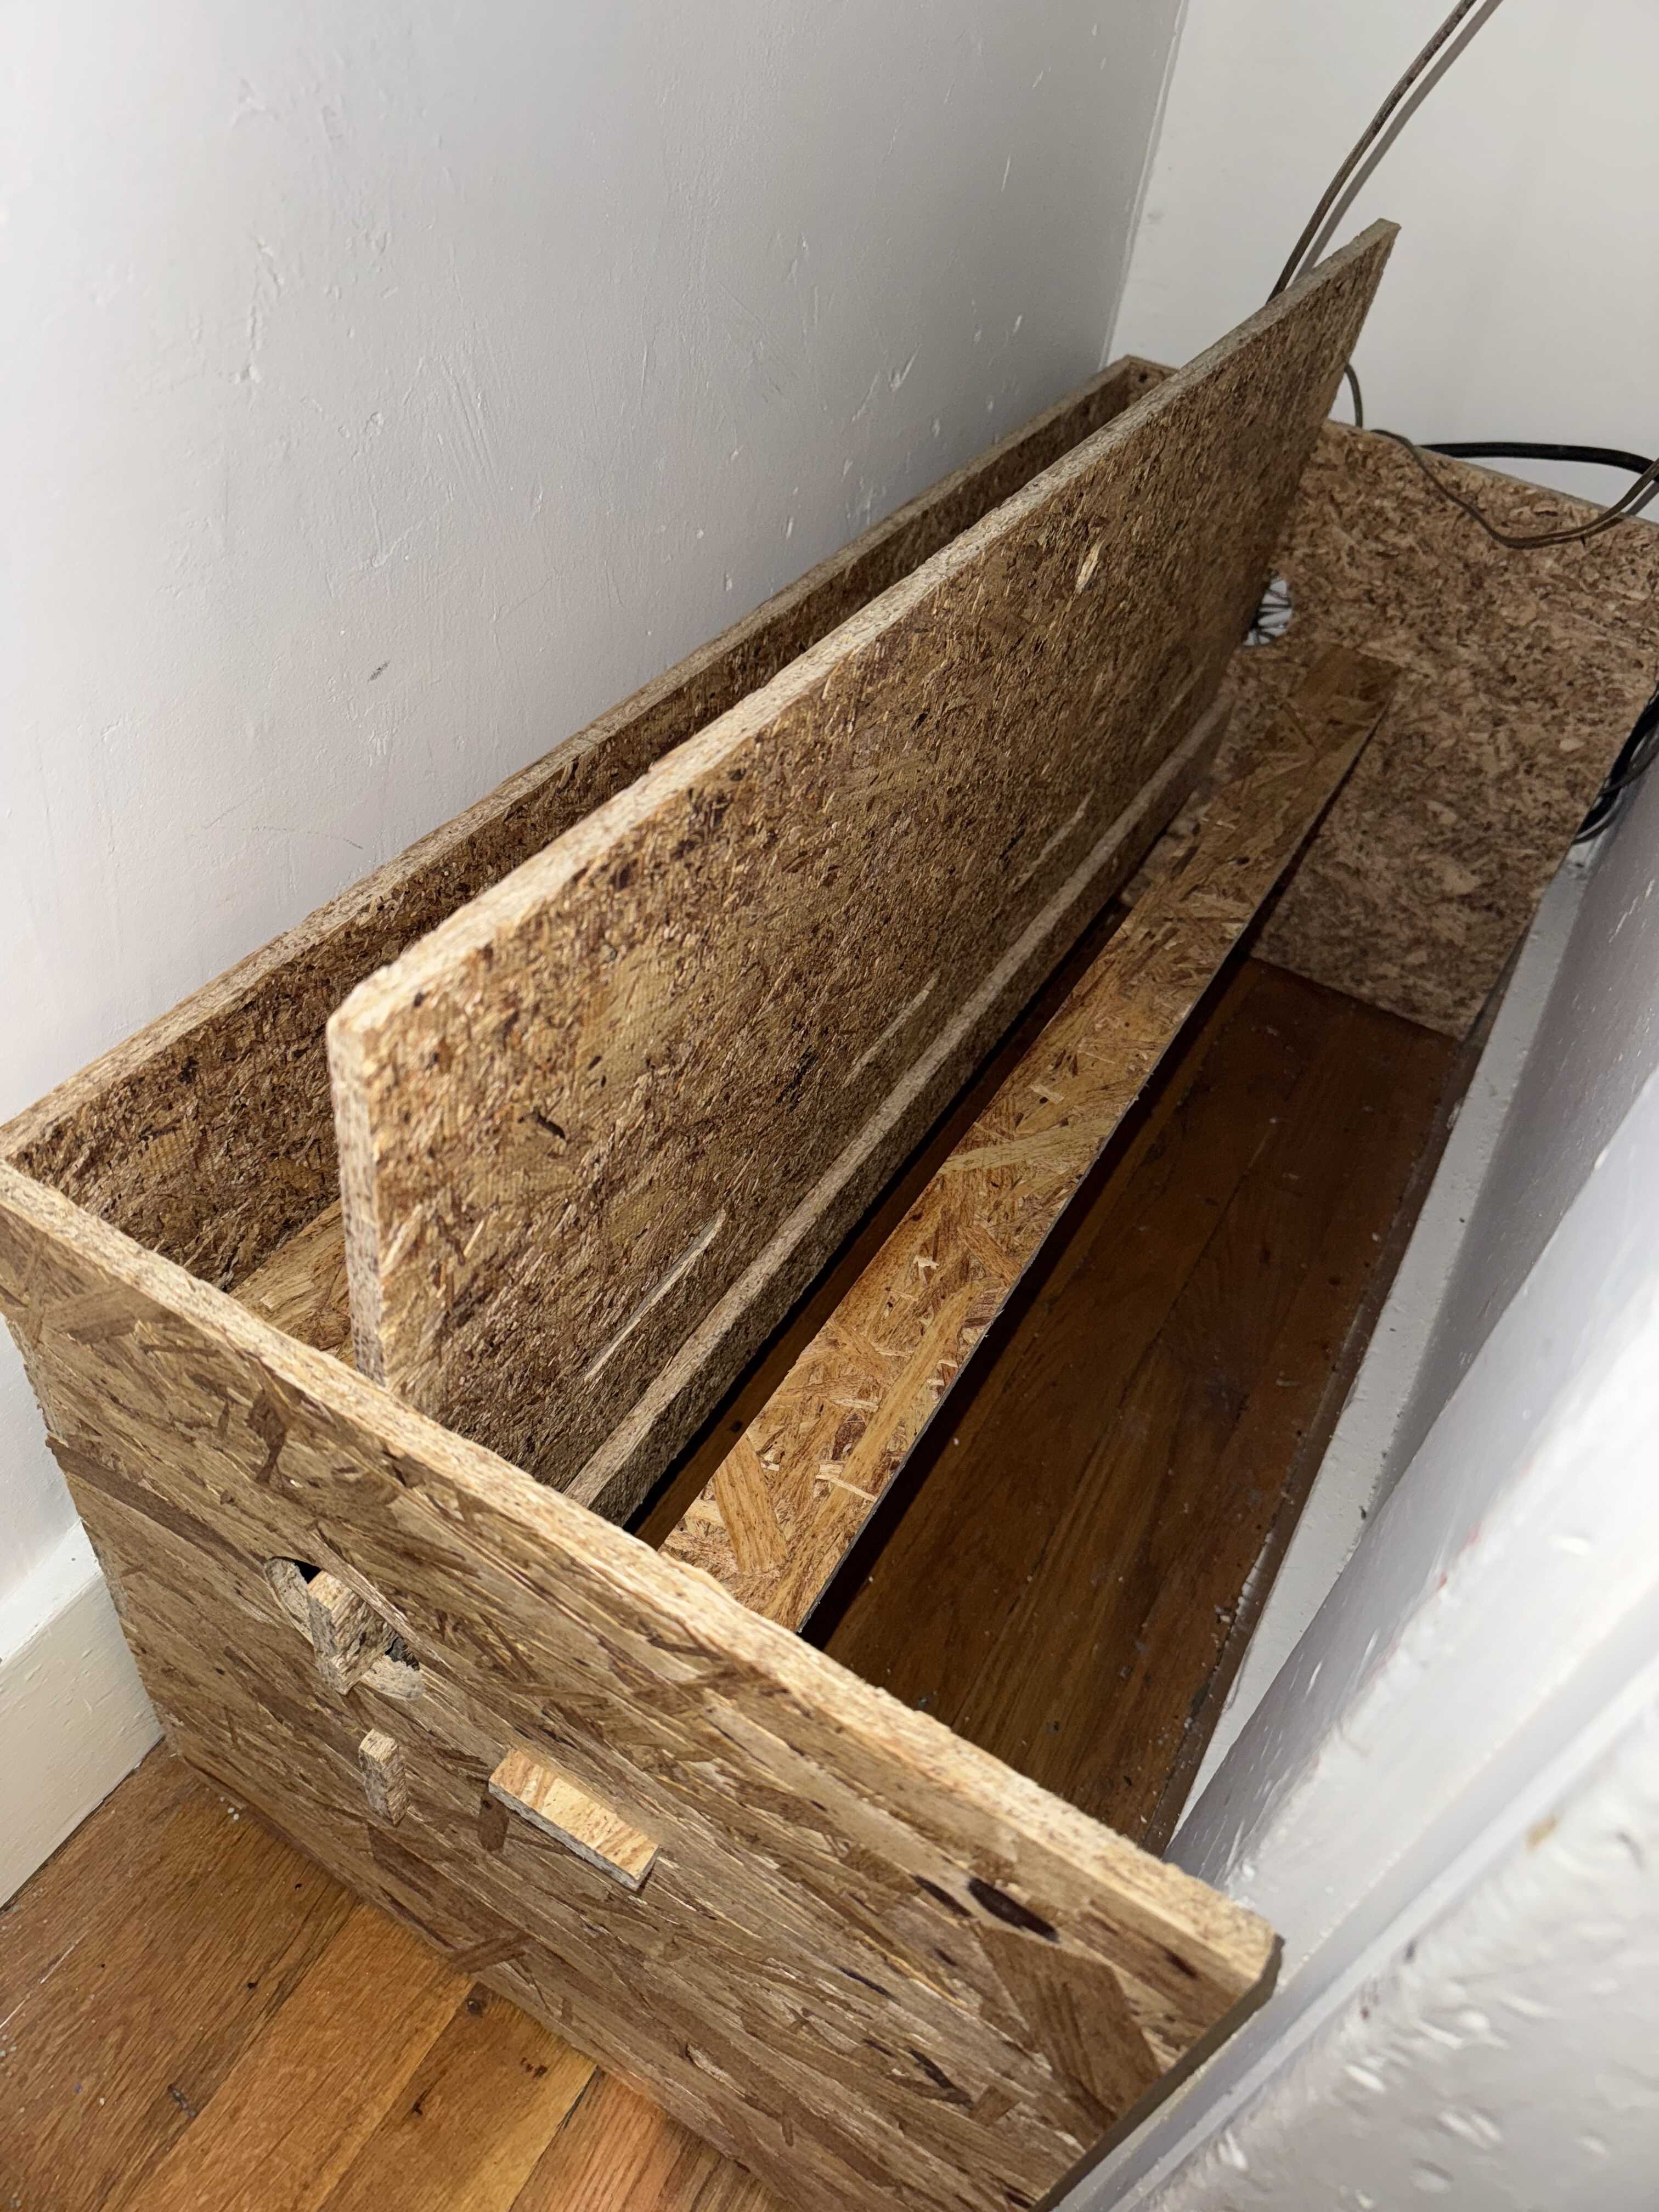
Week 7
Group Assignment
For the group assignment portion for the week, Saetbyeol, Huanyu, Sun, Eitan and I met with Dan, who trained us on the ShopBot.
Design Goal
For this week, instead of being creative, I chose to solve a problem in my house I’ve actually wanted to find a way to solve for a long time. We only have three closets in the entire place, and two of them are filled with test equipment, so all of our shoes live in this little thing:
As you can see in Figure 1, there are at least two layers of shoes, but only one layer of floor. Unfortunately, the depth of the closet is small enough that I haven’t been able to find a shelf that fits well while allowing for access to the lower level. So, I decided to make one.
Design
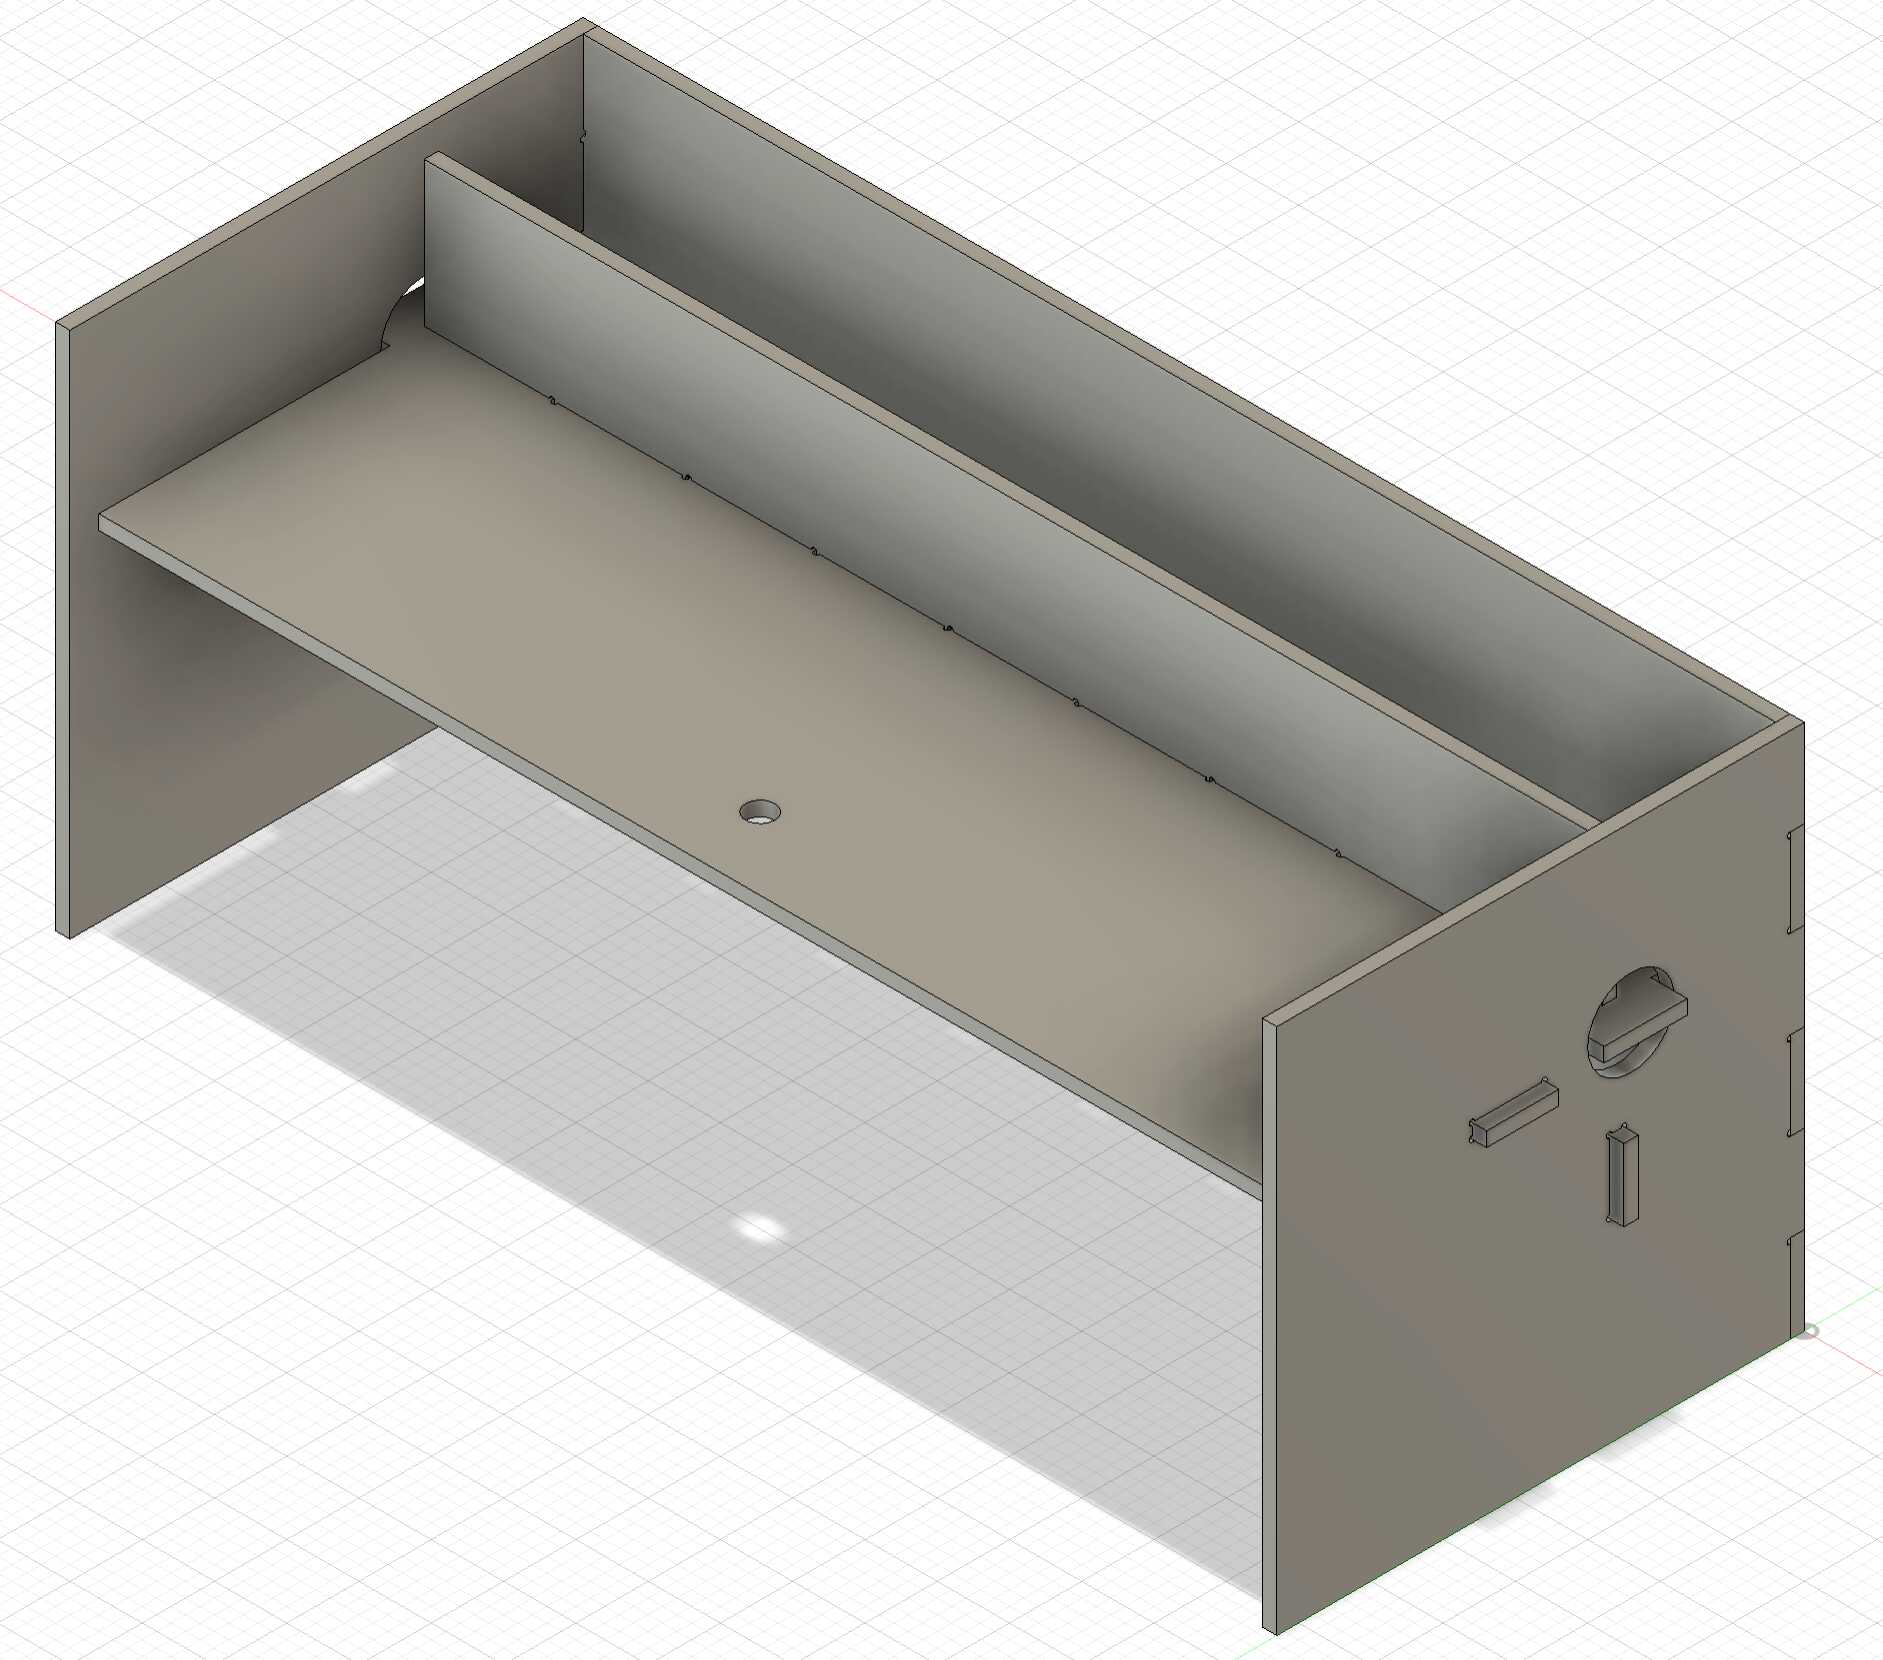
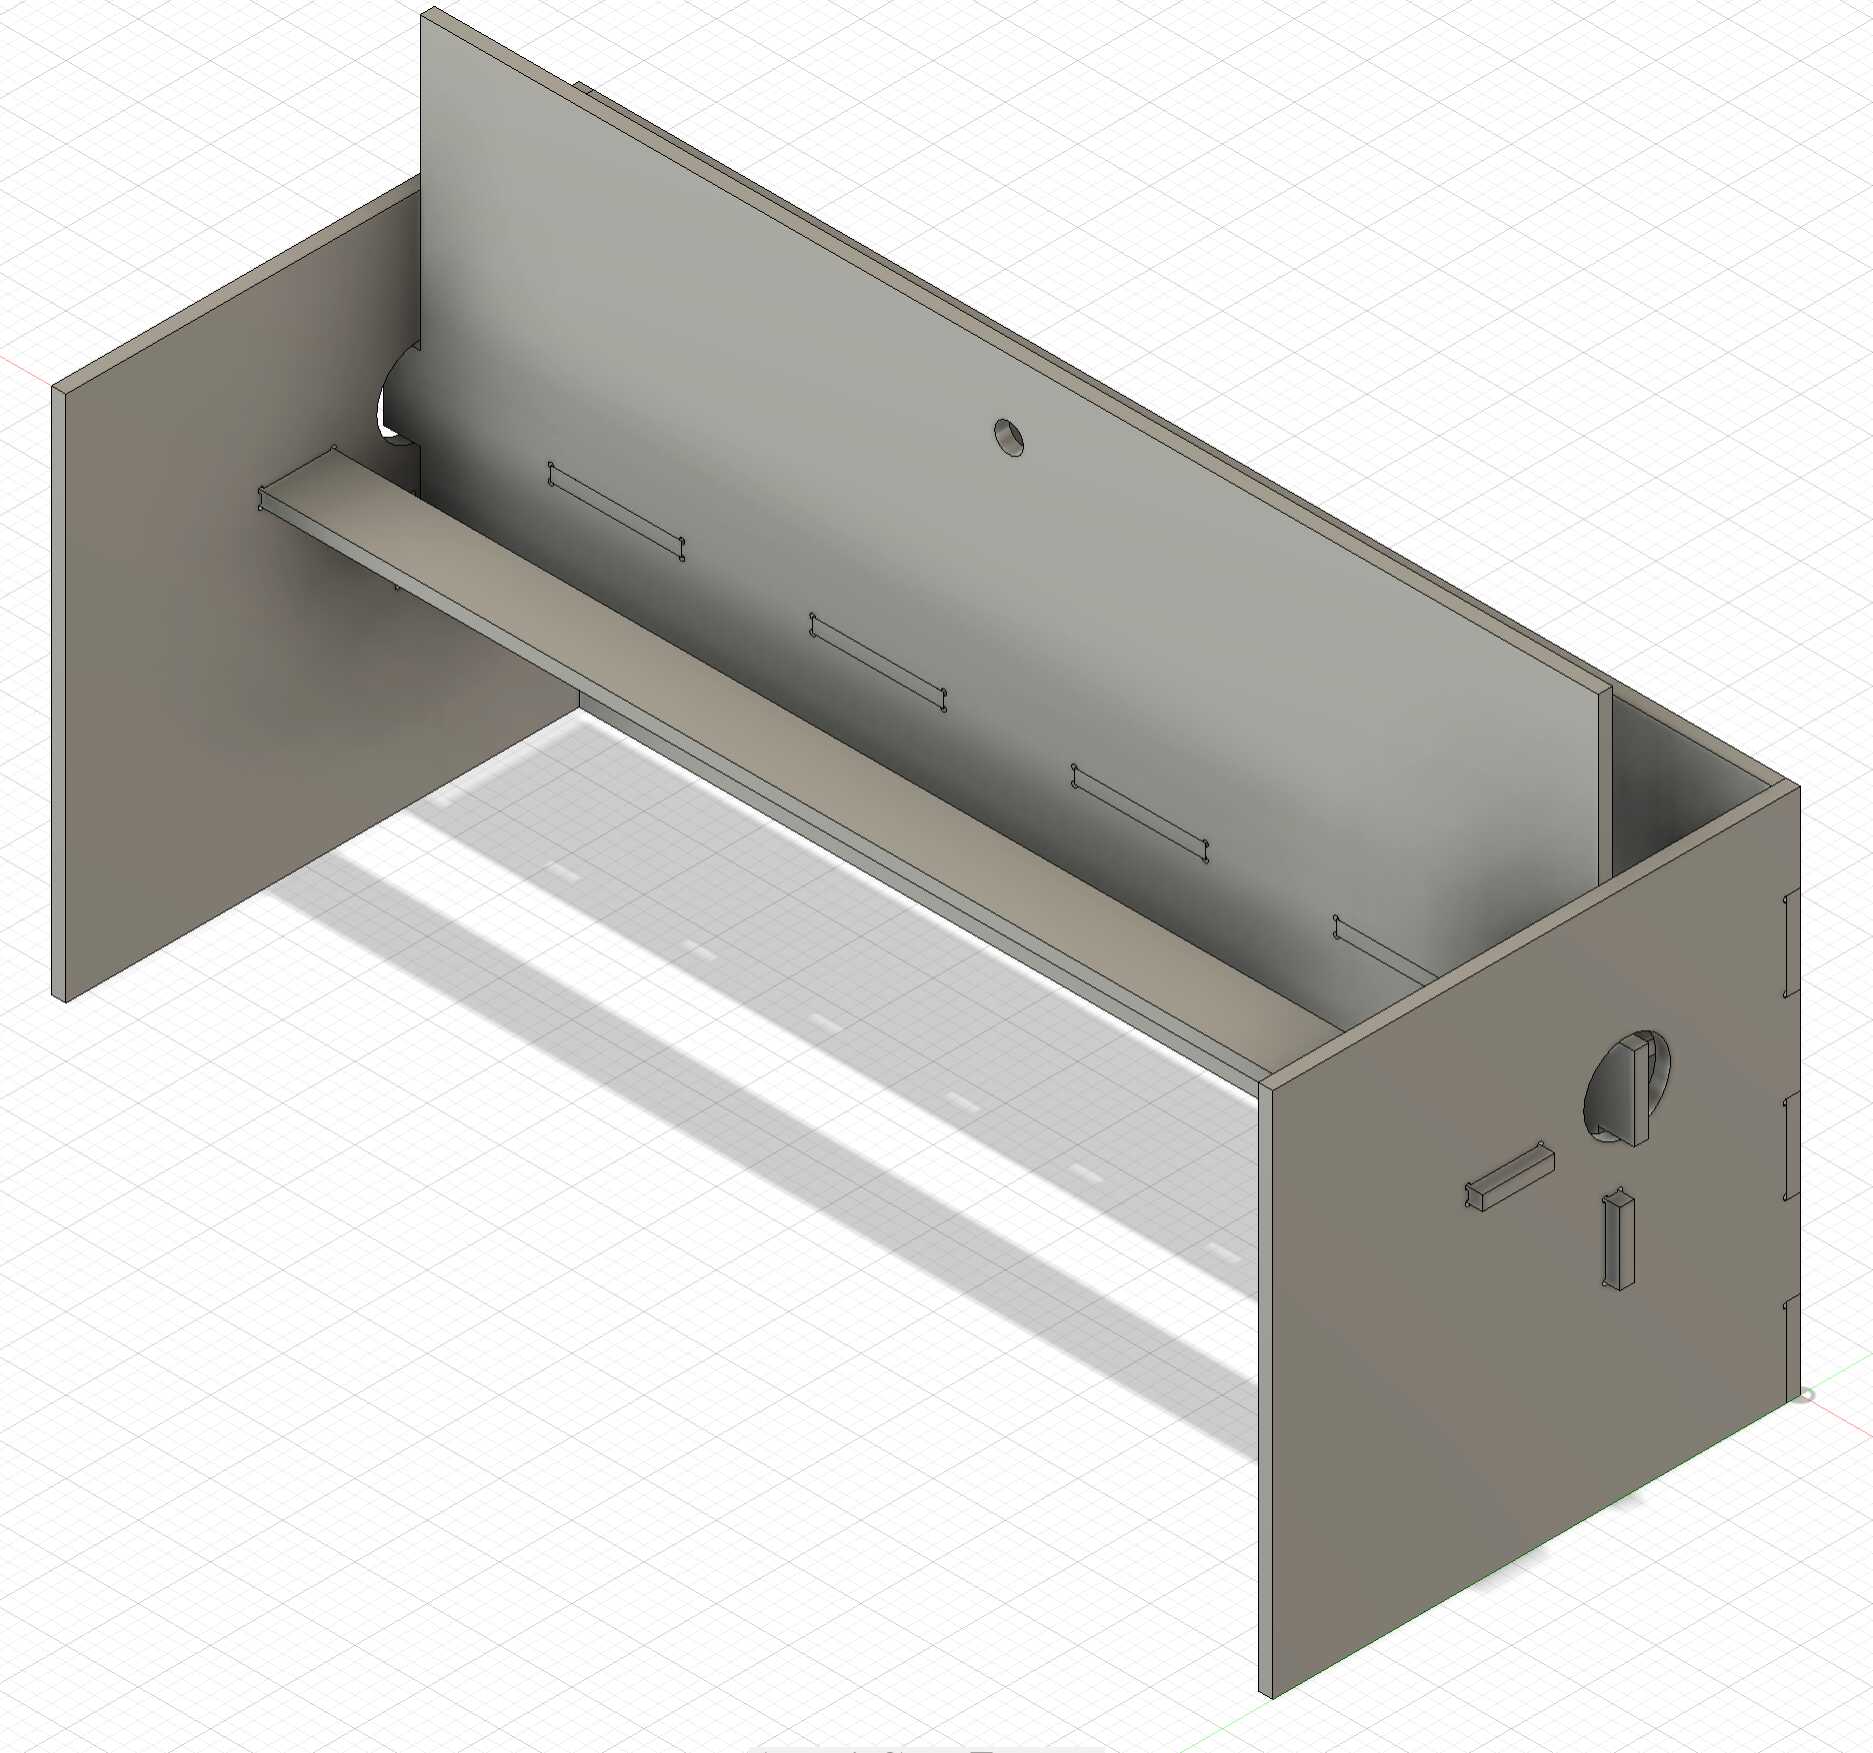
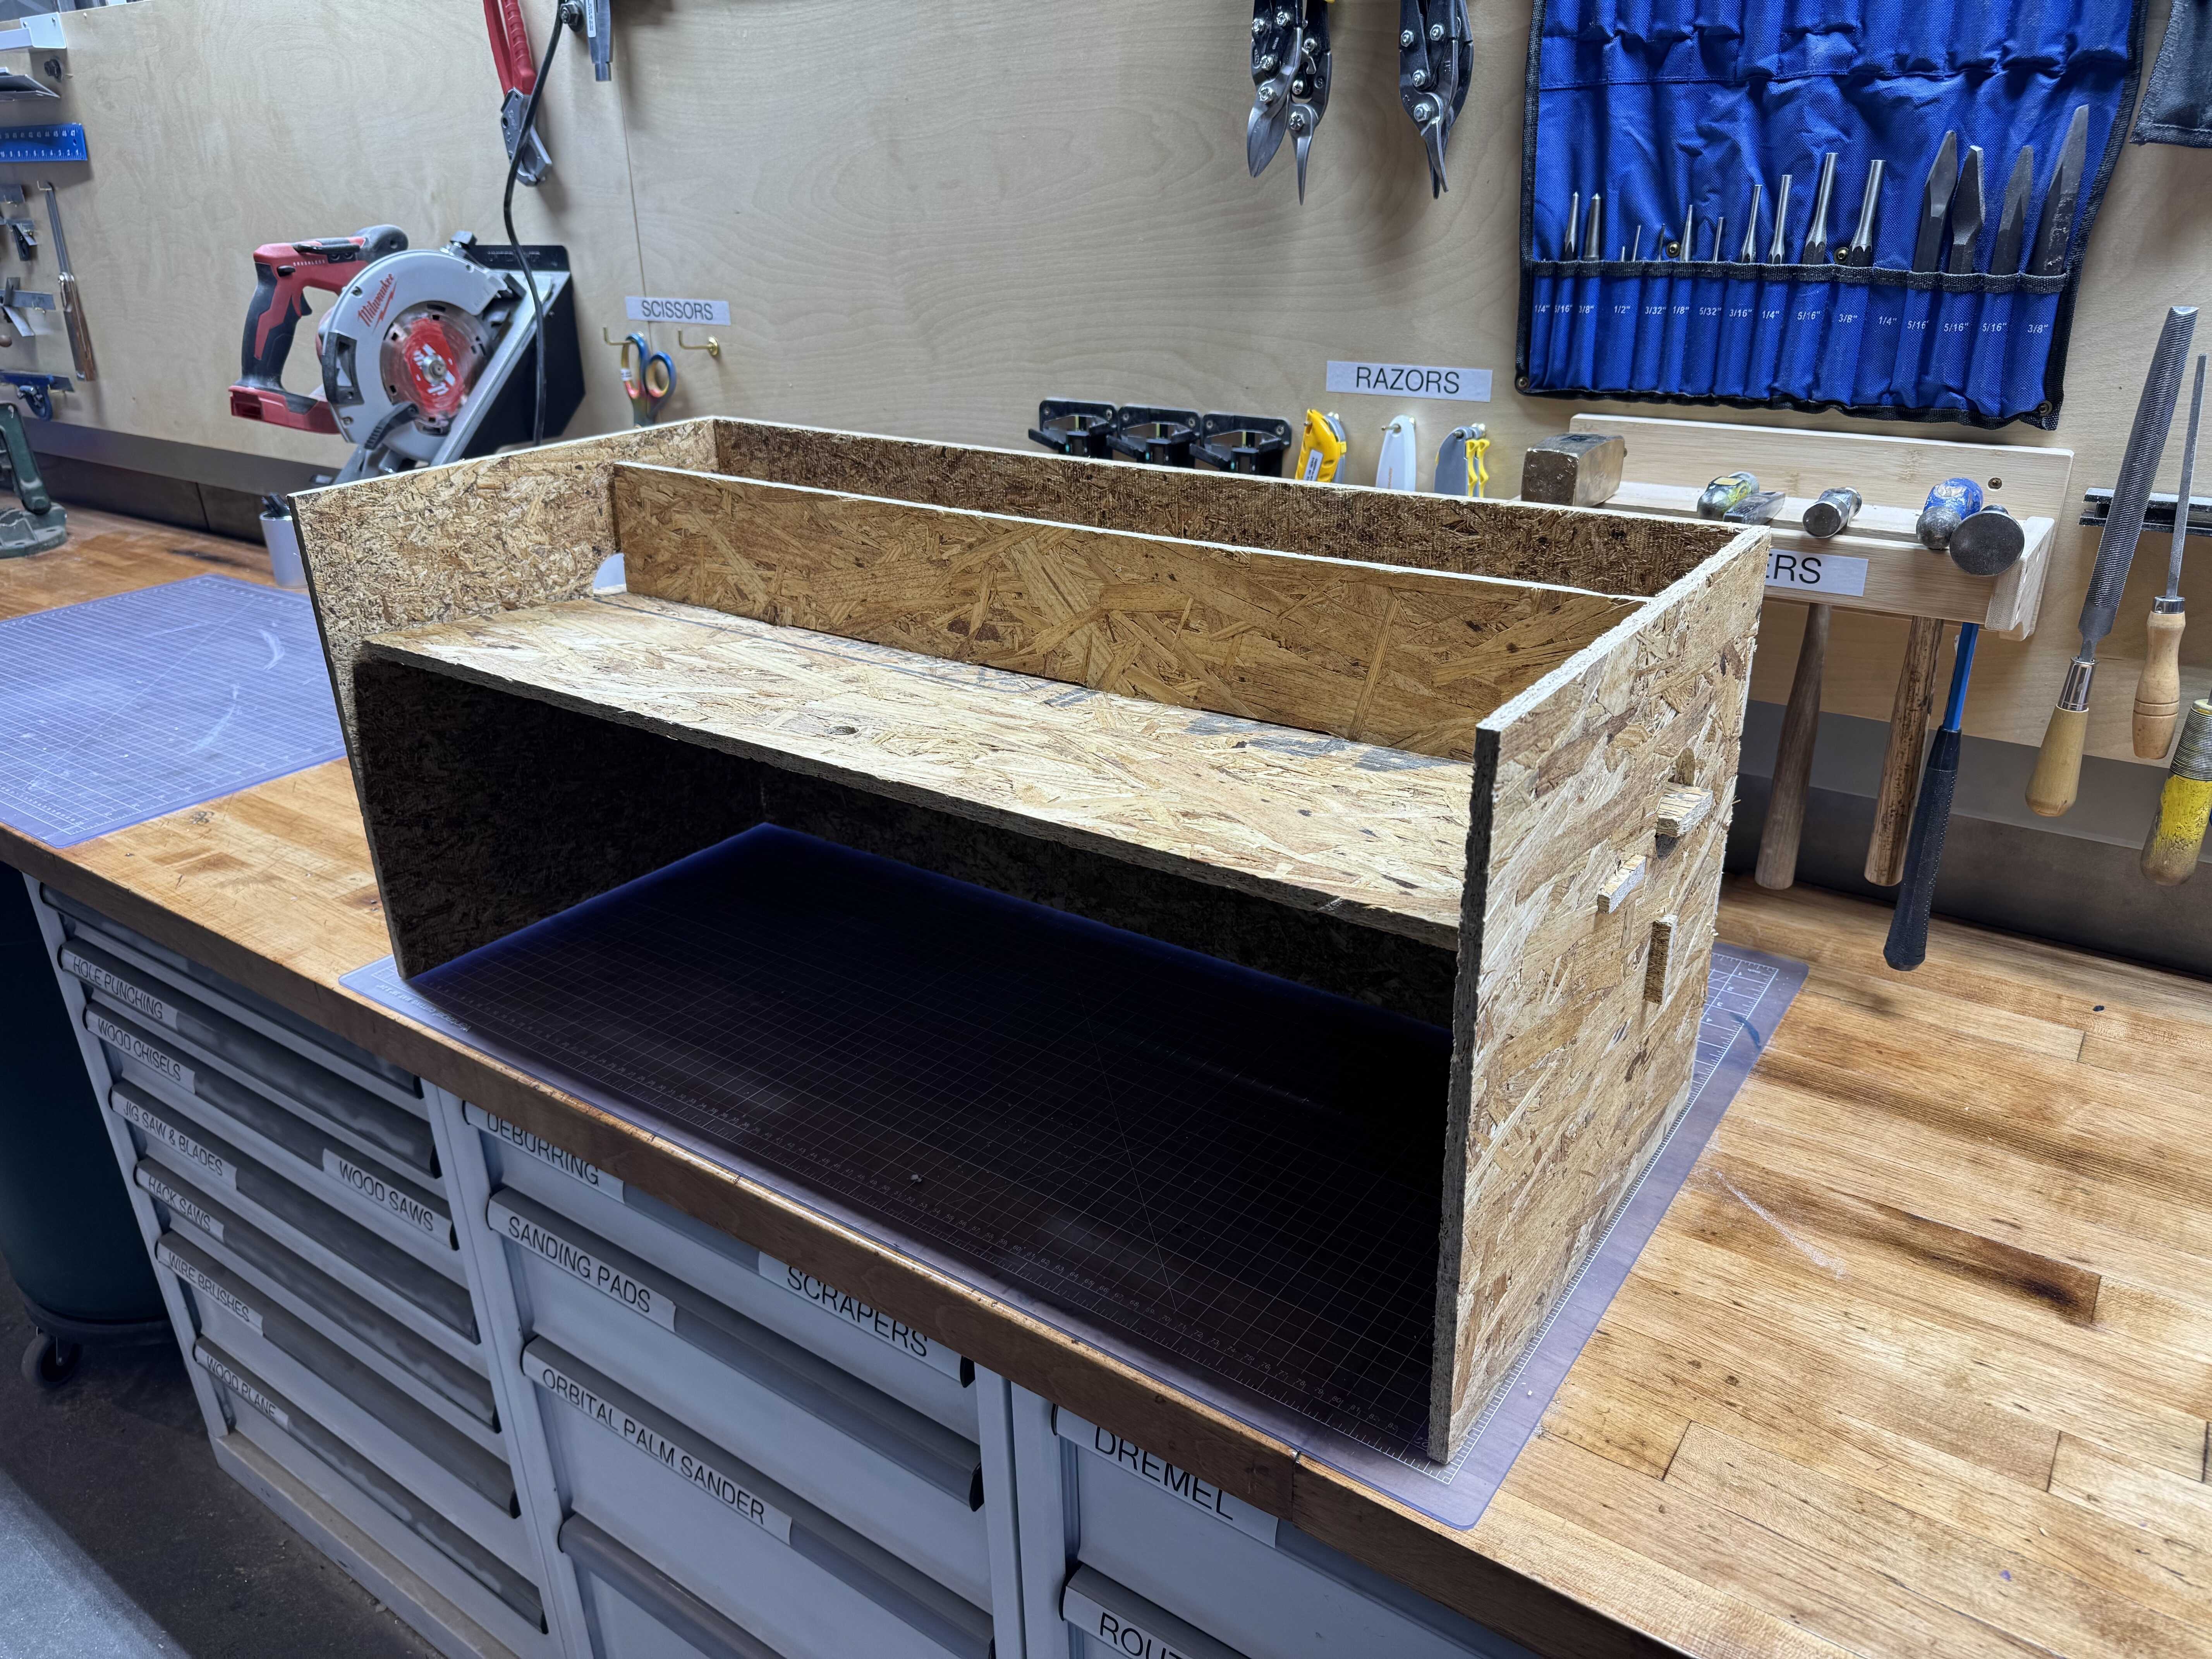
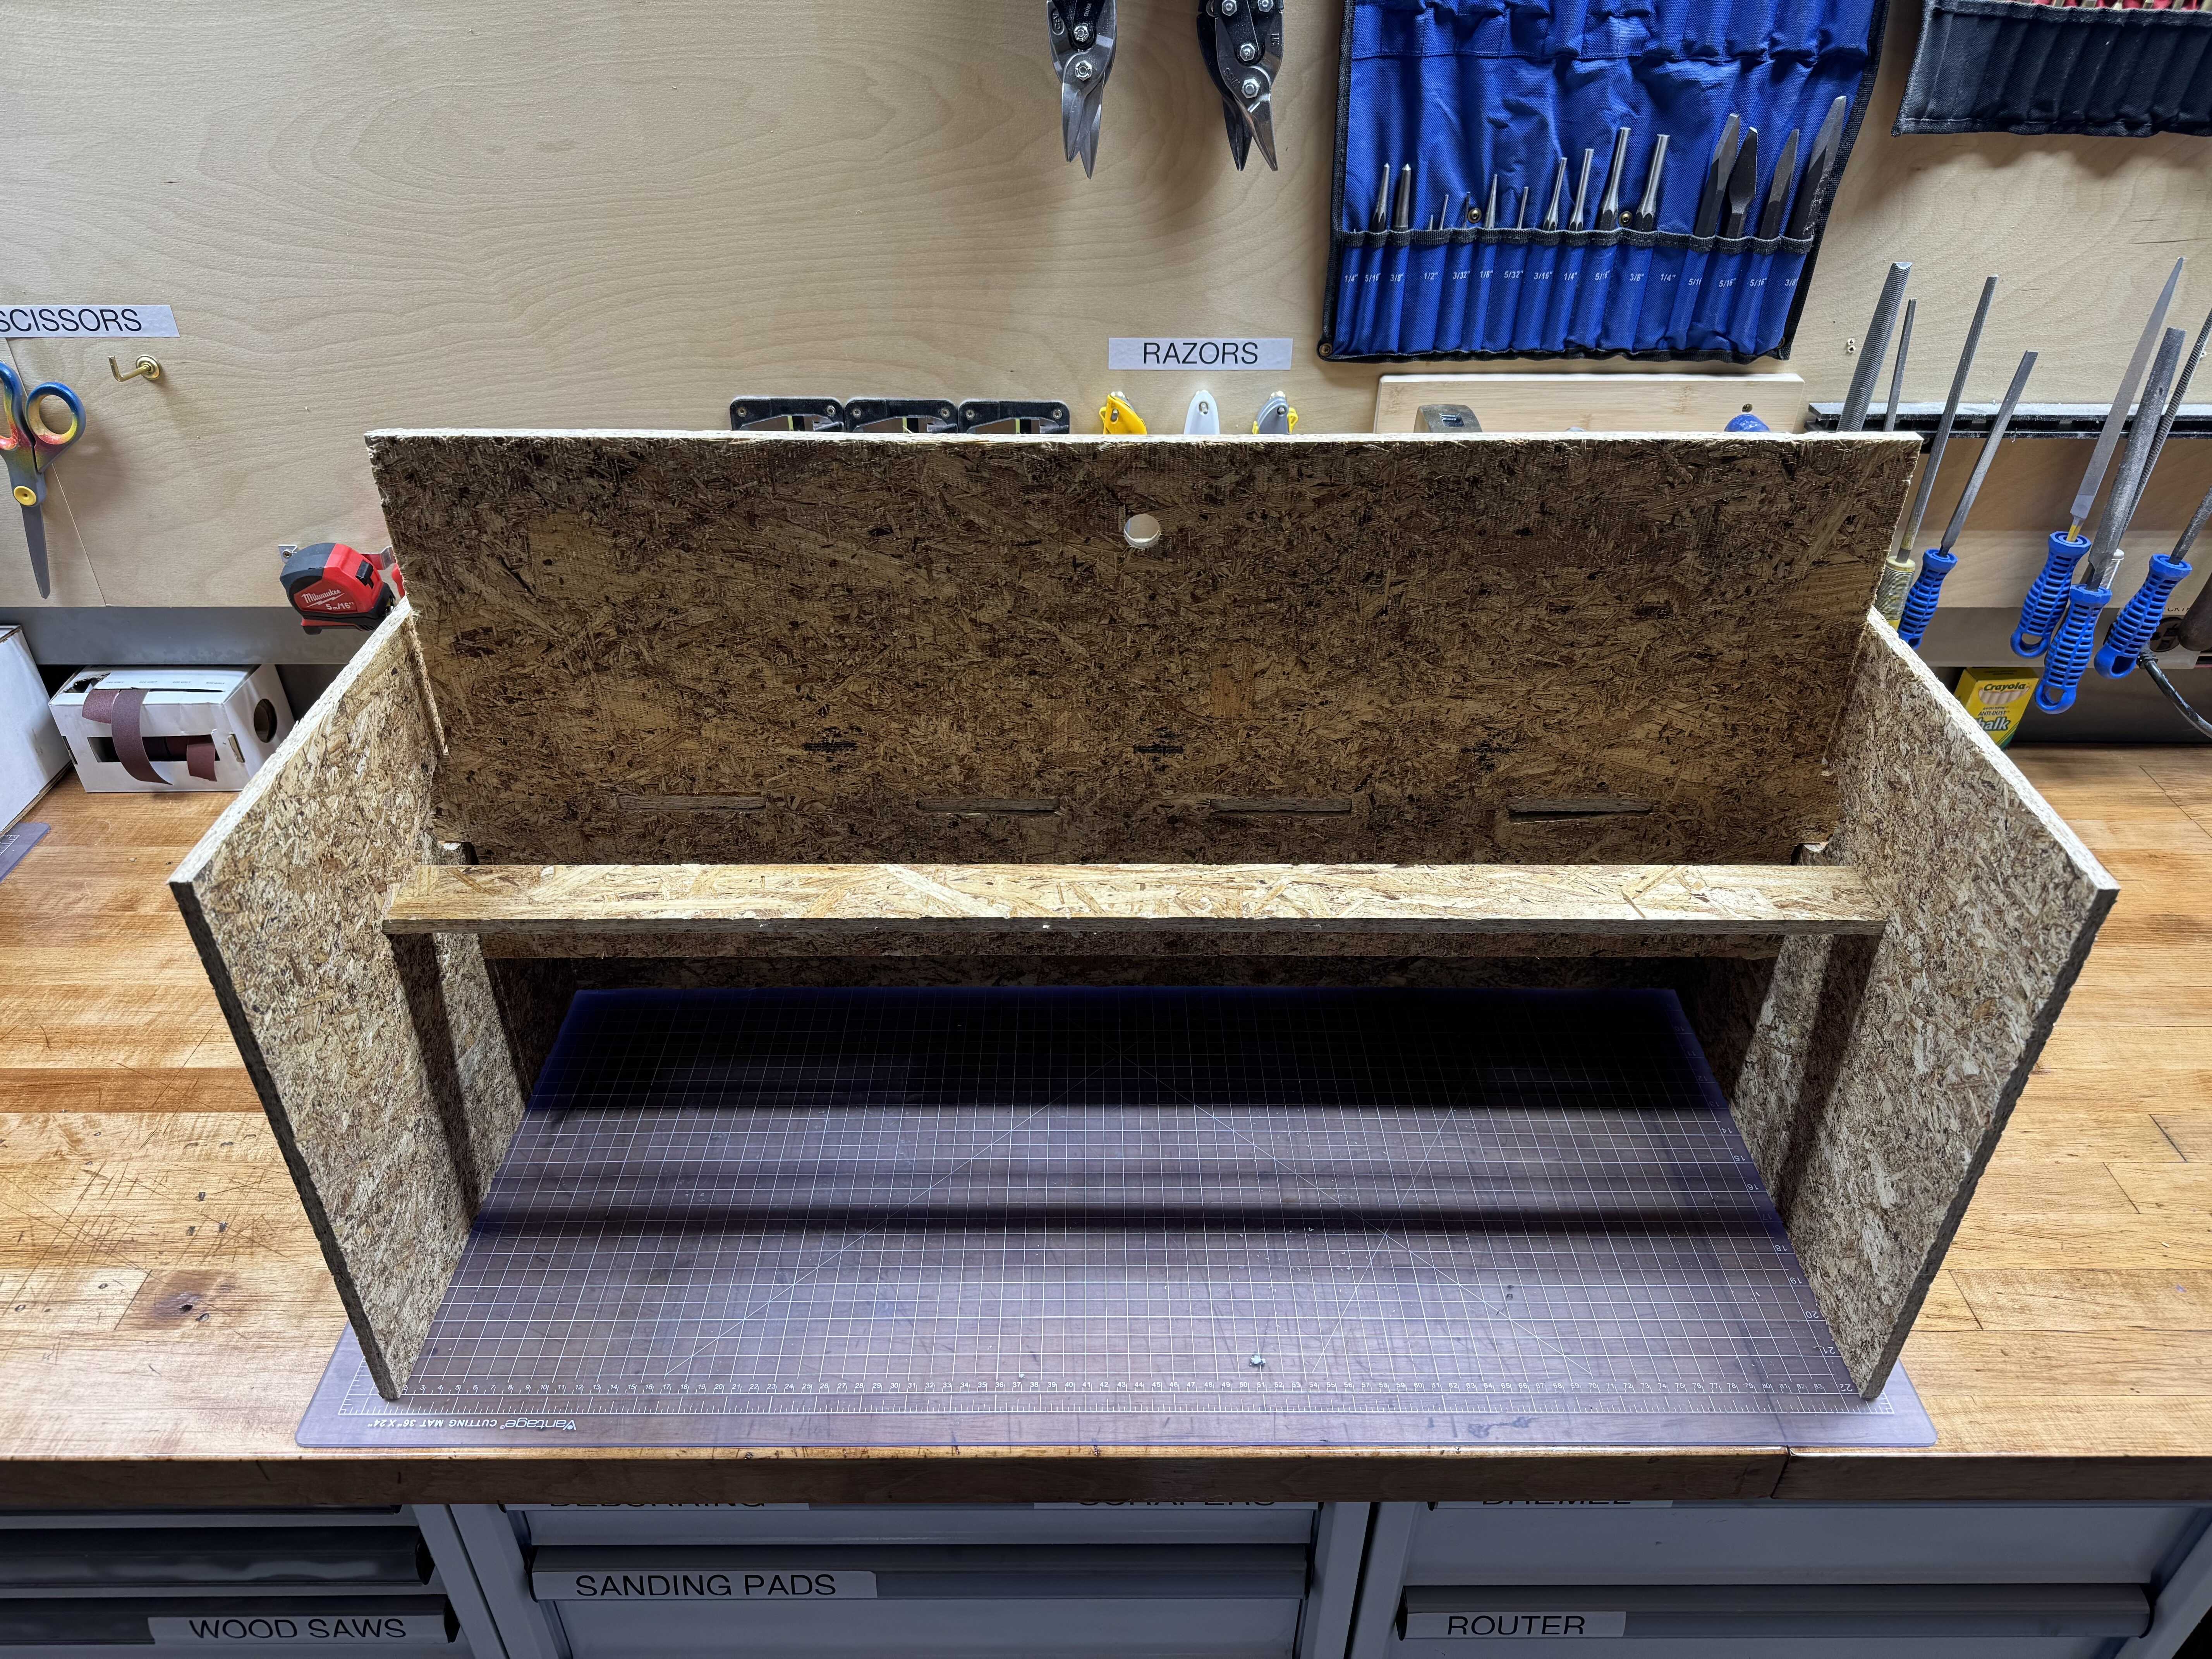
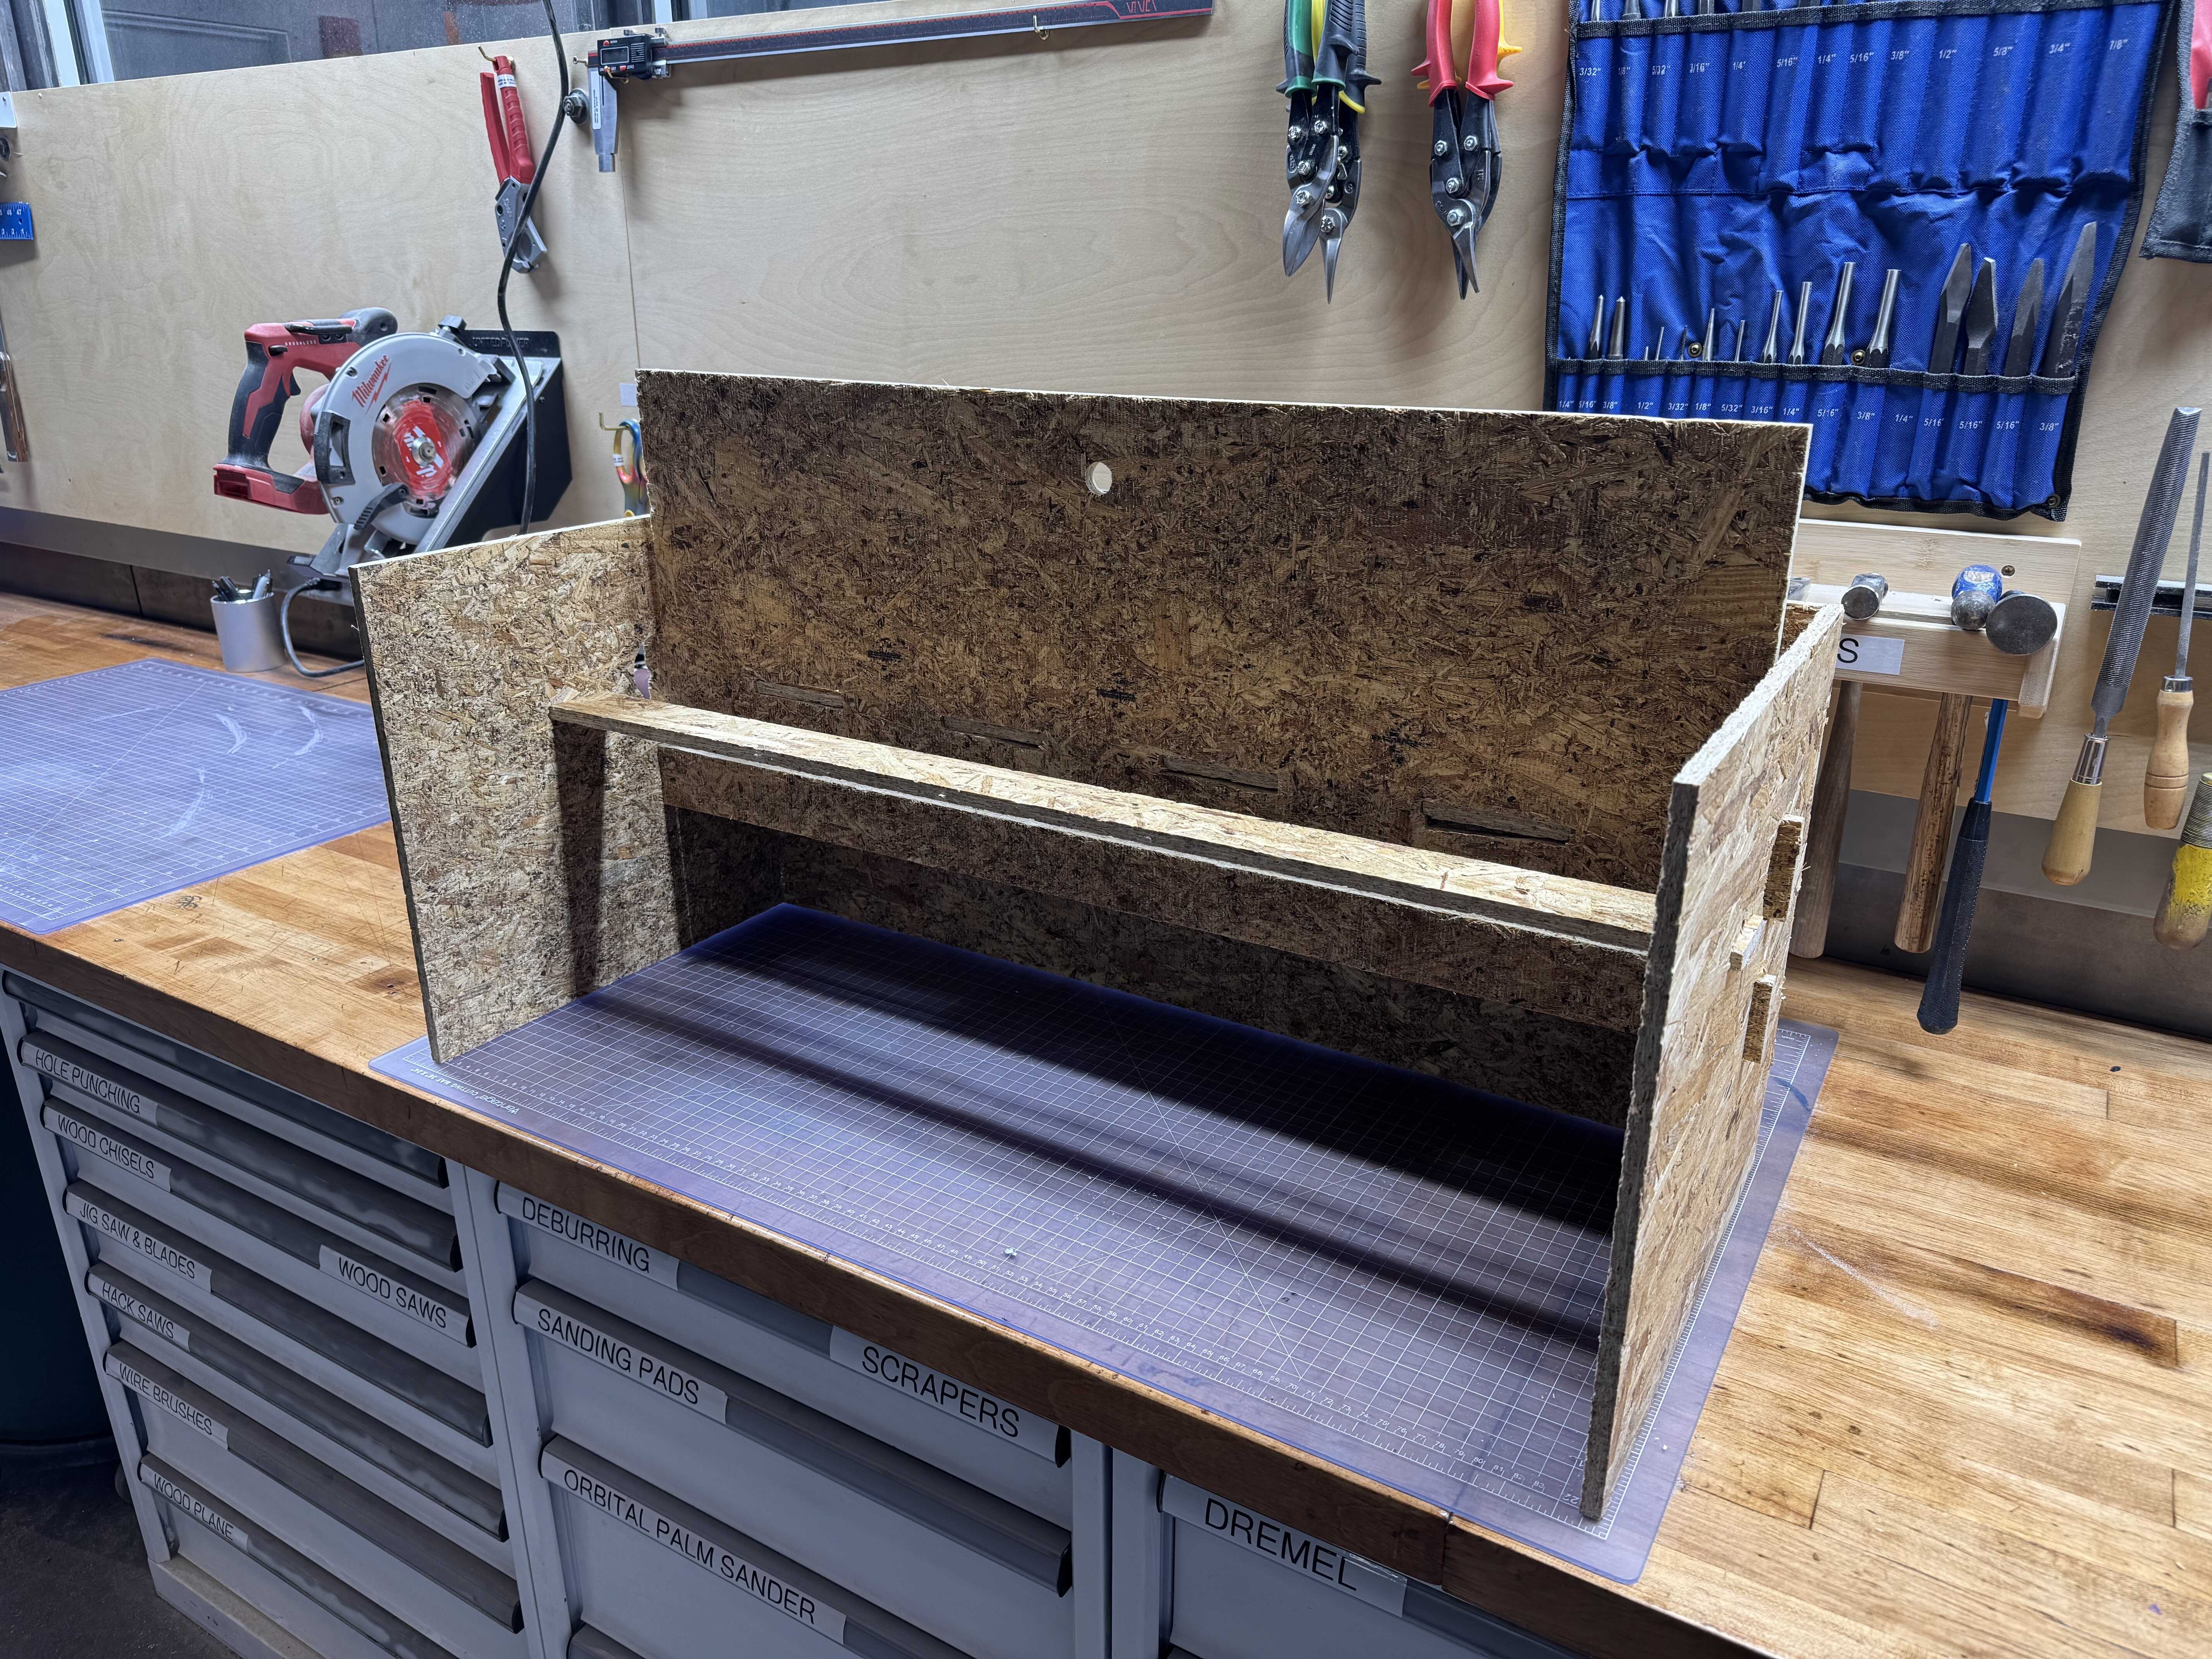
I designed the shelf in Fusion and made it fully parametric. It consists of three walls - one on each side and one on the back - and a lid. The lid swings up to allow access to the lower level without wasting space. It includes a wall that prevents shoes on the top shelf from sliding off when the lid is up. There are two horizontal bars that run along the length of the structure. They provide structural support, since the back wall is attached only via finger joints. One bar also serves to support the lid in the down position. The other also servers to support the lid in the up position.
The final design is shown in Figure 2 with the lid down and in Figure 3 with the lid up.
It is also accessible at https://a360.co/48GLE1F
and embedded below (so long as autodesk360.com continues to host it):
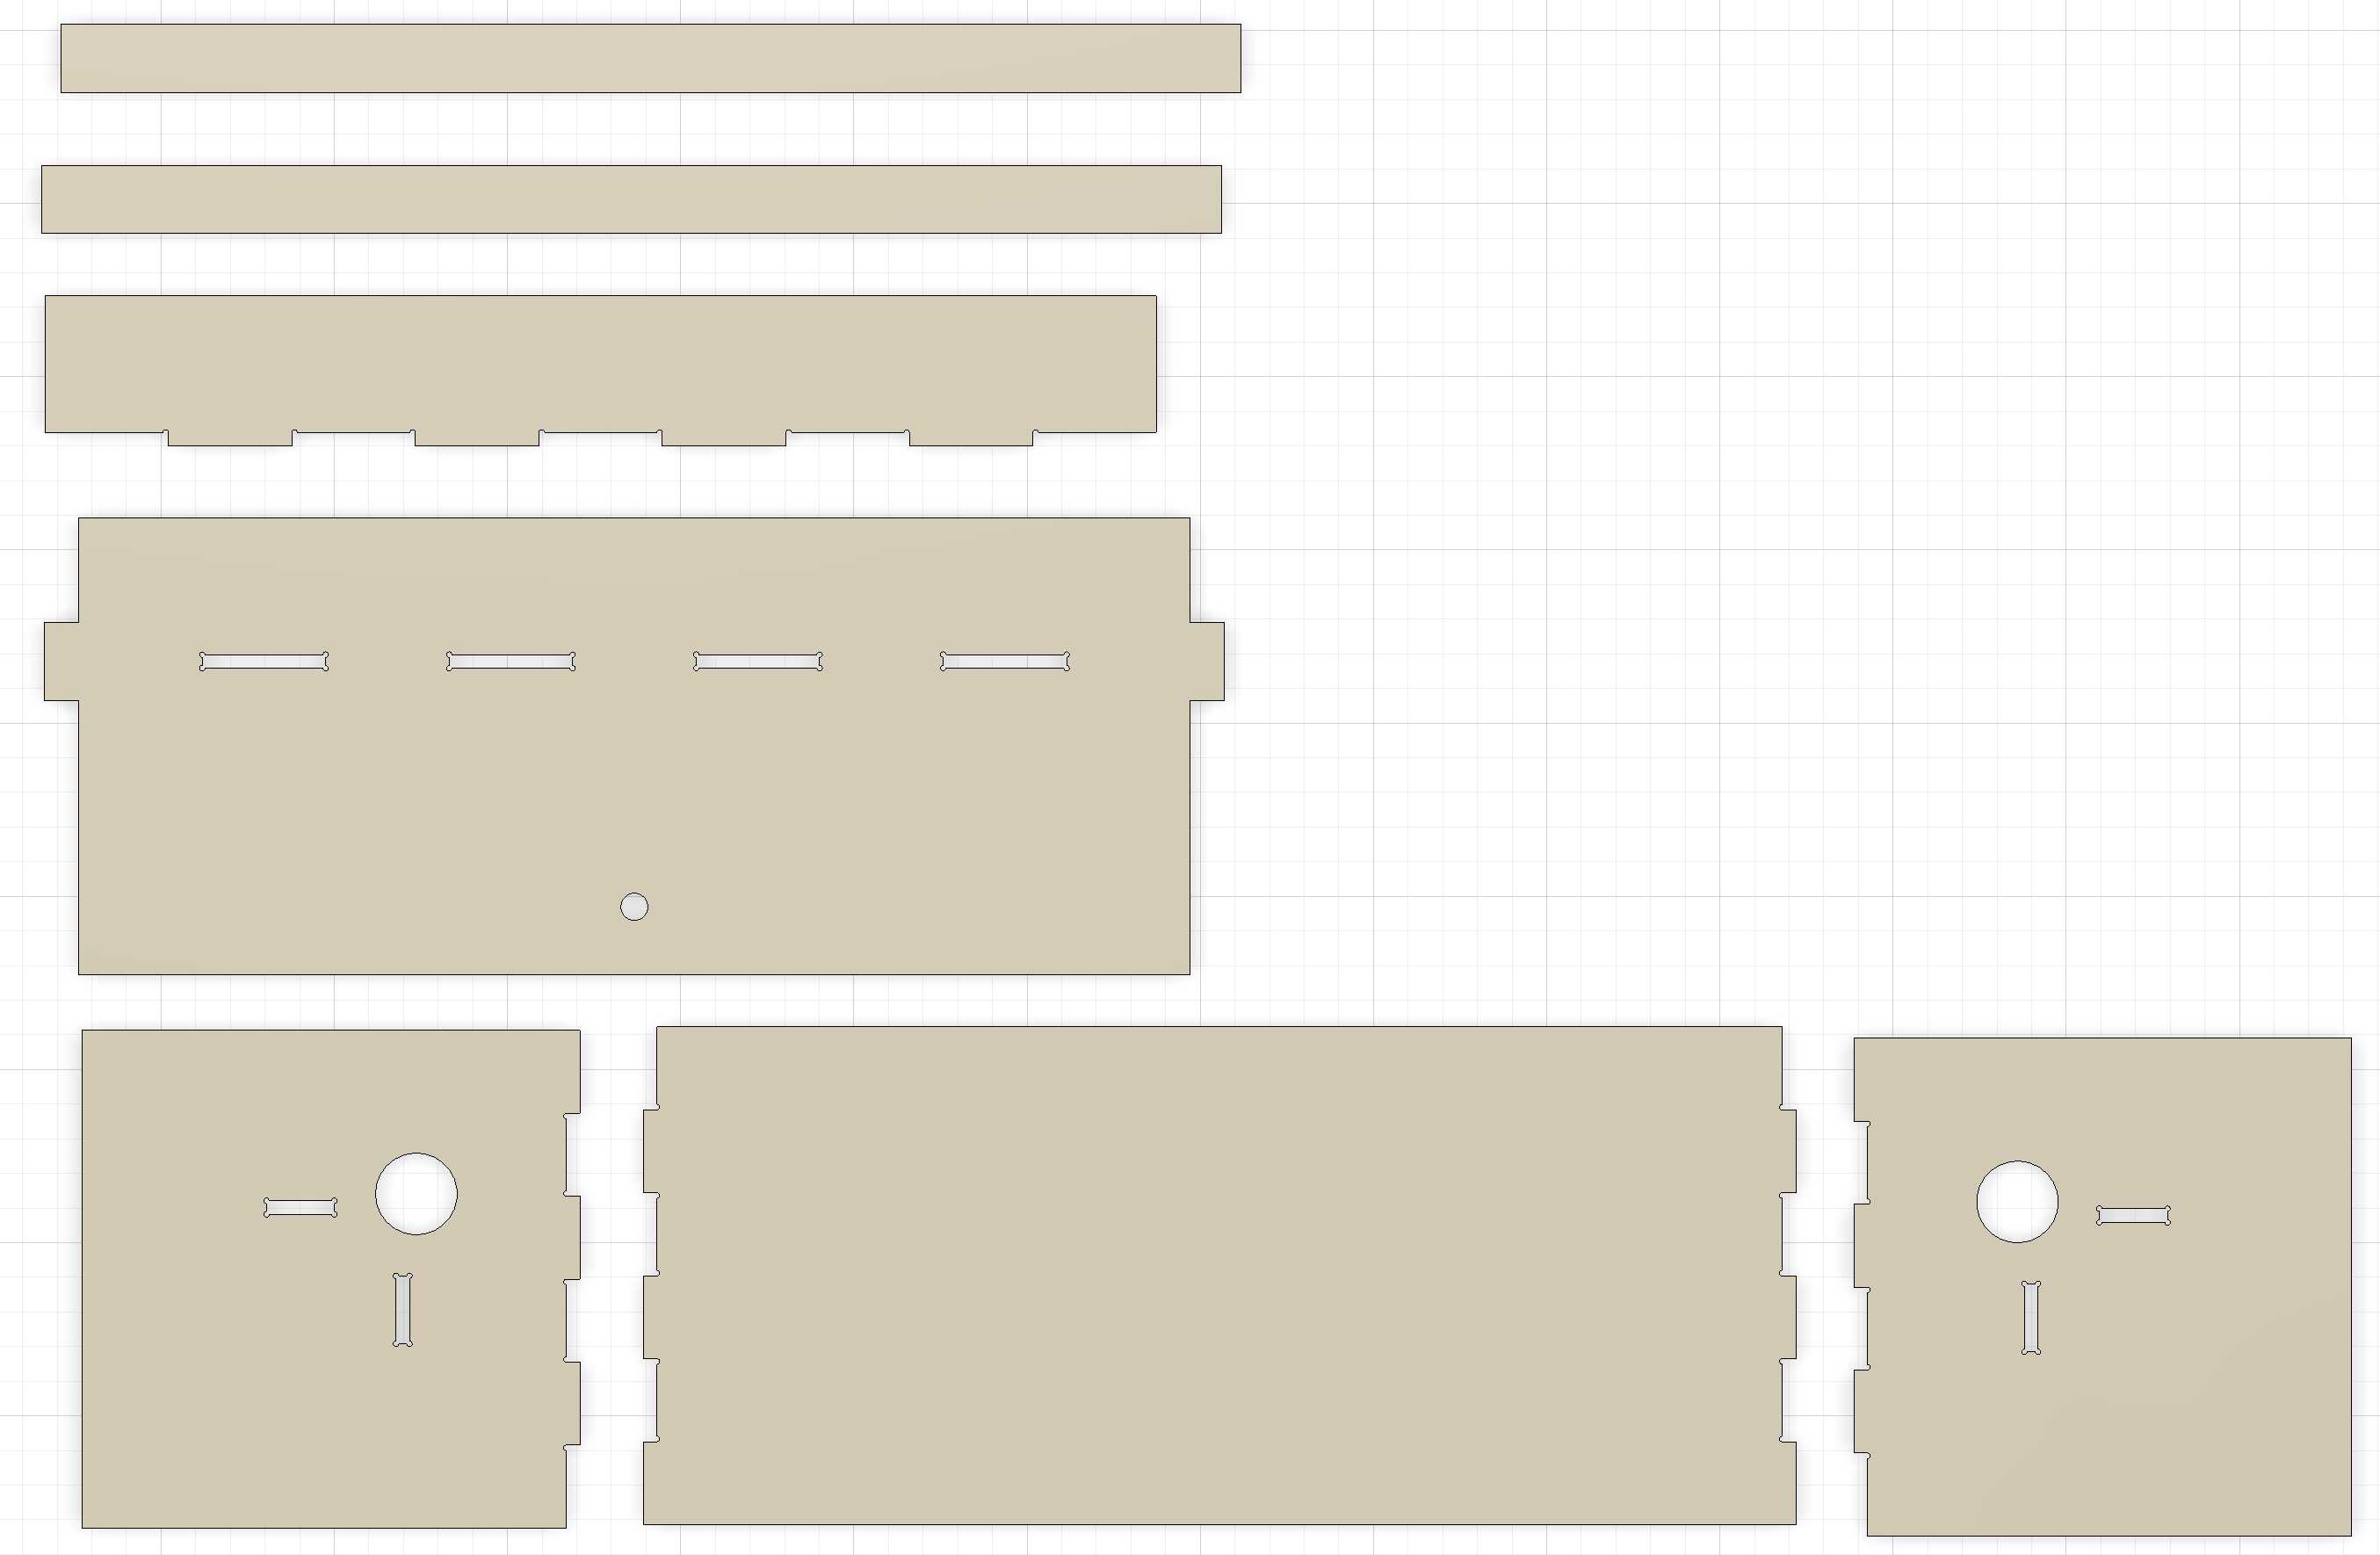
Once I was satisfied with the design, I did a more careful measurement of my closet (14 1/2" in depth, 33 5/16" in length) and adjusted the parameters accordingly (with 1/8" of tolerance). No problems arose from the re-parameterization. Finally, I laid out all the pieces flat:
Milling
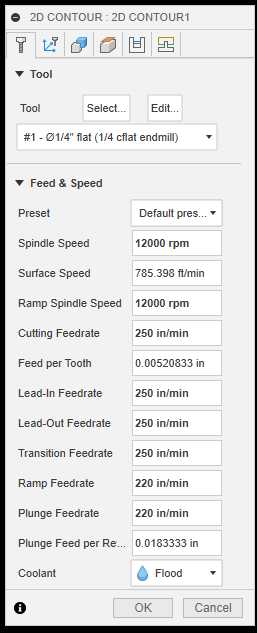
After this, Dan walked me through setting up the job in Fusion and running it on the ShopBot. The feeds and speeds are documented below:
At first, the machine moved somewhere I wasn’t expecting, so I stopped the job. Upon closer inspection, the order of cuts that Fusion produced in simulation was different than the order I placed them in, but matched what the machine was doing. Dan and I poked around for a bit, but didn’t find a way to fix that. Alfonso had recommended I make a separate job for internal cuts that I run before the external cuts. Since we were using tabs, though, we decided to continue the job as Fusion intended.
While the job was running, I noticed in the ShopBot software that the Z value during the first pass was -.300", but during the second pass was -.409", which I know to be less than the thickness of the stock. We let the job finish anyway, and confirmed that it had indeed not cut all the way through. I added another .085" to the depth and re-ran (with one pass only this time). This worked with no problem (and I confirmed that the software was now reporting -.494").
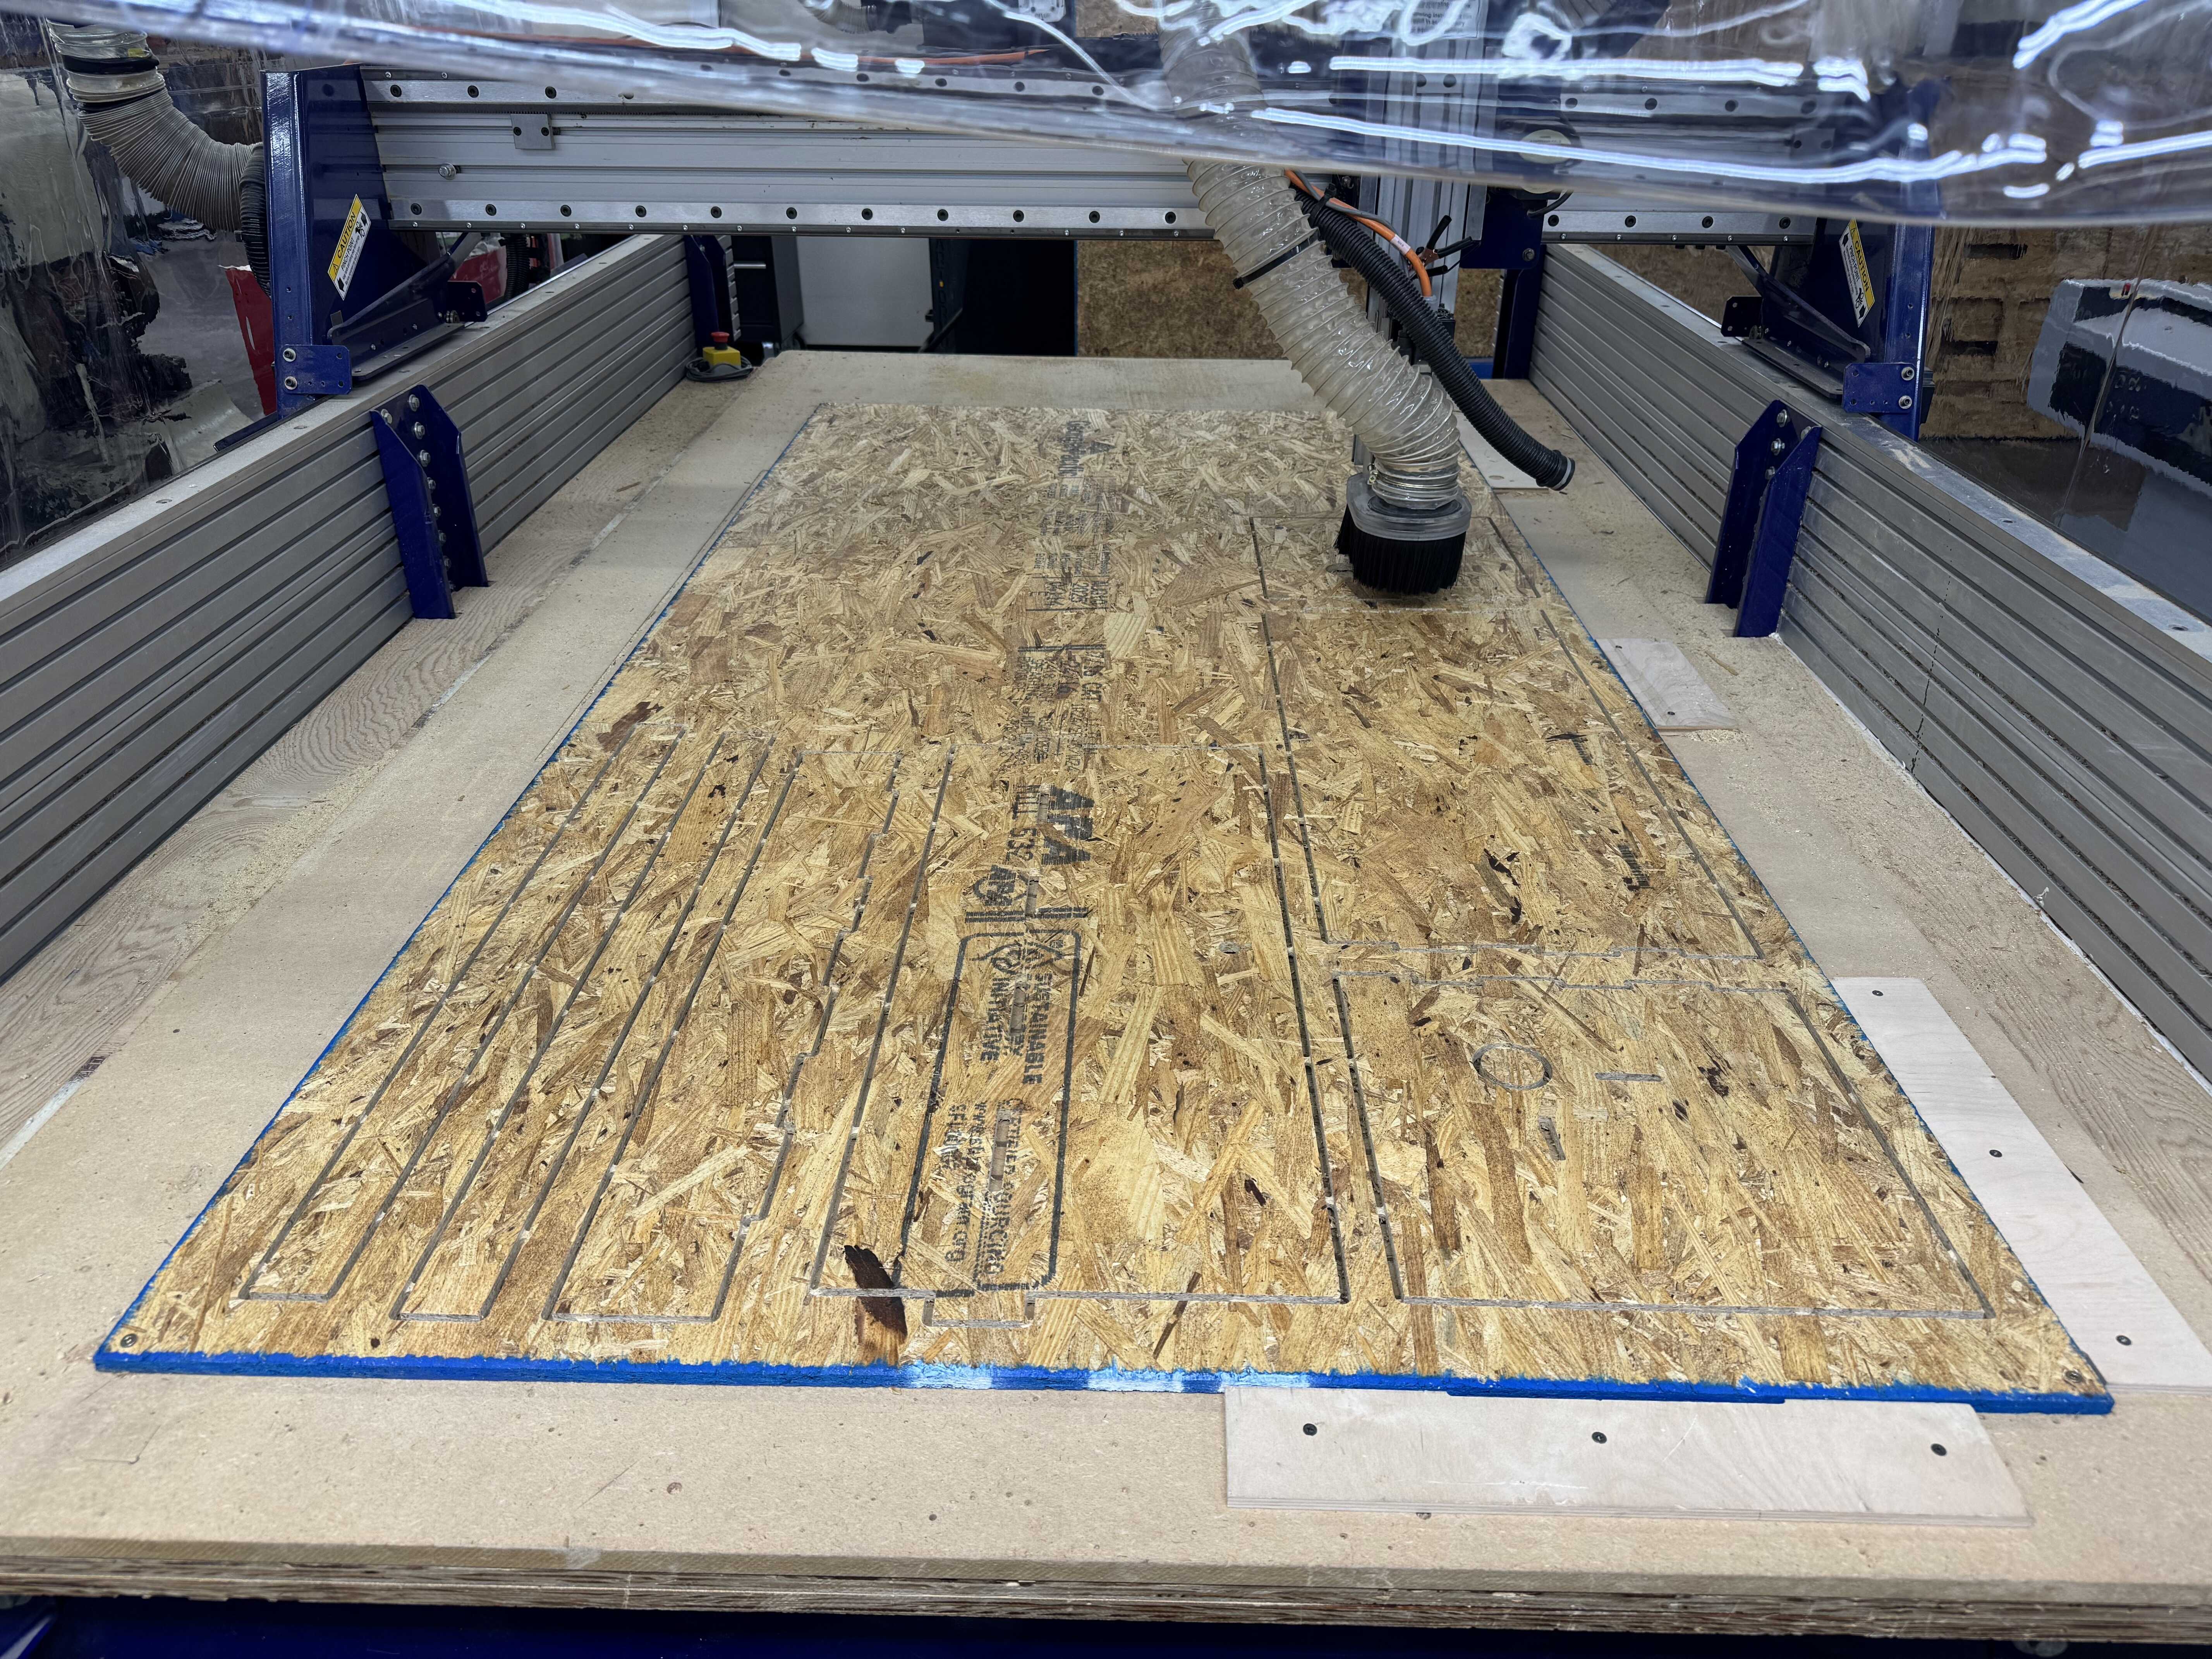
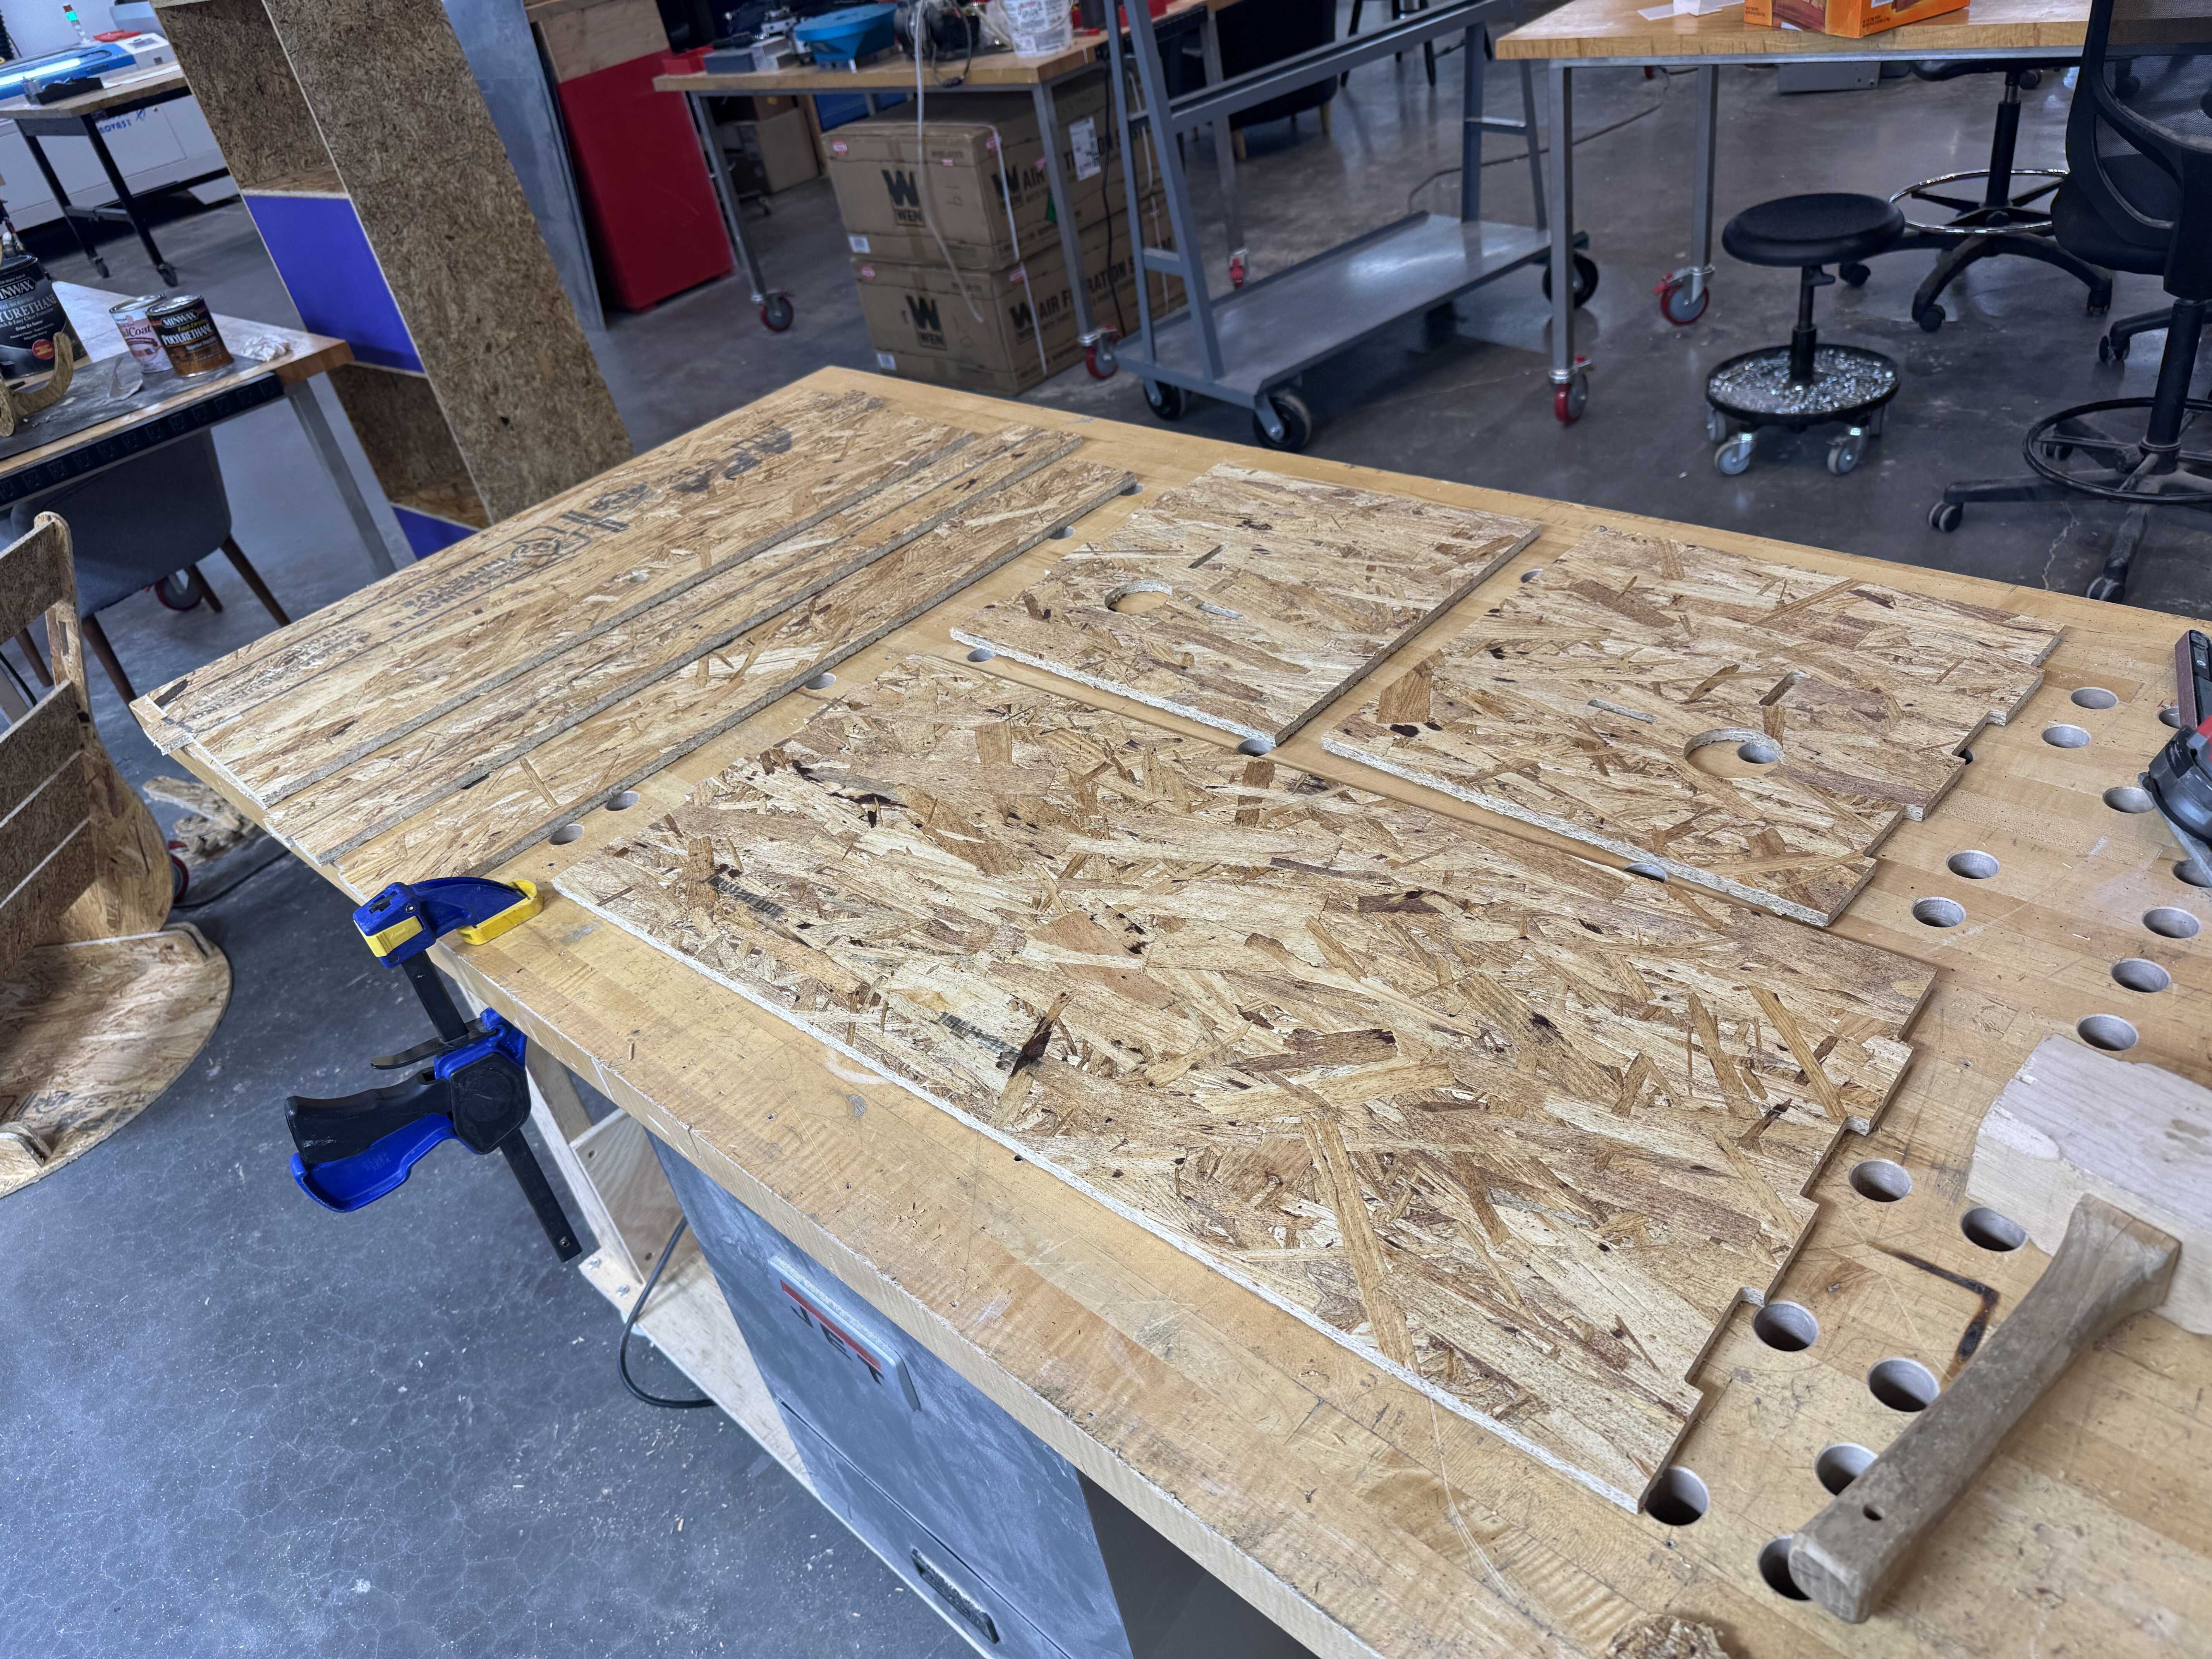
Figure 6 shows the stock on the bed after the job was done. Figure 7 shows the pieces after I removed the tabs.
Assembly
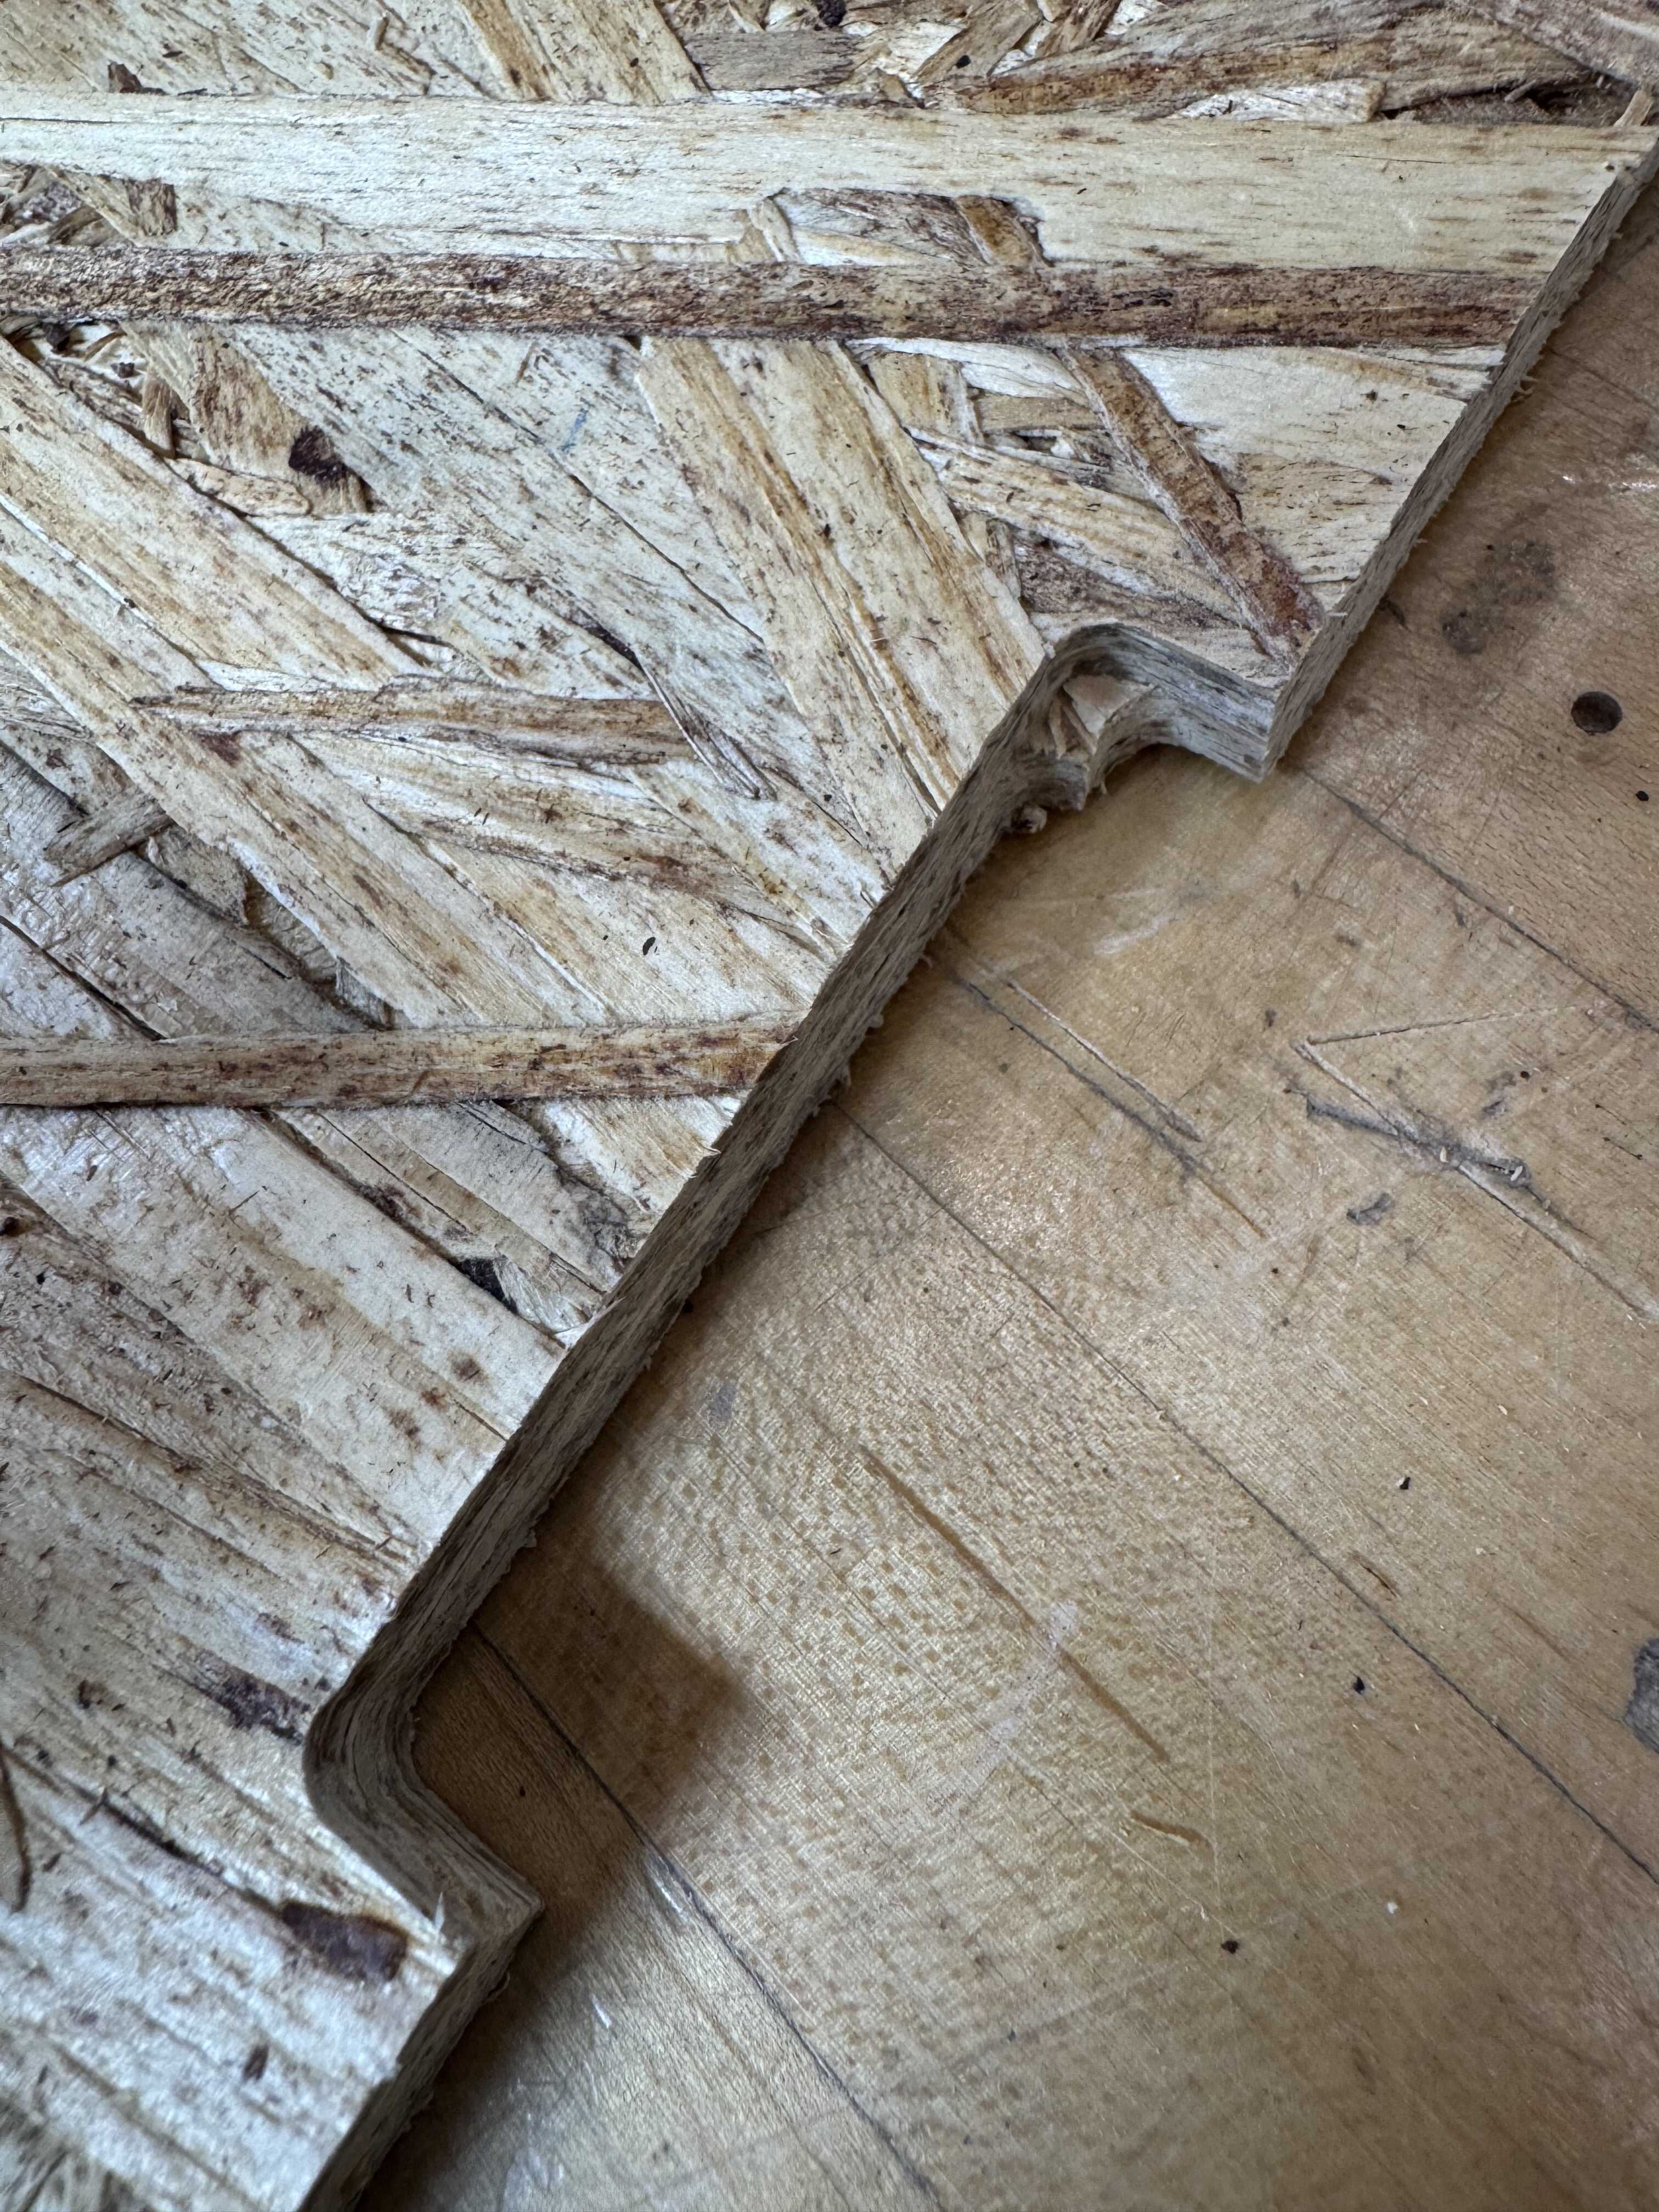
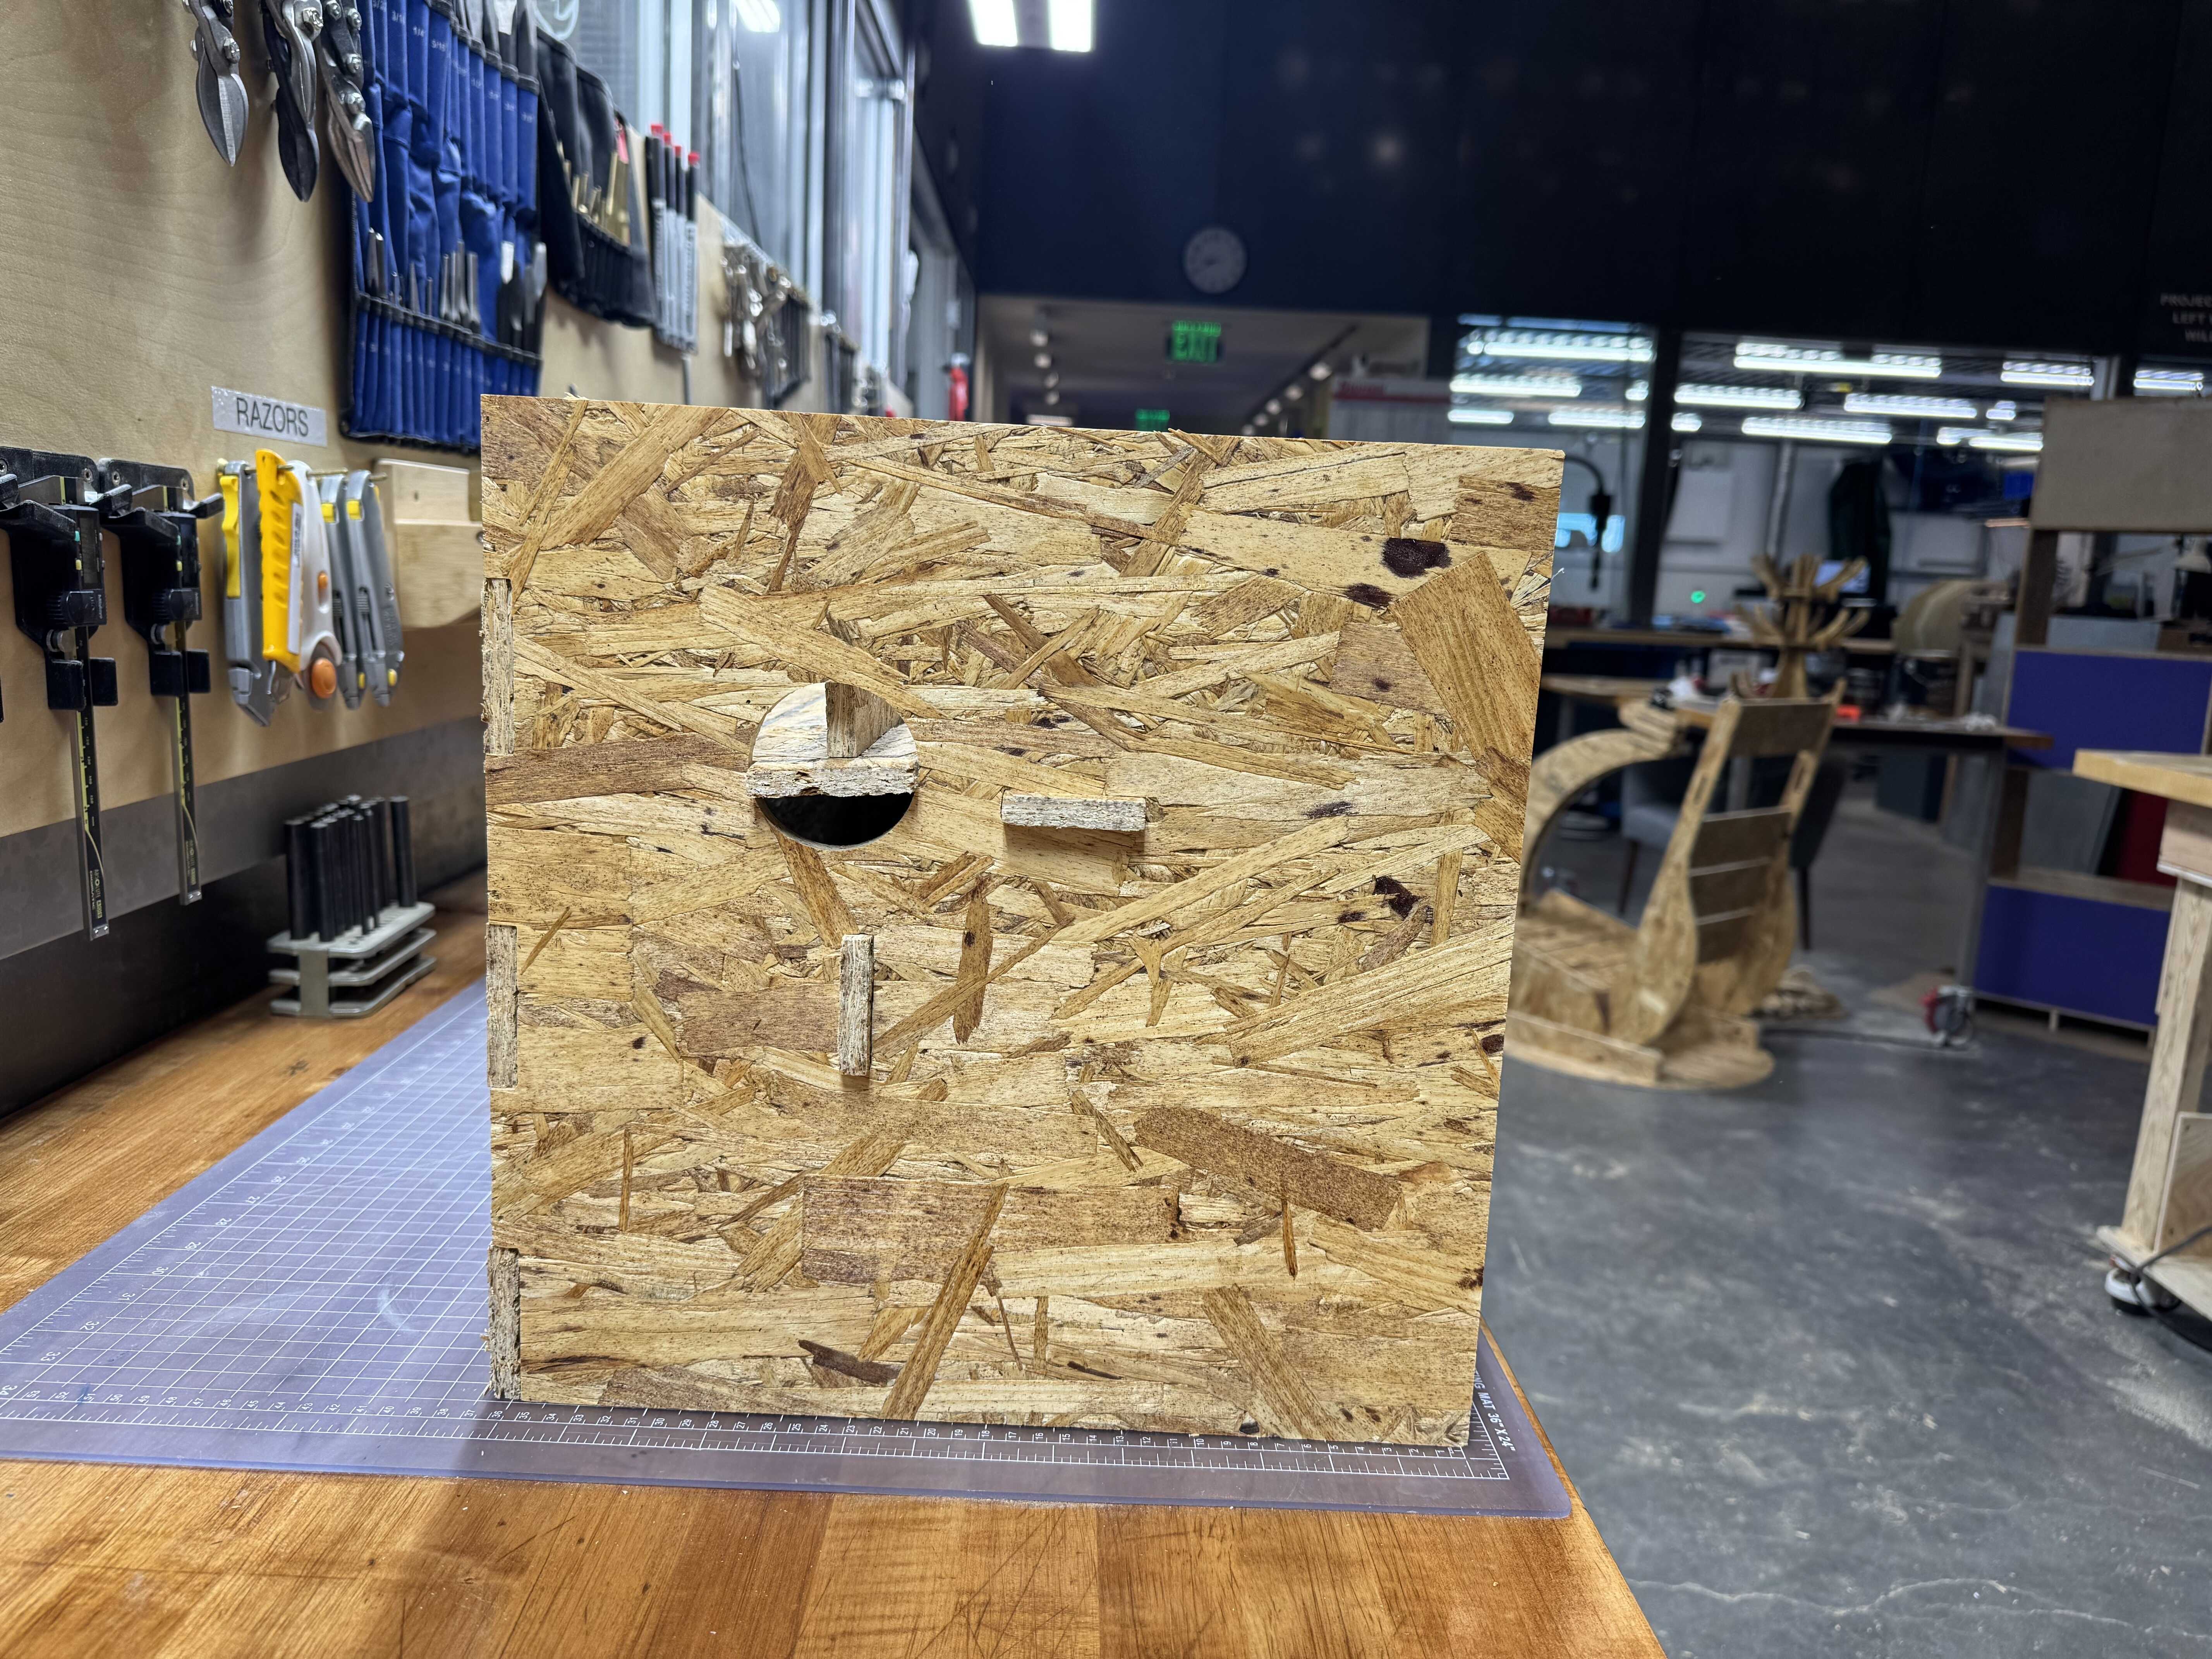
When I went to assemble, I noticed that despite my dogbones, the joints were not cut perfectly (Figure 8). They must have been too small. So, I chiseled each down as needed to fit.
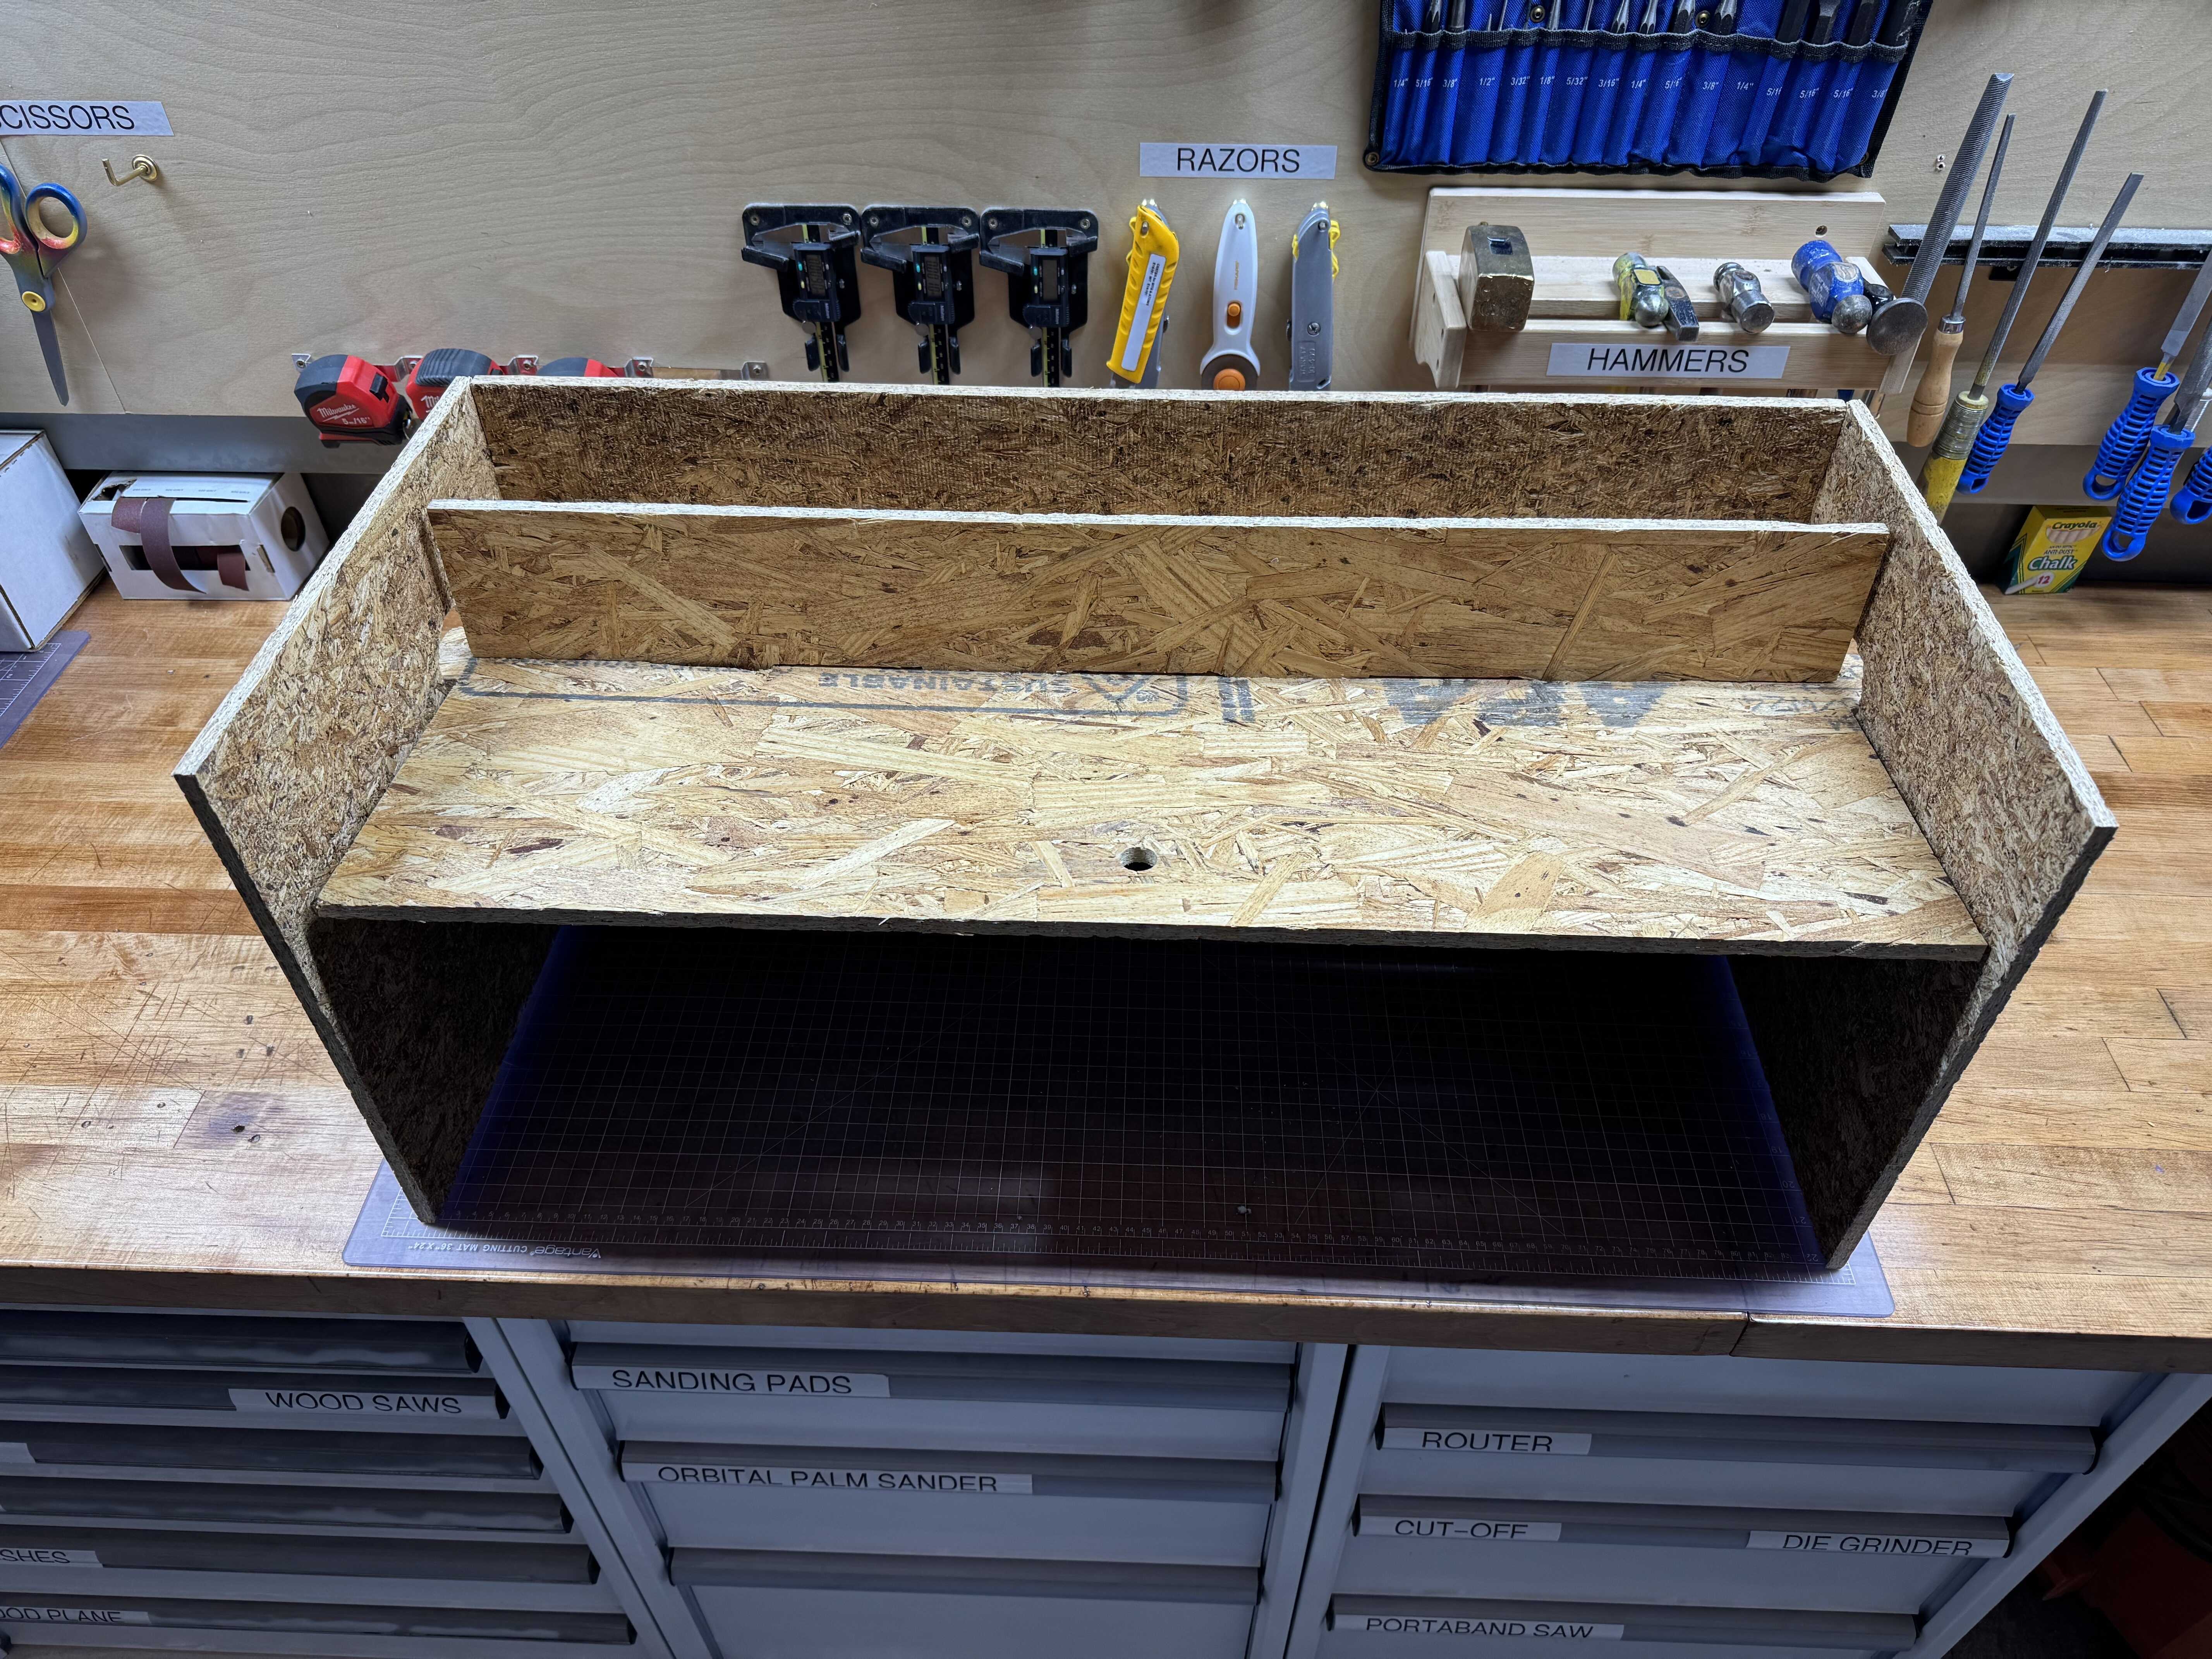
After that, I assembled the structure using a wooden mallet (Figures 9-13). The press-fit bar attachments and the hinges both worked great. I overcompensated with the chiseling of the finger joints in the back, so I ended up adding a few nails with the air gun to hold things in place firmly. Otherwise, the design worked as intended.
Some pictures of the structure serving its purpose:
Future Work
Make Something Big Week was one of the weeks I looked forward to the most, because I have made very few big things before (except for one dresser). Due to triage, I did not give this week as much attention as I had hoped, and I hope to have a chance to revisit some of this work soon. My closet has a smaller section on the other side of the door, and my design is fully parametric, so I plan on making a smaller sibling to this structure with my remaining stock. This time, I will diagnose the issue with my dogbones and explicitly test the joints before assembly. Hopefully it can stay together without fasteners, despite the poor structural stability of the finger joint design. I will also consider using a shorter wall on the lid - this design ensures the gap in the rear is covered when the lid is up, but a slightly smaller wall will allow for adding more storage area in front of it without impeding the swing; a small gap in the back when the lid is up may be a worthwhile trade-off.

