Overview
This week focused on understanding laser cutter characteristics through systematic testing and creating a parametric construction kit that accounts for material properties and machine tolerances.
Laser Cutter Characterization
I conducted comprehensive testing to understand our laser cutter(XTool P2)'s capabilities and limitations. The characterization process involved testing various parameters and measuring the results.
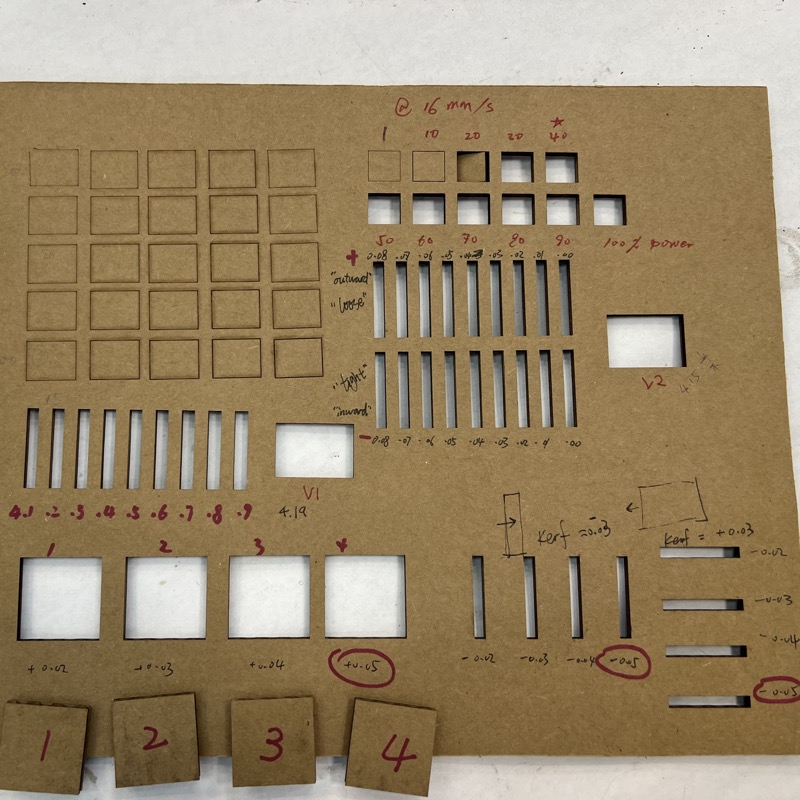
Testing various laser settings
Basic cut quality tests
Machine Specifications & Test Results
| Parameter | Test Values | Optimal Setting | Notes |
|---|---|---|---|
| Power | 10% - 100% | 40% for 4mm cardboard | Higher power causes burning |
| Speed | 5 - 50 mm/s | 16 mm/s | Optimal balance of quality and time |
| Kerf Width | Measured | 0.05mm | Consistent across different materials |
| Joint Clearance | 0.0 - 0.3mm | 0.1mm | Tight fit with assembly flexibility |
Joint Types Tested
- Friction Fit: Slots sized exactly to material thickness + kerf compensation
- Press Fit: Slightly undersized slots for permanent assembly
- Loose Fit: Oversized slots for moveable joints
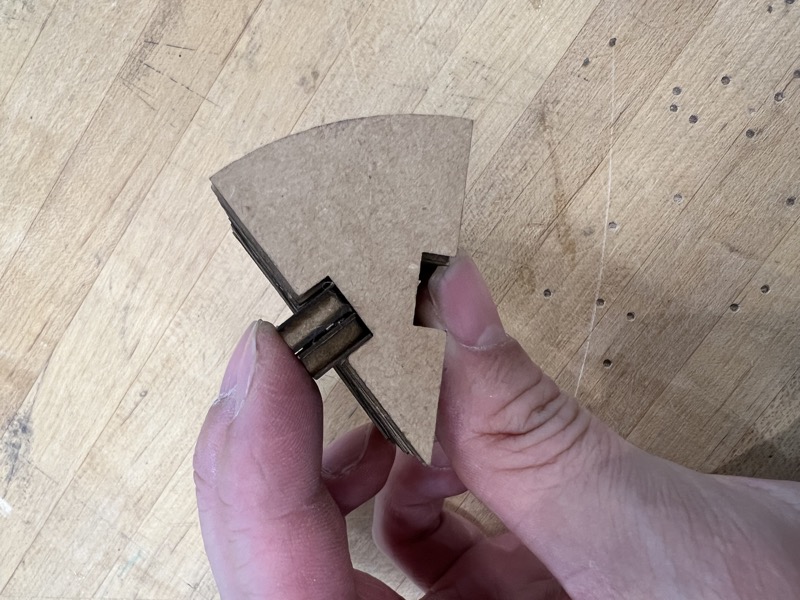
- Living Hinges: Thin material sections that flex
Parametric Construction Kit
The idea is to build a furniture system that is playful and modular. We need some basic furniture pieces that can be assembled in different ways to create a variety of looks.
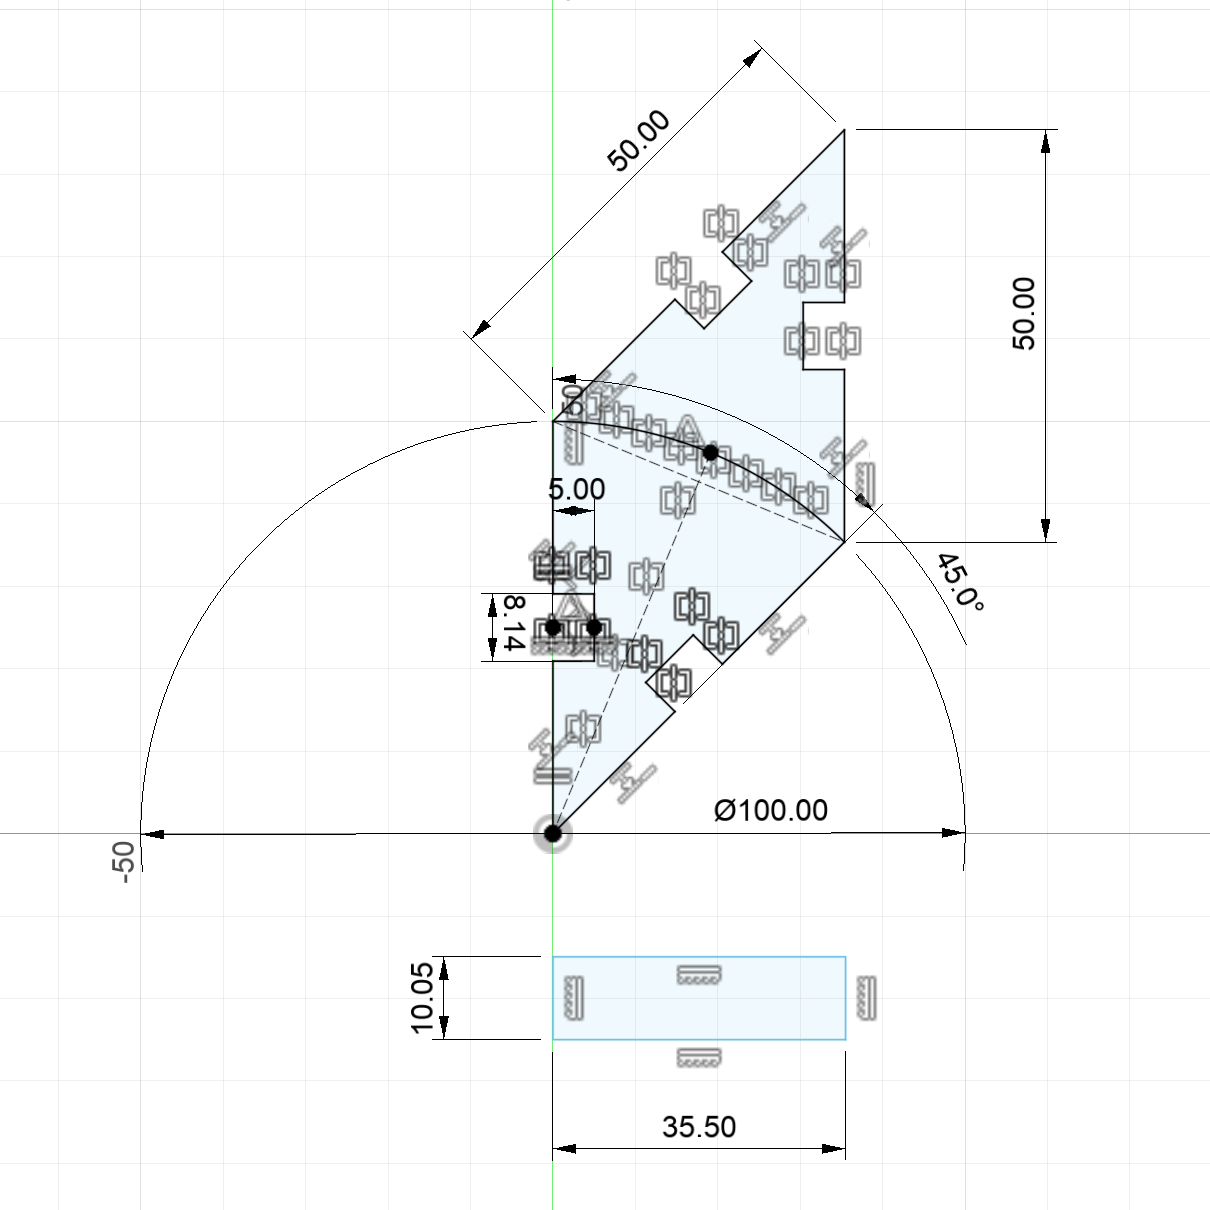
Design development and iterations
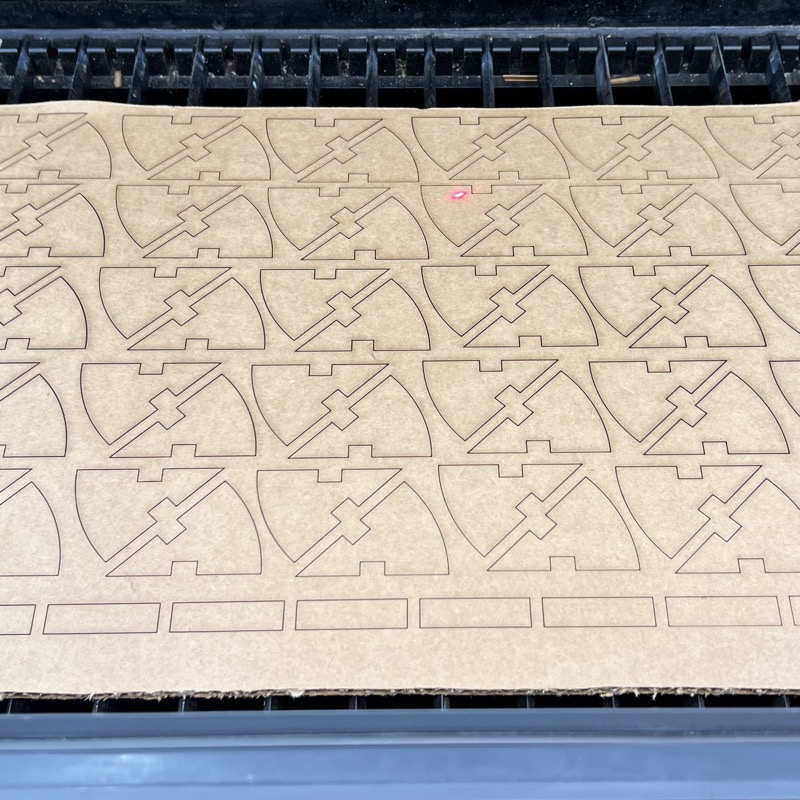
Cutting the final design
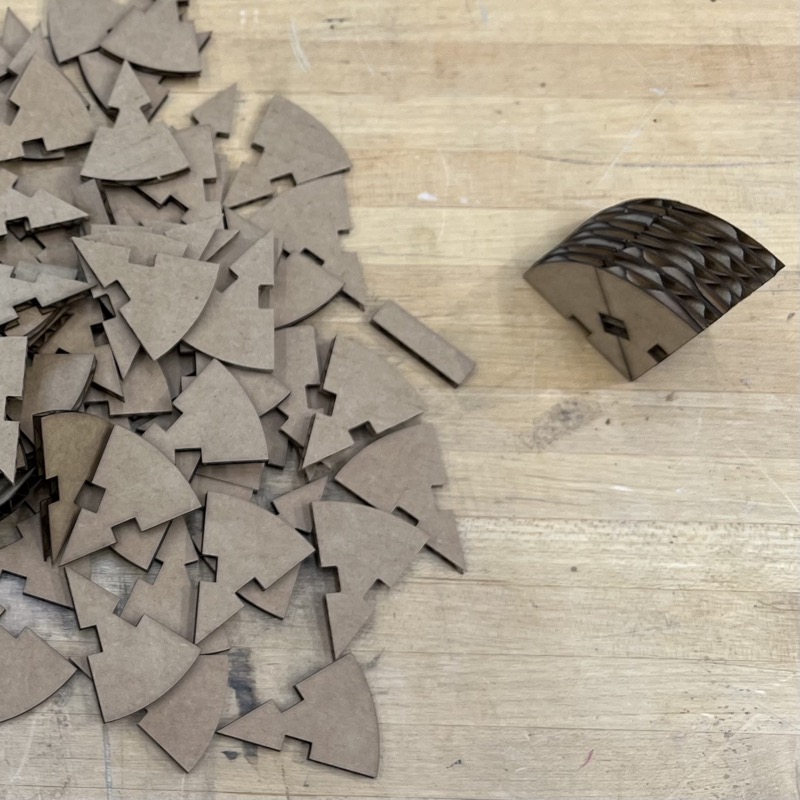
All components cut and ready
Design Parameters
- Material Thickness: 4mm cardboard
- Kerf Compensation: +0.05mm added to all slots
- Joint Clearance: 0.1mm for smooth assembly
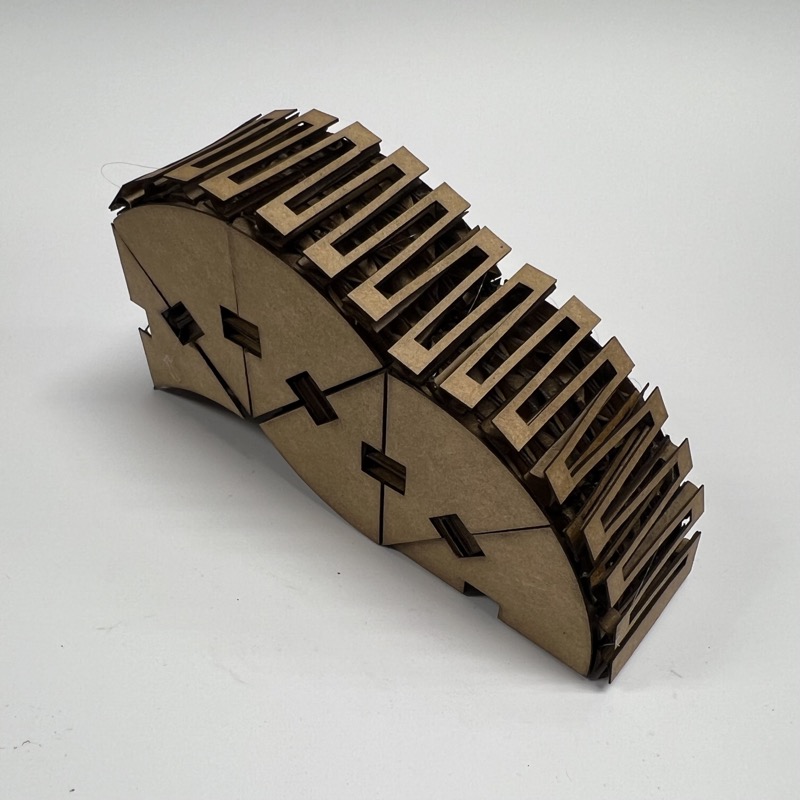
Assembled Configurations
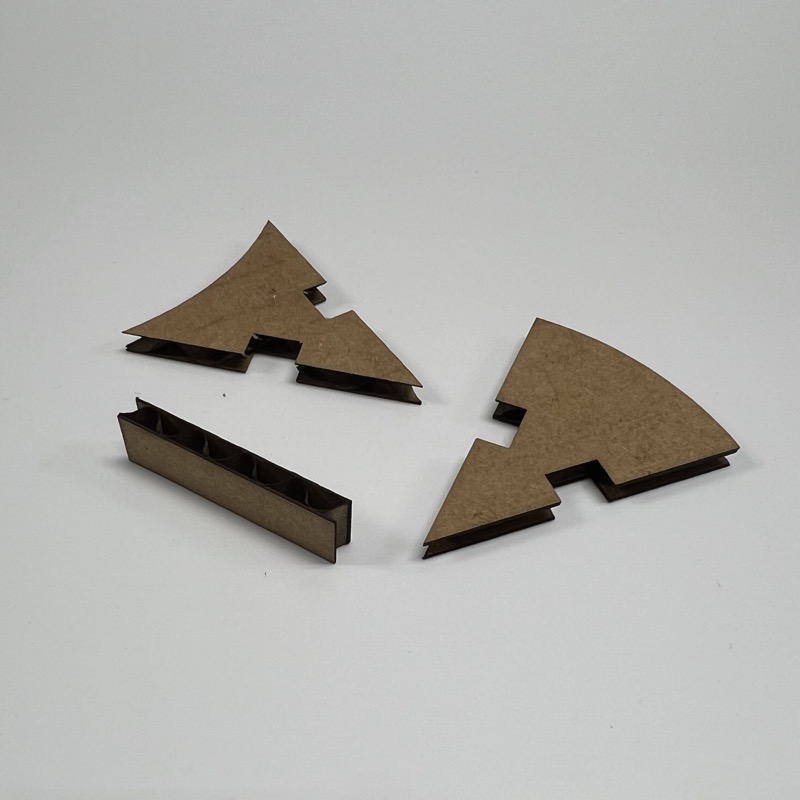
Basic components
Furniture 1: Lounge Chair and Side Table
Furniture 2: Table
Furniture 3: Slide
Furniture 4: Stairs
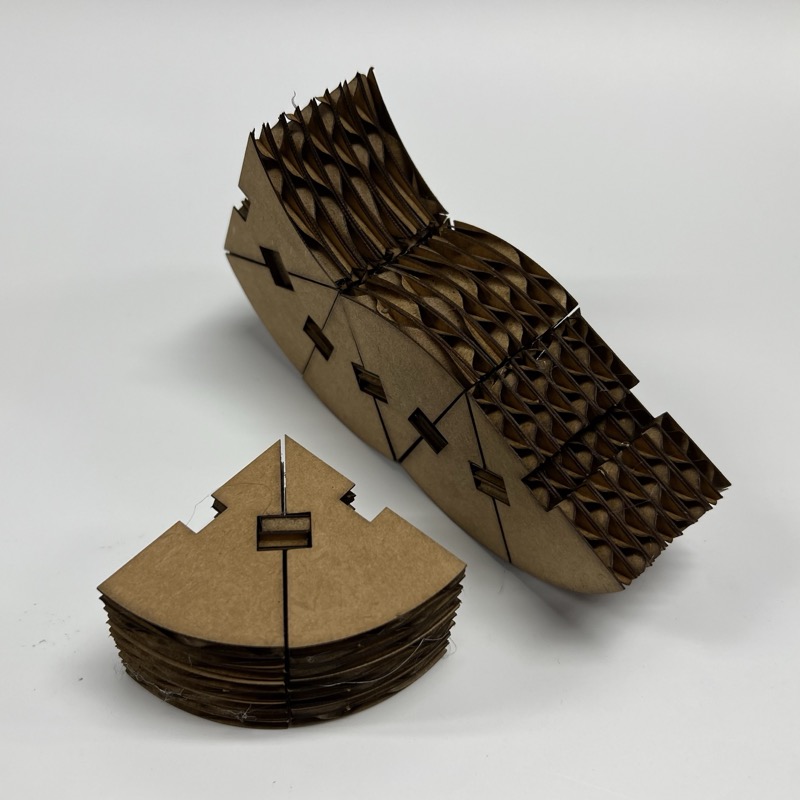
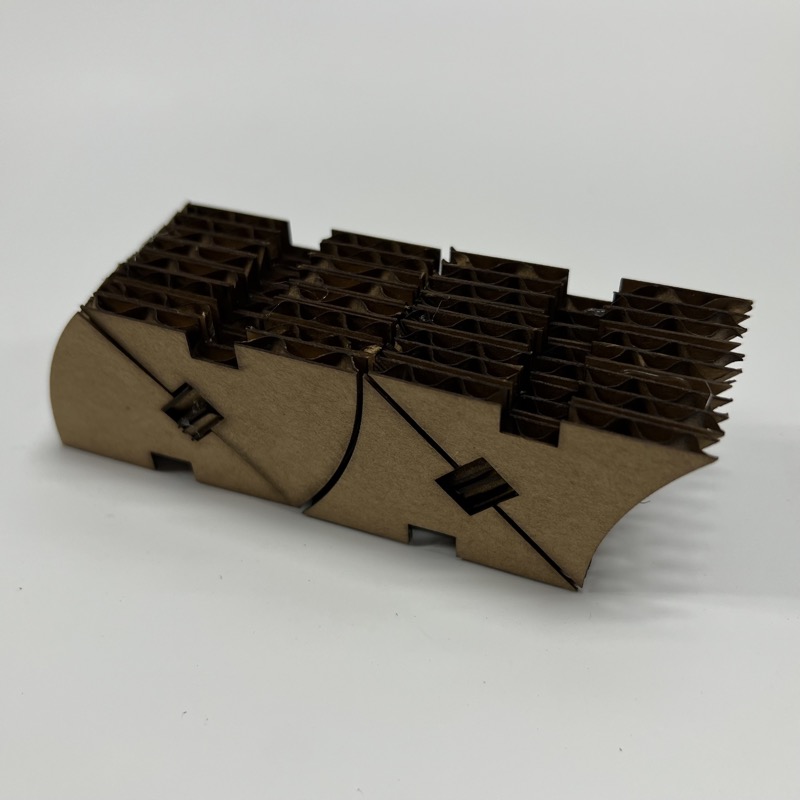
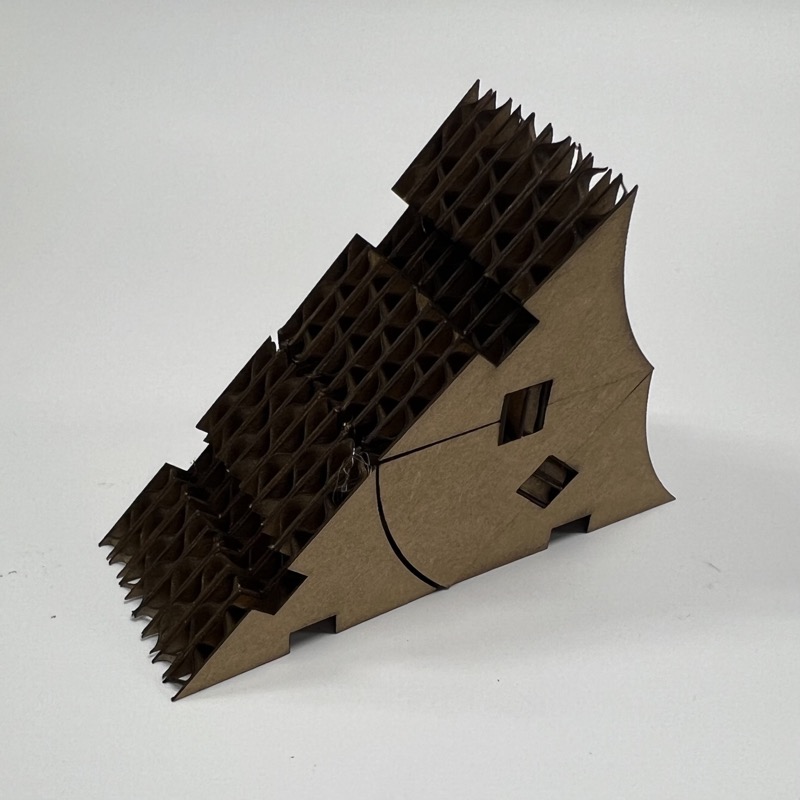
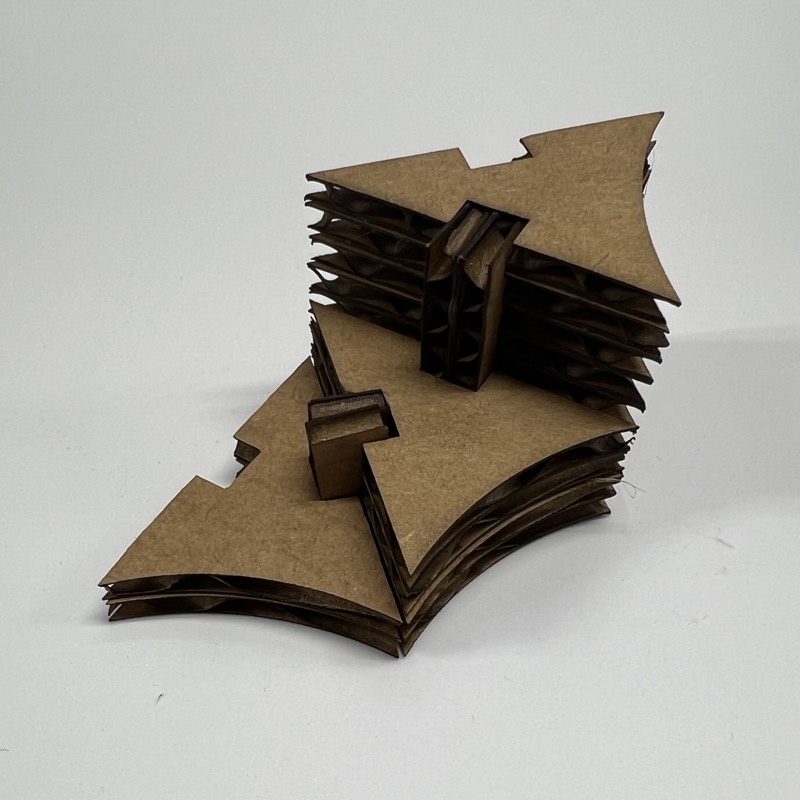
Furniture 5: Sculpture with Flexure
Vinyl Cutting
Tried vinyl cutting with the Cricut Maker 3.
The very first test cut
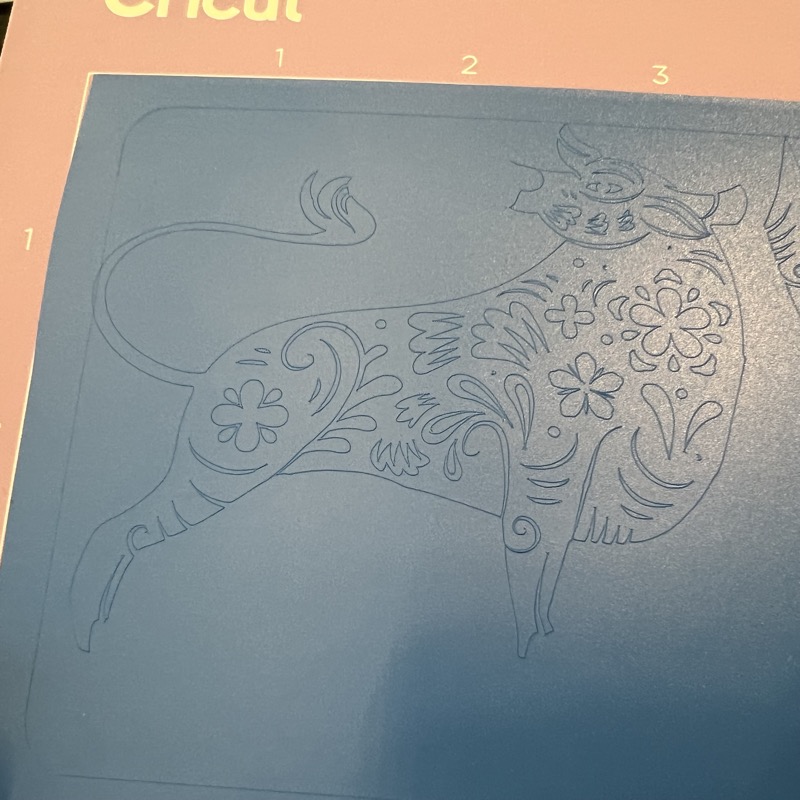
Initial cut result is great, it can handle fine details
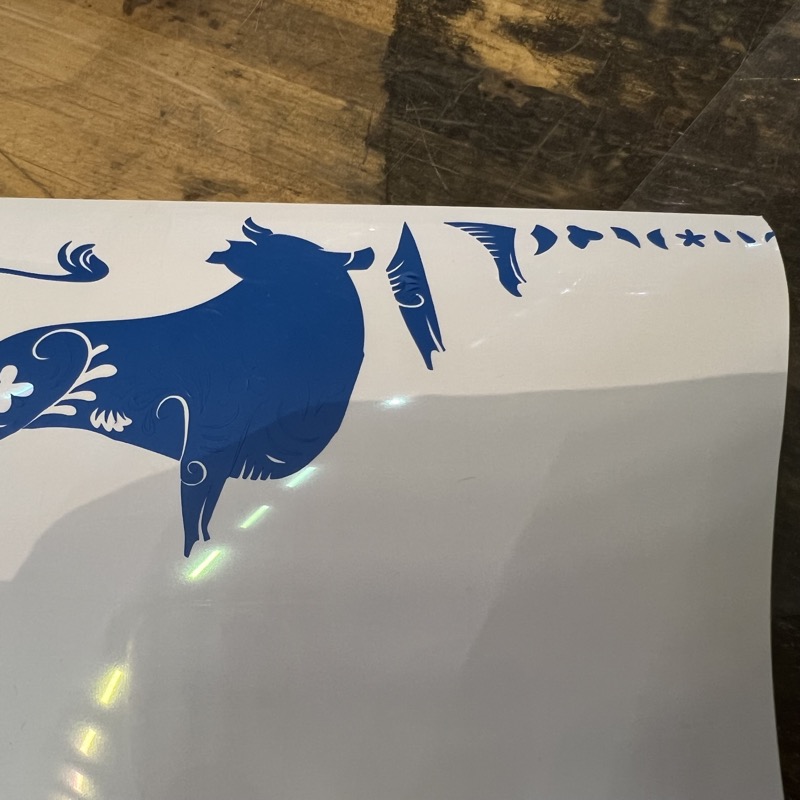
Failures due to wrong settings of pattern processing
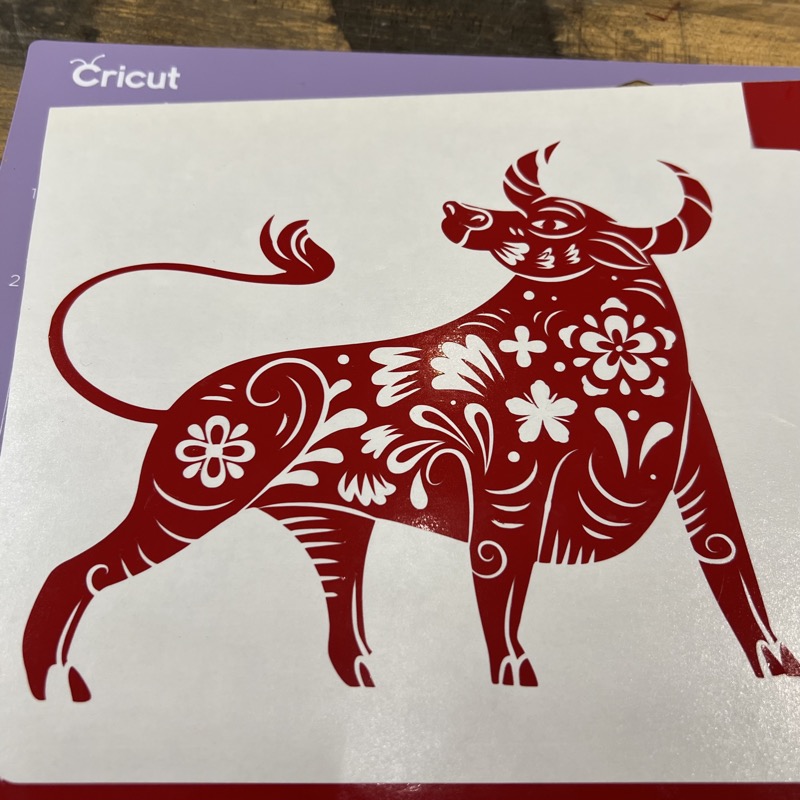
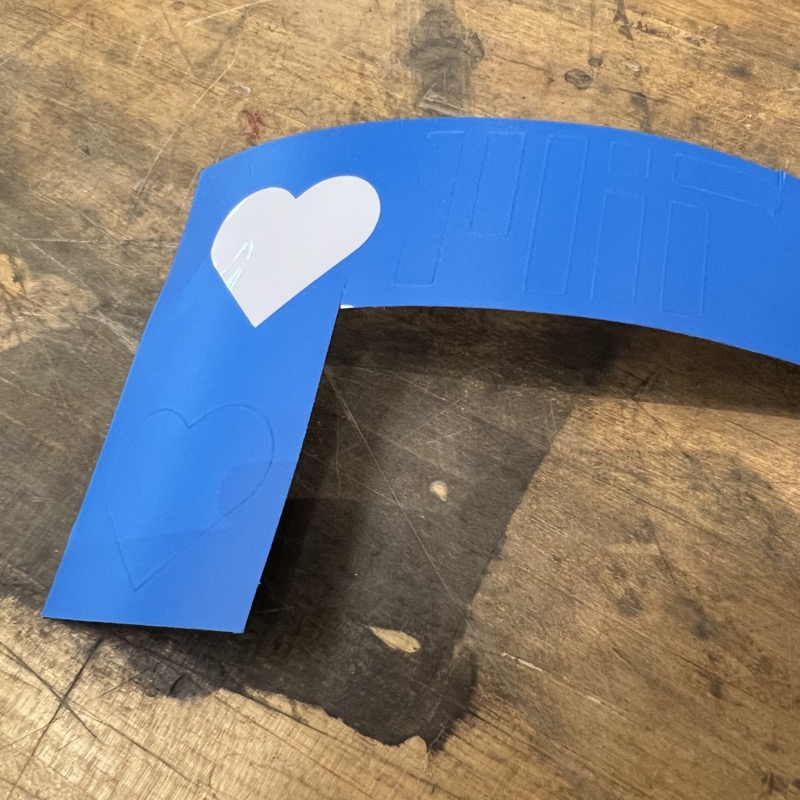
Final successful vinyl cut
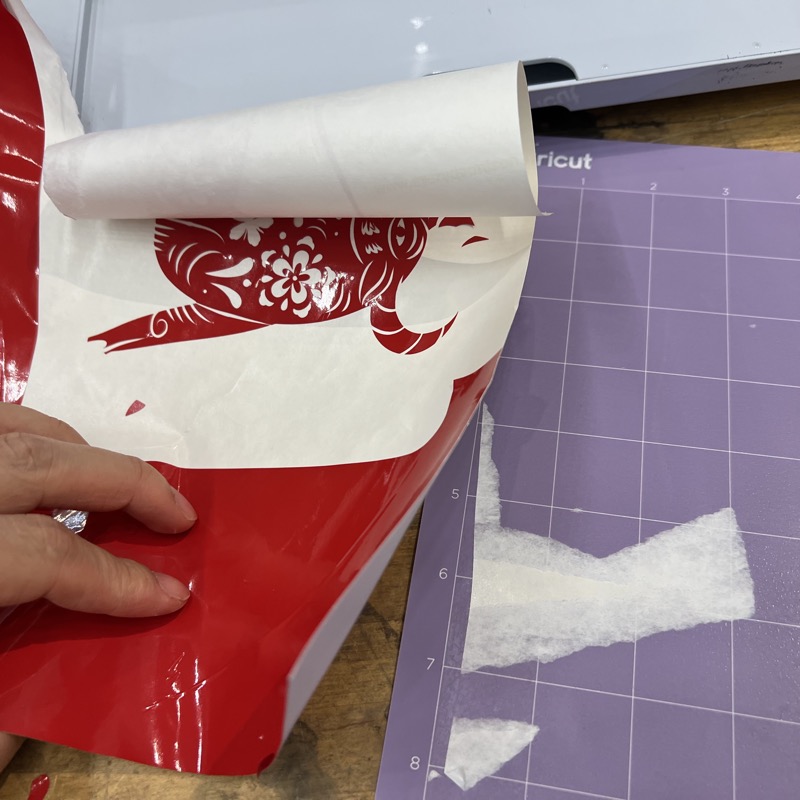
Peel off from the backing board and stick to the surface
Key Learnings
- Proper blade pressure is critical for clean cuts without damaging backing
- Vector graphics must be properly prepared with no overlapping paths and combined paths
- Material backing should be nonsticky to the board