Neo Pico
The Pico is aimed to be (almost) completely printed PCB mill. The dimensions are derived from the Neo Micro and optimized so that they fit in a standard Prusa Mk3s 3D printer bed (20x25 Cm). It takes about 30 hours to print the whole machine at 10% infill and no supports.
Since this is a single purpose machine, I want to reduce the barrier to entry as much as possible. Being able to 3D print the whole assembly means all the precision alignment and assembly is largely taken care of and the effort involved in making such machines are lot lower.
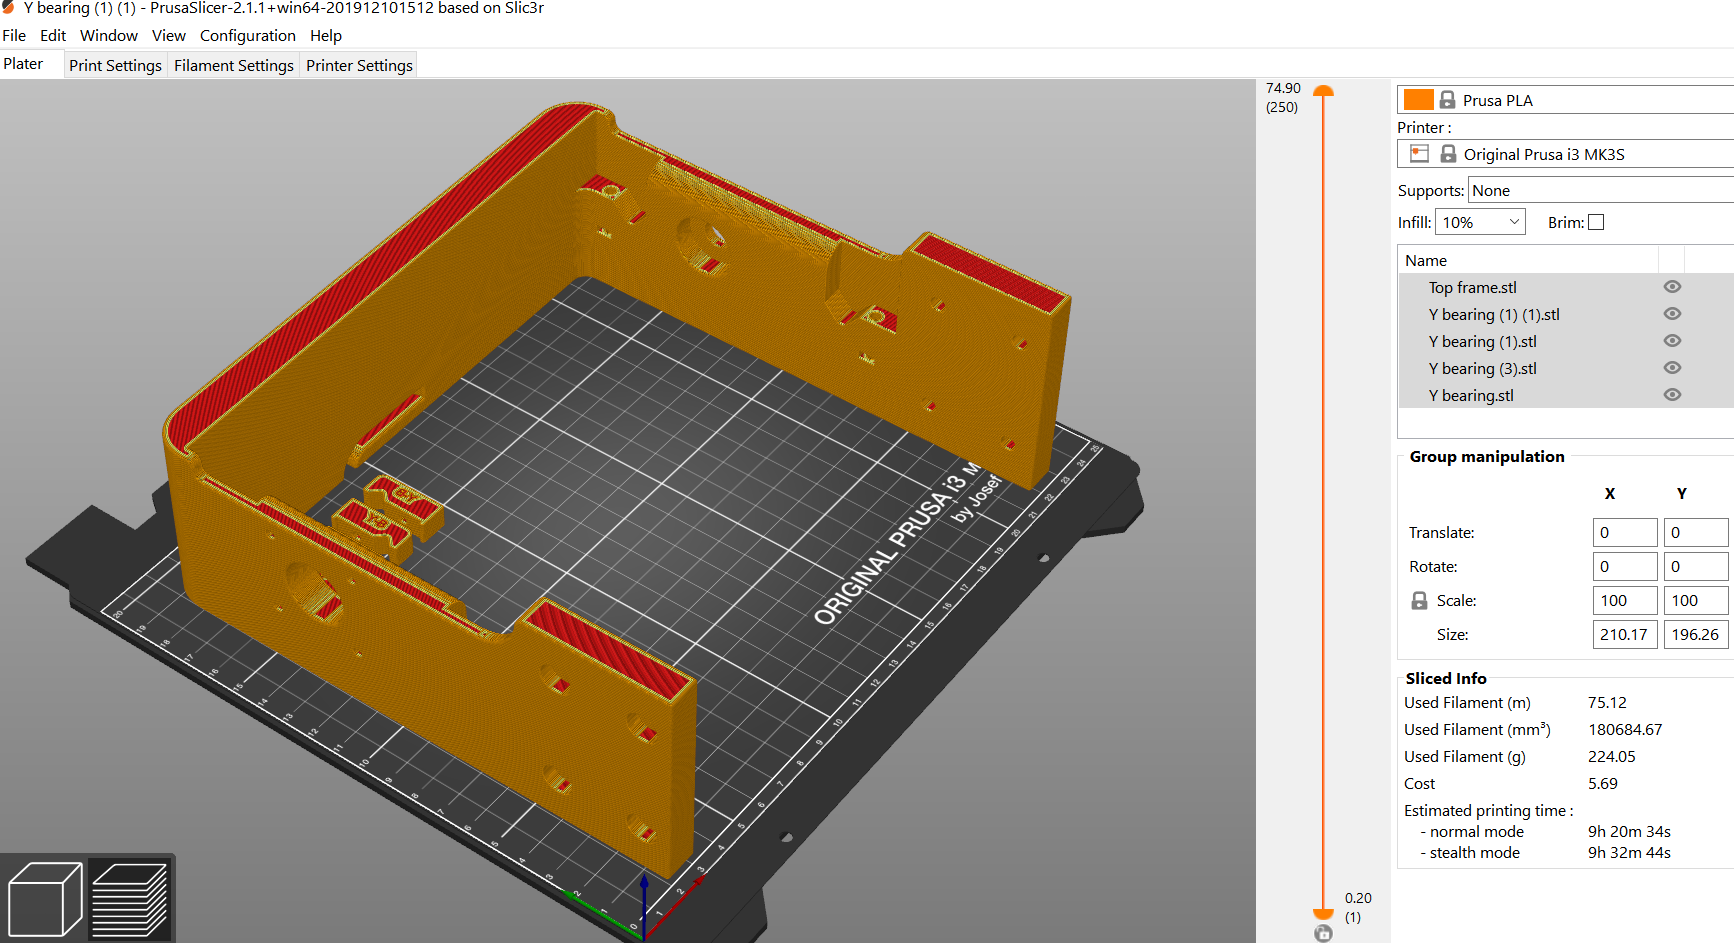
The frame is printed in two parts to align the layer orientation to give it maximum strength and then assembled using M5 bolts. The X and Y gantries are printed as a single pieces.
Design
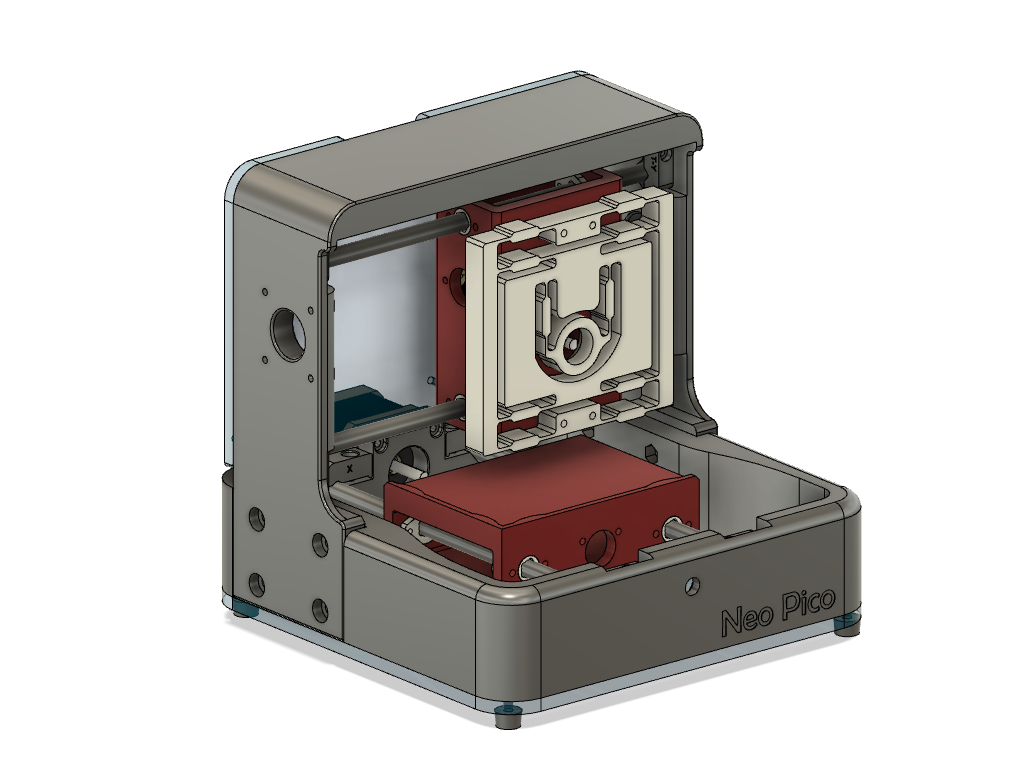
Parts are designed keeping in mind the advantages and limitations of 3D printing. The whole design fits into a Prusa Mk3 bed. 3D printed parts forms the basis of the structure and two 6mm Acrylic plates act as stiffening members preventing flexing.
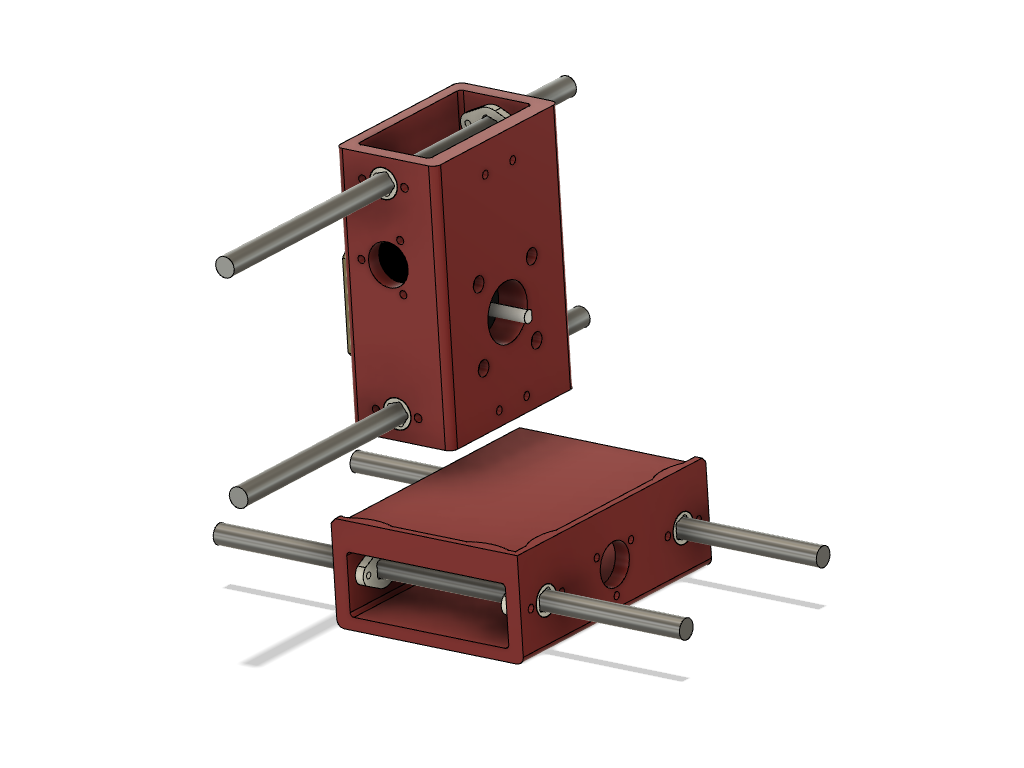
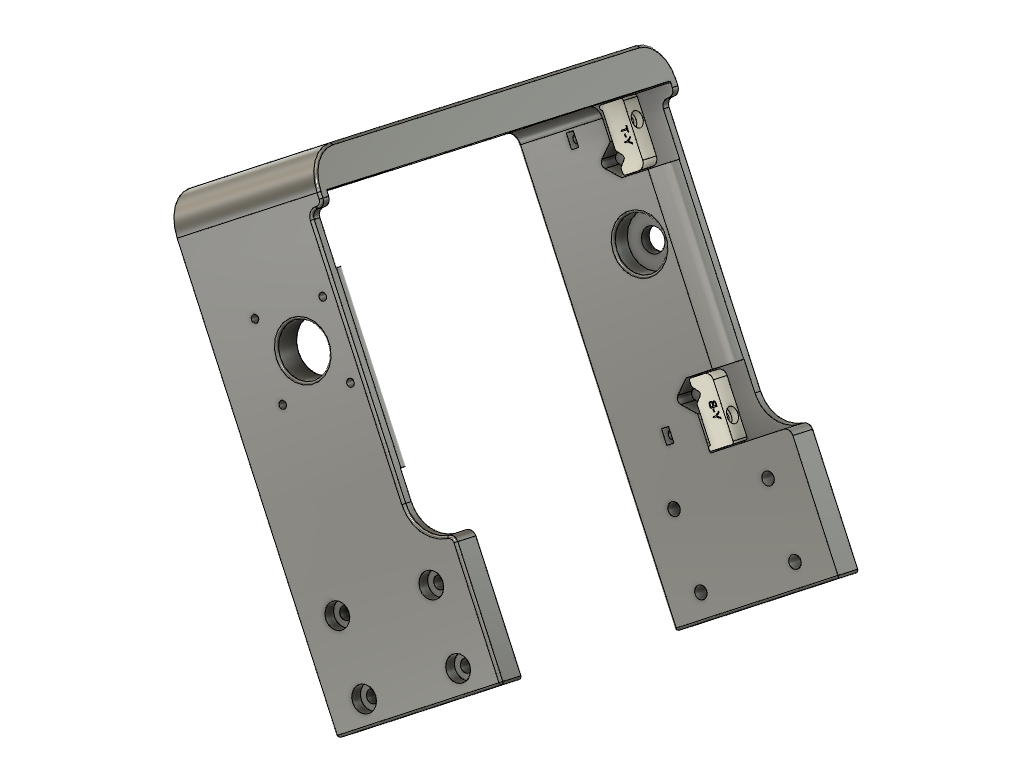
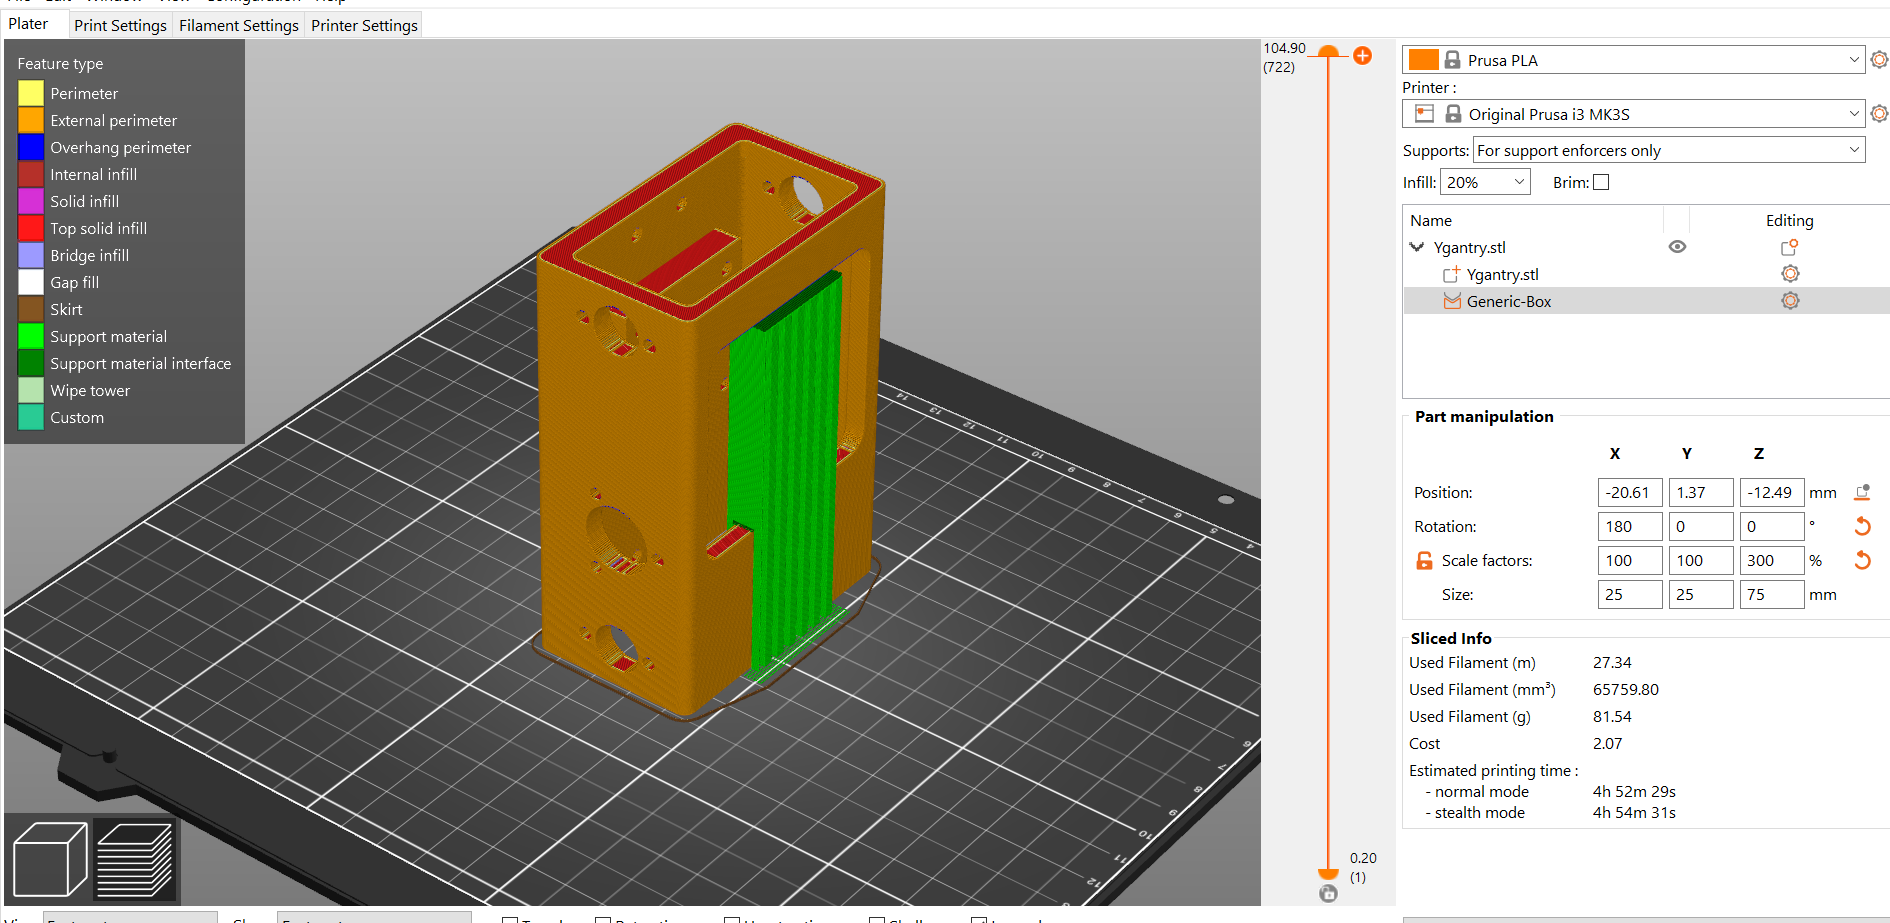
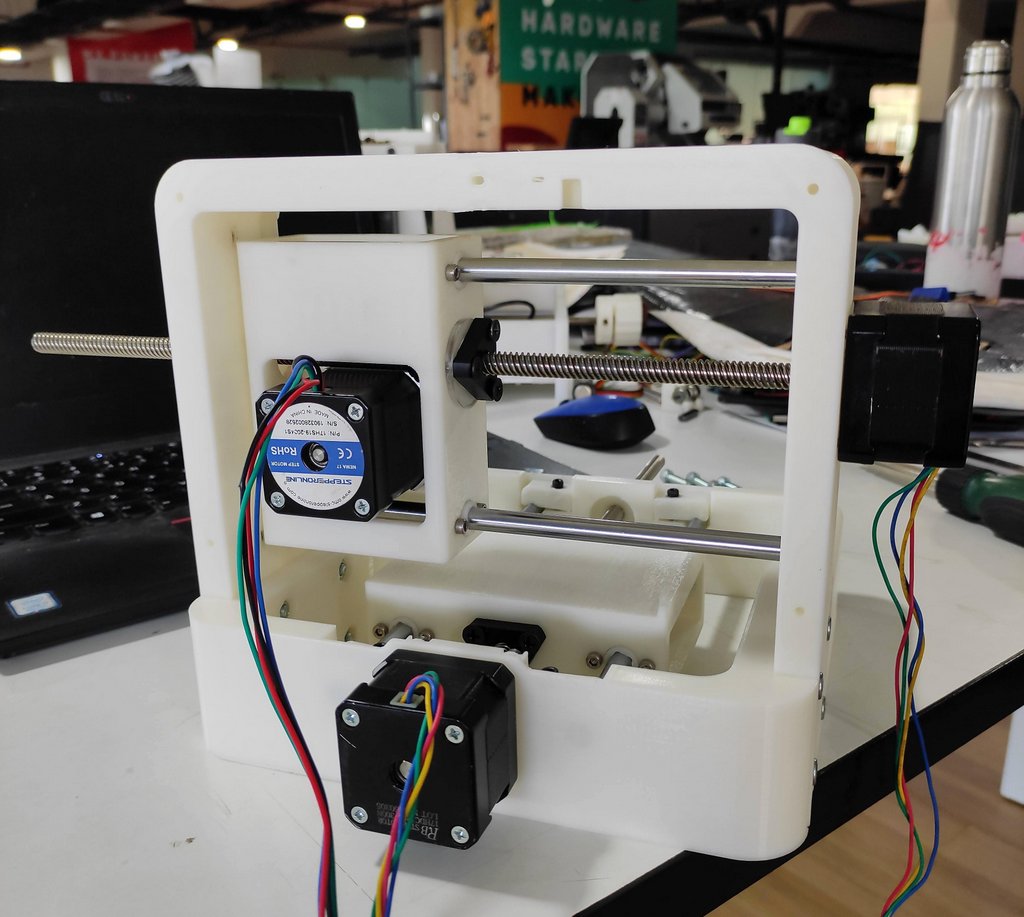
X and Y gantry are designed to be printed as single piece, box structure gives the max rigidity in a clean shape.
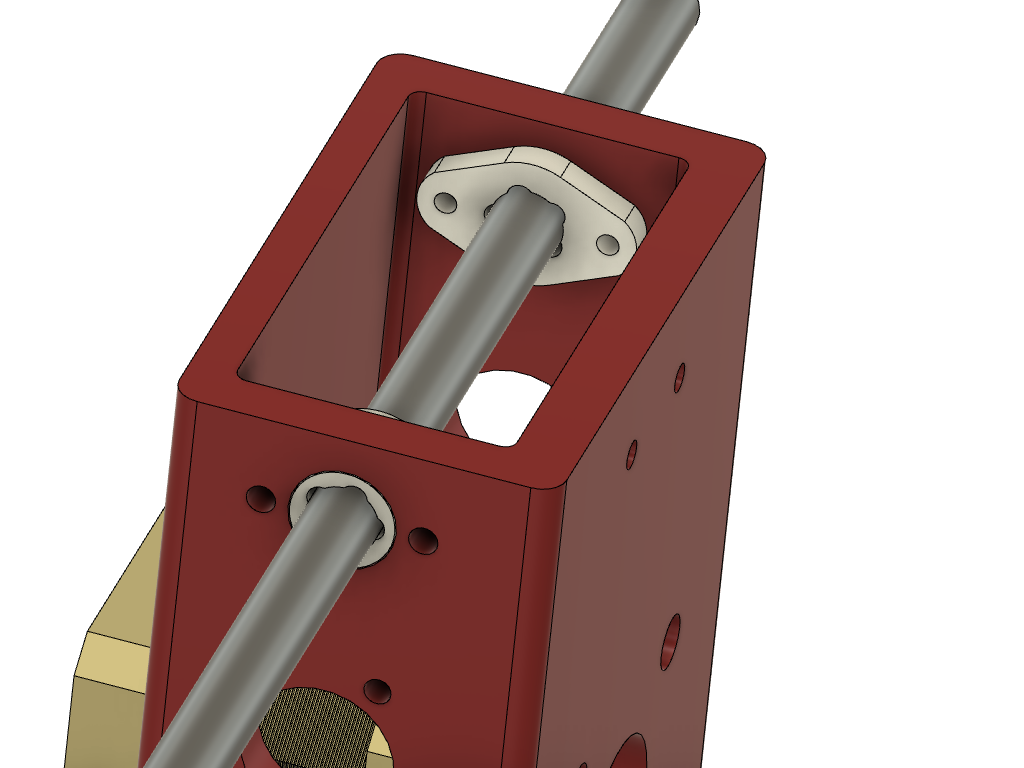
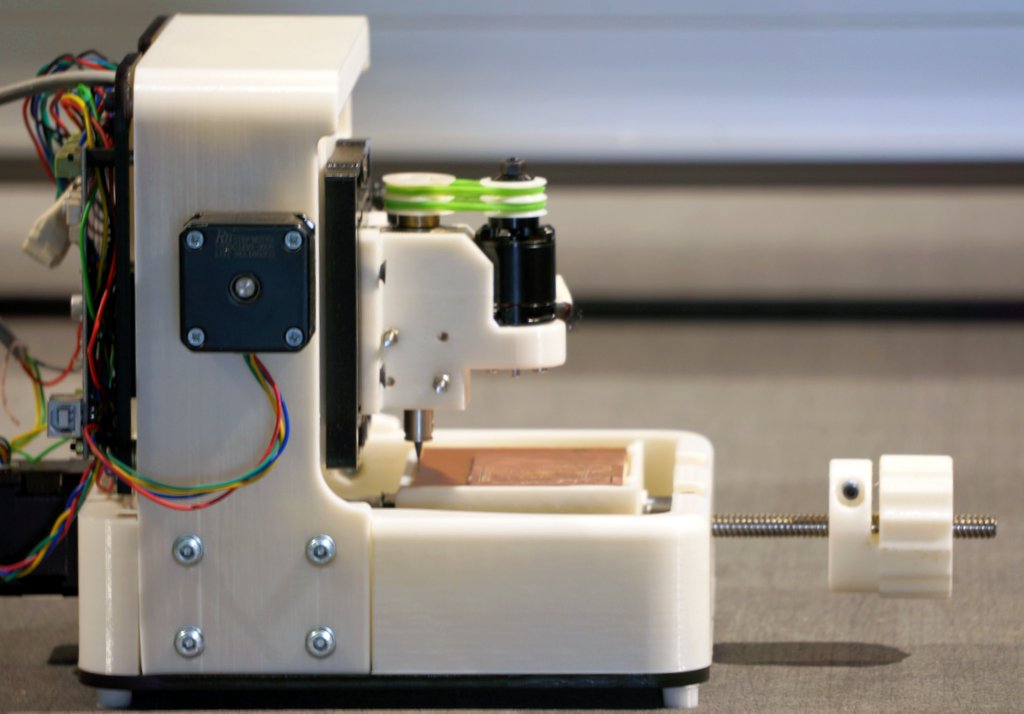
Delrin bushings like in the Neo Micro are used to provide linear motion on 8mm smooth rods.
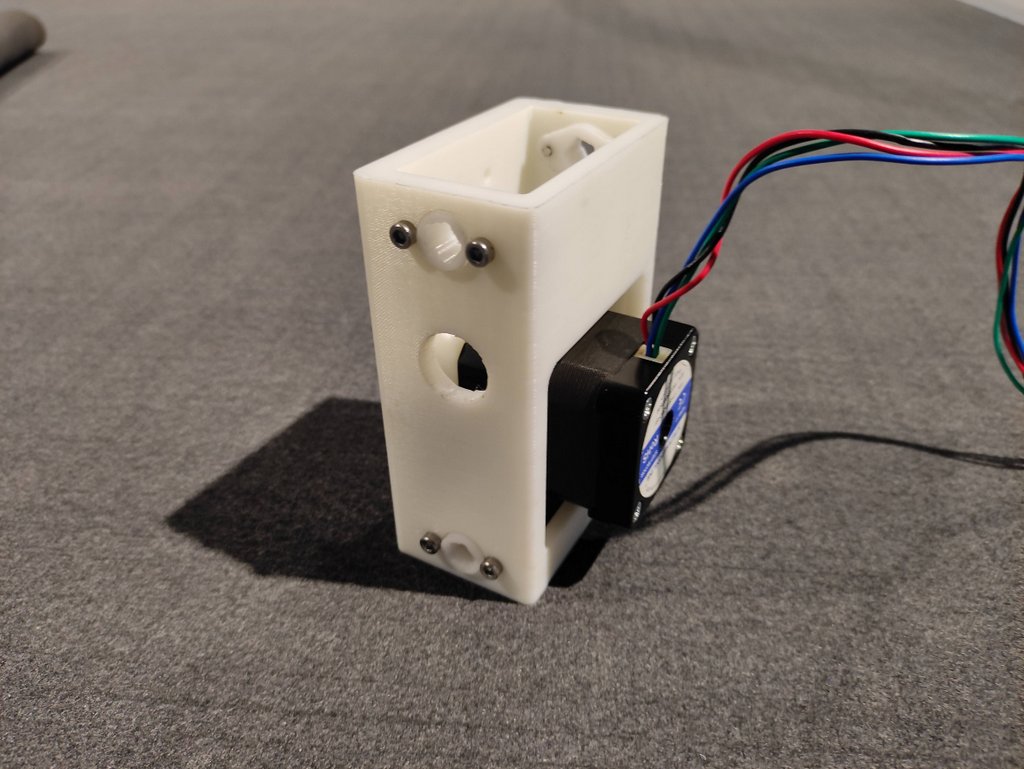
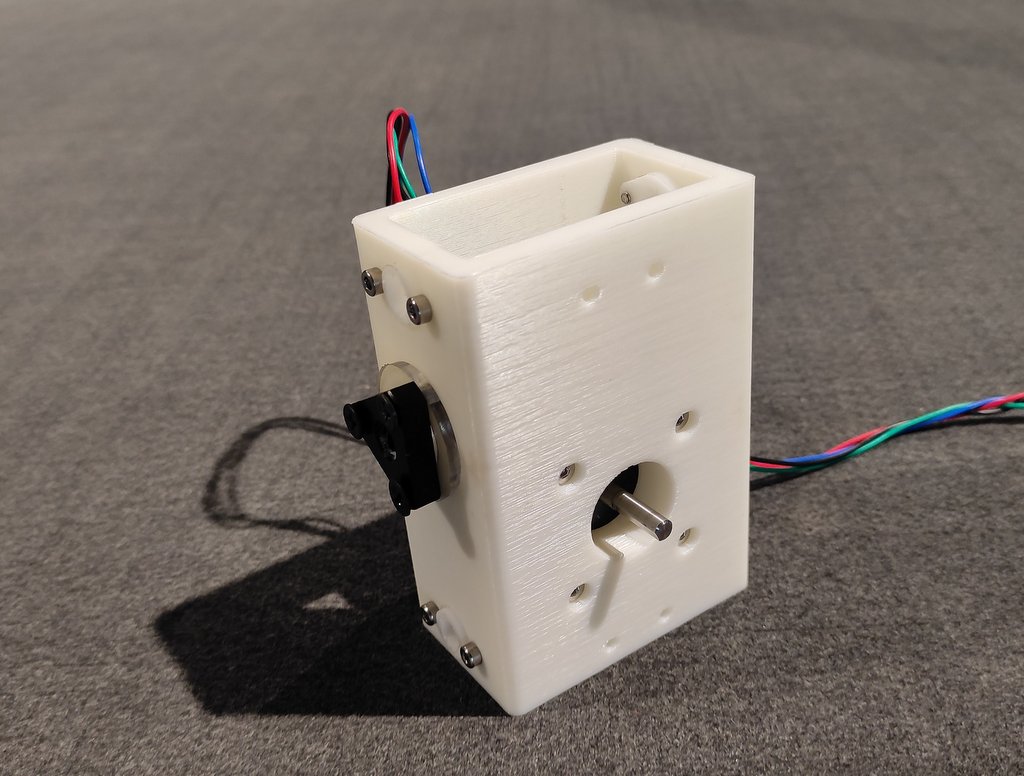
The X-axis designed as a single unit to help maximize rigidity and to make sure all the alignment are taken care of in the printer itself.
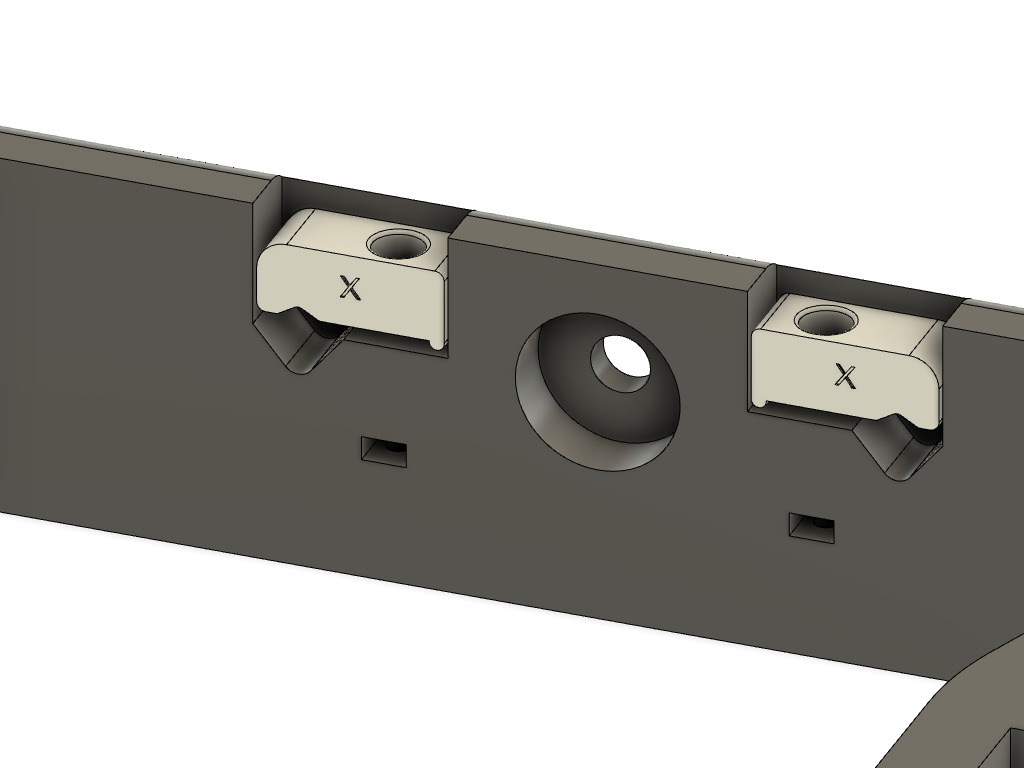
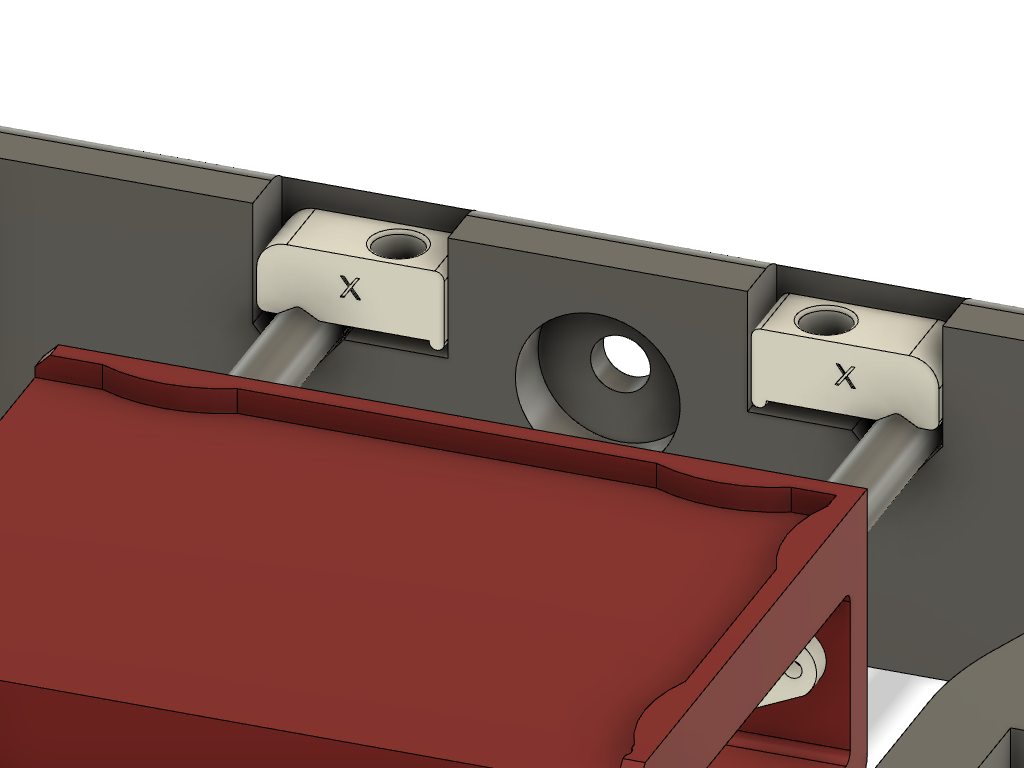
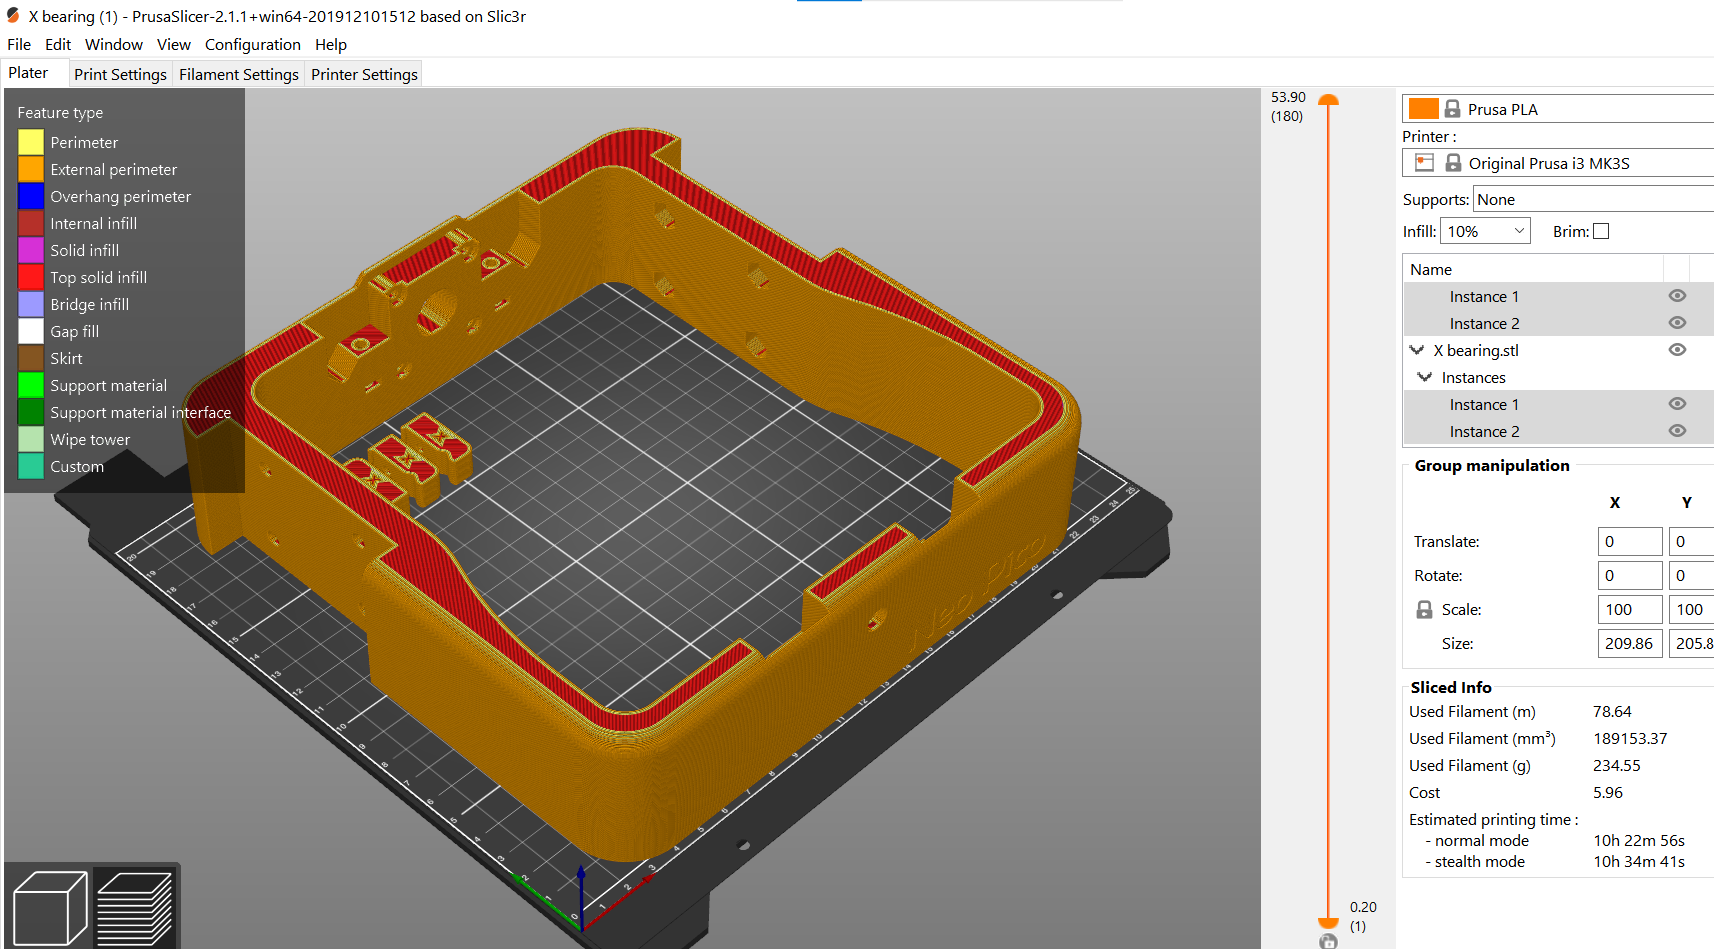
Small 3D printed toe clamps are used to secure the 8mm smooth rods on to the v-shaped profile so that they are held rigidly. They are held with M3 bolts secured by nuts.
3D printing
Almost all the parts are printed with No supports. This will cause the vertical circles to be slightly oval and also have some unwanted artifacts as well but printing time and material is reduced considerably.
Print setting
Layer Height: 0.3mm
Infill: 10%
Infill type: Rectilinear
Layer perimeter: 3
Supports: none
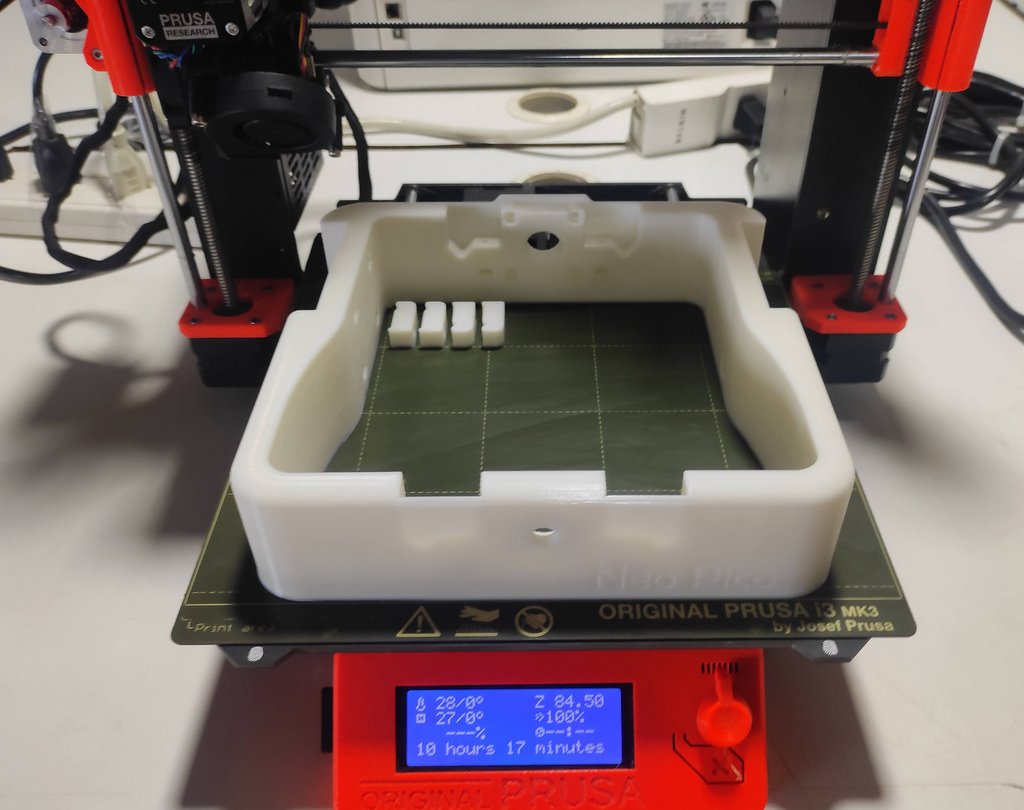
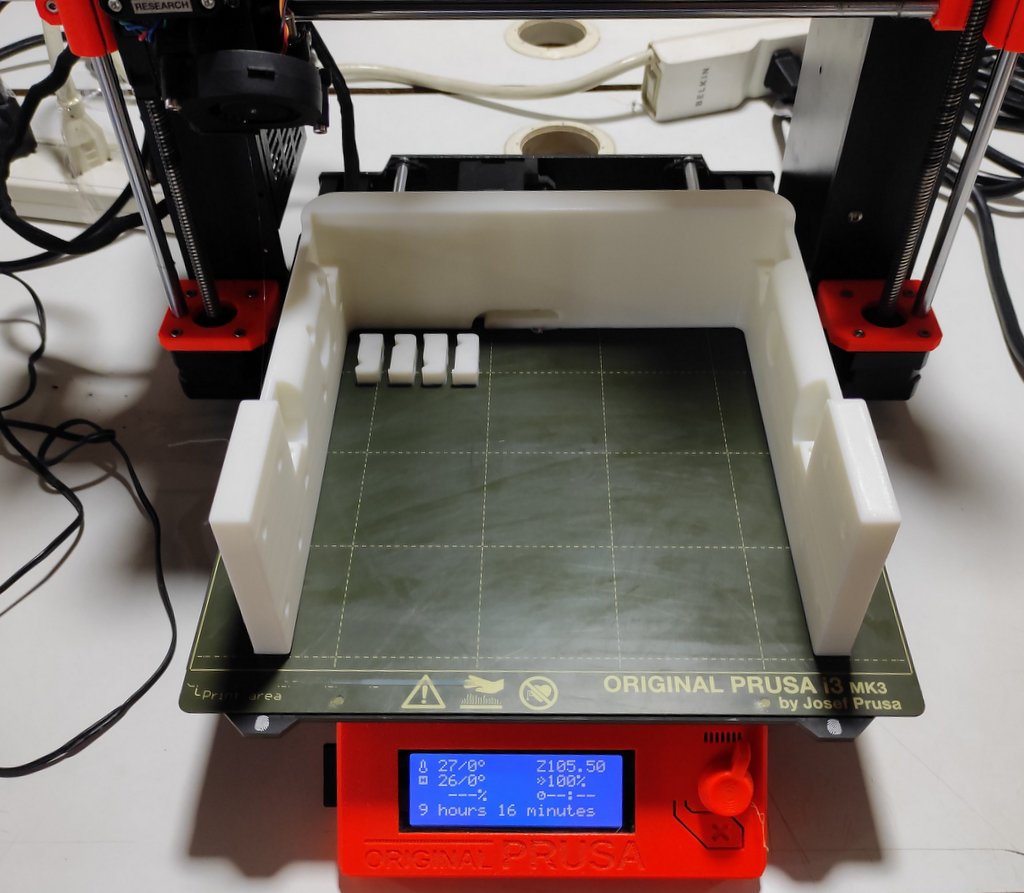
The bed of the machine finished printing in about 10.5 hours and feels solid in hand.
Assembly
The machine uses the same sliding Delrin bushes from the previous builds, the bushes are held securely using M3 Screws.
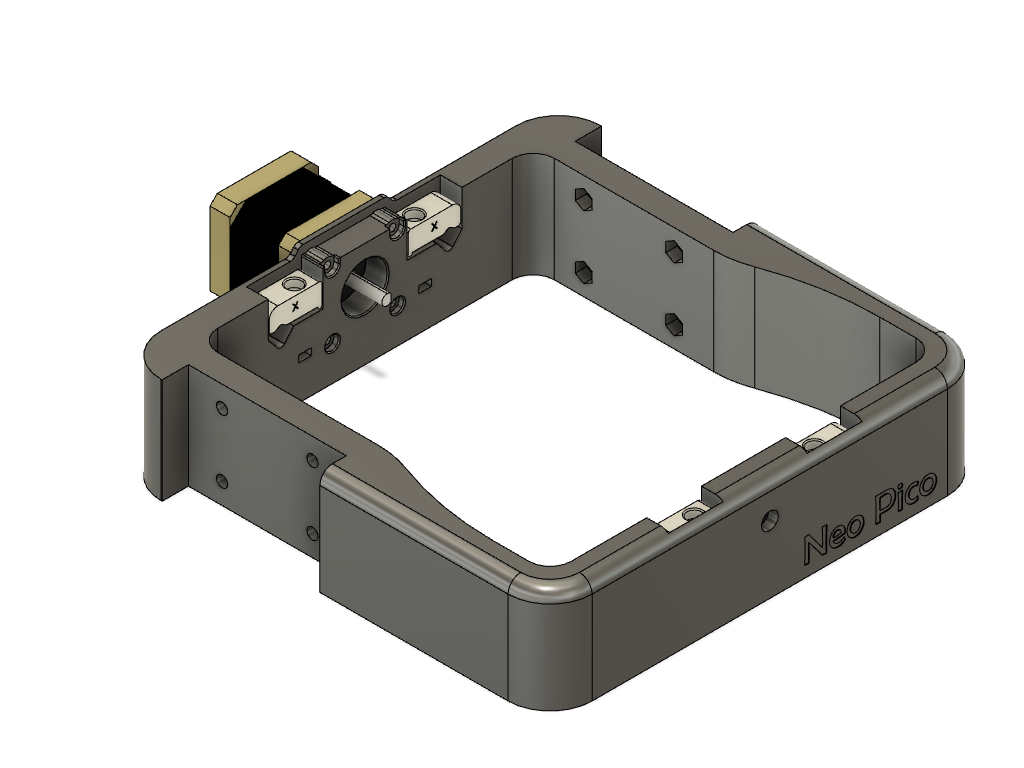
Y gantry completed and ready for the Z-axis flexure and Cam to be mounted.
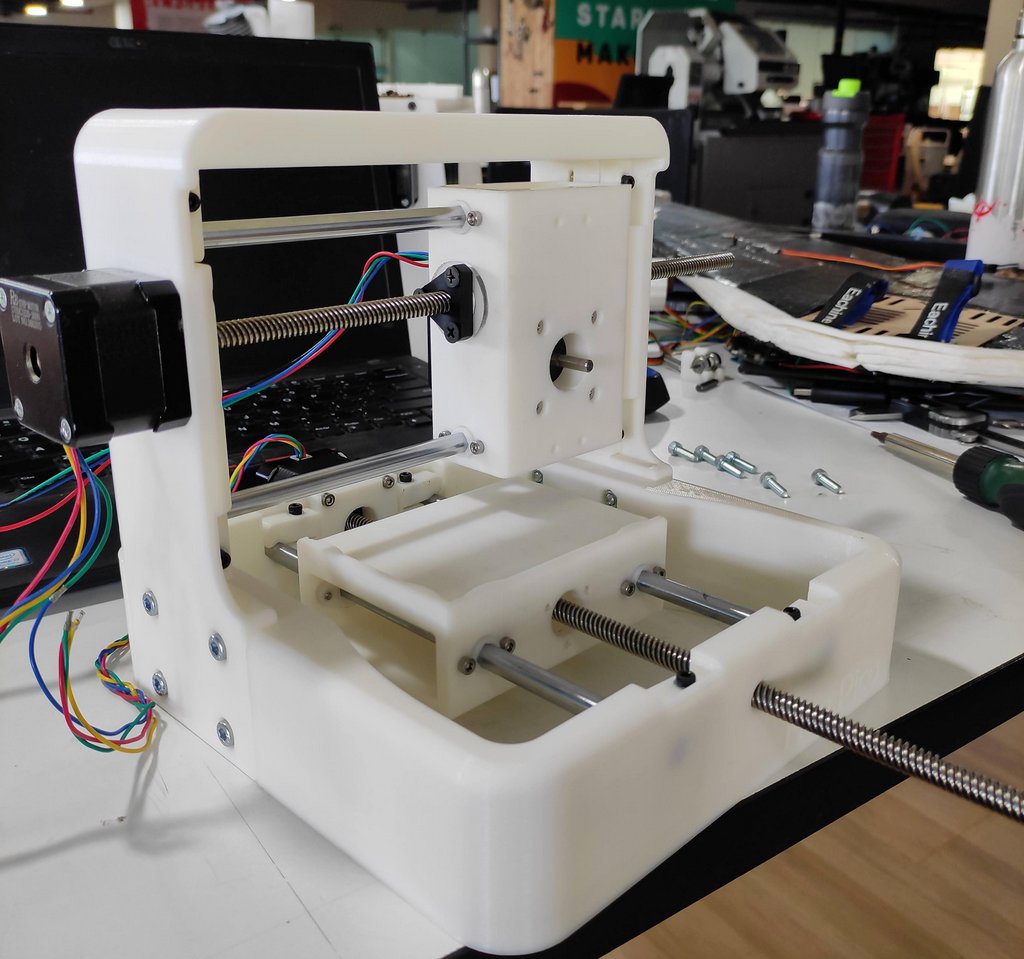
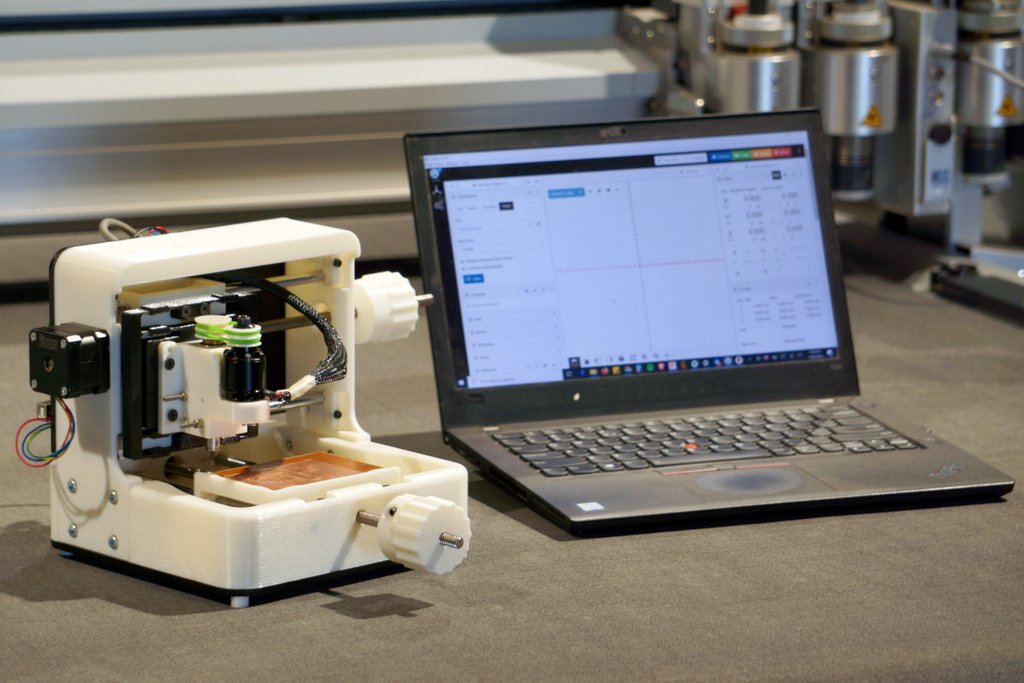
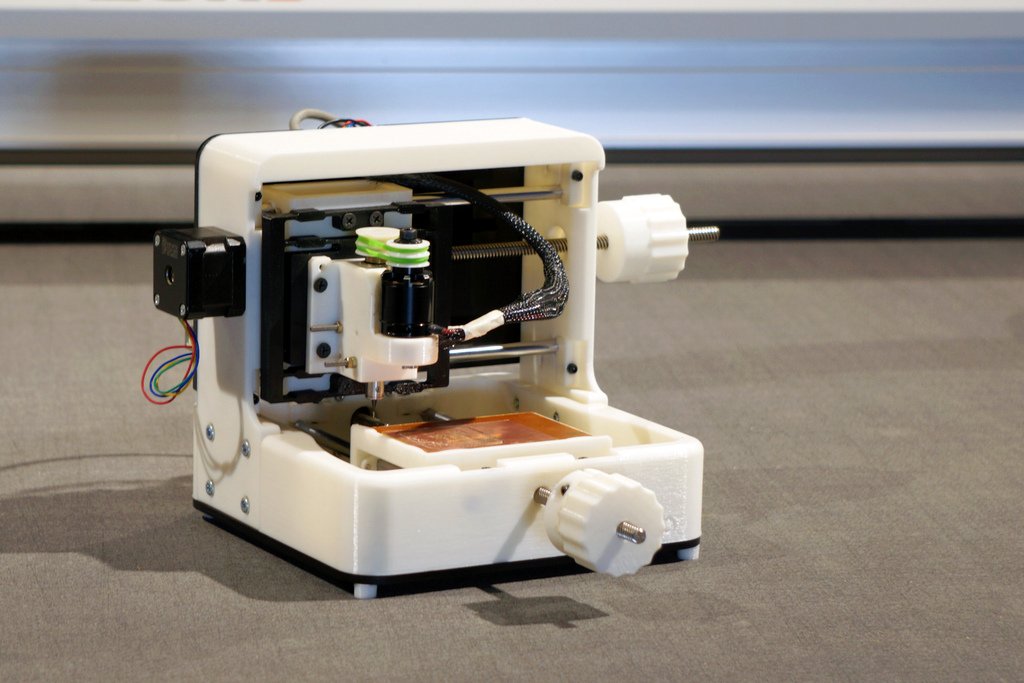
X and Y axes fully assembled and tested all the movements of the machine. Ready for the Spindle and the rest of the parts to be assembled.
Testing
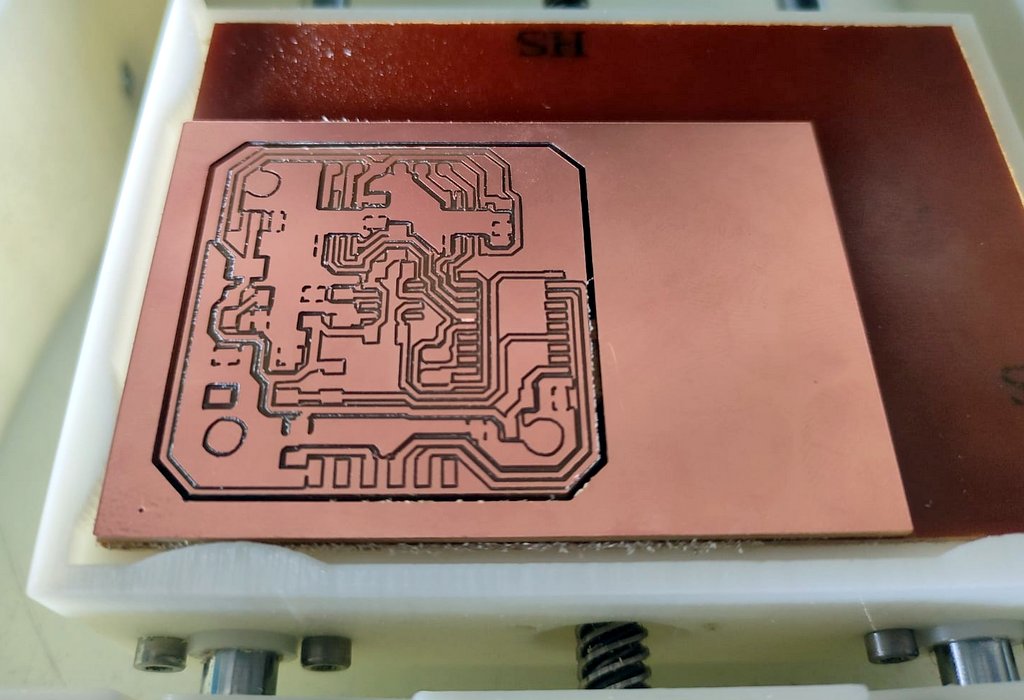
The tests are done with a Petg 3D printed flexure, I'm testing 3D printing the flexure from different materials to make it easier to build and is rigid enough to mill.
The machine works well with both 1/64" and 1/32" endmills.