Week 3: 3D Scanning & Printing
This week was focused on 3D scanning and printing, and our new assignment specifically required us to design an object that could not be produced subtractively. This bugged me for a little while, and I tried to wrap around my head around how I could design an instrument that could satisfy this requirement. I initially planned to work towards my final project, and design a 3D-printable kalimba but the assignment constrained us to use PLA, which could not give out good results. I then decided to move forward and design an egg shaker.


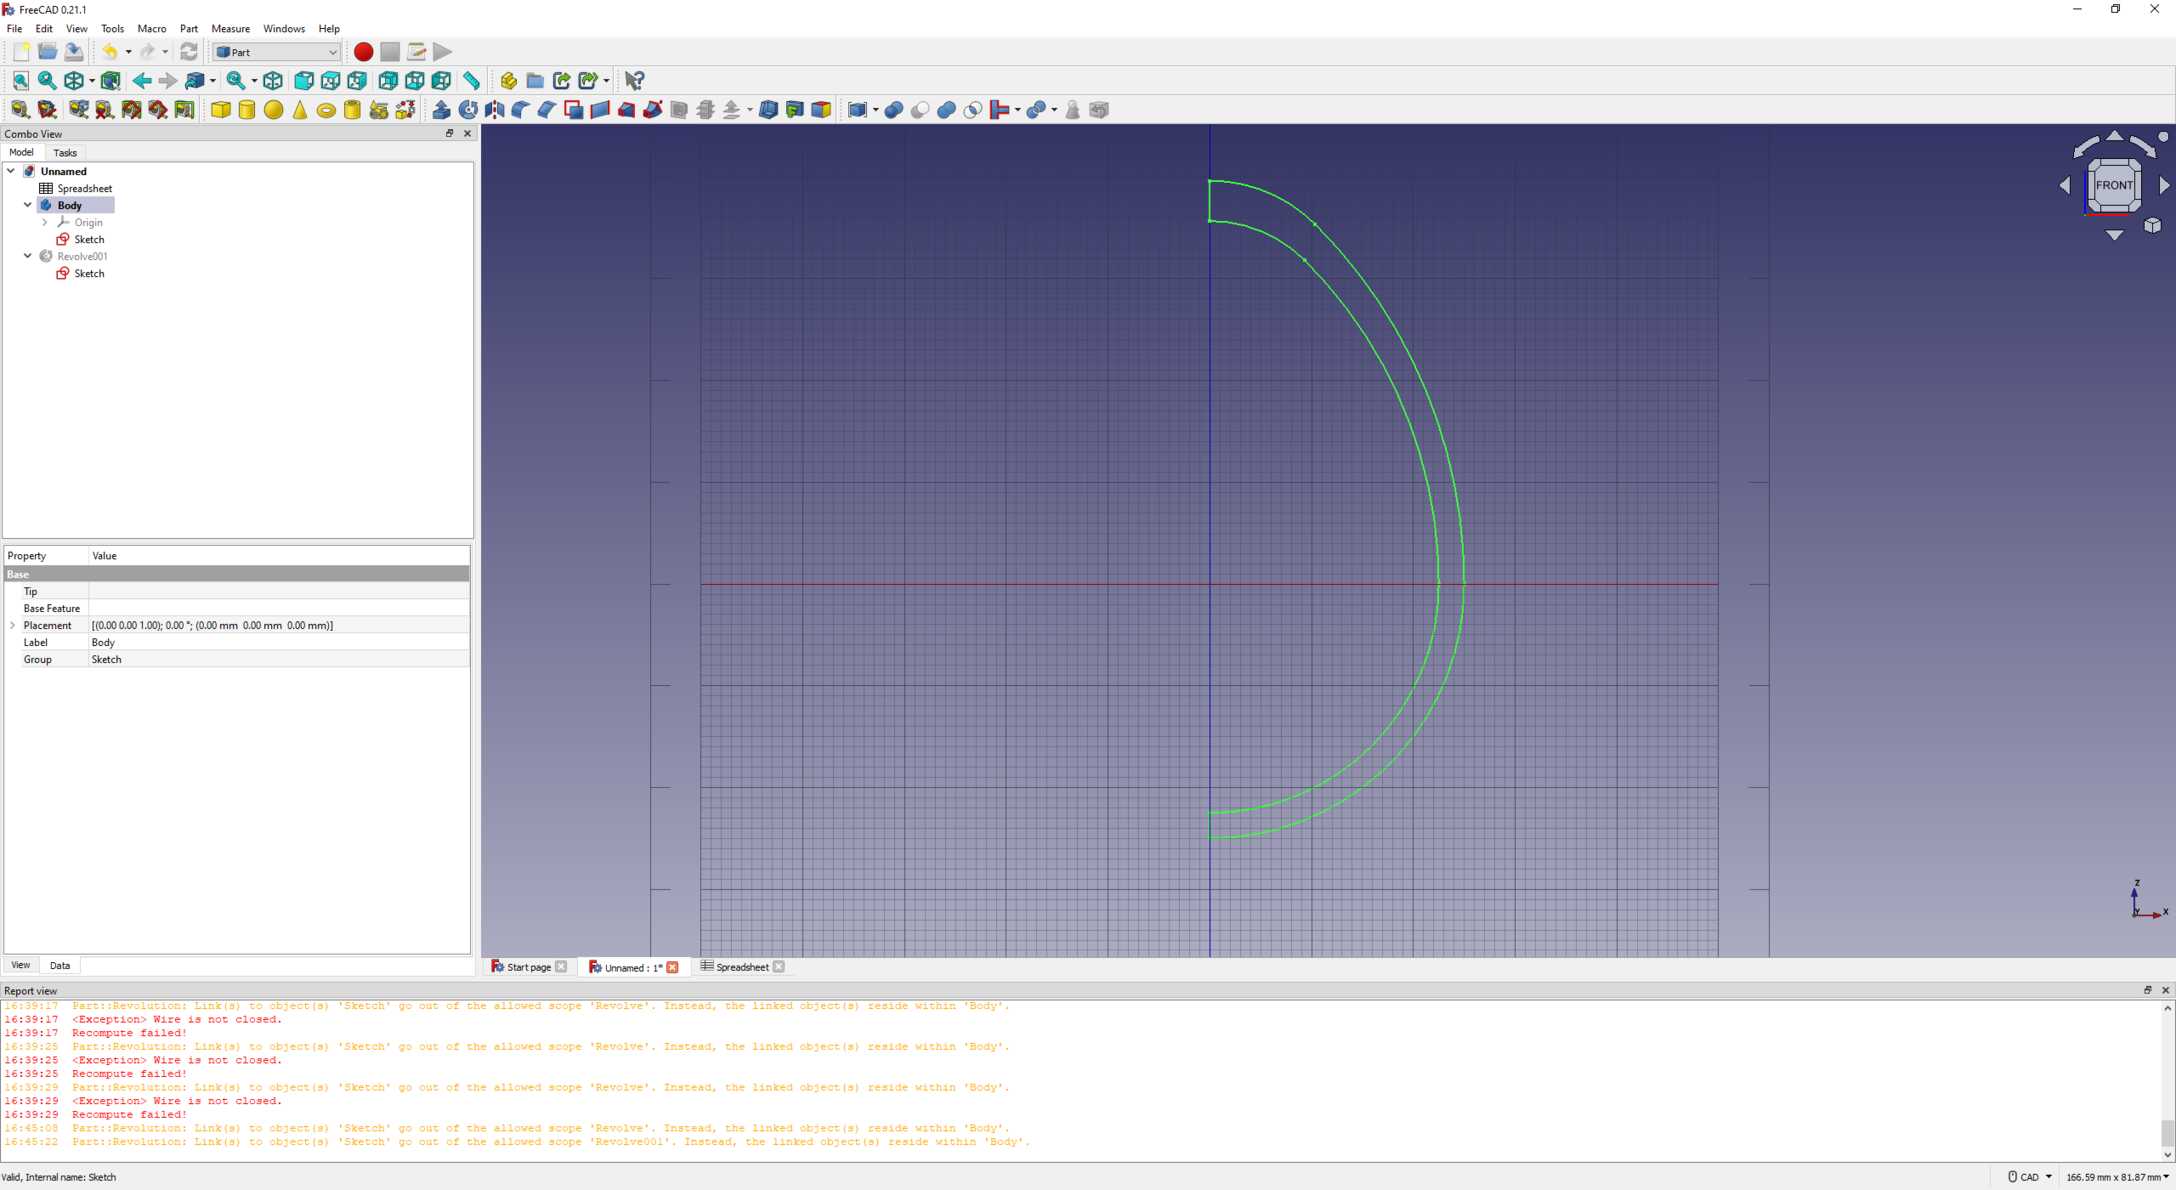
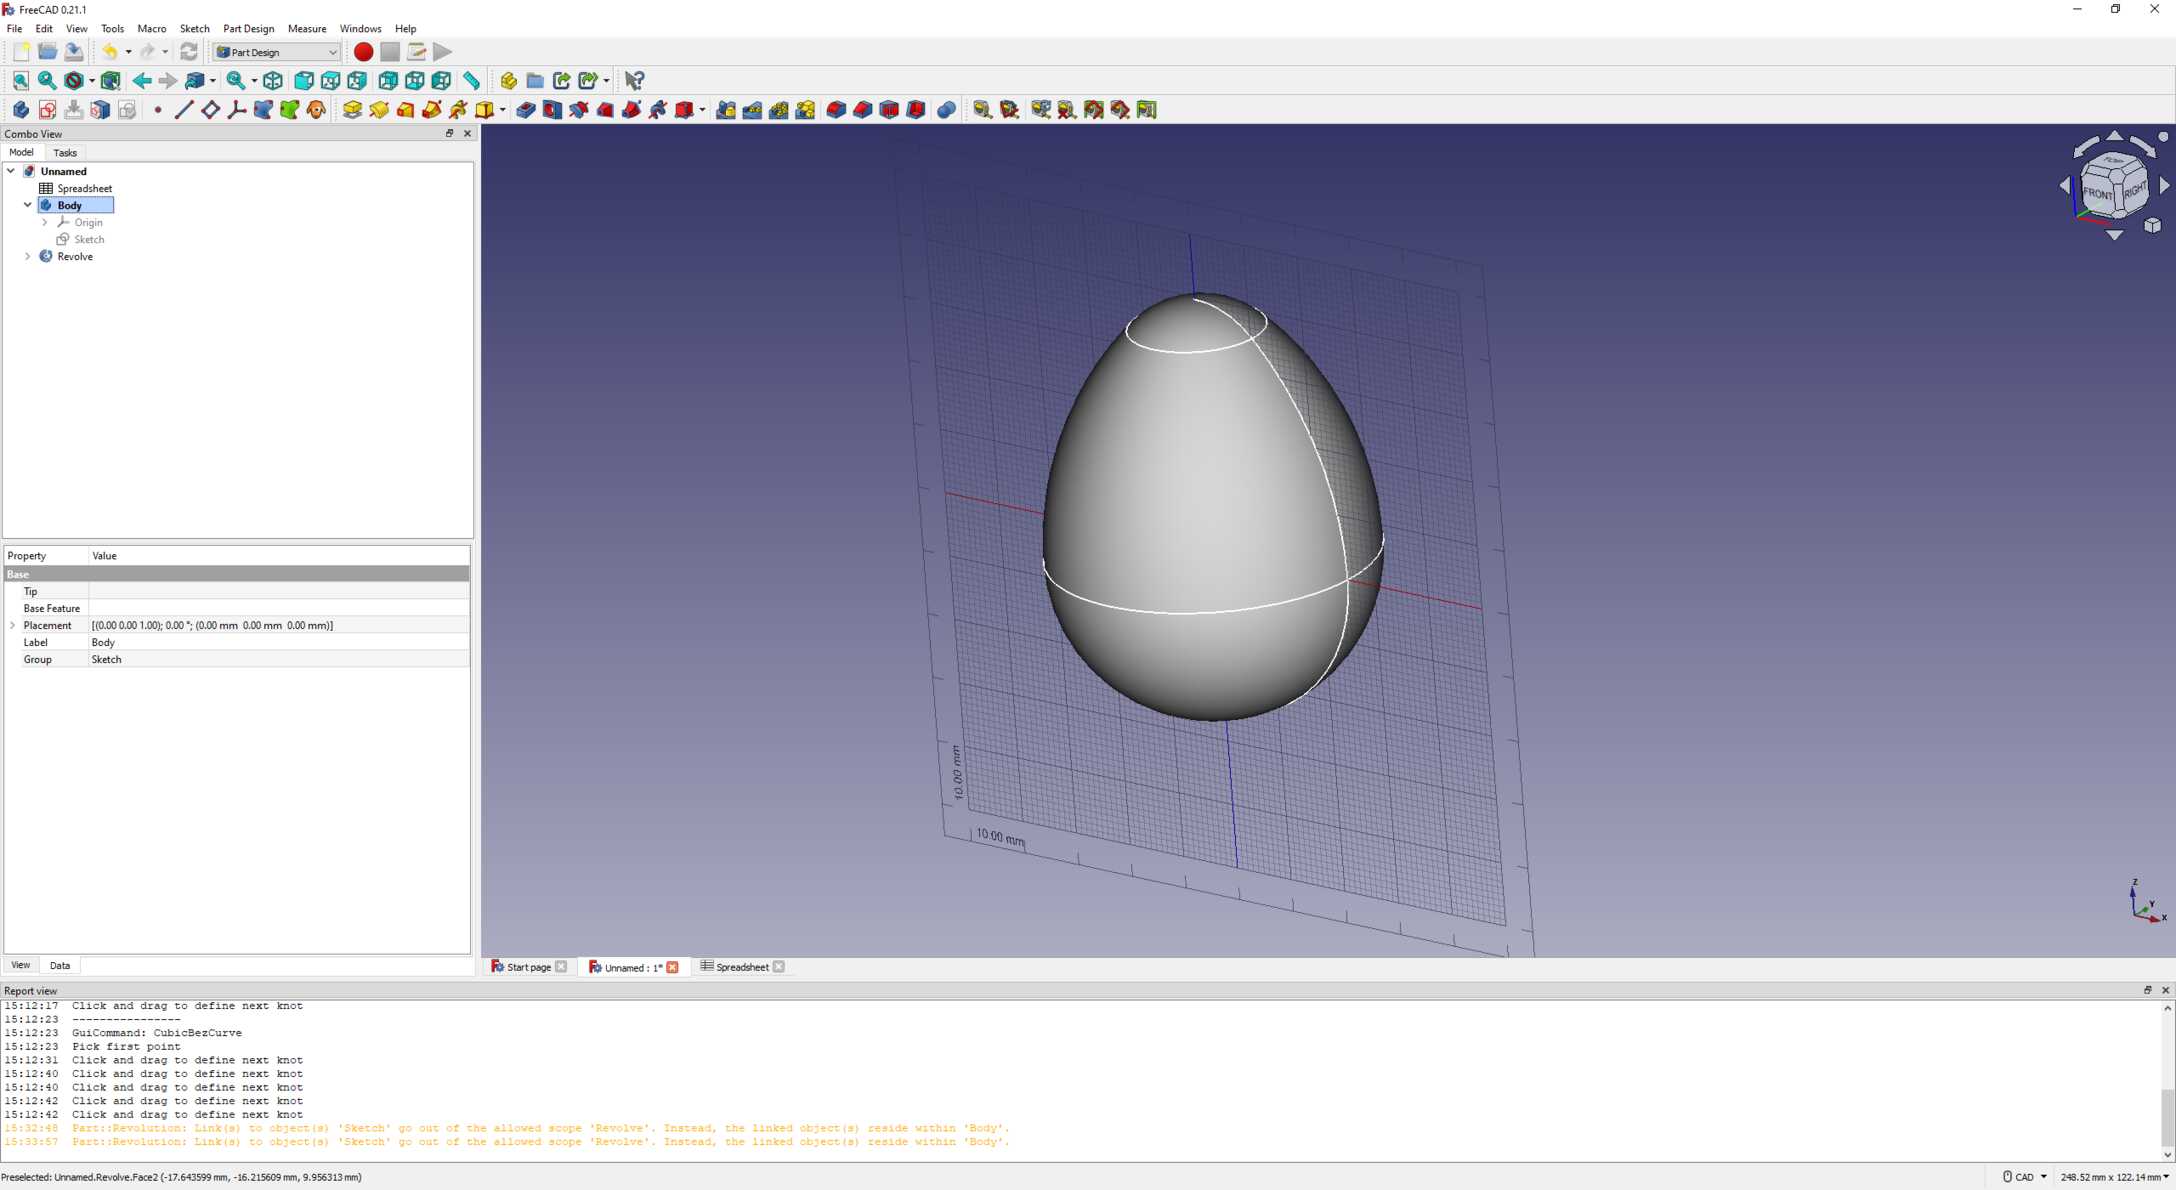
My laptop is still not fixed, so I had to use the same PC as Week 1, and use FreeCAD to design a nice ovoid shape. I did this using two circles with diameters of 50mm and 100mm (all parameterised), used a thickness of 5mm, and used a revolution to build the egg. I built a mesh using this shape and exported it as a STL file.
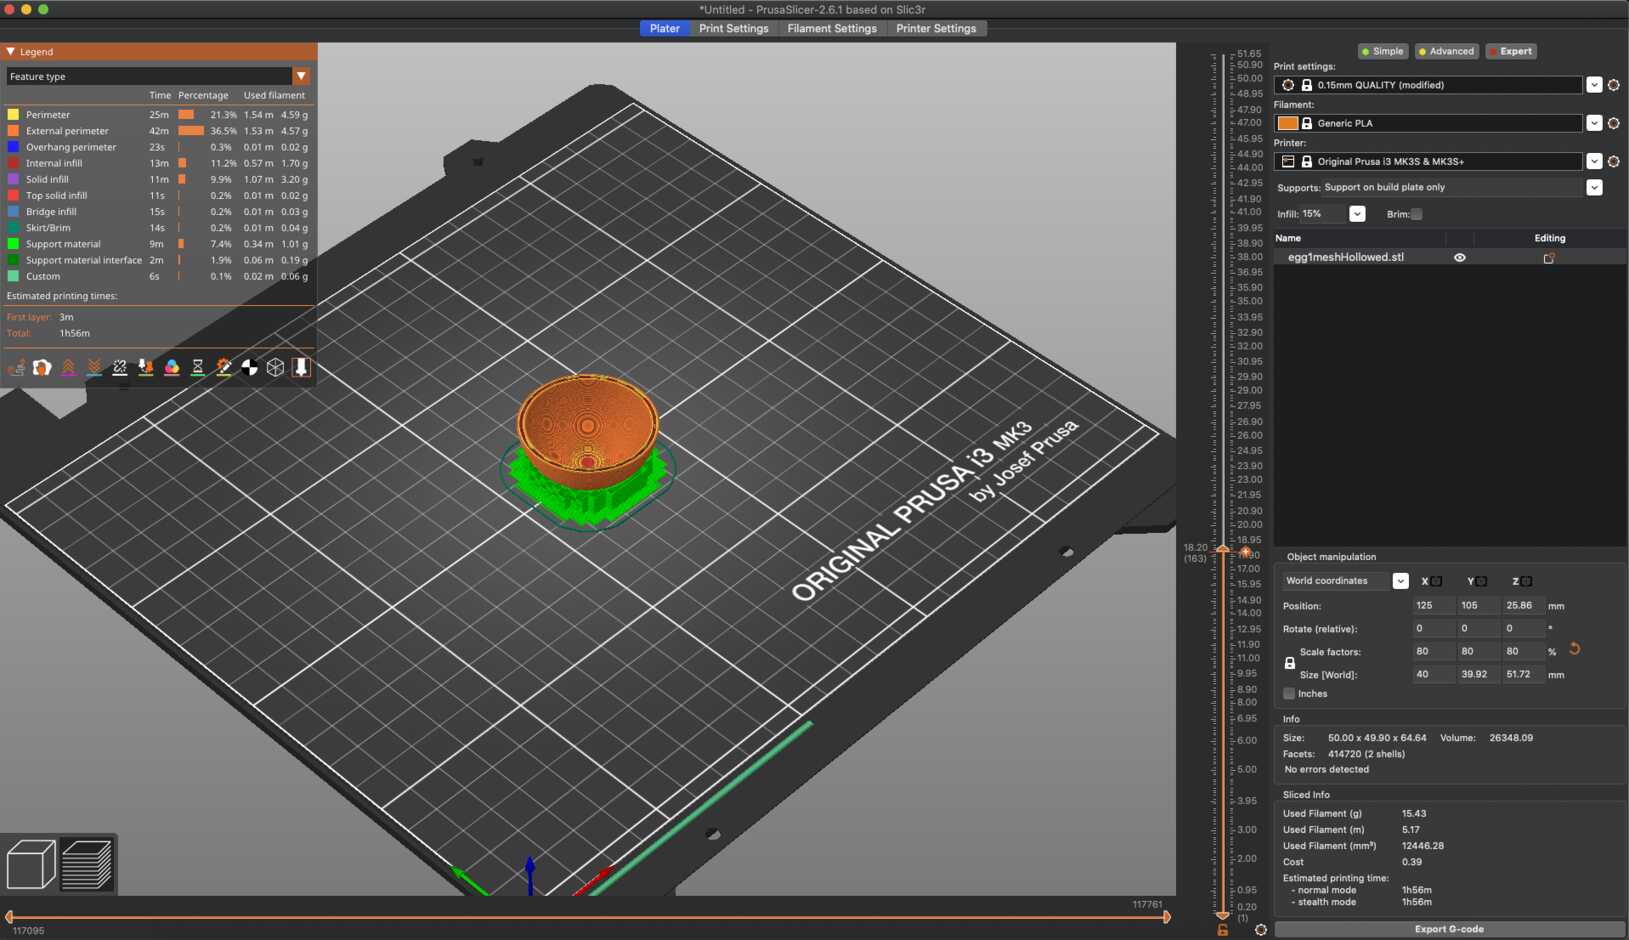
I then used the PrusaSlicer software to open the STL file, and prepare the printing process. I enabled the support on the build plate in order to facilitate the printing, used slices of 0.15mm, and I scaled down the egg to 80% because I realised my design might be a bit too large (c.f. learning outcomes of Week 1). I then started the printing, and waited for half of the print to go through.

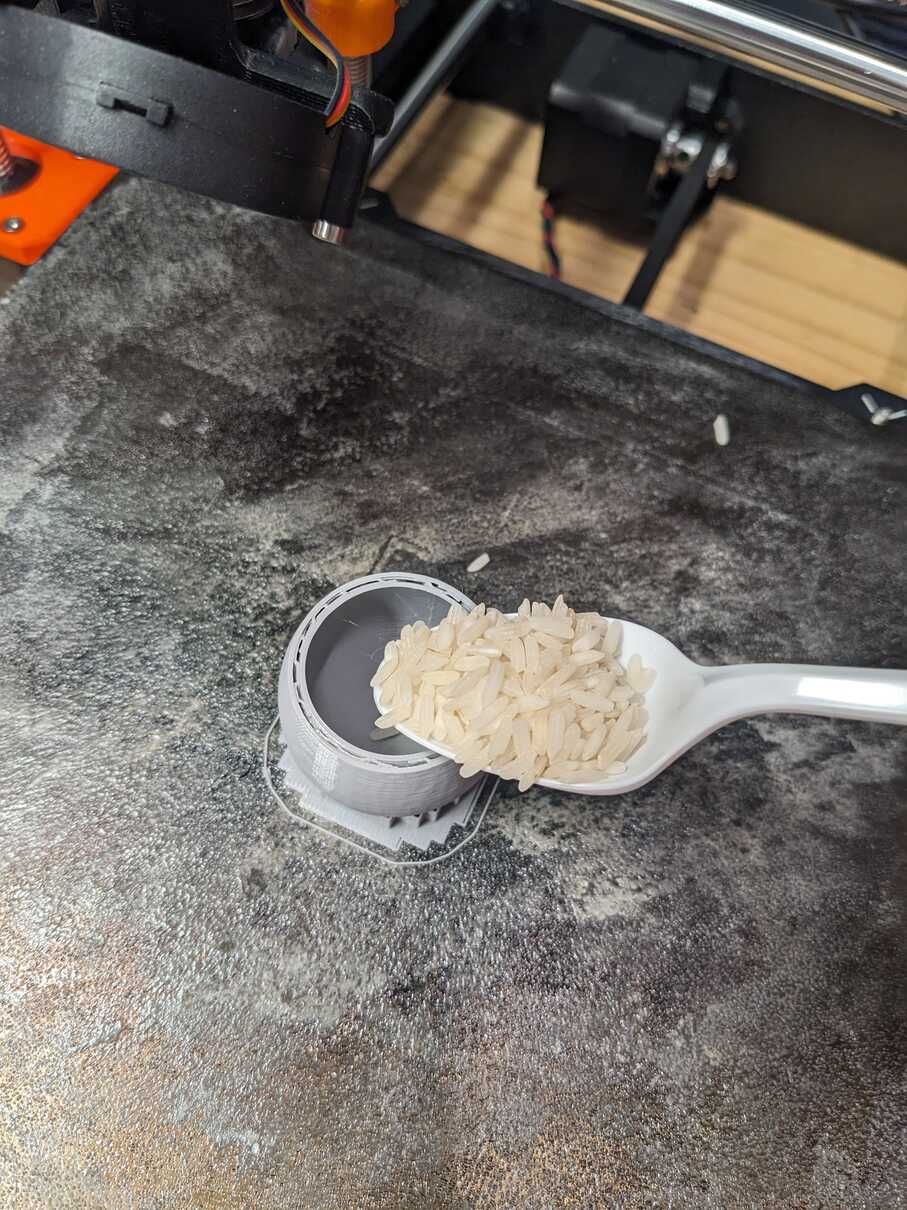
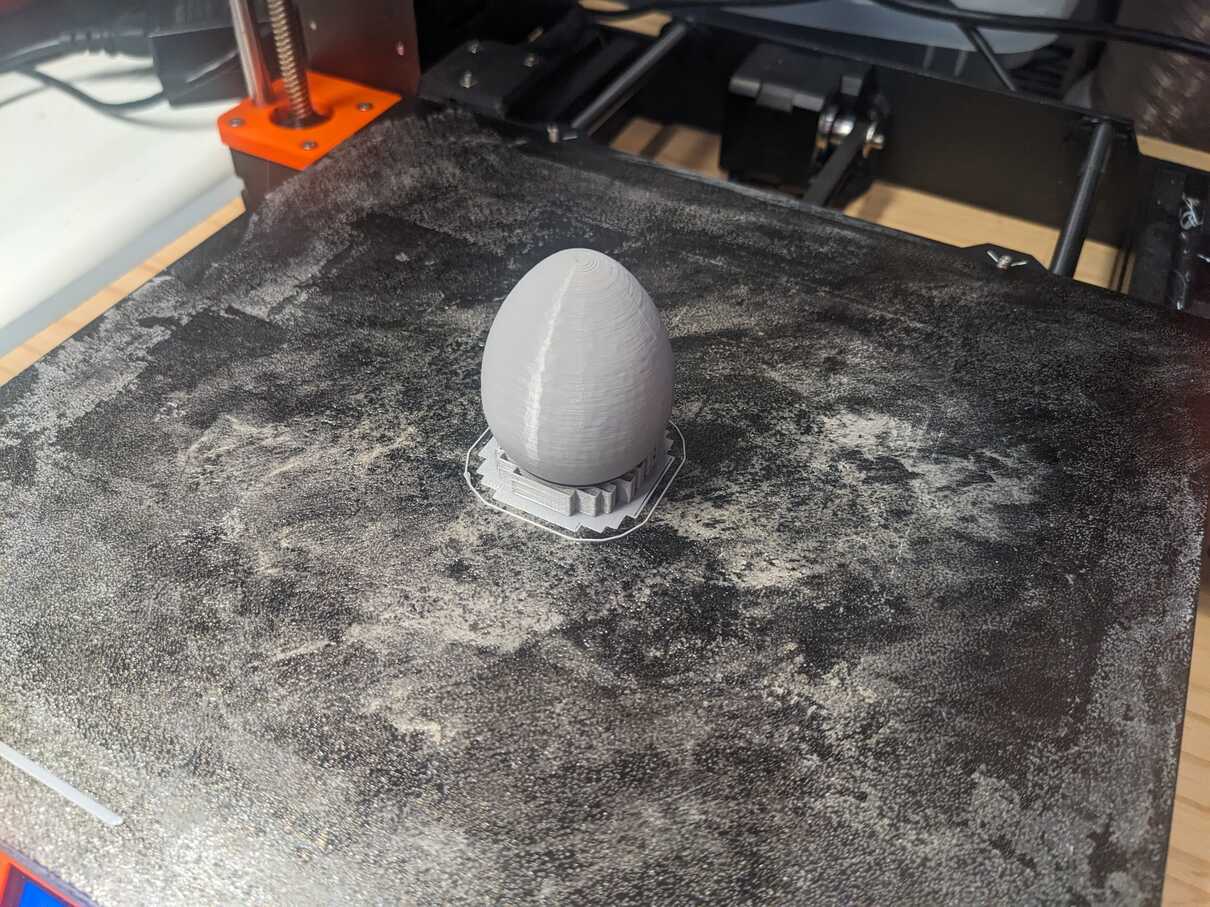
And that's where the anti-subtractive requirement kicks in! I decided to pause the printing halfway through, and poured some grains of rice inside of the egg, in order to make it a fully functional egg shaker. Once the process was correctly done (and I made sure to cleanup all of the rice grains that I spilled on the mat), I started the printing again, and watched egg get completely printed.

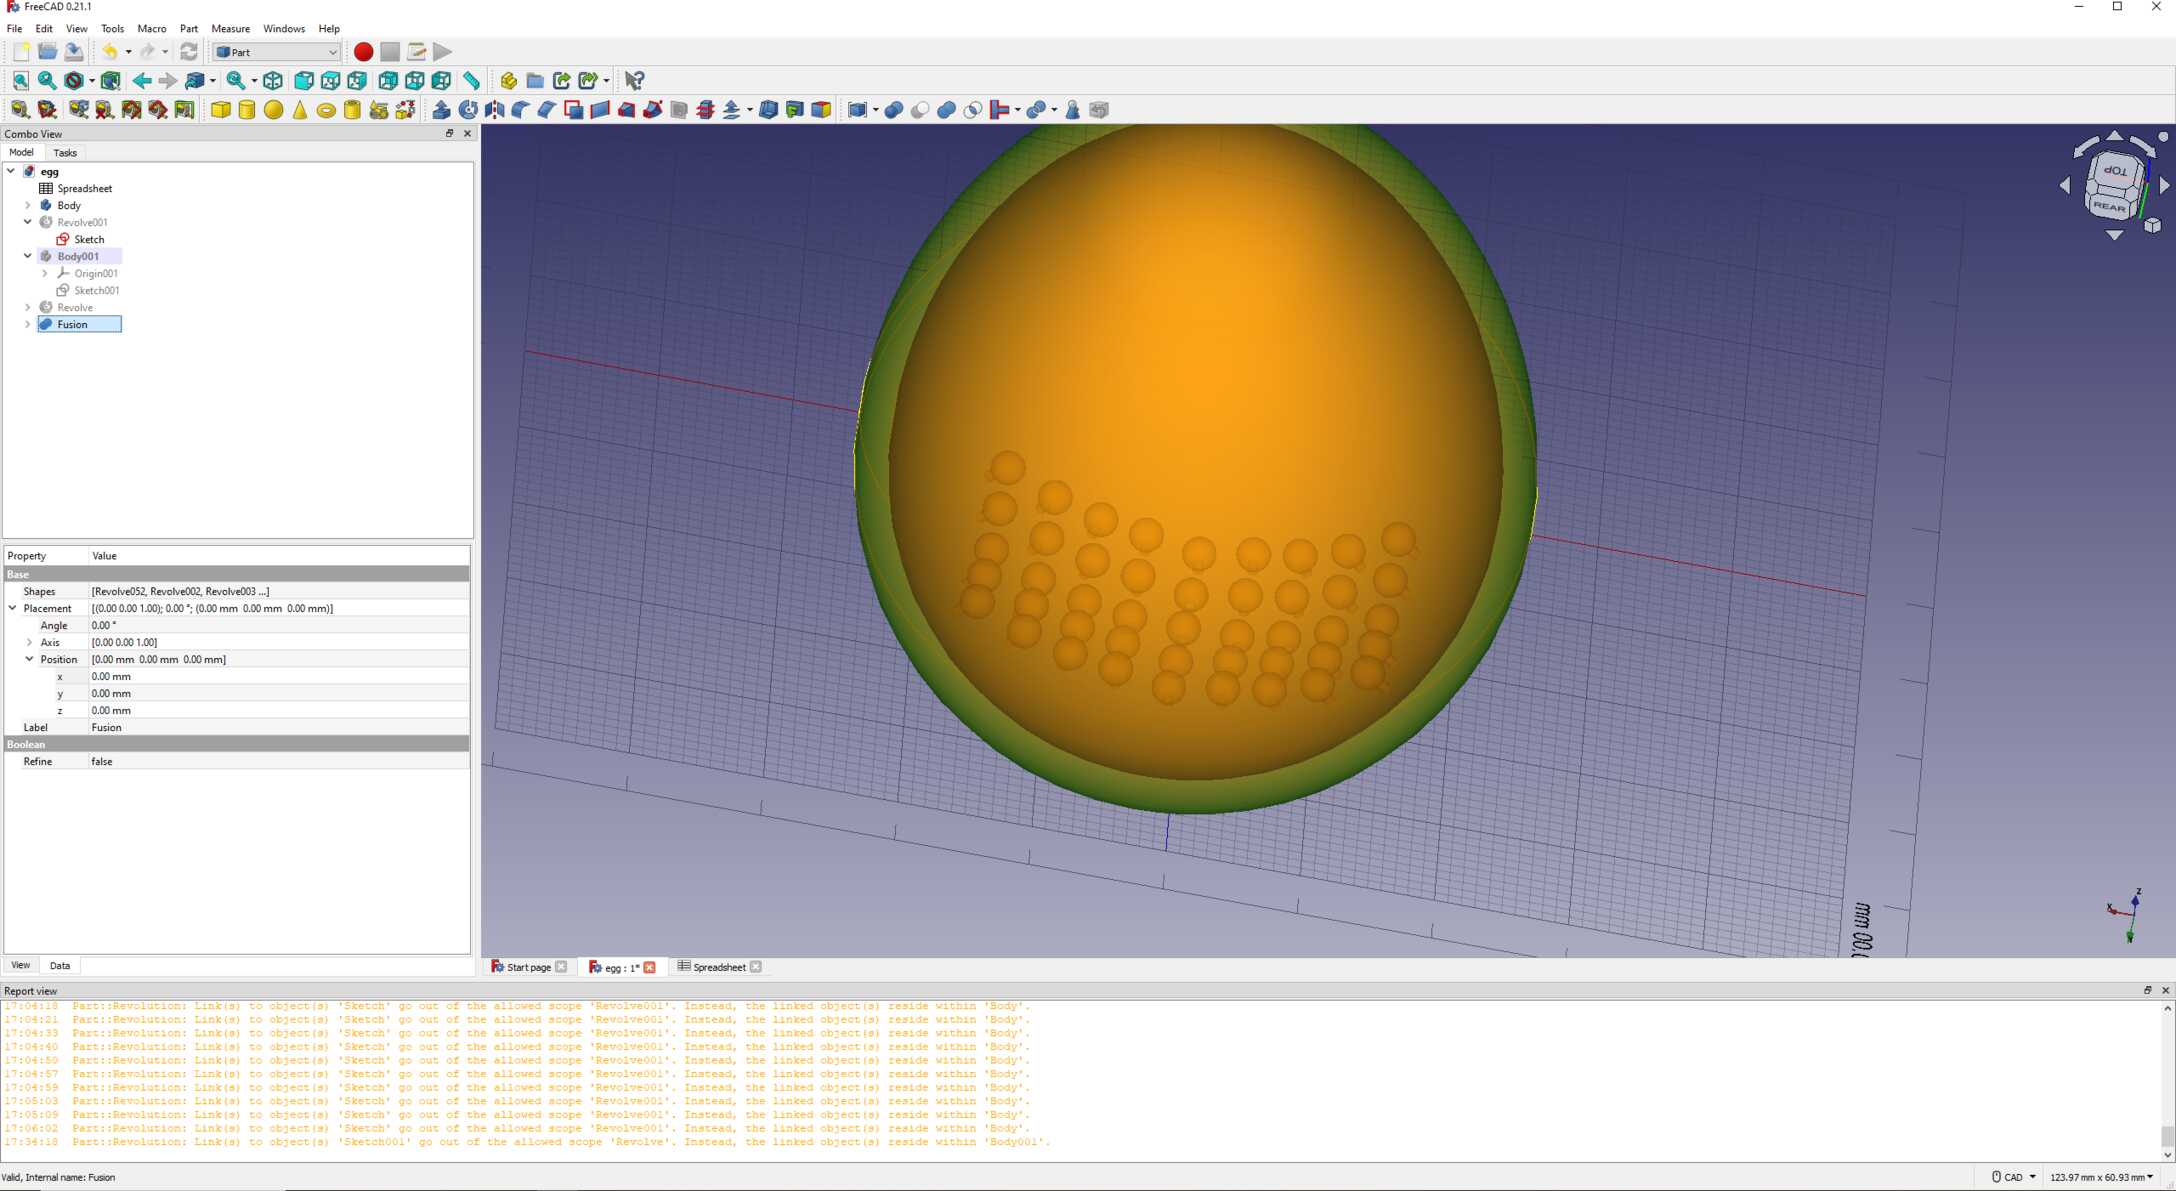
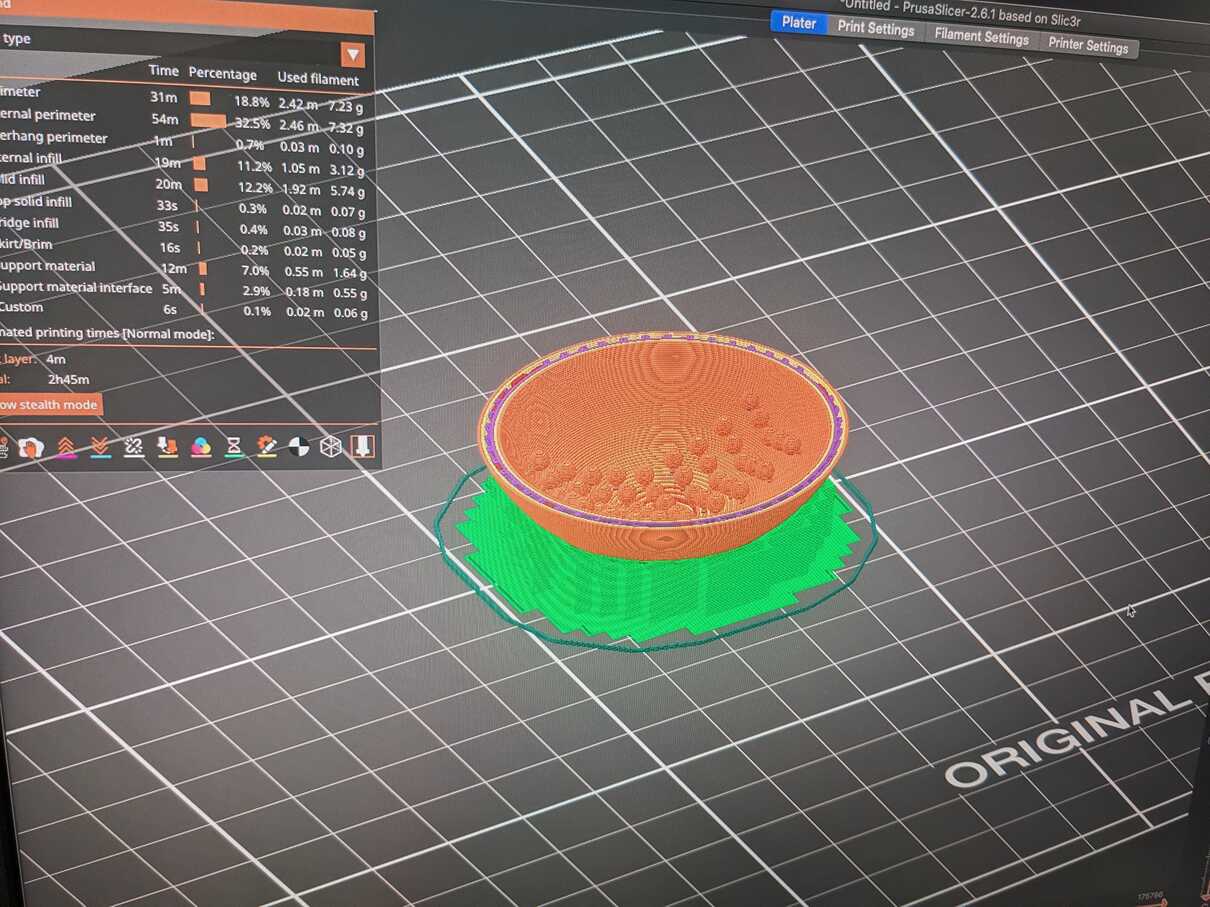
So that was fun, and it worked well, but I then wanted to know whether I could also 3D print the rice grains themselves. To do so, I went back to FreeCAD, and started sketching some spheres sitting on top of very thin (0.5mm) handles. I also used a revolution on these new components and created 40 of them, that I spread all around the bottom of the egg, inside it, at different angles. I then joined all of these shapes using a boolean union operation, and created a mesh out of the resulting shape. I then exported it to a STL file, and imported it once again in PrusaSlicer. This time, I used a setting of slices of 0.2mm, just in order to make the handles more easily breakable, and I did not scale the egg down.

I then started the new print and waited for it to complete. Once it was done, it was time for the best part: whack the egg against a table, and see whether it could break the inside parts, and it did!


Notes to a future me (learning outcomes):
- Printing is not too hard, the software is very good at making the slicing very intuitive.
- It would be fun to try out different sizes of 3d-printed rice and see how the frequency of the egg shaker would change.
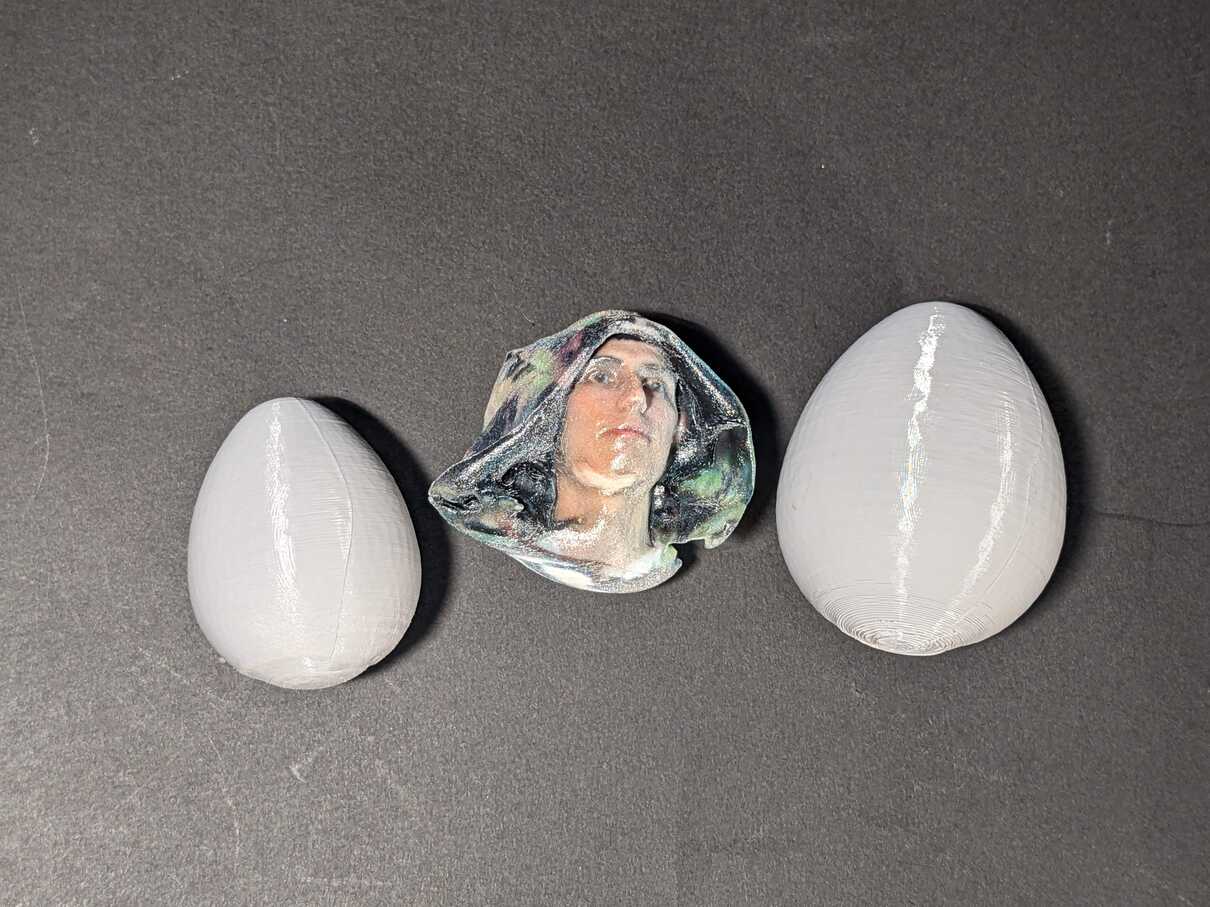
- Take more time to scan yourself and other stuff, it's pretty fun and the prints look great!