Final Project: FiberHarp
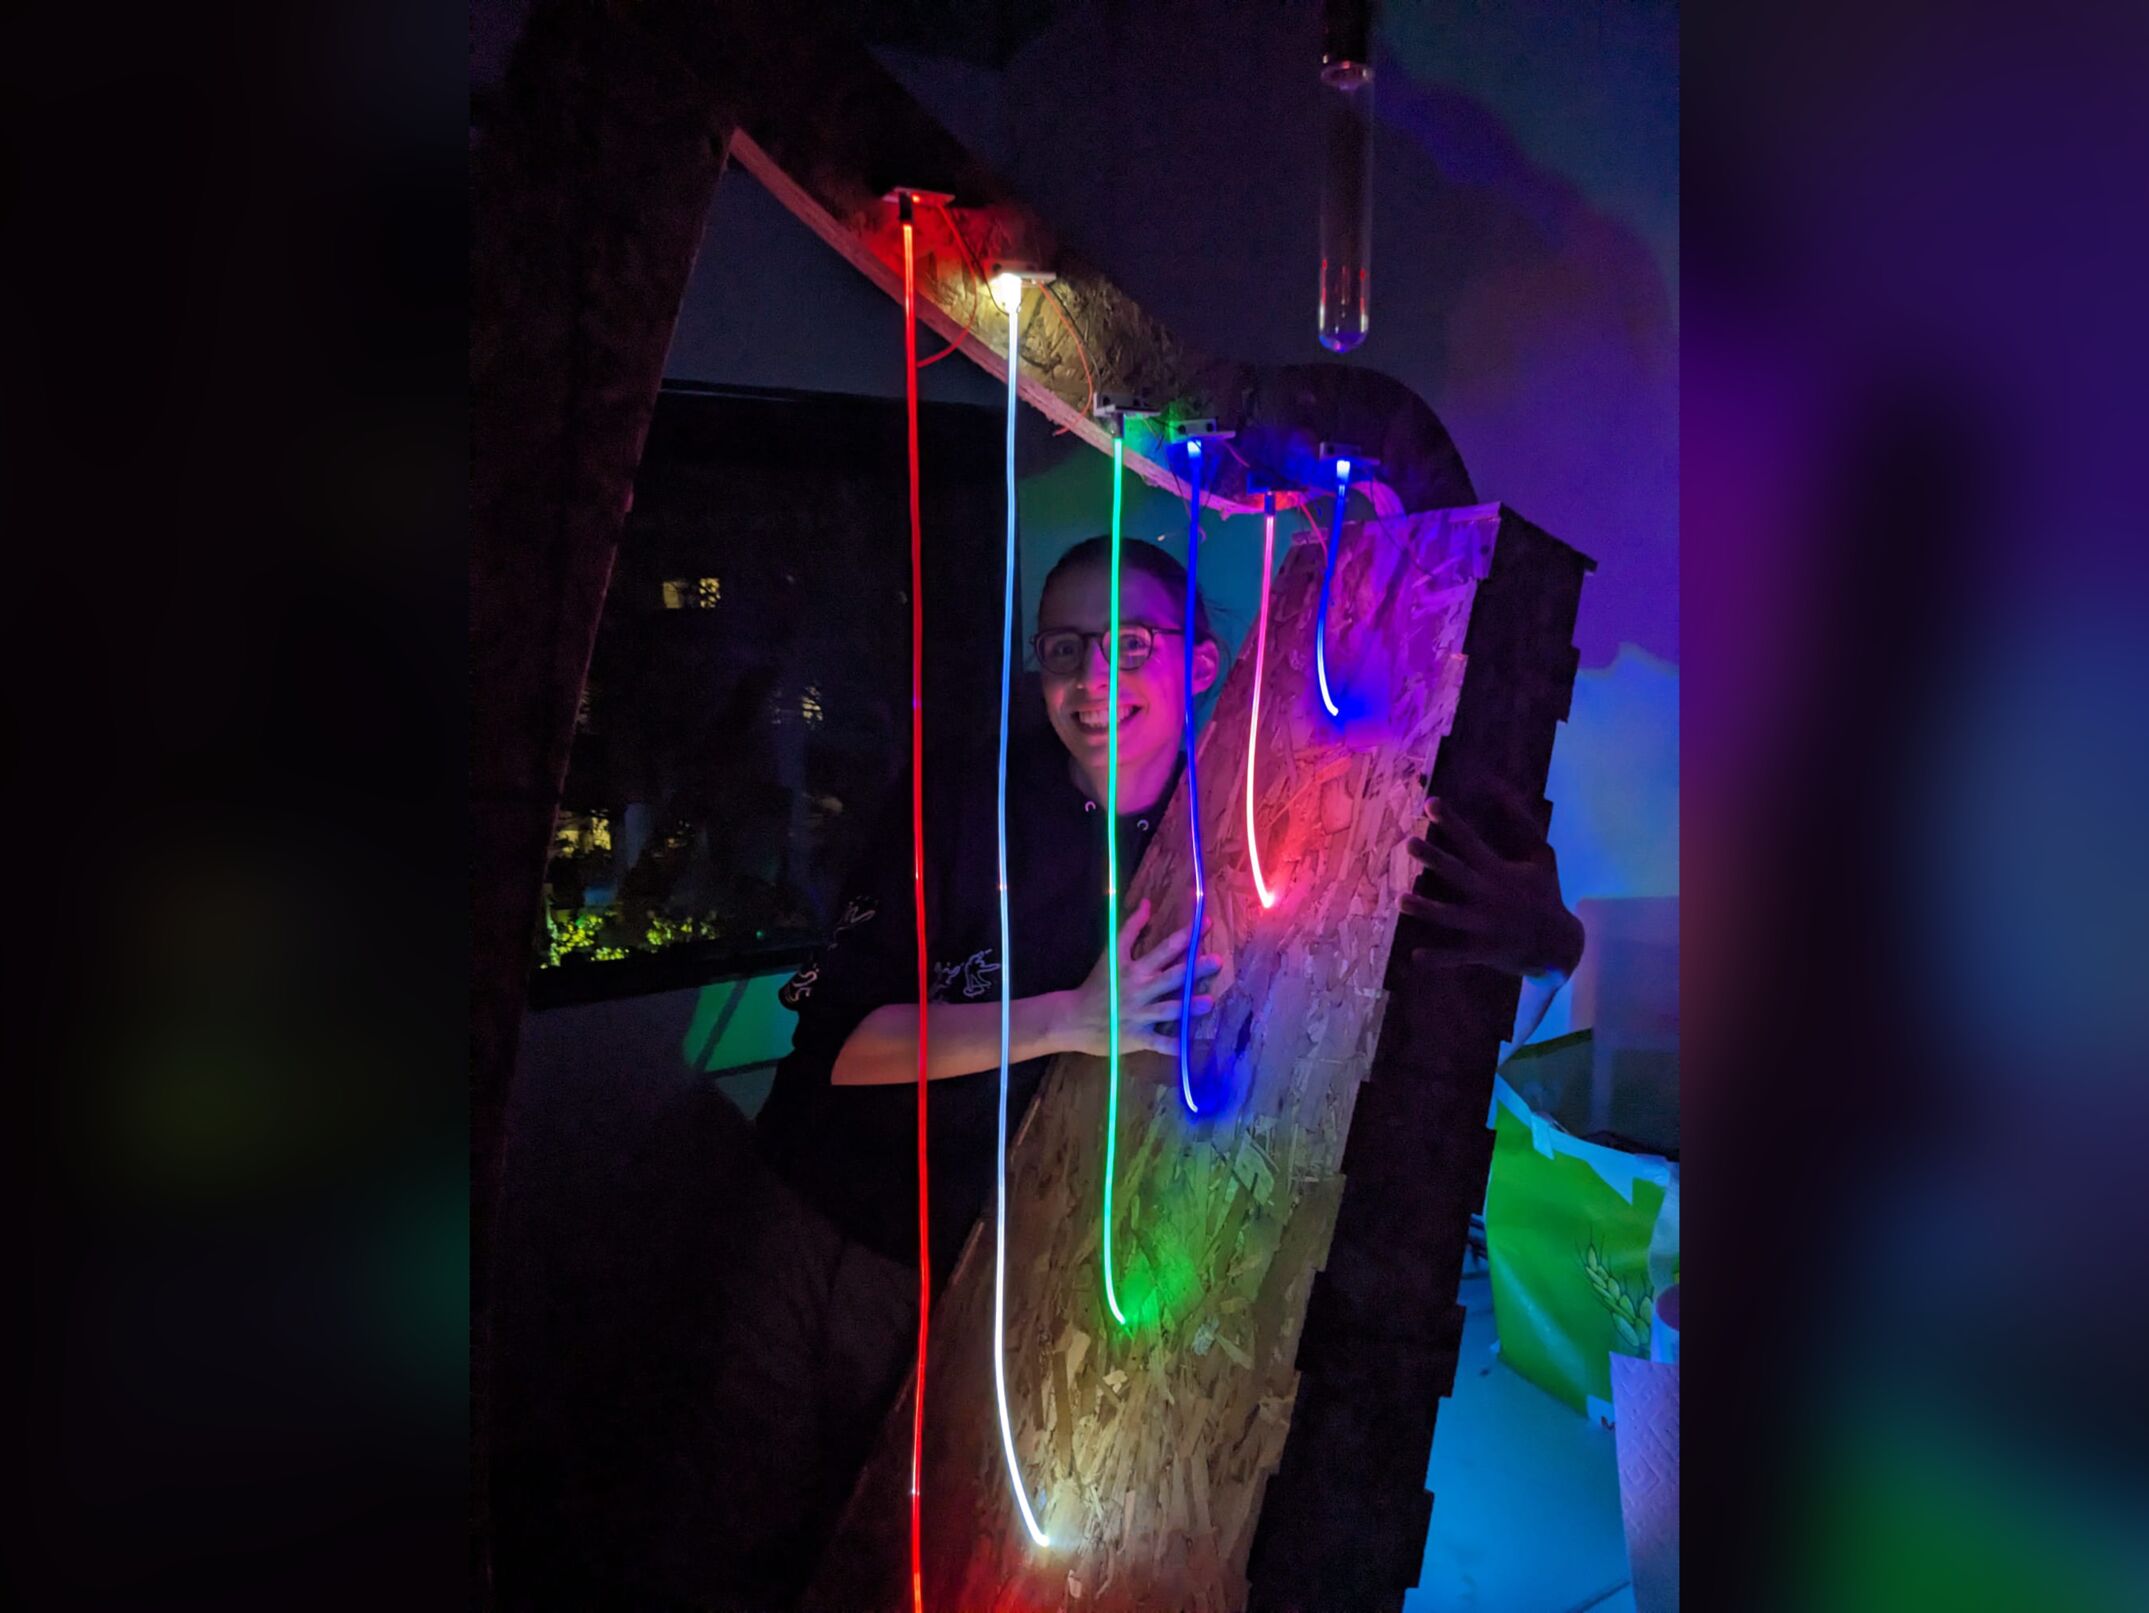
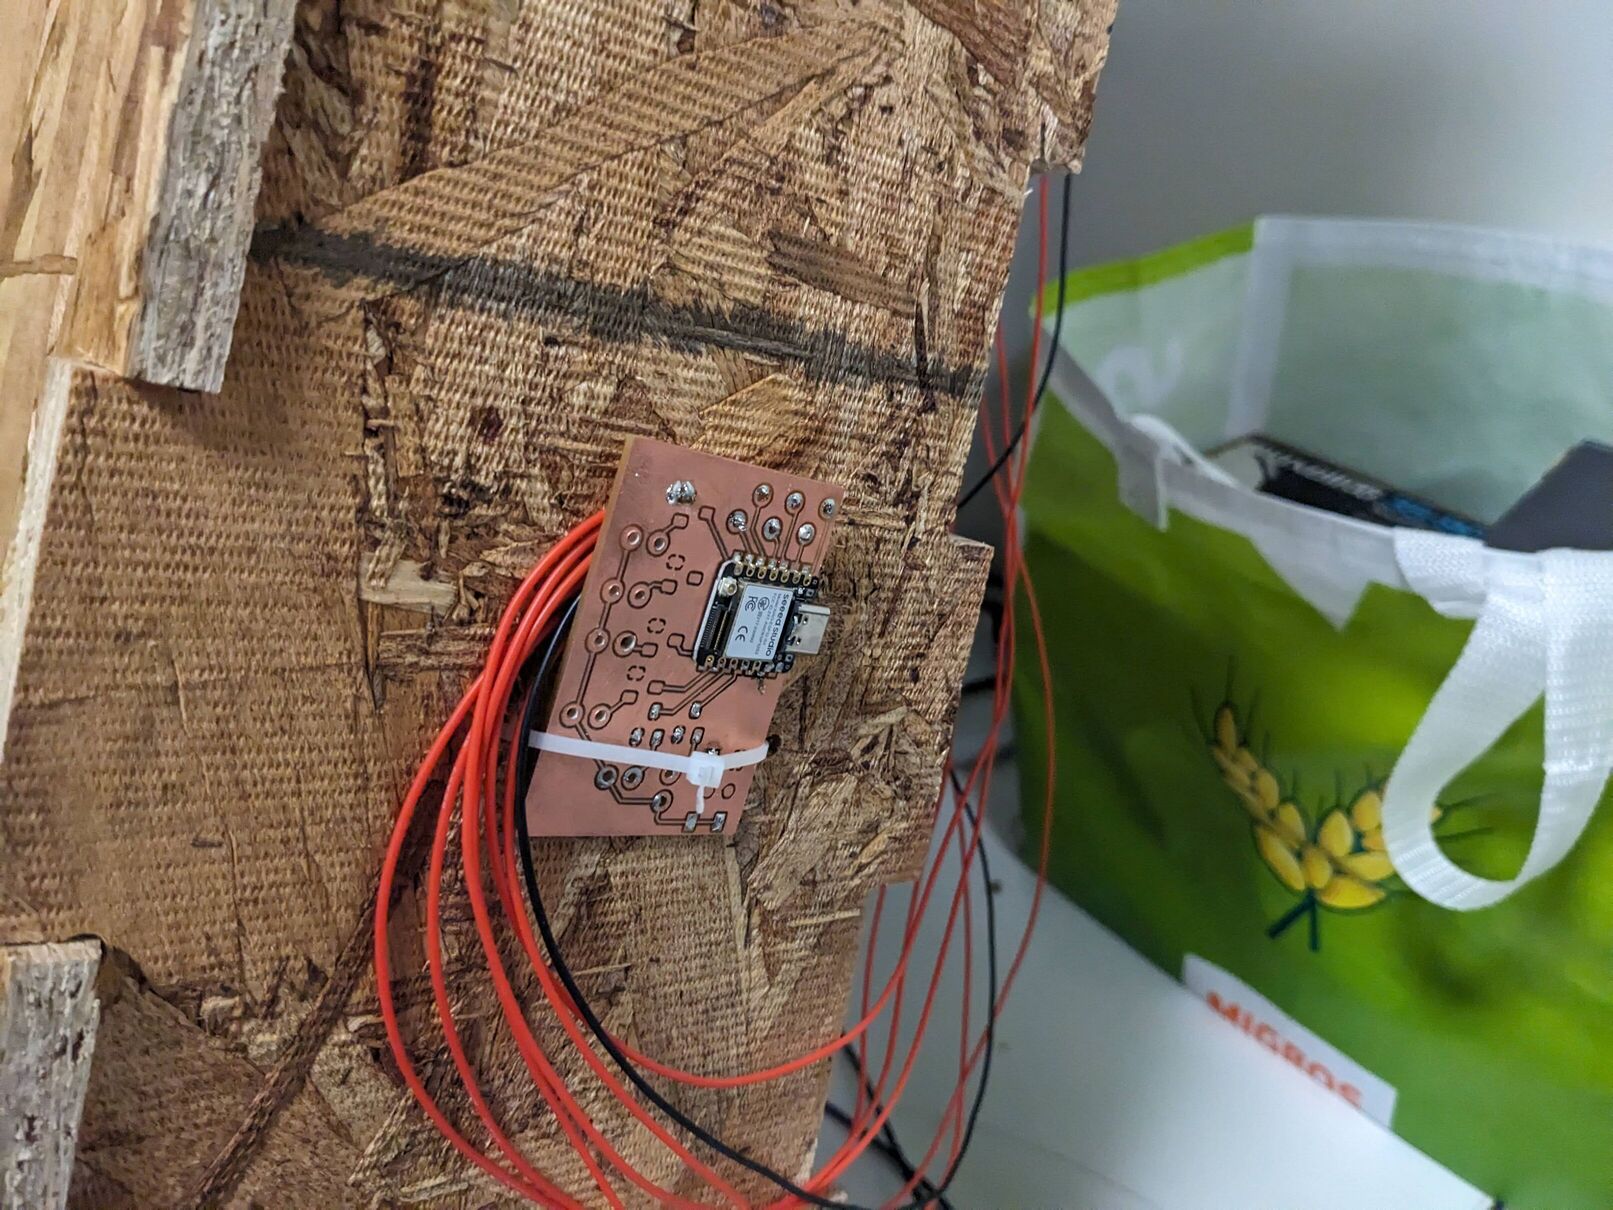
Here is a picture of the final result:
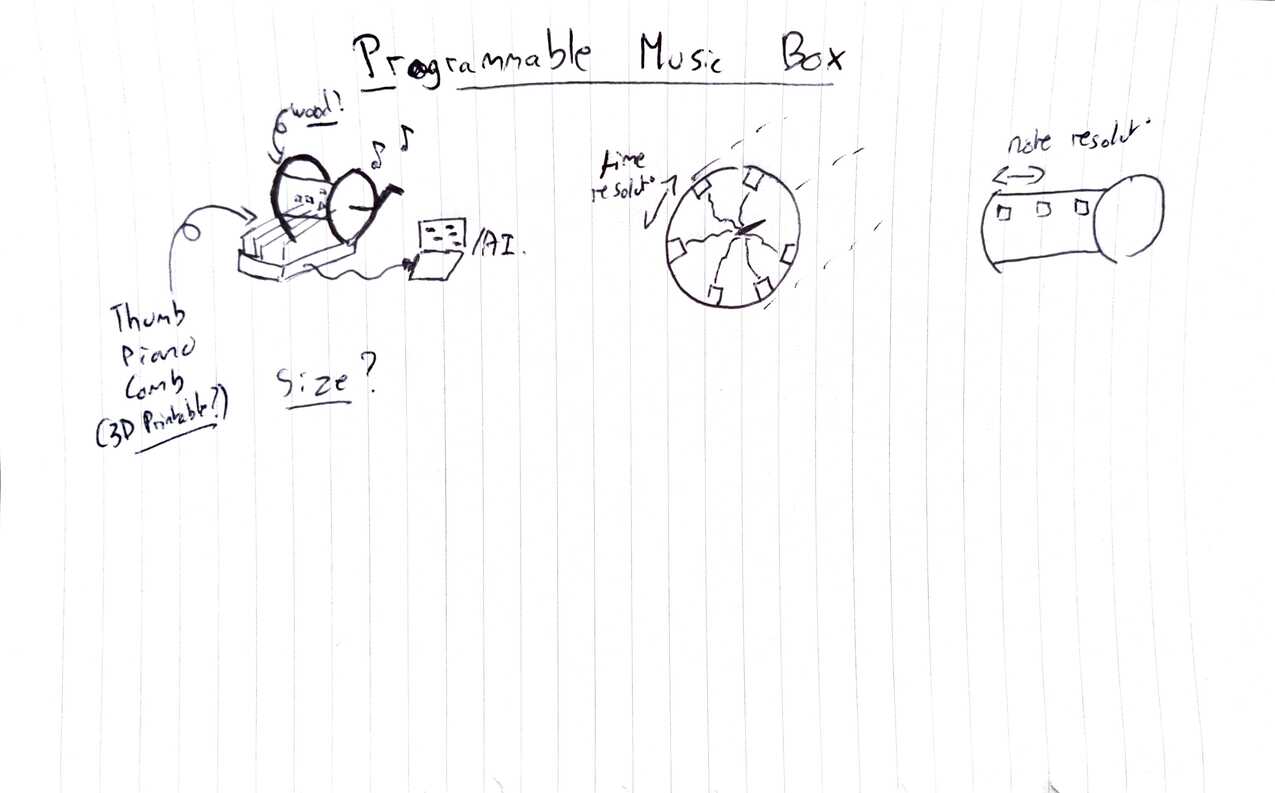
I had initially planned to do some kind of programmable Hand Crank Music Box for my final project, but I realized after some time that the amount of solenoids that I would require for this project (> 80) was simply not reasonable. Here is the initial diagram for this idea.
After some time, I pivoted and decided to extend the harp I made during Week 7 and to give it strings. Unfortunately, and as previously mentioned, harp strings are incredibly expensive. As such, I started looking for alternatives that could be cheaper and still allow my harp to make sounds. I intially thought of making a laser harp (see inspiration here), which replaces traditional strings by lasers that play a sound when the beam is broken. One problem of this approach, though, is that the harp only looks good with particles around (such as smoke), in order for the lasers to be visible. Due to the grandiose nature of the harp, I wanted to make something that could not only make sound but also look very cool. Another problem is the lack of haptic feedback when playing the laser harp, which can make the instrument harder to play.
After reflection and a few discussions with my lab, I settled on using side-light optical fibers, which look really good when you shine coloured LEDs through them. The added benefit of this method is that the strings are now physical and can get you the feeling of playing actual strings, while allowing you to tune them programmatically to any frequency. I had never heard of such a project before, so, to the best of my knowledge, this project is the first instance of a harp made out of optical fiber. This novelty effectively gives me the power to give a name to the instrument, and I chose the name FiberHarp.
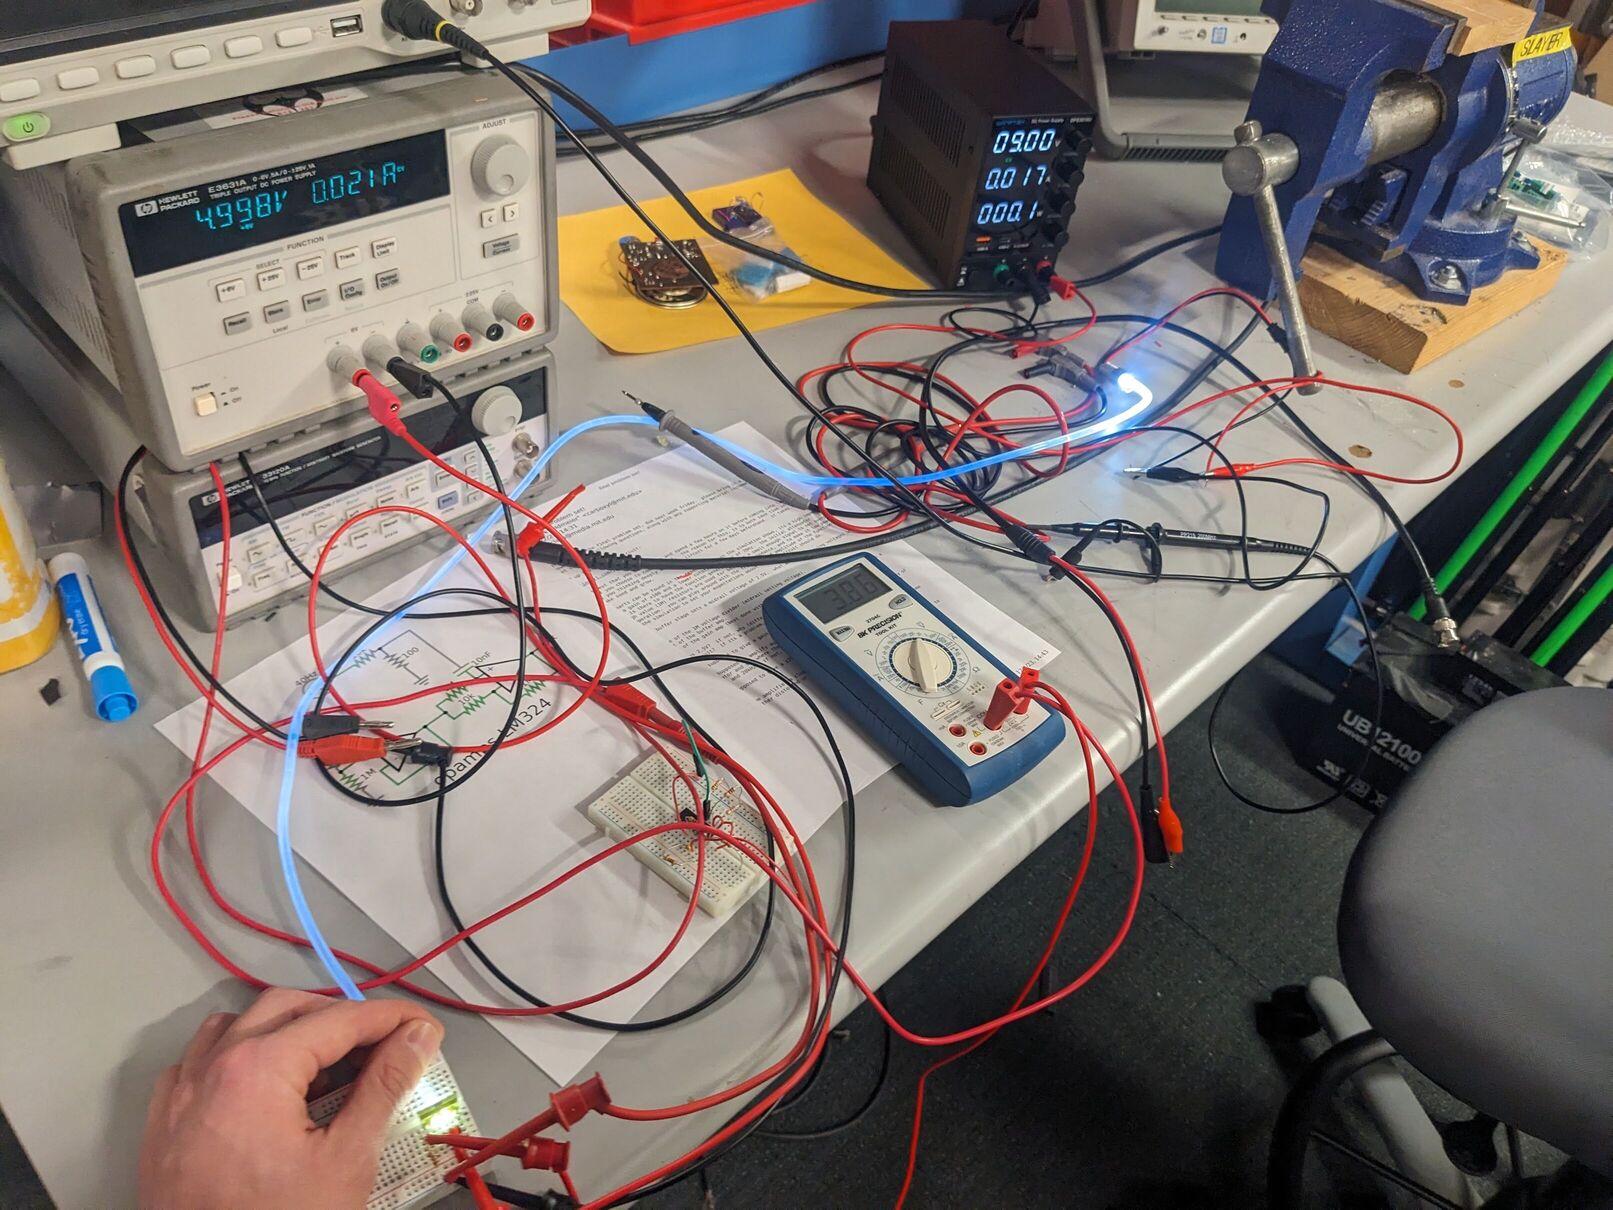
I collected a few meters of plastic side-light optical fiber and a handful of 1W coloured LEDs from Adafruit, and I started to work on the harp! My initial idea was to sense the vibrations of the strings in a similar way to the laser harp. As such, I experimented with photodiodes at the end of the optical fiber and tried to detect the strumming of the string through changes in the light. However, I quickly realized that strumming the string (and even twisting it many times) did not change the light output enought for it to be noticeable. Given that the LEDs were quite powerful, I also realized that the photodiodes were saturating. I tried to add some optical filters at the end but did not manage to get any good result. As such, I had to find another solution.

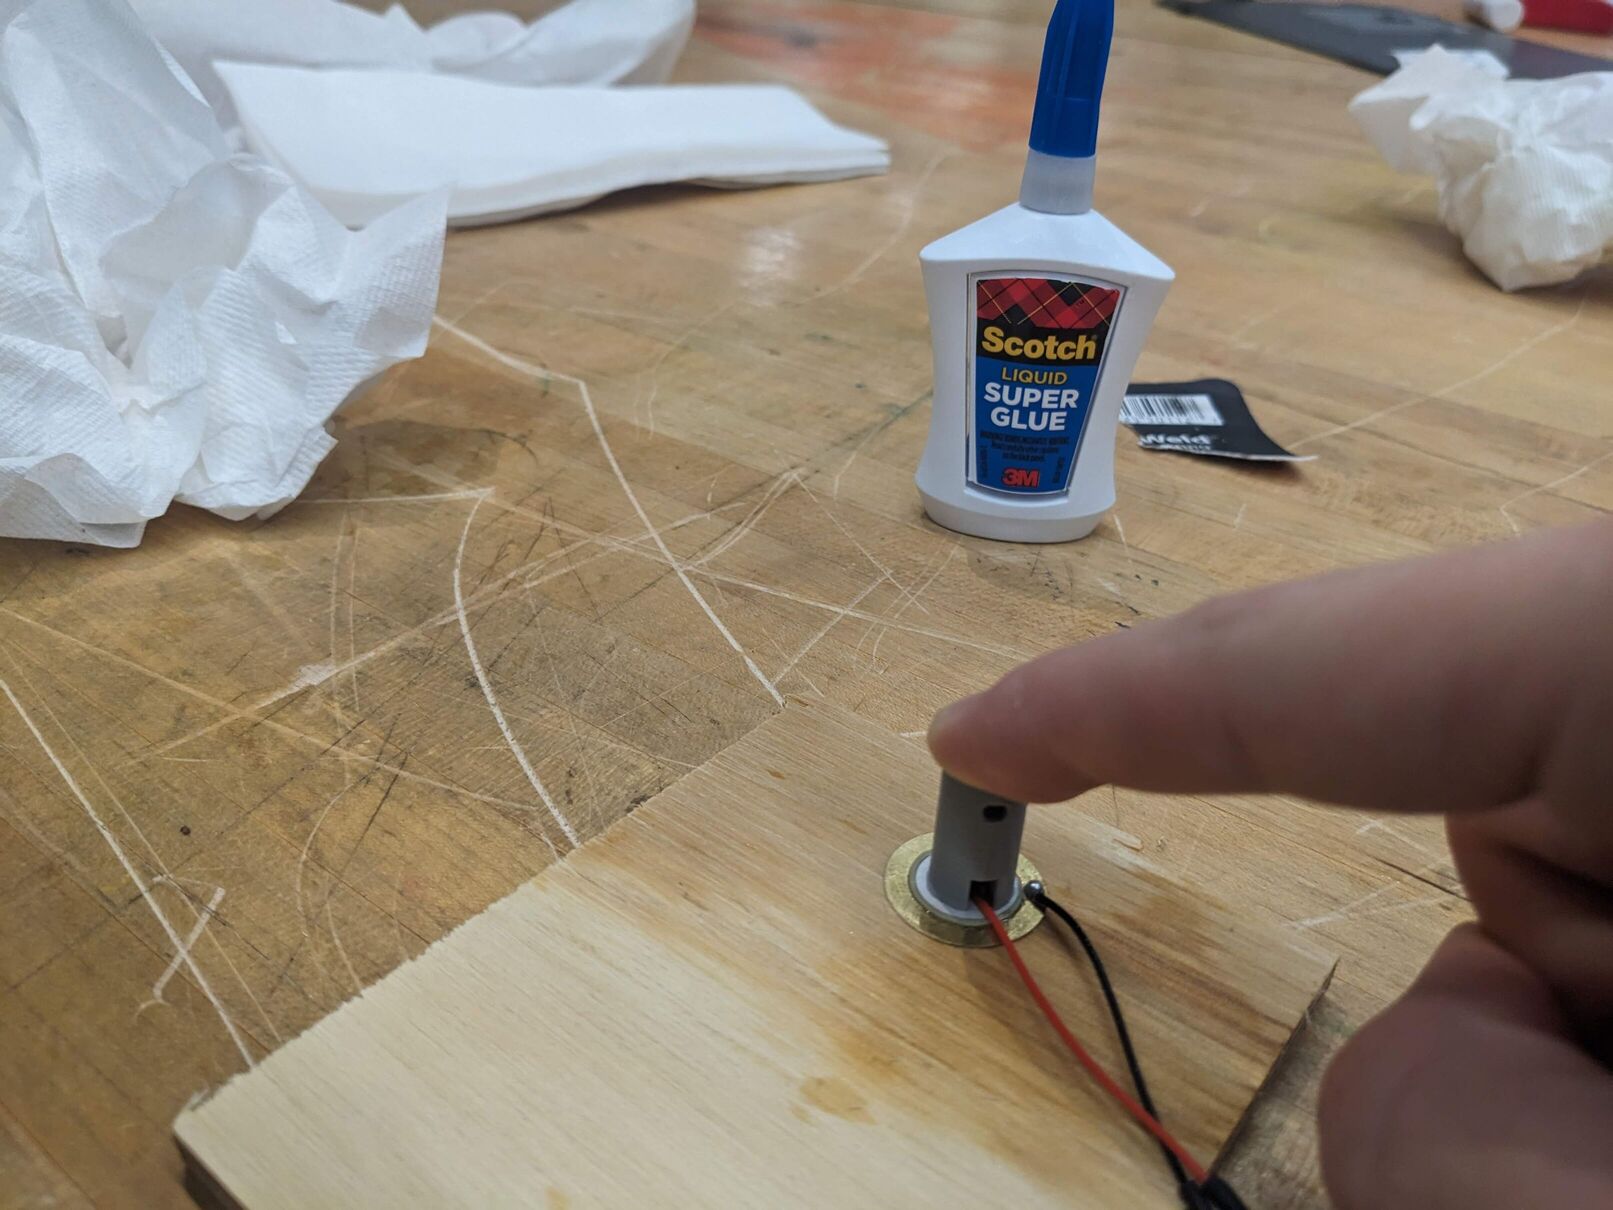
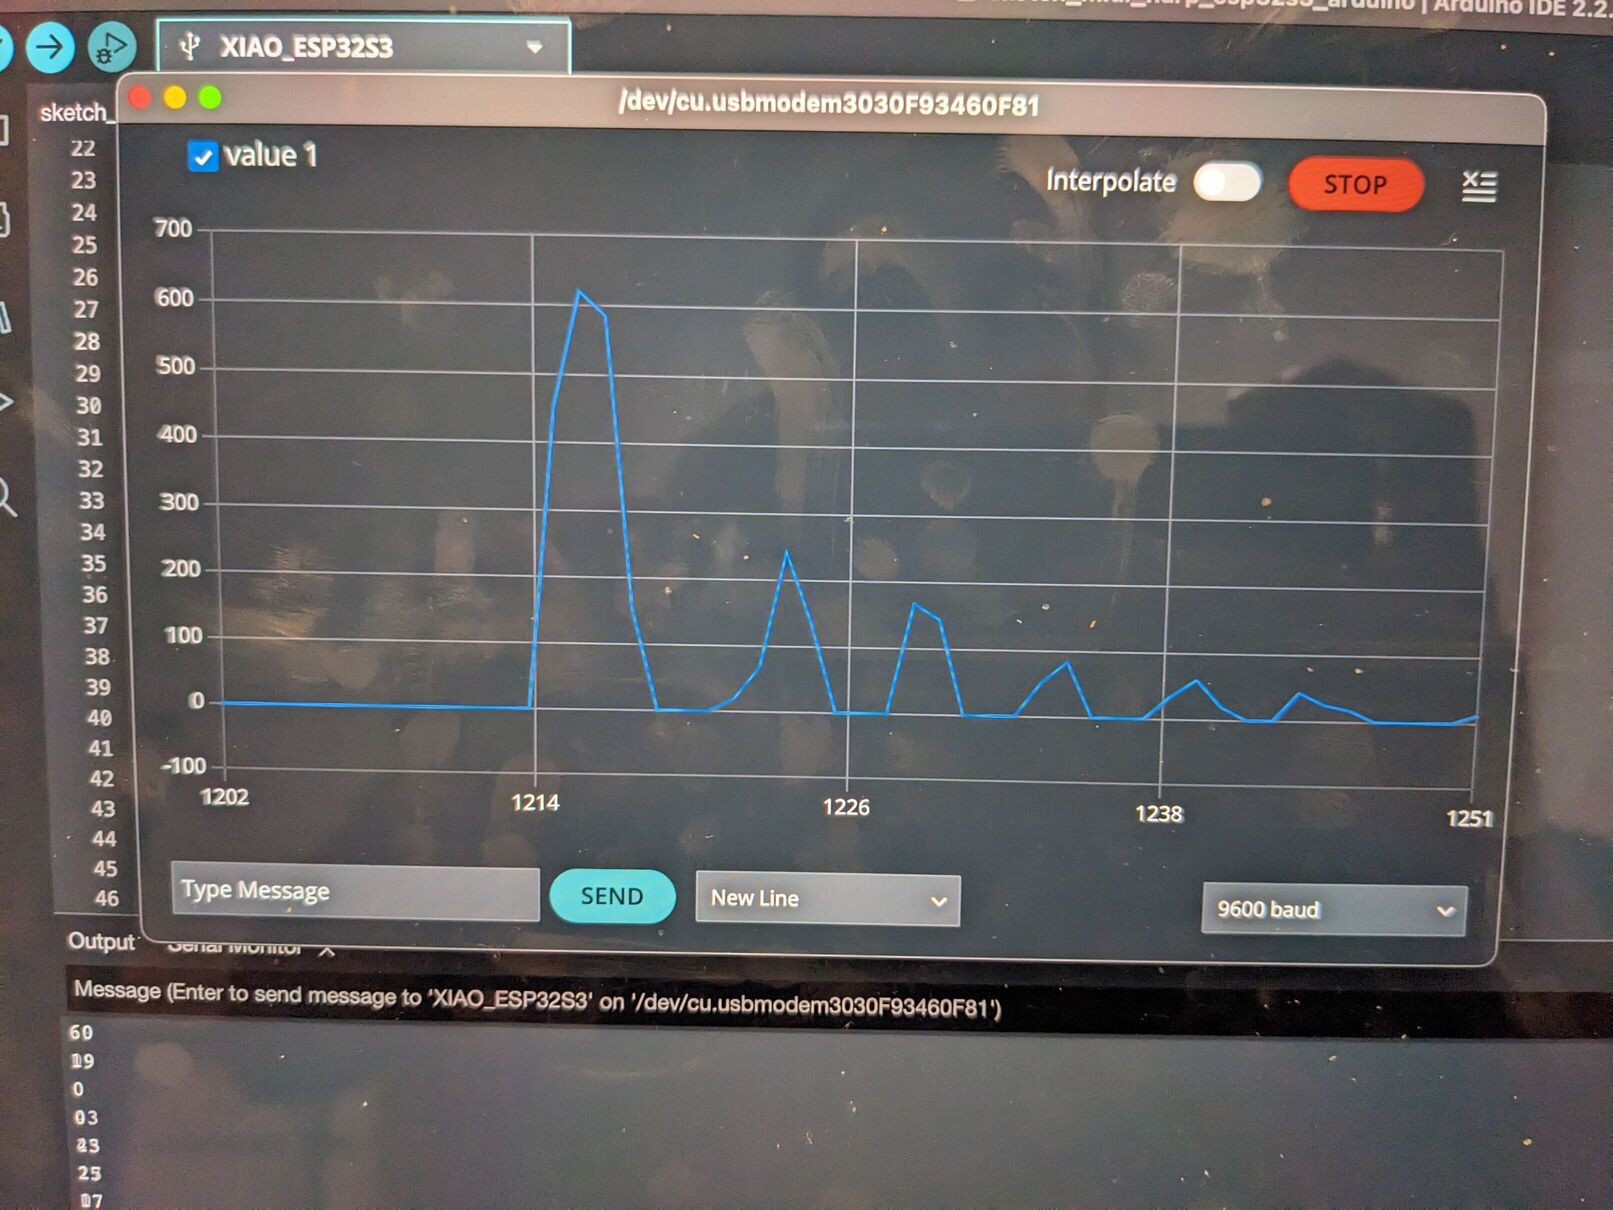
After more reflection and brainstorming (notably with Erik from CBA and Brian from ResEnv, thanks a lot to them 🙏), I settled on using piezo sensors to detect the vibration of the strings. I designed a 3D shaft that could hold the optical fiber and be glued to the central circle of the piezo sensor so that the sensor would generate voltage any time the string is pulled. I made an initial prototype of the system, and I was very happily surprised with the results! Sensing the voltage generated by the piezo allowed me to capture the amplitude of the strumming with precision, and even to detect its decay. I mapped every peak to the triggering of a MIDI signal, and I was able to play music already!

The raw signal of the piezo sensor was actually interesting to observe, since the vibration with decaying amplitude could clearly be witnessed.
I then started to scale my system up, and designed a few components including a board to solder the individual sensors and a 3D case that could hold my board and be fixed to the neck of the harp (where the strings are traditionally fixed). I used CAD to design theses systems, and did some measures to estimate the number of strings I could afford. Given that I had around 5 meters of optical fibers, and due to the large size of my harp, I was able to make 6 strings.


And this step was where the first integration difficulties started. Some boards I designed were slightly too small to hold the piezo properly, the glue sometimes did not manage to hold the shafts properly, and I made the holes on the coupling a bit too small to let the wood screws go through completely, which led me to break one and forced me to change the design and reprint most of them. Once I managed to get my sensors working, it was time to work on the lights. My initial plan was to get the lights to only play when the string would be strummed. Since the lights required around 9V, I had to use an external power source and transistors to drive the lights through the pins of my microcontroller. This turned out to be more complex than expected since the only mosfets that were available in the CBA shop required a voltage of 10V at the gate in order for them to be turned on. I tried using a couple of different JFETs from ResEnv, but had some troubles that, combined with the due date approaching, made me give up on this subtask. I then decided to design a very simple board that would simply power every LED with 9V. This board, together with the lights, were to be put inside of the soundbox of the harp, so that only a power cable can stick outside.
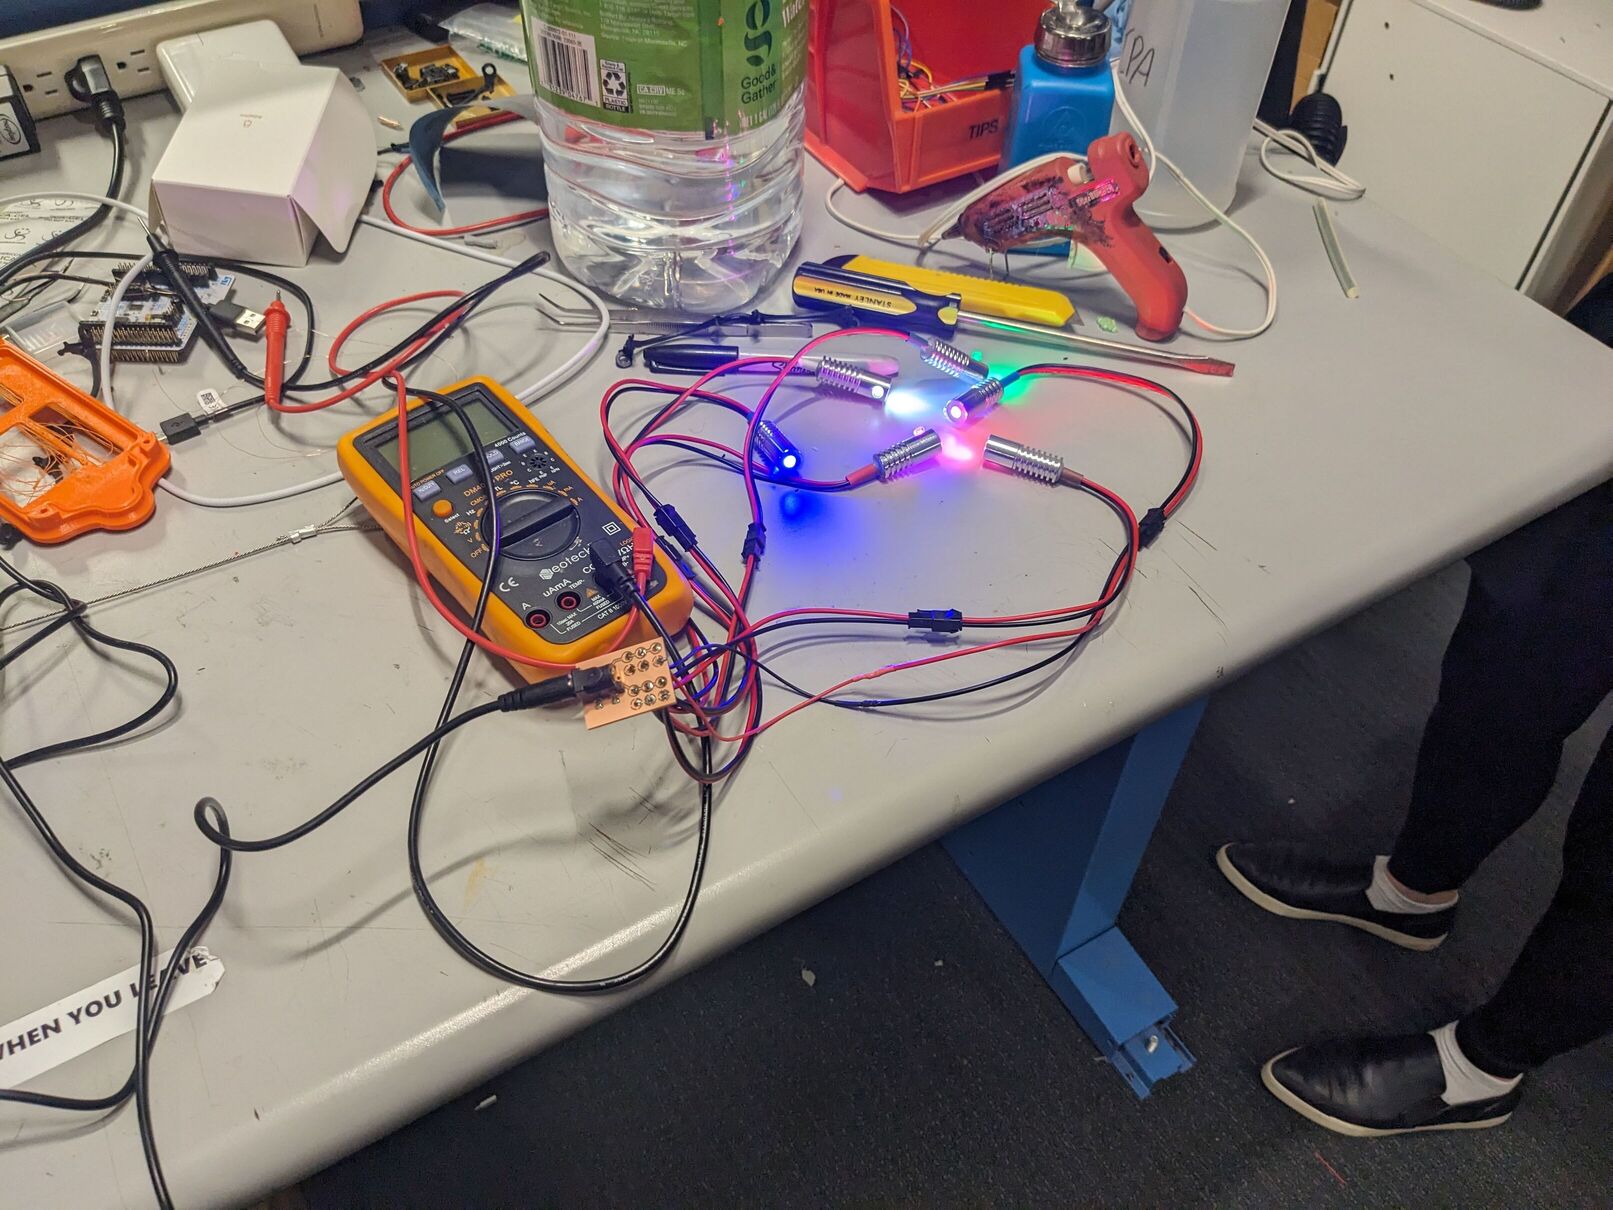
I used a Xiao ESP32-S3 to connect to the individual piezo sensors, due to the availability of many analog pins. My initial experiments were done using CircuitPython, but I quickly became frustrated by the overhead time that it took for the program to spin up when plugging the microcontroller in to my laptop. I therefore moved to using Arduino, and used the TinyUSB library to handle MIDI signals. I was not very comfortable yet to use the mill to drill through holes in my boards, so I ended up drilling them by hand using a handheld Dremel. Due to lack of time, I did not remill a board without the patches for my transistor experiments, so my board ended up having many more holes than necessary, but I was oaky with it. I cabled the entire harp, and used self-made wire nuts to make the connection modulable in such a way that I could disconnect them to remove the neck of the harp if necessary.
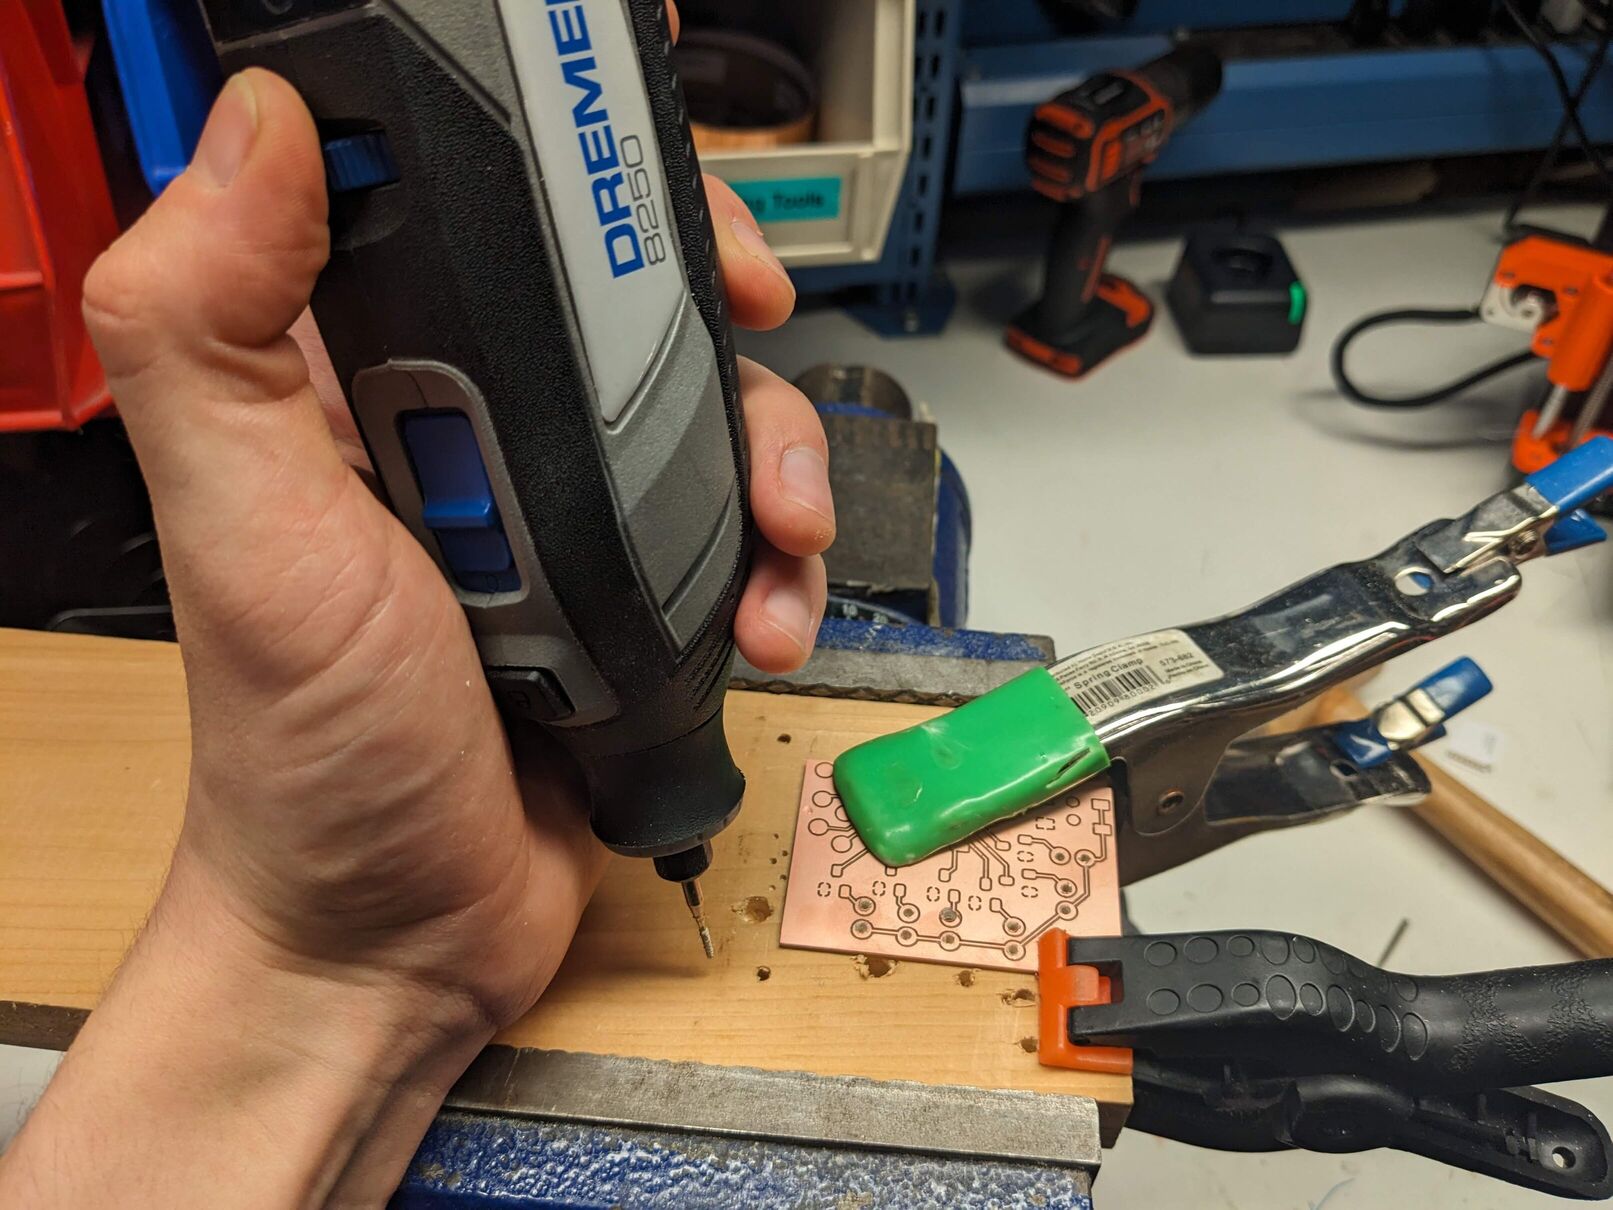

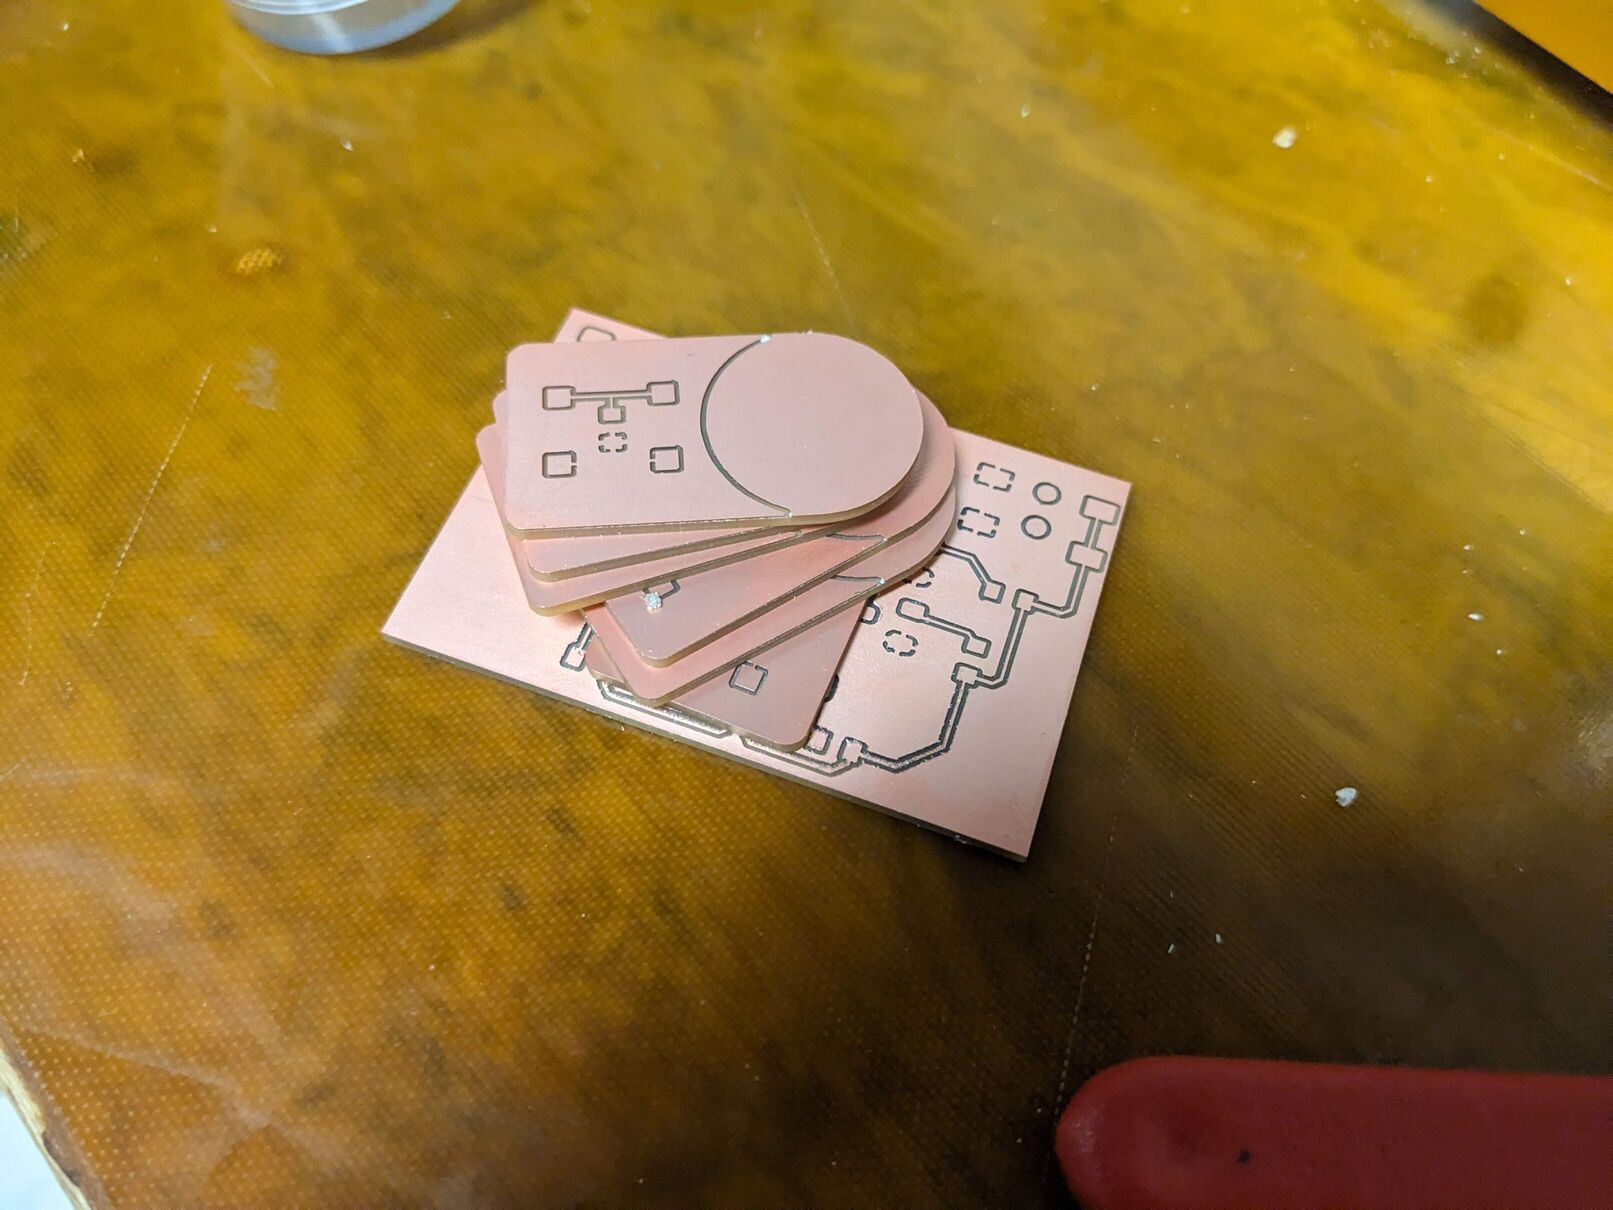
Here are the different boards I used, before and after assembly.

After a few hours of debugging, more integration issues, and troubles to move the harp around, I obtained a pretty nice result that I was satisfied with. I managed to demo my project on the final day of class in a darker room, which made the experience even more enjoyable. Here is the video of my demo (skip to 1:30 for the soothing performance over meditation music):