Week 4: Electronics Design
This week was another electronics-focused week, which means that it was time for more experiments using electronics to make synths and controllers! The assignment for this week was to become comfortable using an EDA (Electronics Design Automation) software and design a first board. I approached this week slightly differently, since I knew that it was going to overlap with my brother's birthday and I also knew that I wanted to make him some kind of instrument. My brother is a great musician and he is currently fascinated by ear training exercises. As such, I decided to make him a small keyboard that could be programmed to act as a Perfect Pitch Personal Trainer and help him practice his ear anywhere he wants. This was the final design that I aimed to reach:
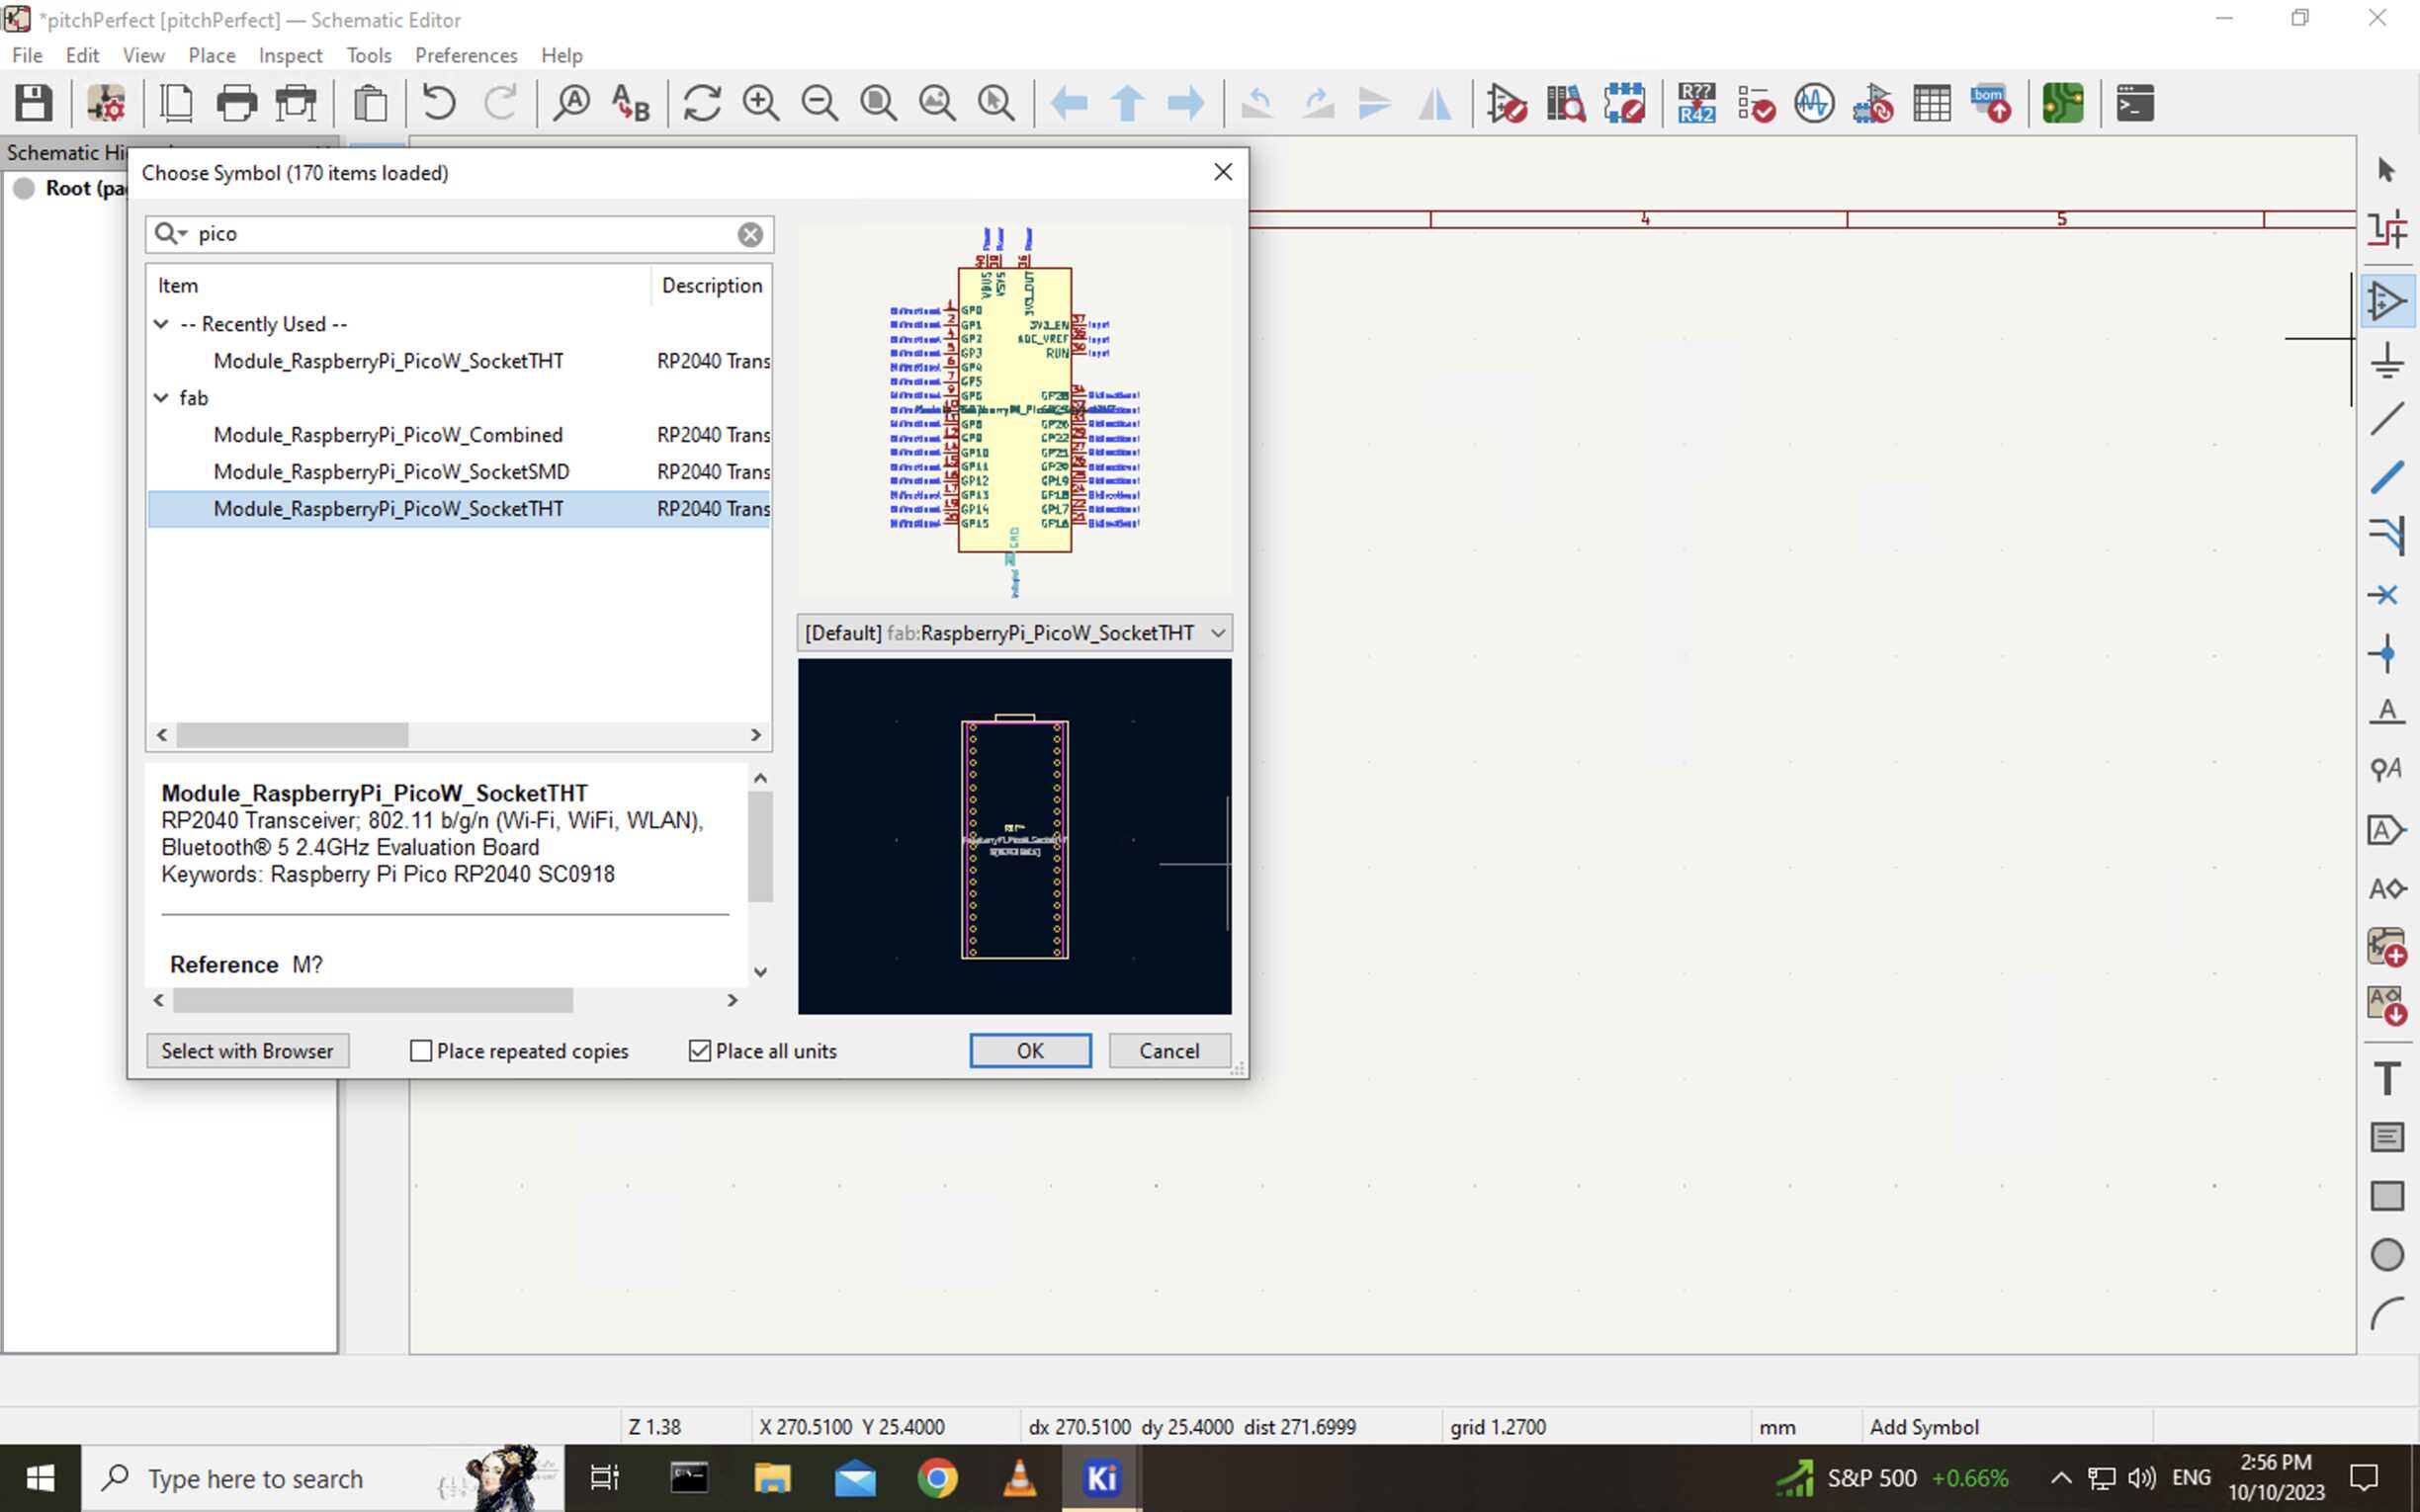
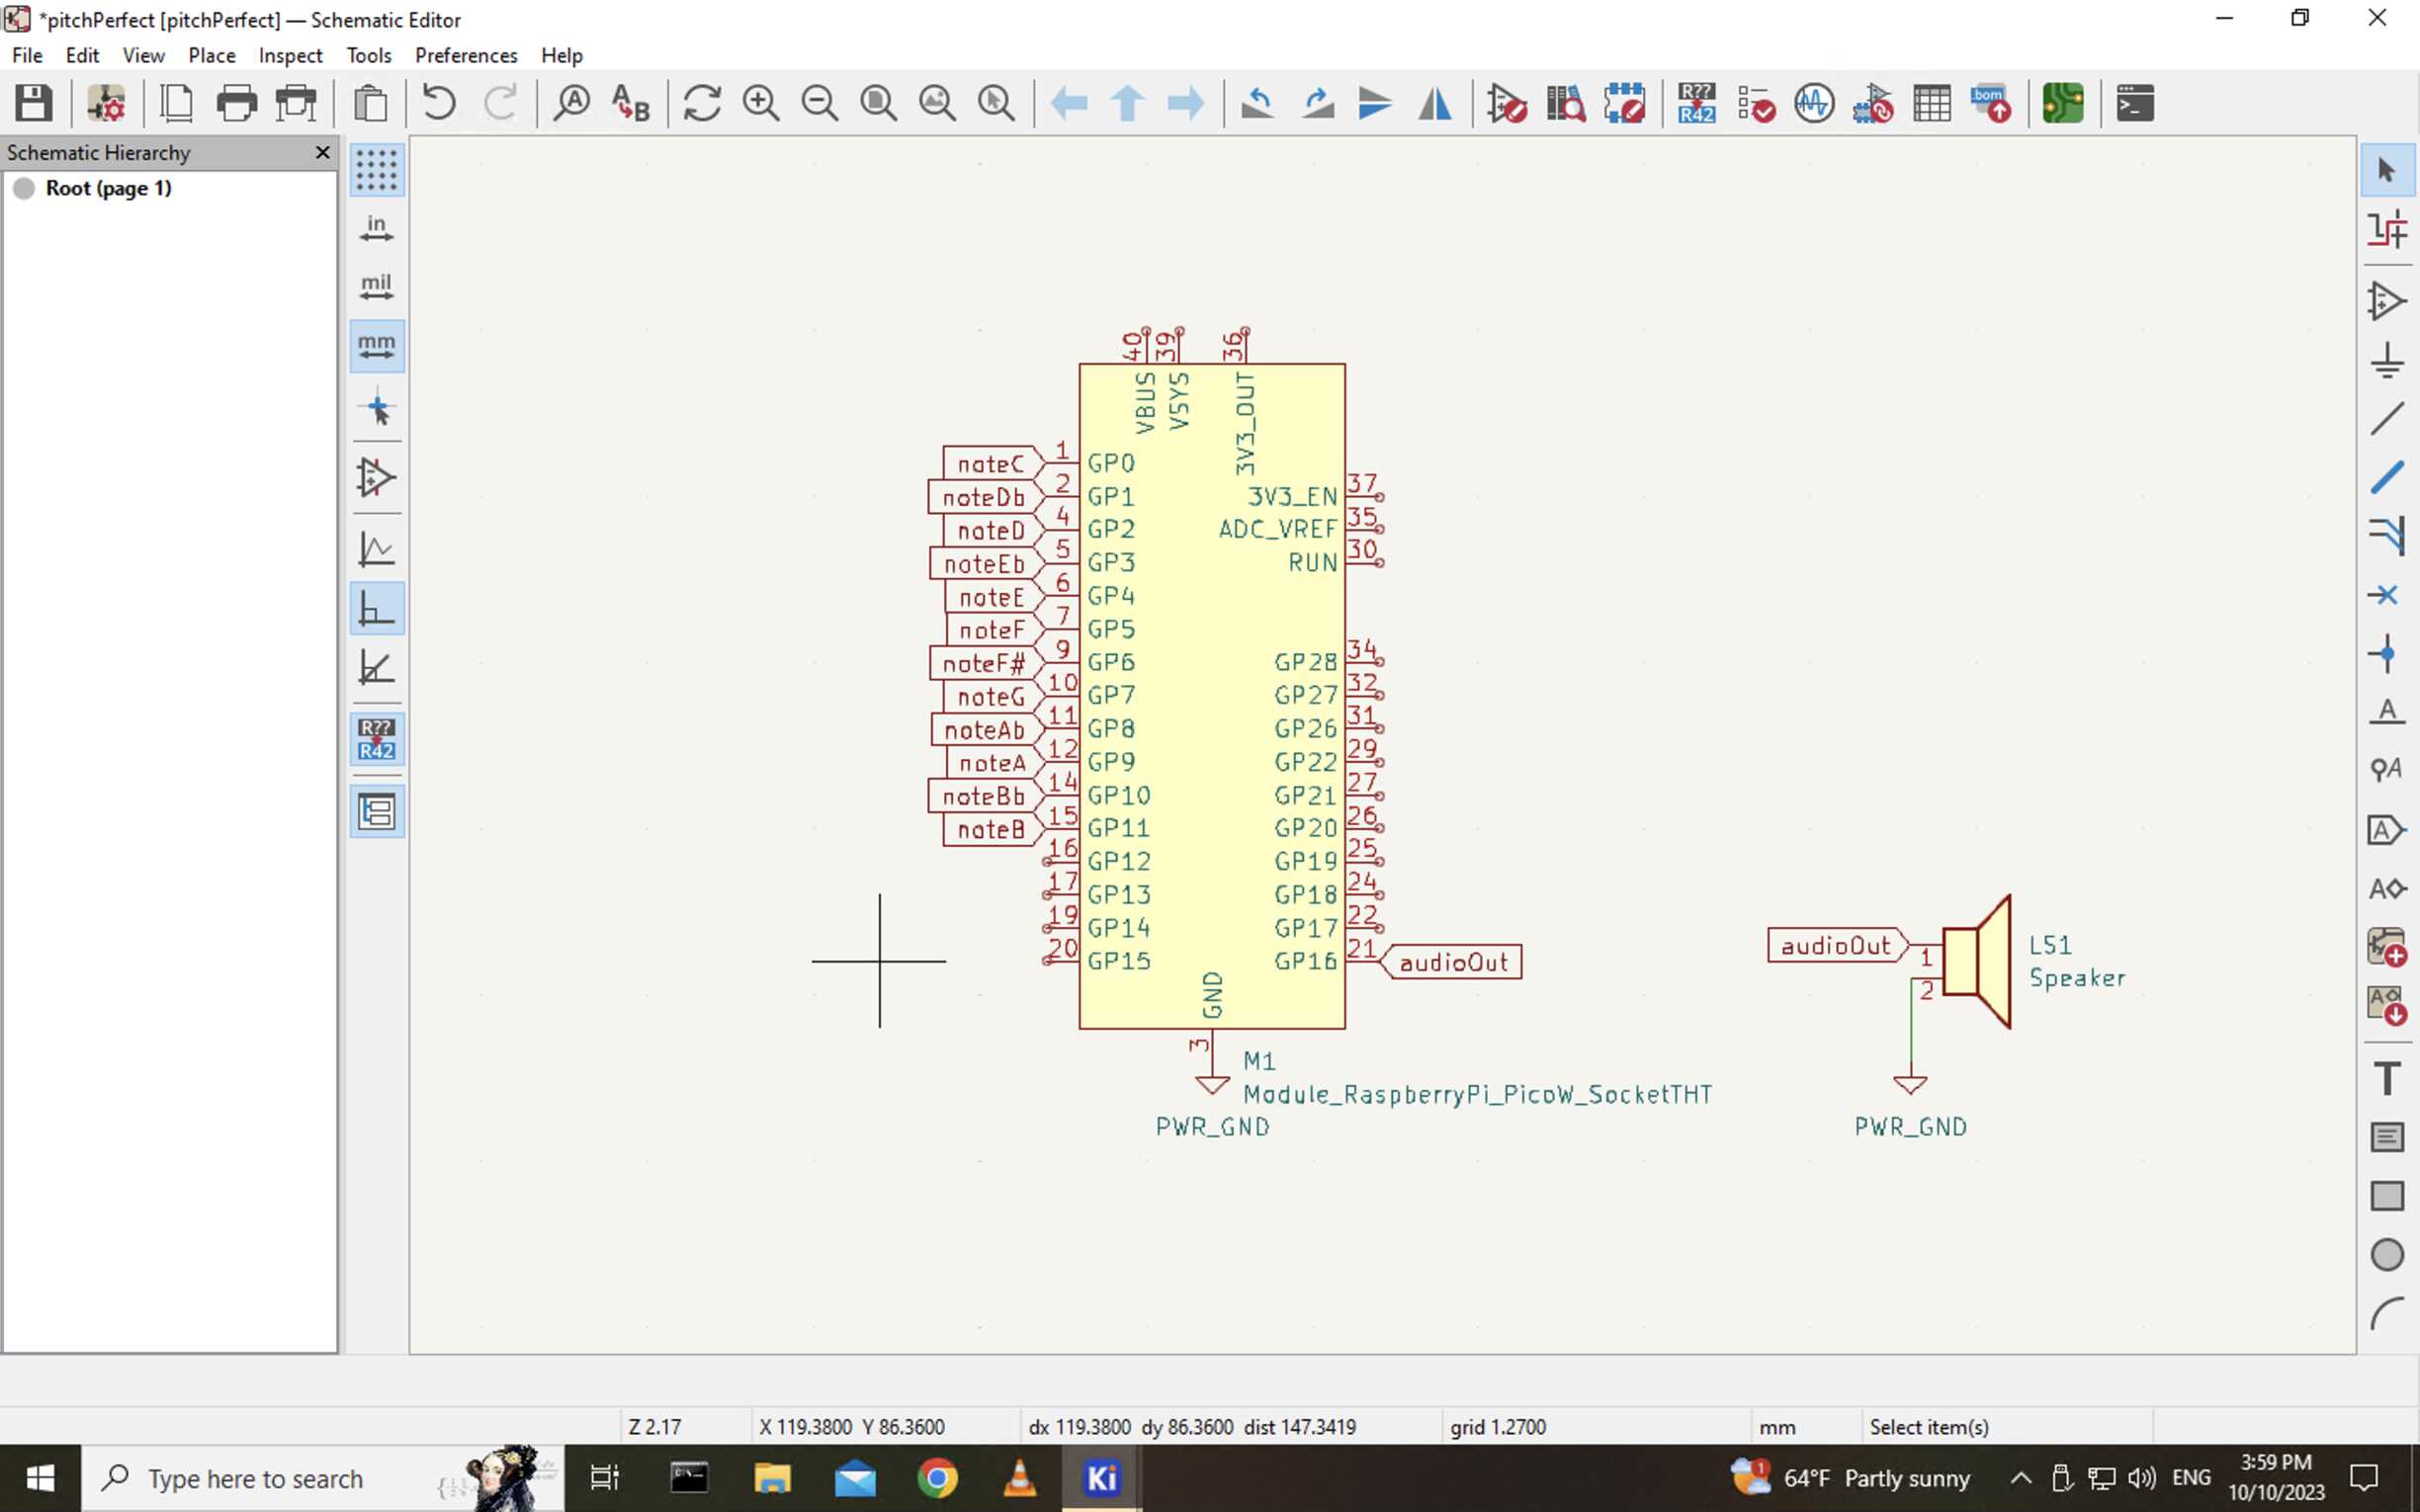
I started by downloading KiCad (still on a surrogate PC, my new laptop should arrive next week!!), as well as the libraries for footprints recommended in class. I decided to use a Raspberry Pico W microcontroller, which uses a RP2040 but has a more extensive pinout layout than the Seeed XIAO packaging, and I needed 12 pins for all the notes of the keyboard, as well as an extra one for the speaker. I then designed an initial board with a Pico W and a speaker, and annotated all of the pins that I needed with adequate names.
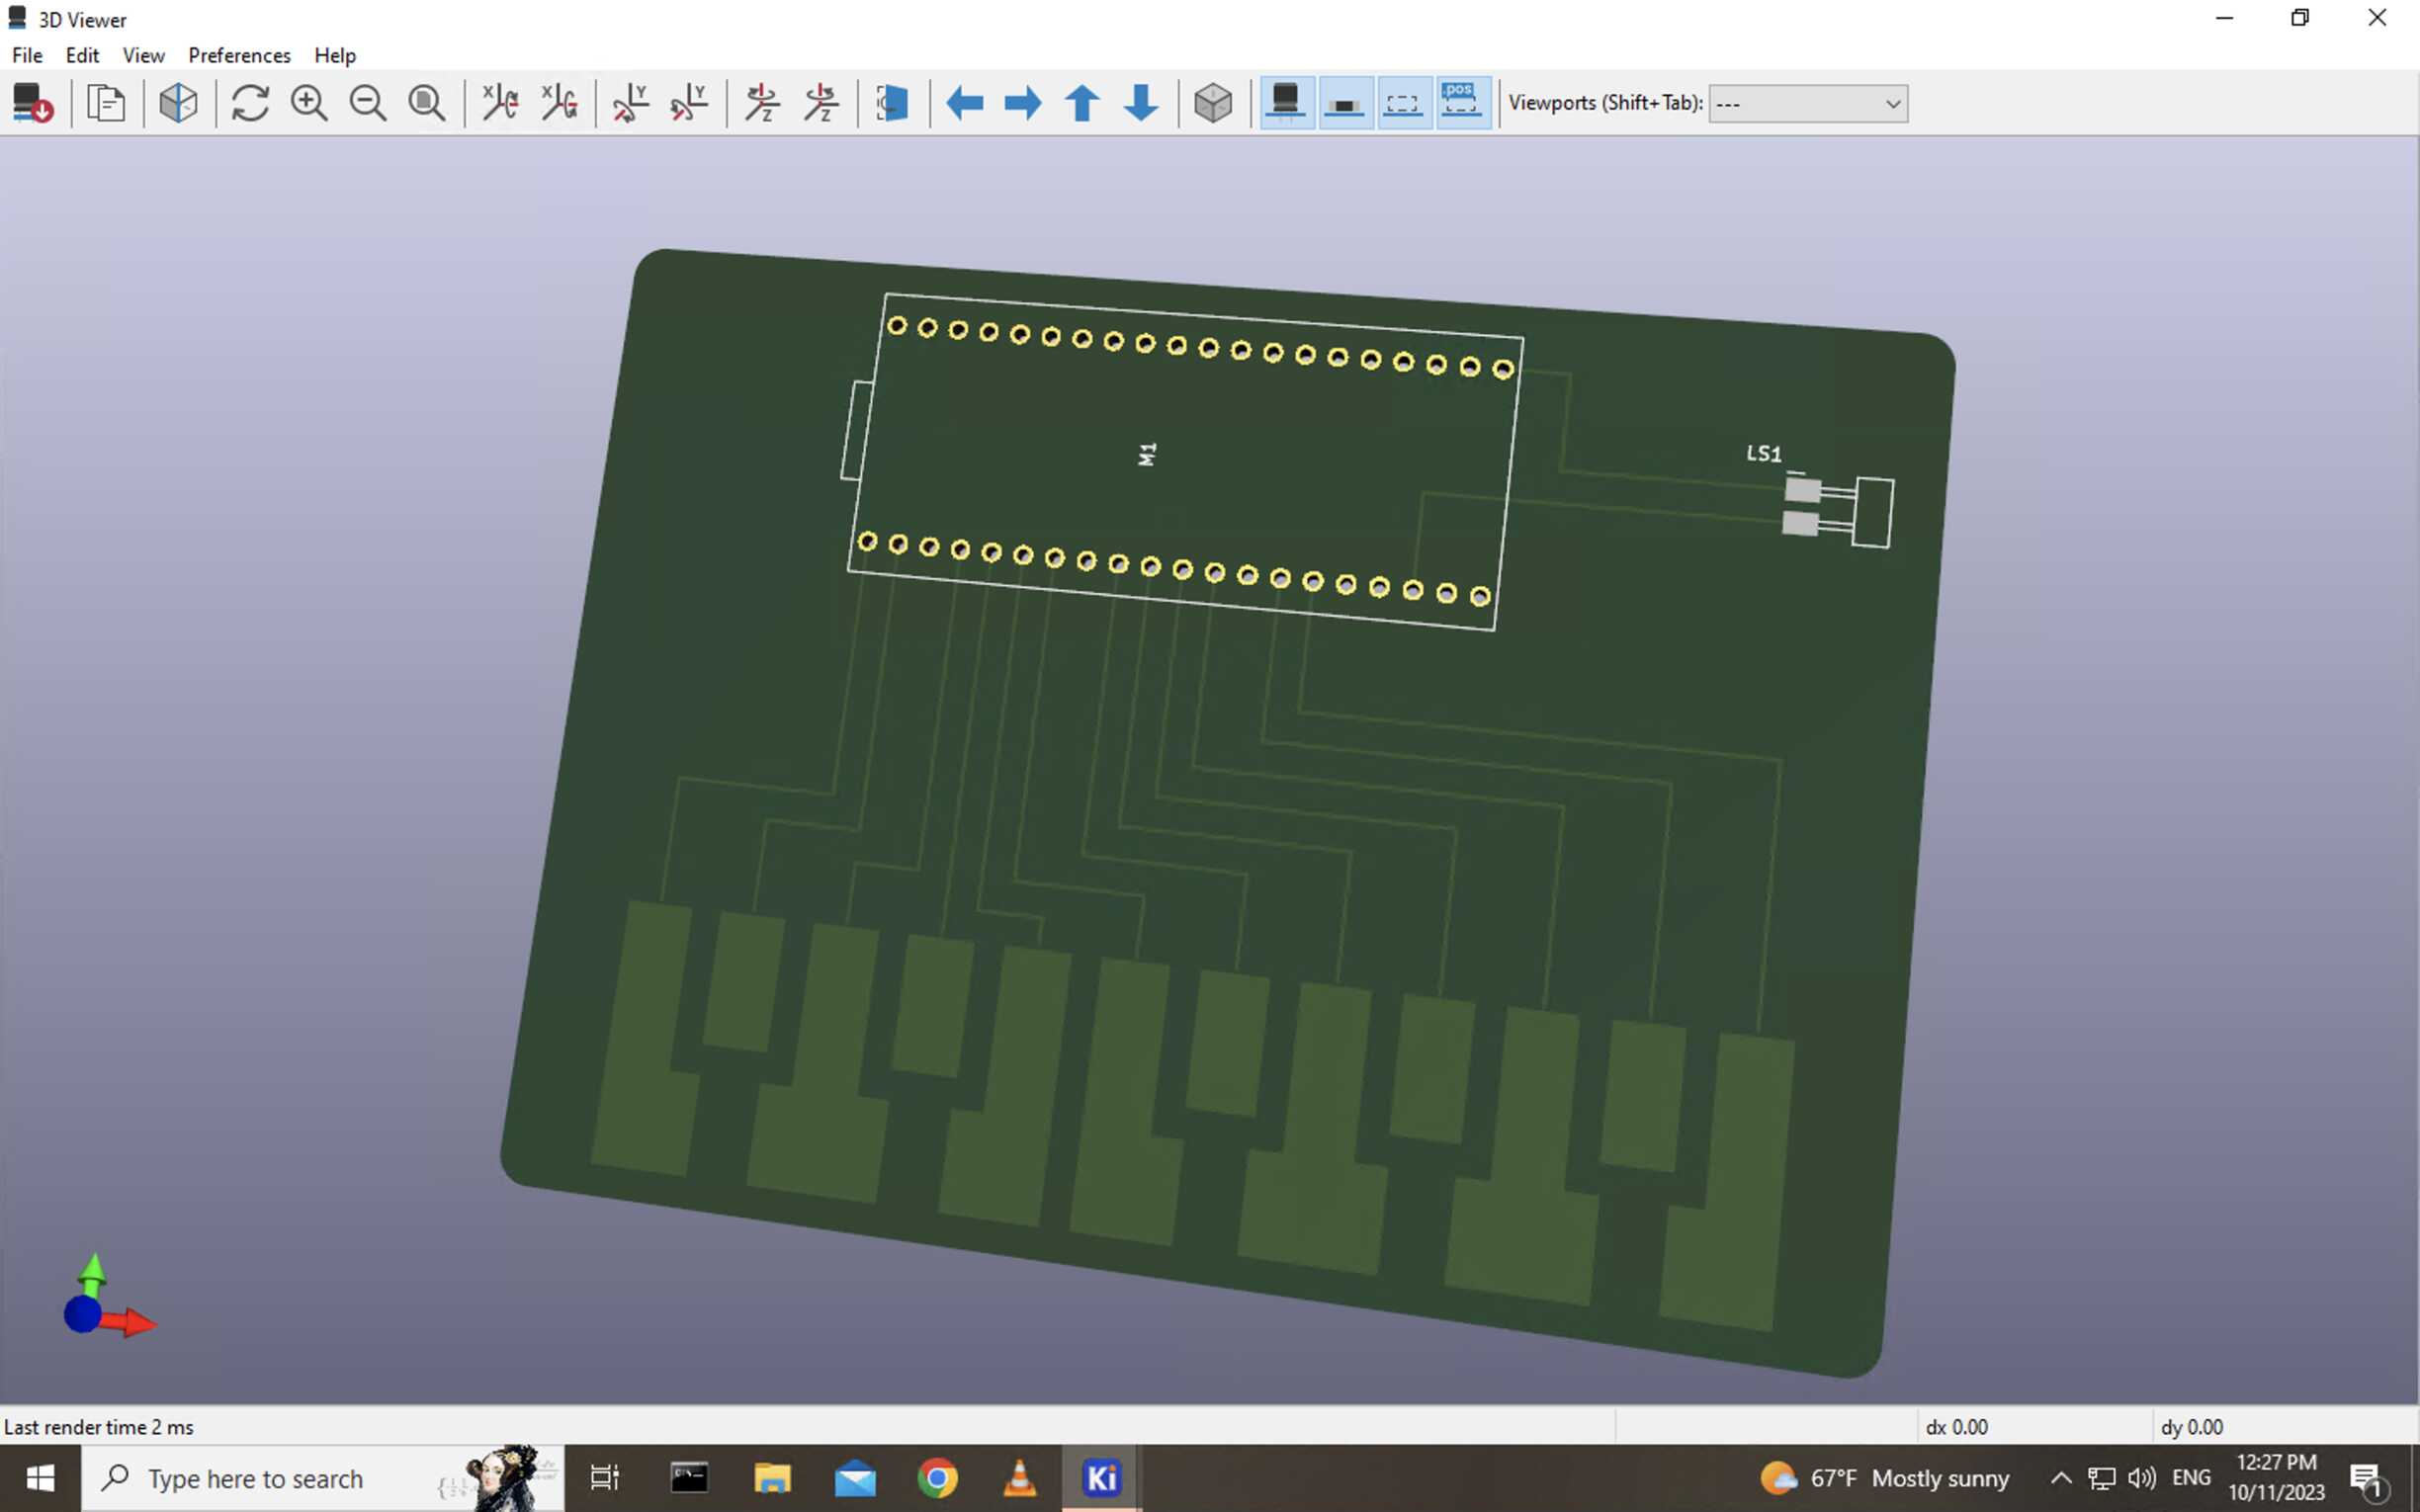
After sketching out the circuit, I started to design my board, still in KiCad, and had my first go at arranging components in a way that makes sense. In order to make a functional keyboard, I took inspiration from Fangzheng's idTouch board which uses step-response for capacitive sensing and uses sensors directly milled onto the printed circuit board. I drew some graphics to design a functional keyboard, and routed all of the components and sensors to the microcontroller. I then drew a nice frame around it. I am running out of time here, so I don't have time to do this, but I think the microcontroller should be at the border of the board, for the USB to plug better.
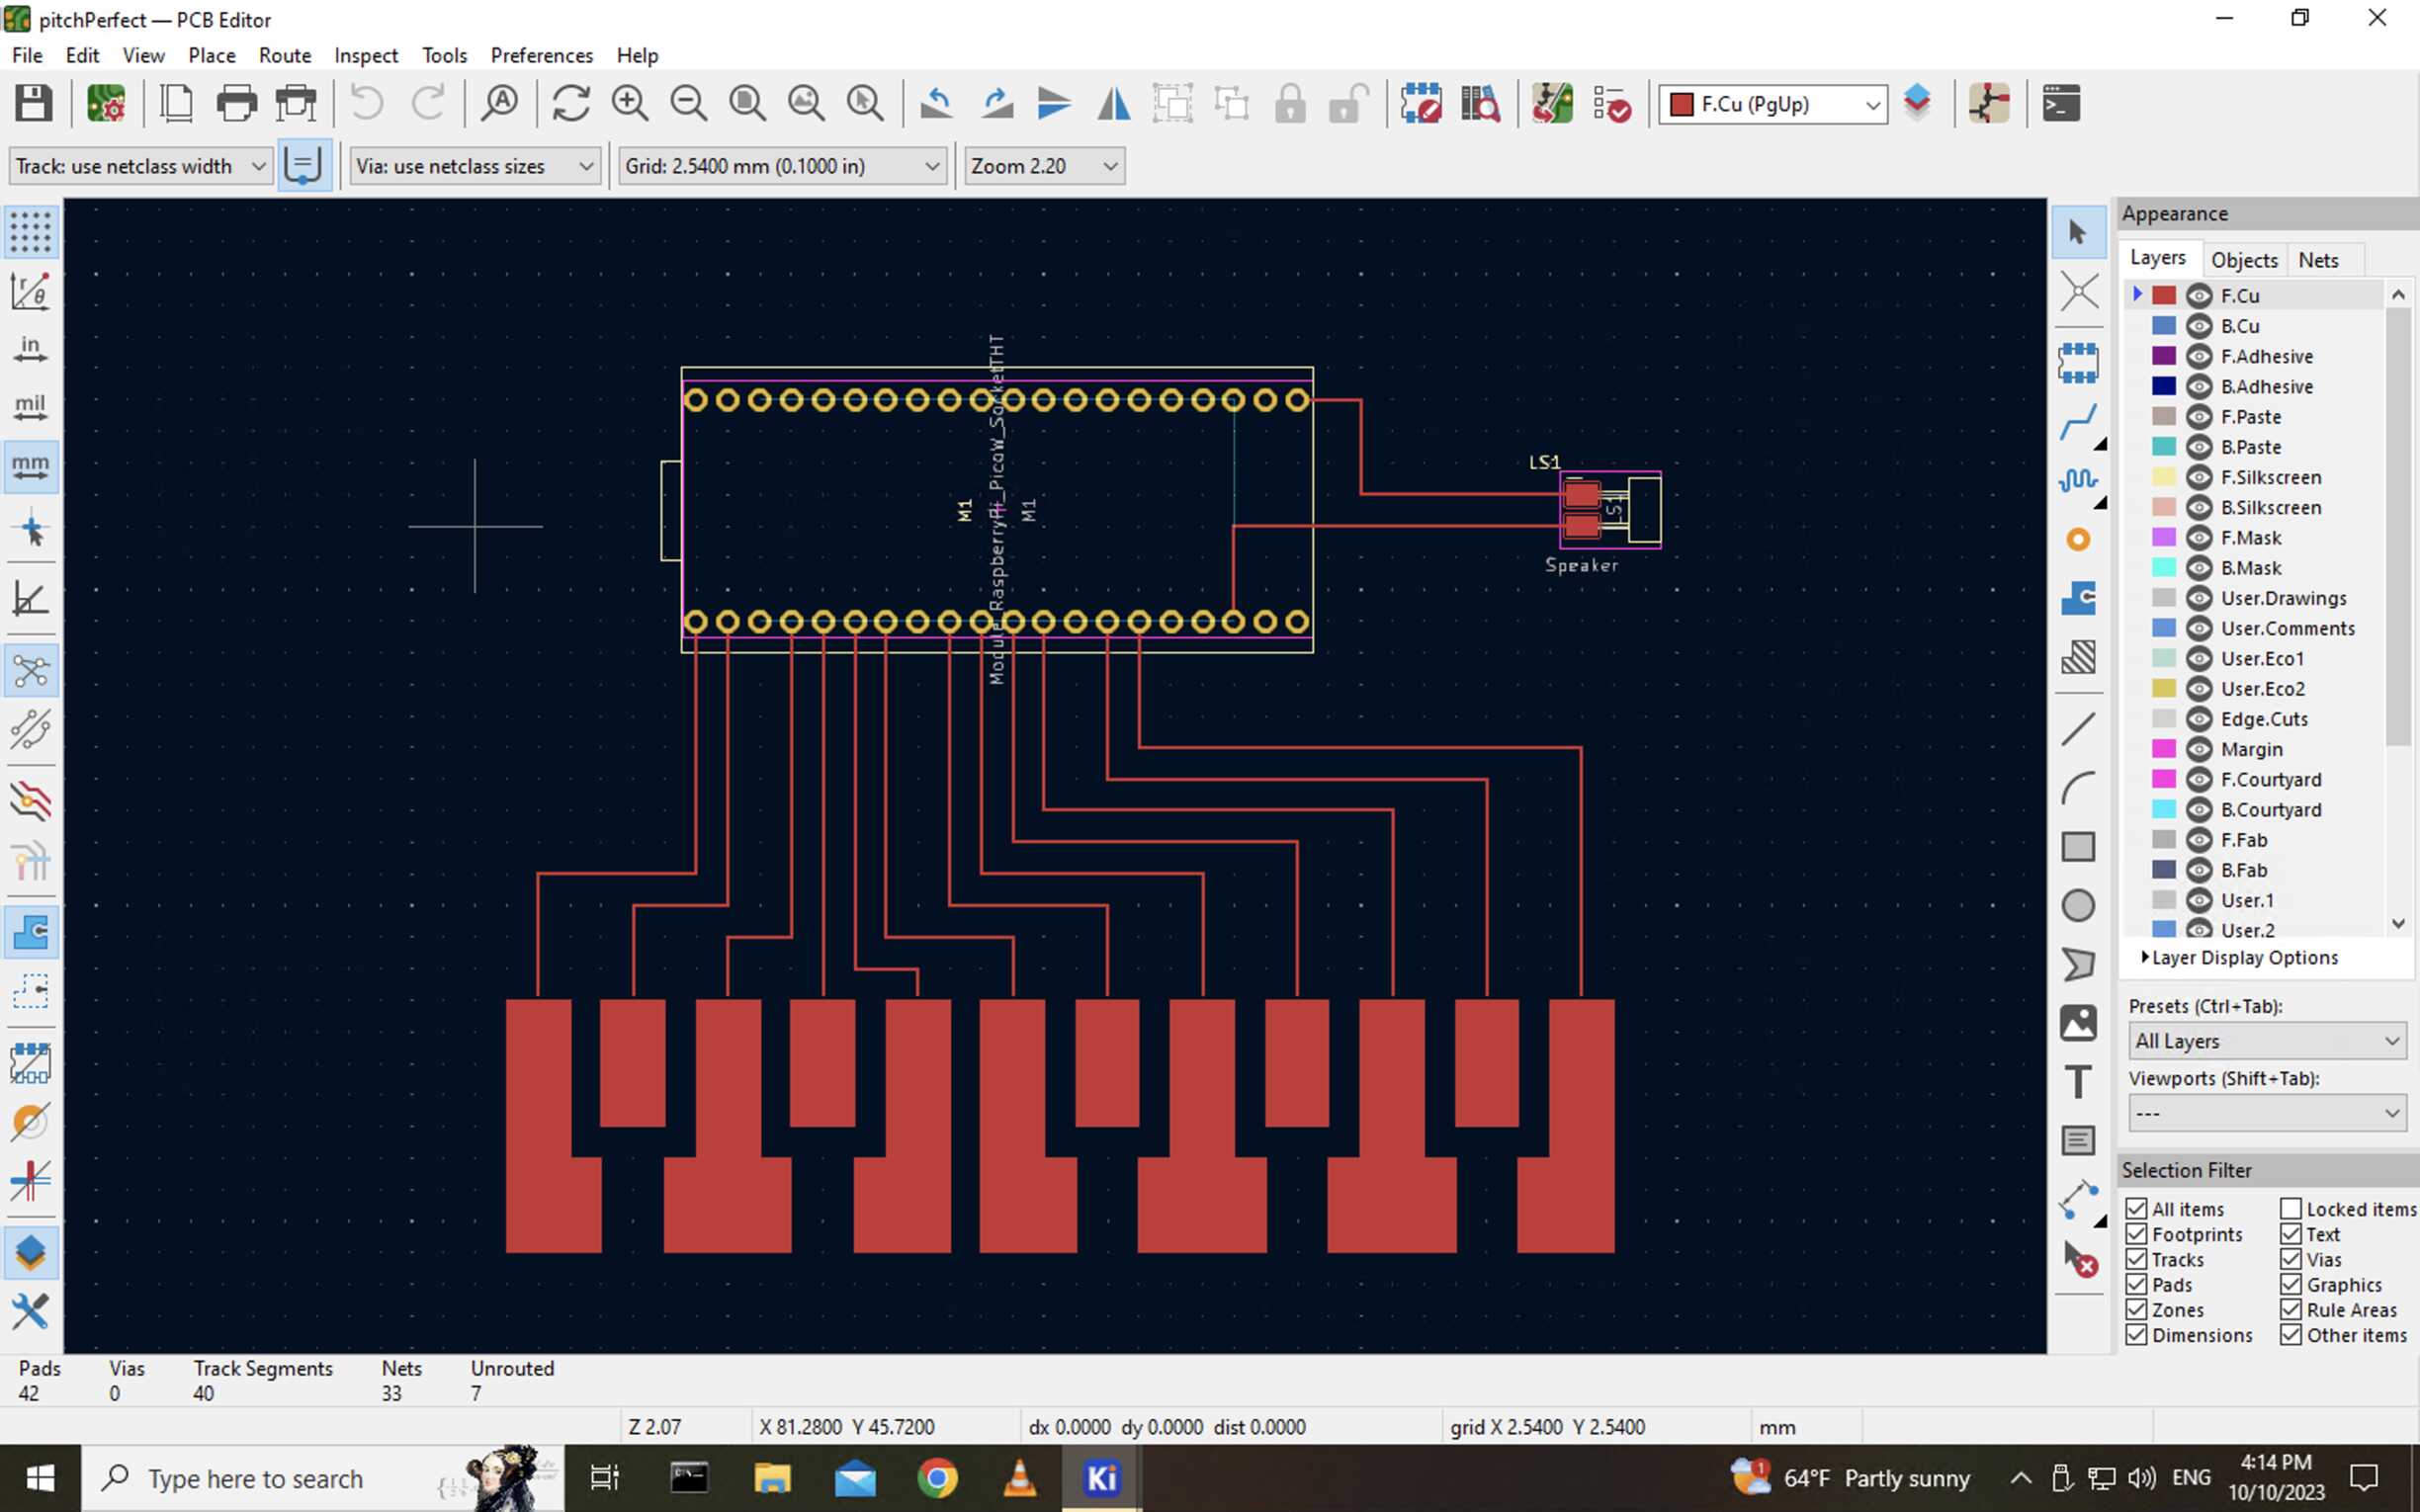
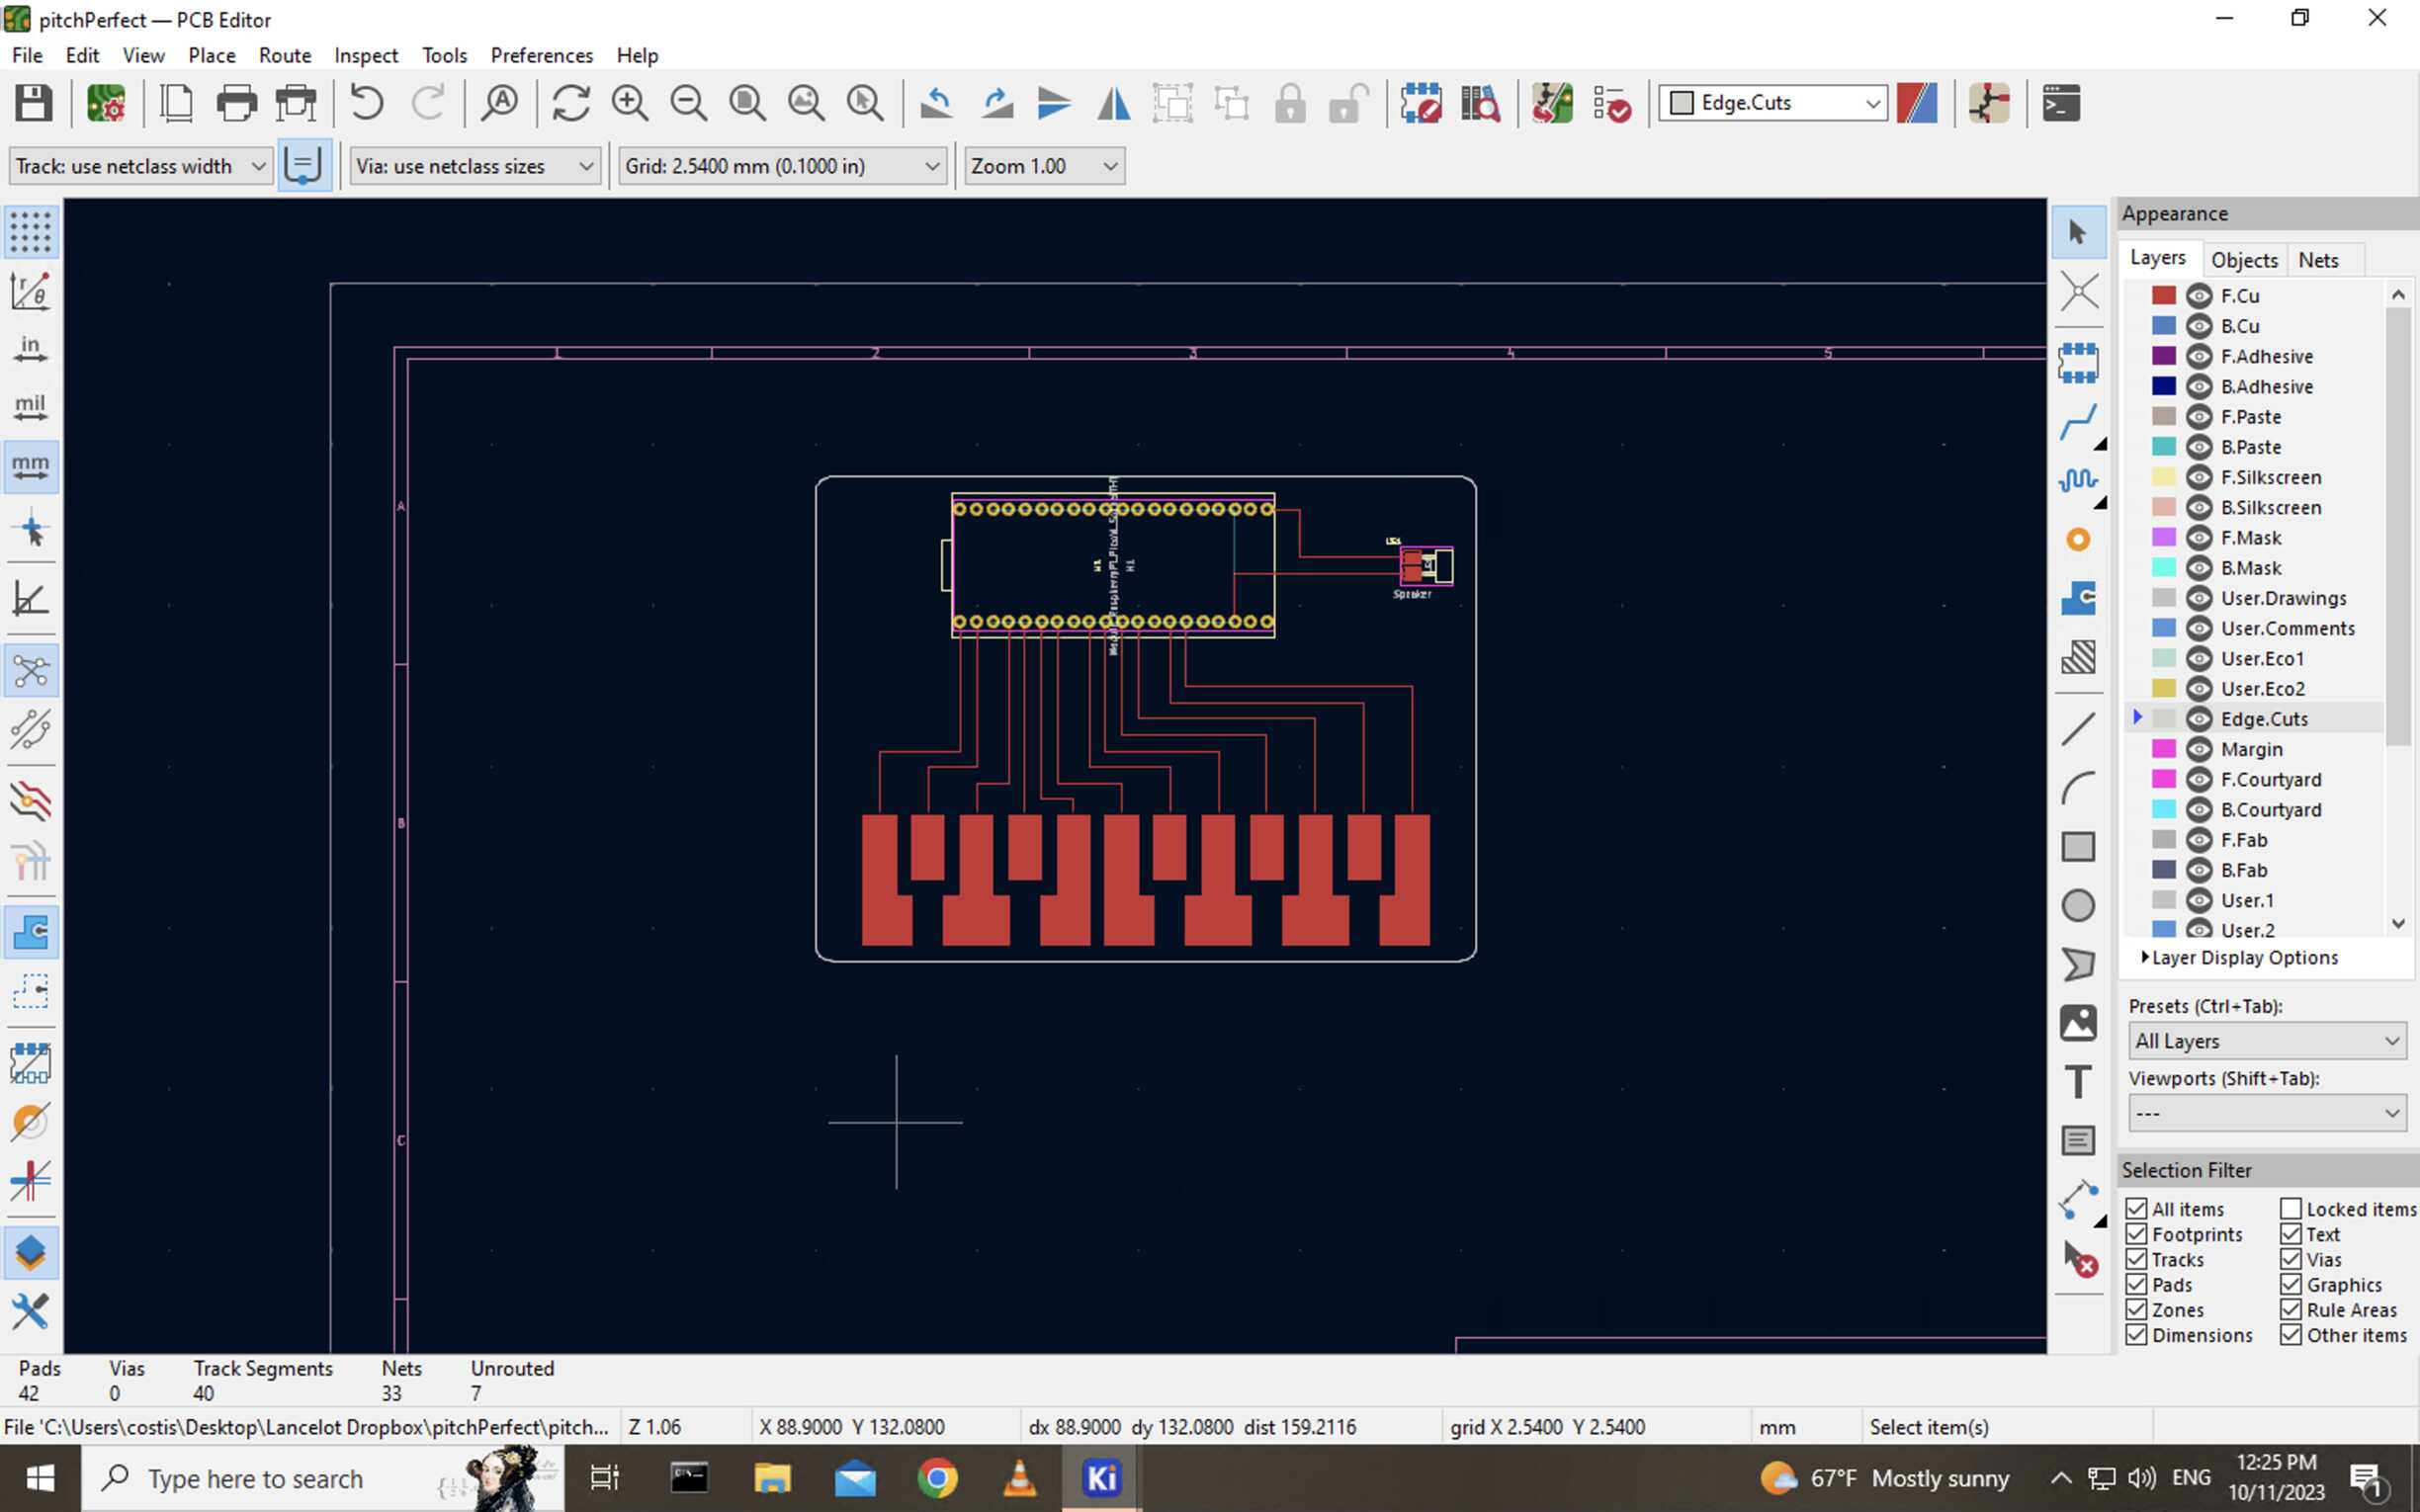
I ended up getting this circuit for now, but I plan to design a case very soon for it, as well as cut some conductive vinyl stickers to make the keys of the keyboard.
Notes to a future me (learning outcomes):
- It is worth spending some time getting very comfortable with KiCad, because it's powerful.
- The tools learnt in this class can make very fun birthday gifts