Week 6: Molding & Casting
The content of this week's lecture got me very interested in metal casting. Looking forward to my final project, I would love to be able to produce metal instruments with keys whose natural frequencies can be precisely chosen. Since our labs had stocks of Cerrotru, a low melting metal pewter, I set myself to experiment whether such instruments could be produced using this alloy. I initally wanted to build a thumb piano (or Kalimba), but I discovered that casts made out of Cerrotru were pretty brittle, which would compromise the efficacy of the instrument. Then, I thought that I might start my experiments with a Glockenspiel, which is a percussion instrument with metal keys.
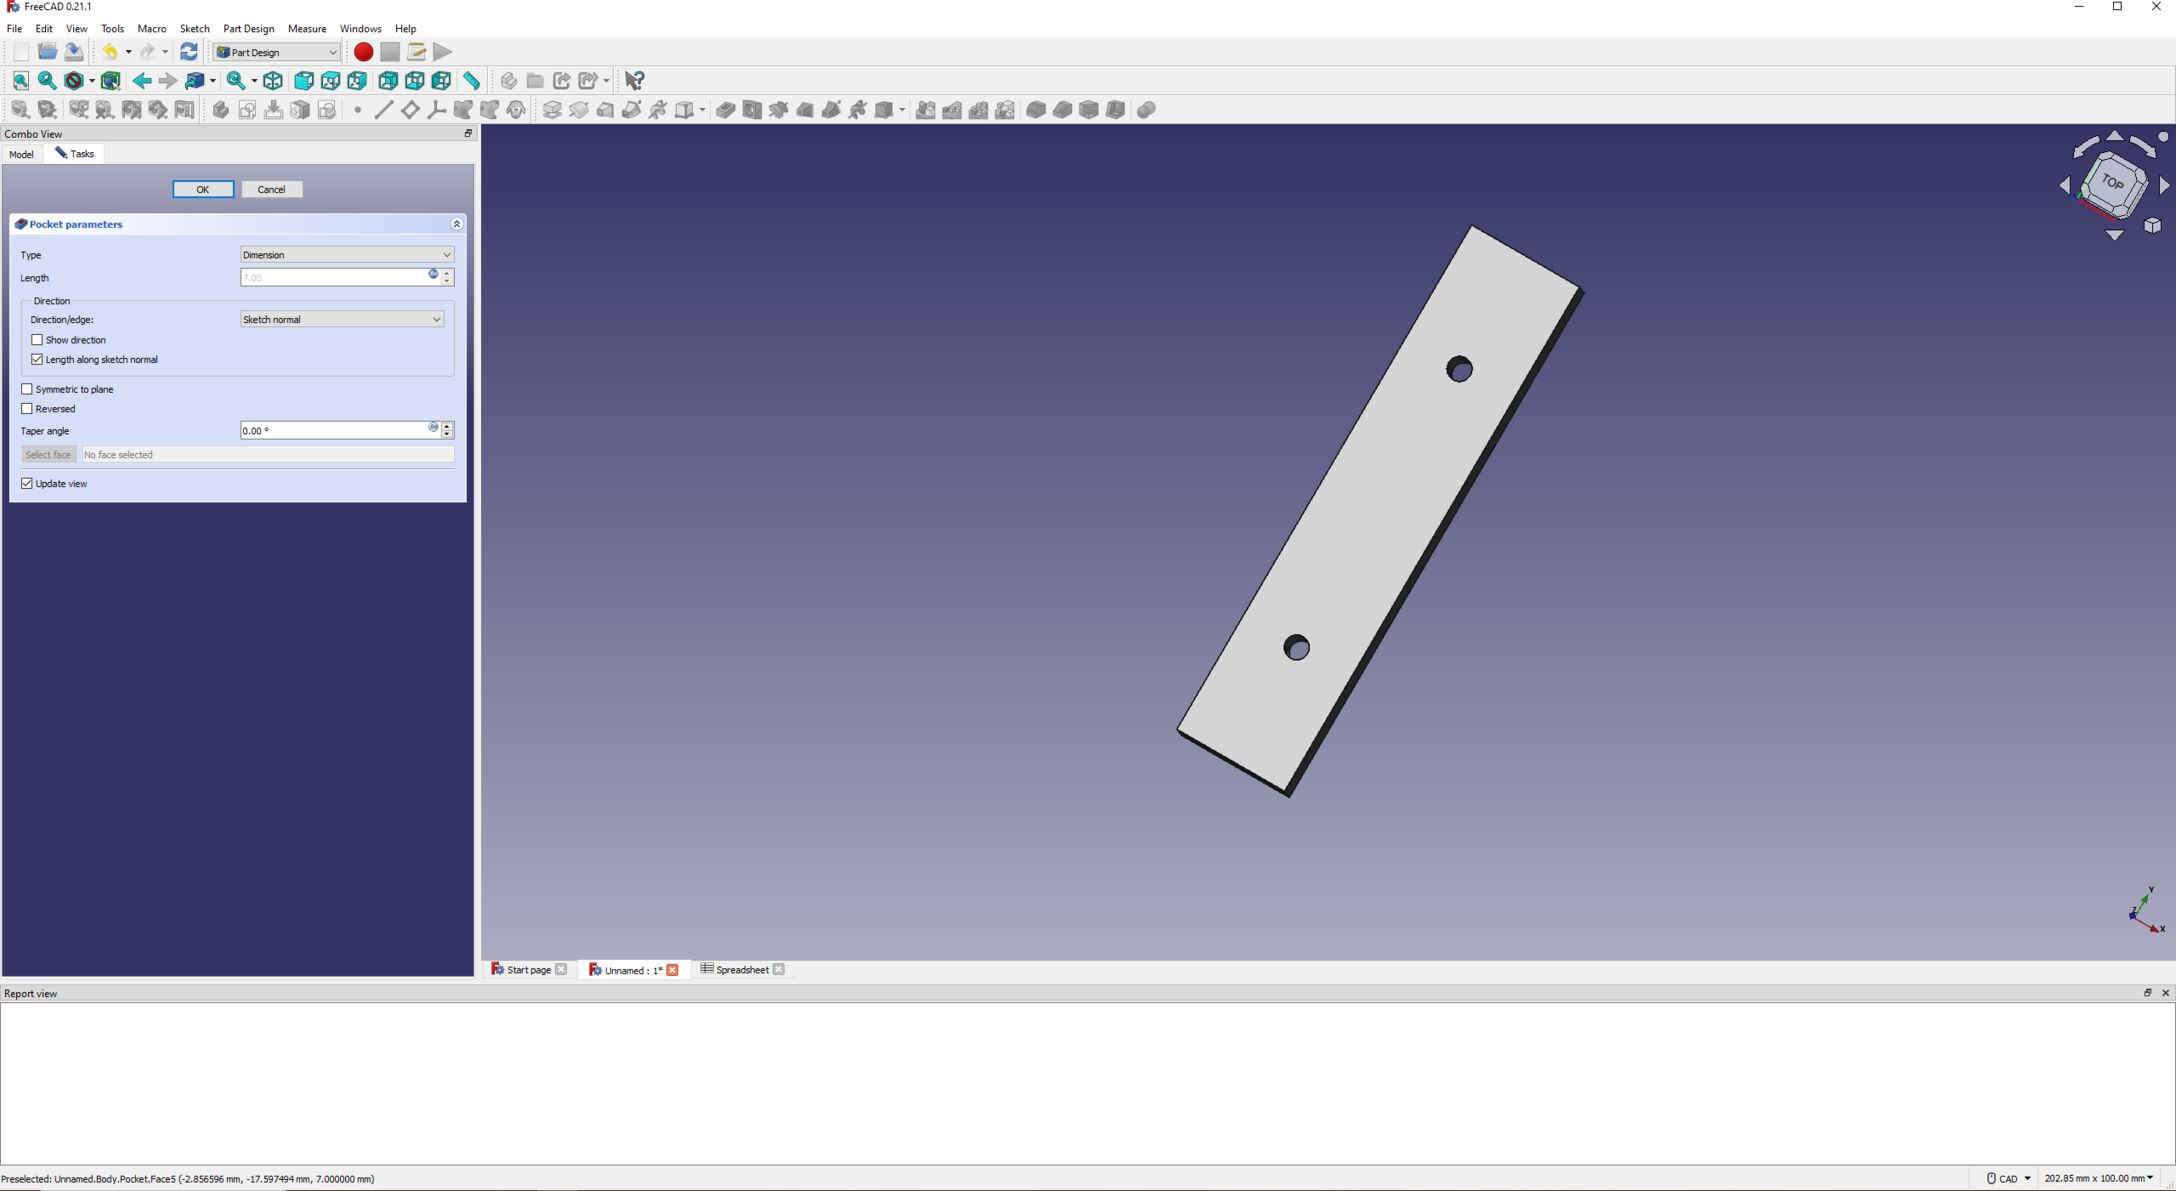
I started my week on FreeCAD, and set myself to design a few keys of varying lengths. After going through multiple online articles, I decided to use a width of 15mm, a thickness of 7mm, and a length varying between 60mm to 35mm in decrements of 5mm, therefore making up 6 different keys.


According to the same online article, the best place to locate the holes used to fix the keys are 0.224*L away from the edges, with L being the length of the key. This supposedly corresponds to where the first node of the resonnating frequency would be located, but, and as I would realise only later, this might depend on the type of metal. I used this formula to place two holes of 5mm diameter each to hold screws or nails in the final design.

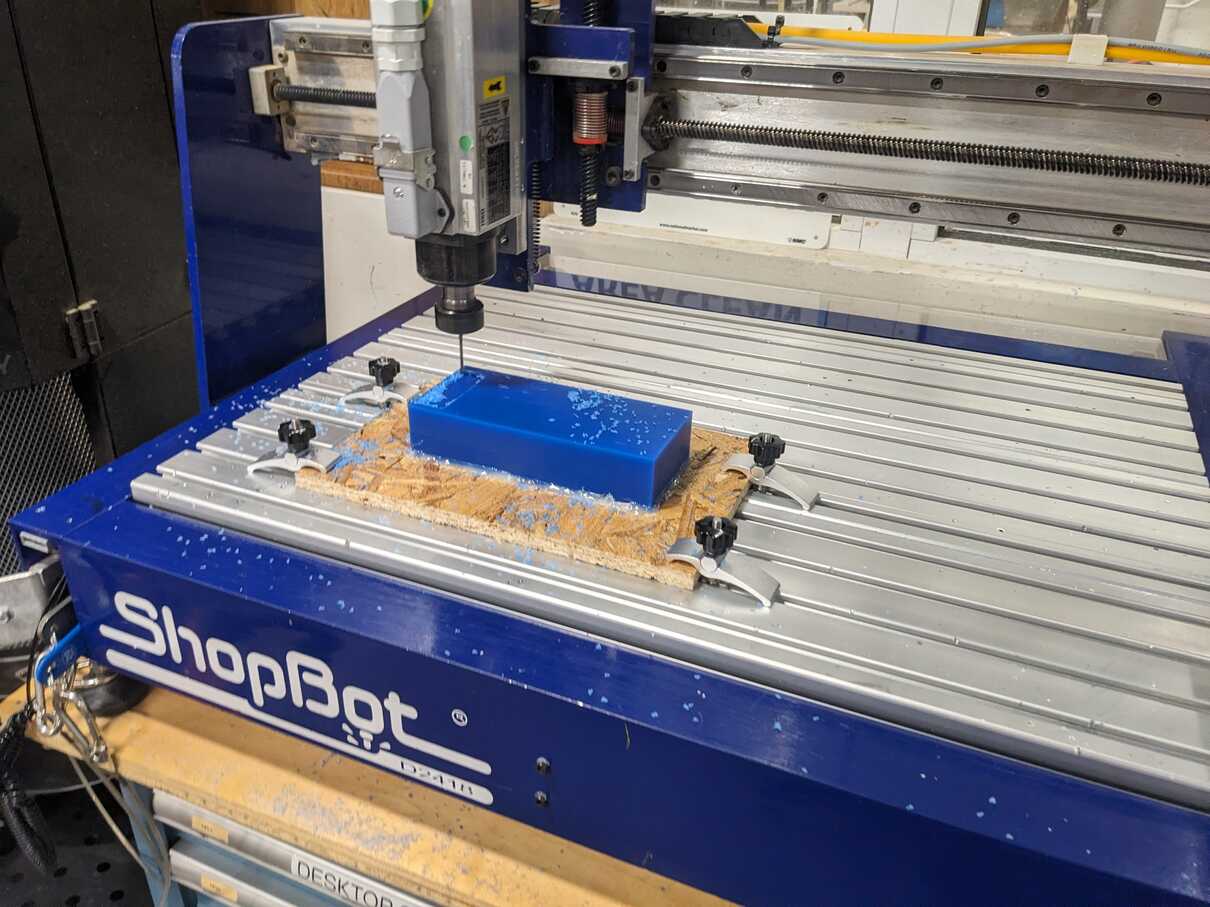
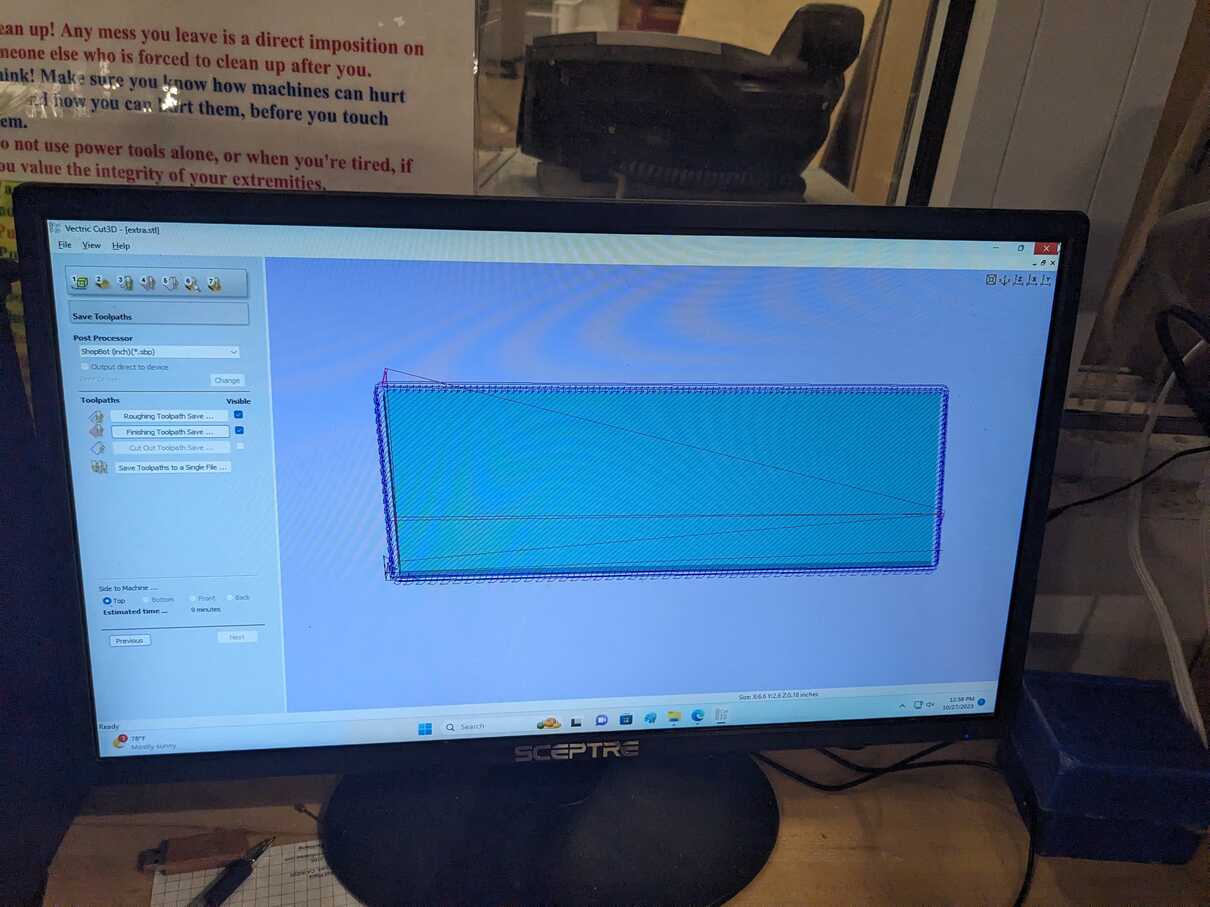
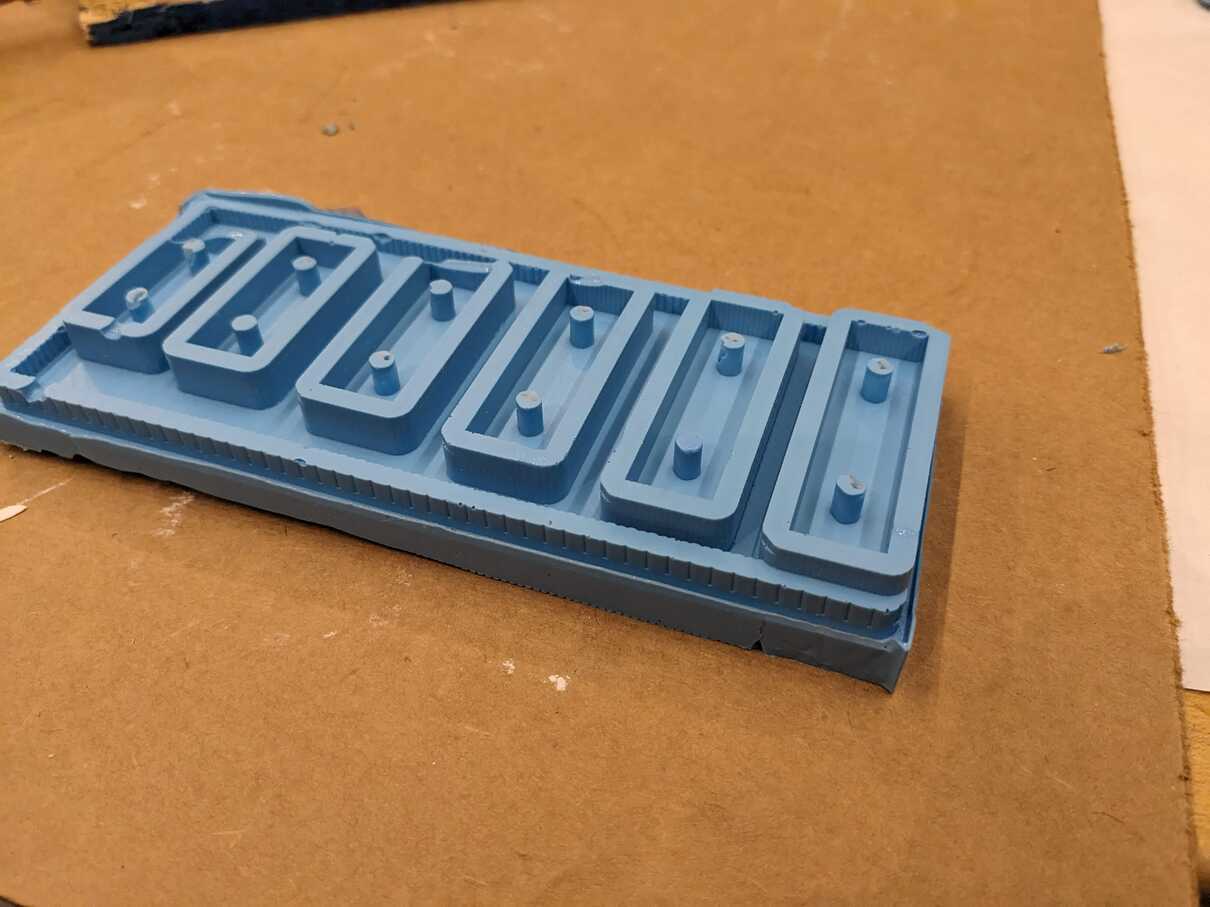
I then started using the ShopBot Desktop from the CBA shop to mill into the wax molds that were provided. The molds were 178mm long by 76mm wide, which enabled me to position my 6 keys on decreasing lengths all next to each other. The jobs took around 10 minutes each to execute, and I repeated each job by resetting the X-zero to a location around 25mm away from the previous key.


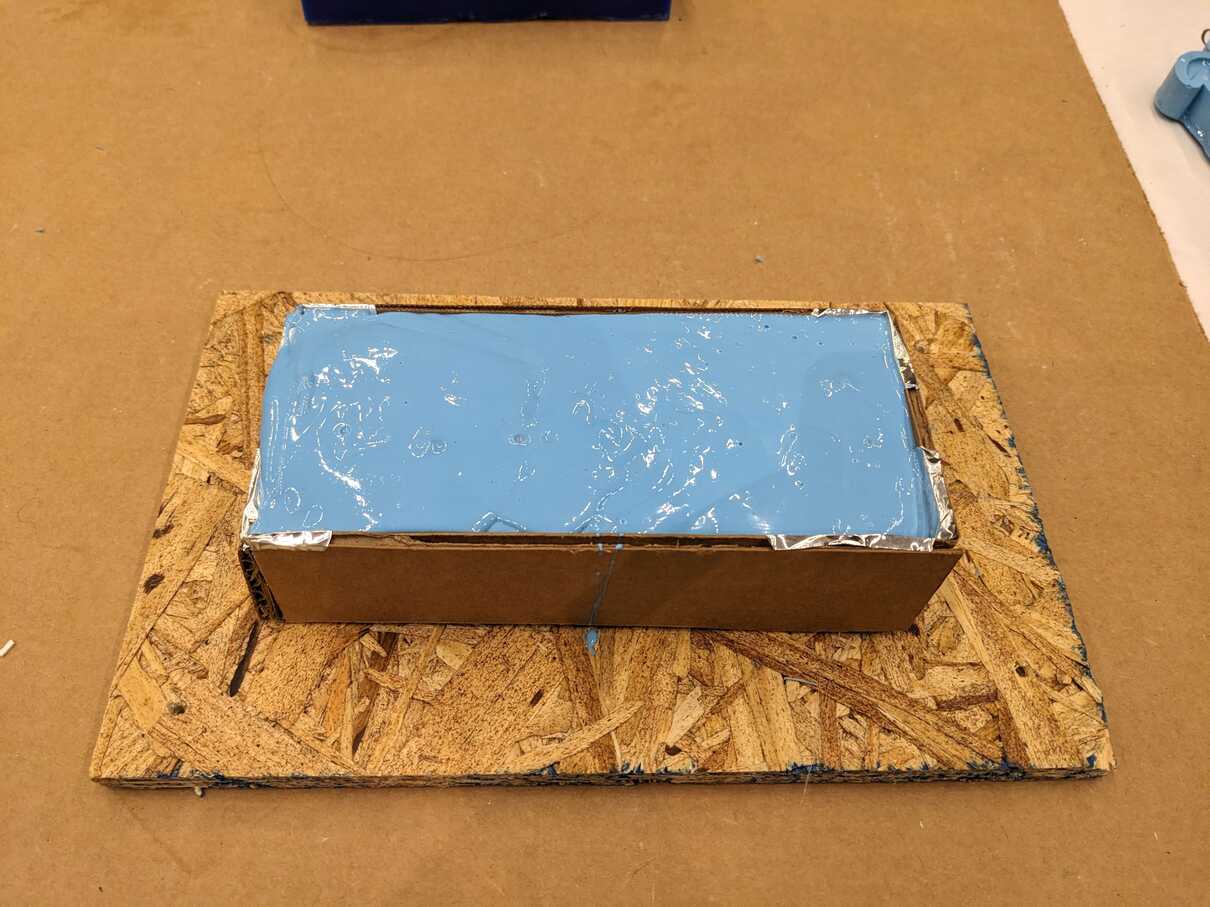
One problem that I ran into was that the edges between the different keys were still at surface level, which did not allow me to make one large cast for all keys. I therefore deisgned an additional rectangle of 5mm thickness to cut my wax just a bit below surface level and allow me to make one large pour of Oomoo. I did, however, break an edge while doing so, and I had to design some cardboard edges for my mold to properly function.

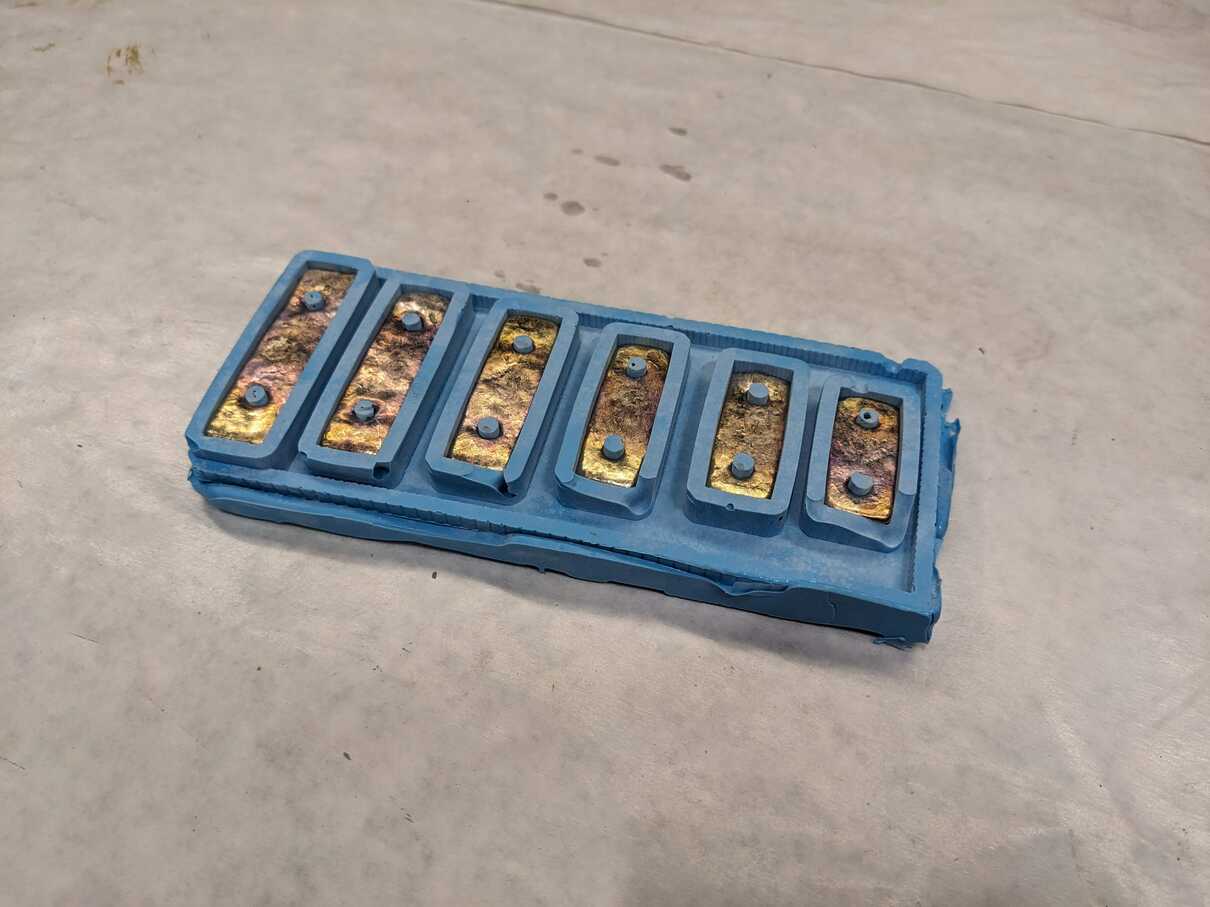
Then, I poured the Oomoo in and tried to make a homogeneous, bubble-free pour that could cover all 6 keys. Unfortunately, the small holes that I made for the nails were a bit small and some Oomoo struggled to properly flow into them, so the resulting flexible mold had some defects around these areas. It still looked pretty good, so I directly tried to move on with my metal casting.

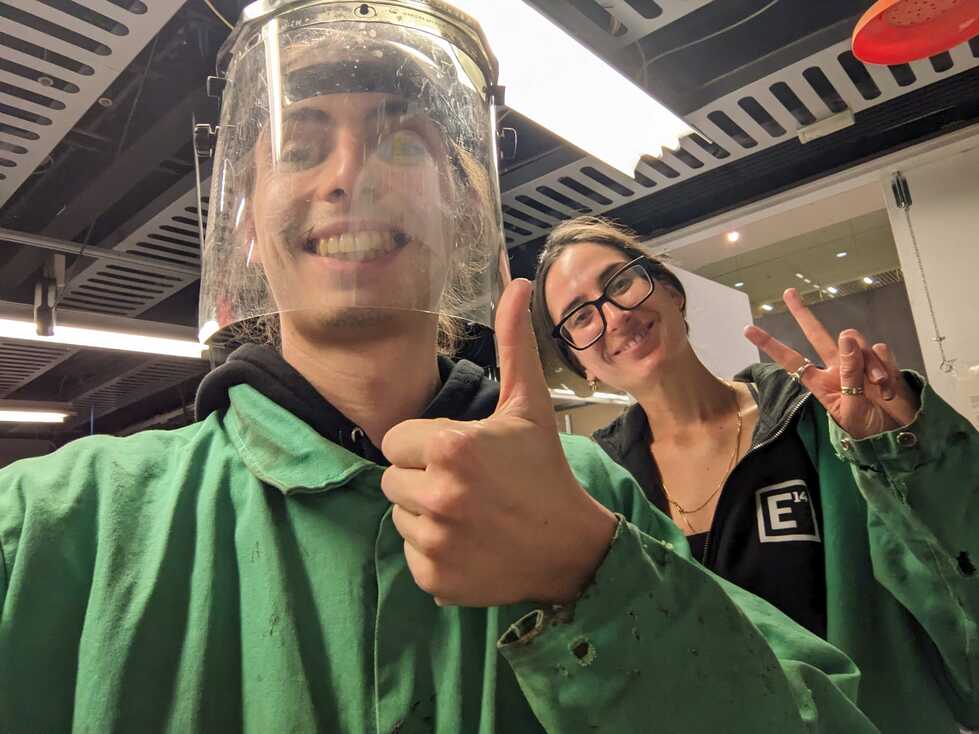
I was helped by Rachele to make my metal pour, since she was already around the lab and had gone through multiple metal casts already, which effectively made her an expert in my mind. I warmed up the liquid metal and poured it in my mould, hoping that the metal would not enter into the cracked Oomoo too much.

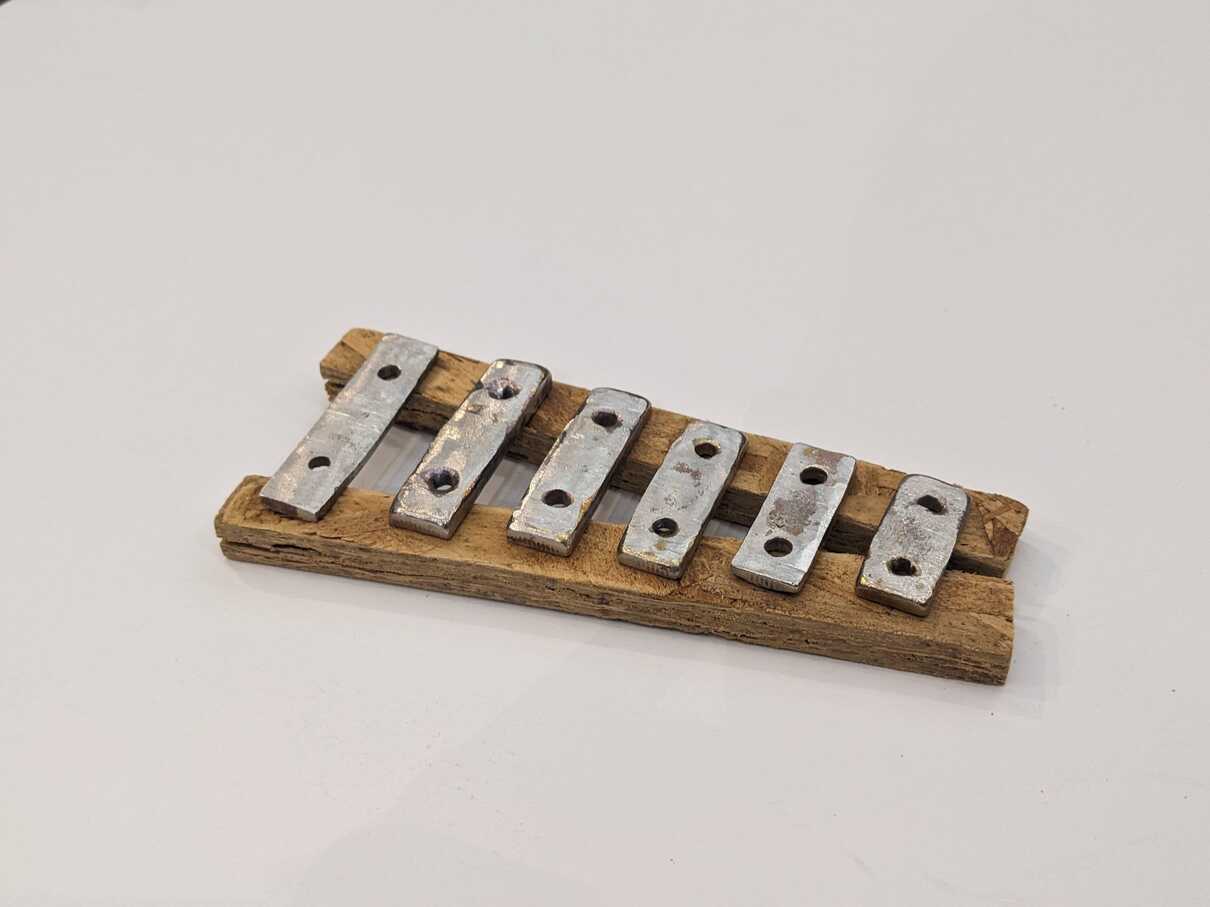
I successfully managed to retrieve all my keys and was excited to try them out! However, they did not sound good at all :( In fact, it was very hard to make them vibrate, so I decided to continue my investigation. I started by filing all of them by hand, and tried to make them thinner, hoping that their vibration would become easier.


However, it still didn't work out. Emptied of my hope, I still decided to use some leftover OBS to design a quick frame and took a bittersweet picture of what could have been, but will never be, my incredible microtonal glockenspiel.
Notes to a future me (learning outcomes):
- Small holes and Oomoo do not go well together.
- Metallurgy is a science, it is harder than you think to make metal resonnate.