Week 1: Computer-Controlled Cutting
This week, we took a look at using both the laser cutter and the vinyl cutter. After being trained on both machines, I took my CAD designs from the previous week and set myself to cut a ukulele using the laser cutter. Even though I had initially planed to make the ukulele modulable in such a way that it could be turned into a steel guitar, time constraints (and very amateur skills) meant that I was only able to cut the ukulele parts, and only one neck, but I did learn a lot from the experience (cf. my pictures later down this blog post)
I had stopped my design after making my assembly, so I had to continue my design by designing individual pieces. To do so, I extracted all faces of my design and padded them individually with a thickness of 3mm, which is approximately what I expected to have with 1/8'' thick cardboard. I paid attention to pad the lateral faces in reverse in order for them to be able to be assembled with the top and bottom pieces later on. I then used the Laser Cutting addon from FreeCAD to design press-fit joints to unite all of the pieces. I used a kerf setting of 0.14mm, that I gathered from exchanging with my classmates and the TAs.
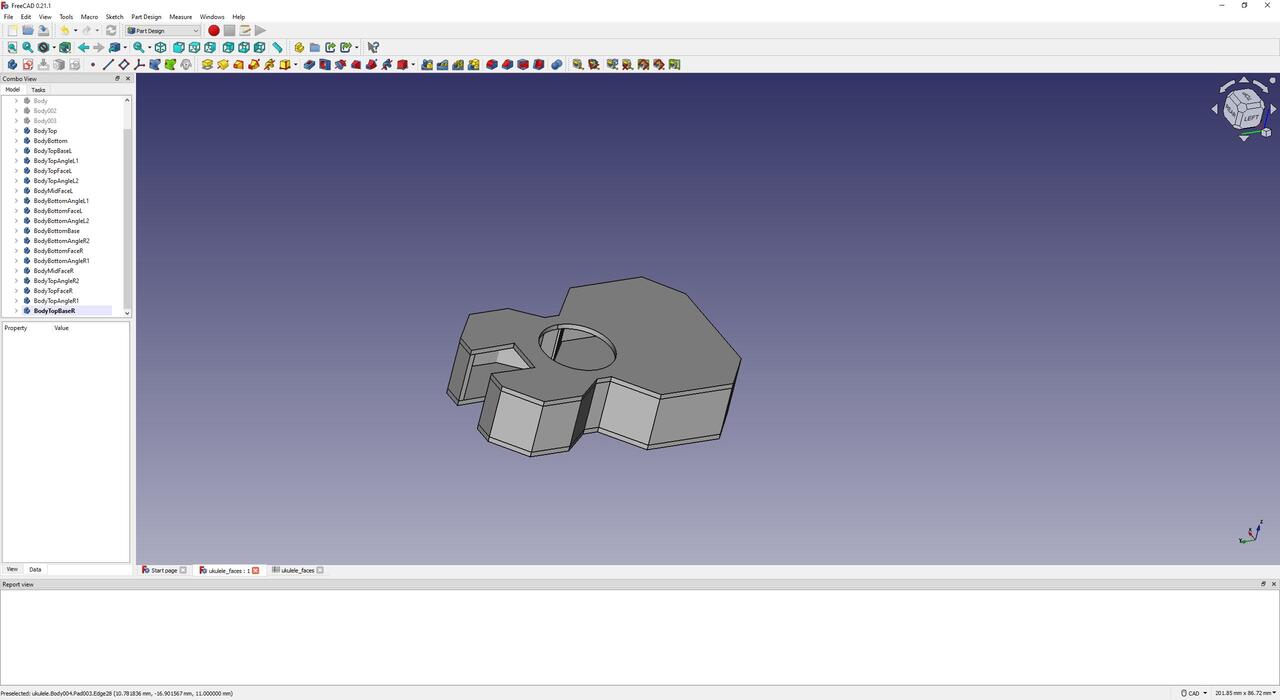

Then, I used FreeCAD Technical Drawing workbench to draw an individual view of each of my 26 pieces. This required me to rotate a few pieces around the Z axis, so that they would be flat in the direction of the X axis. I exported every drawing onto an SVG file, and then it was time to use the laser cutter!


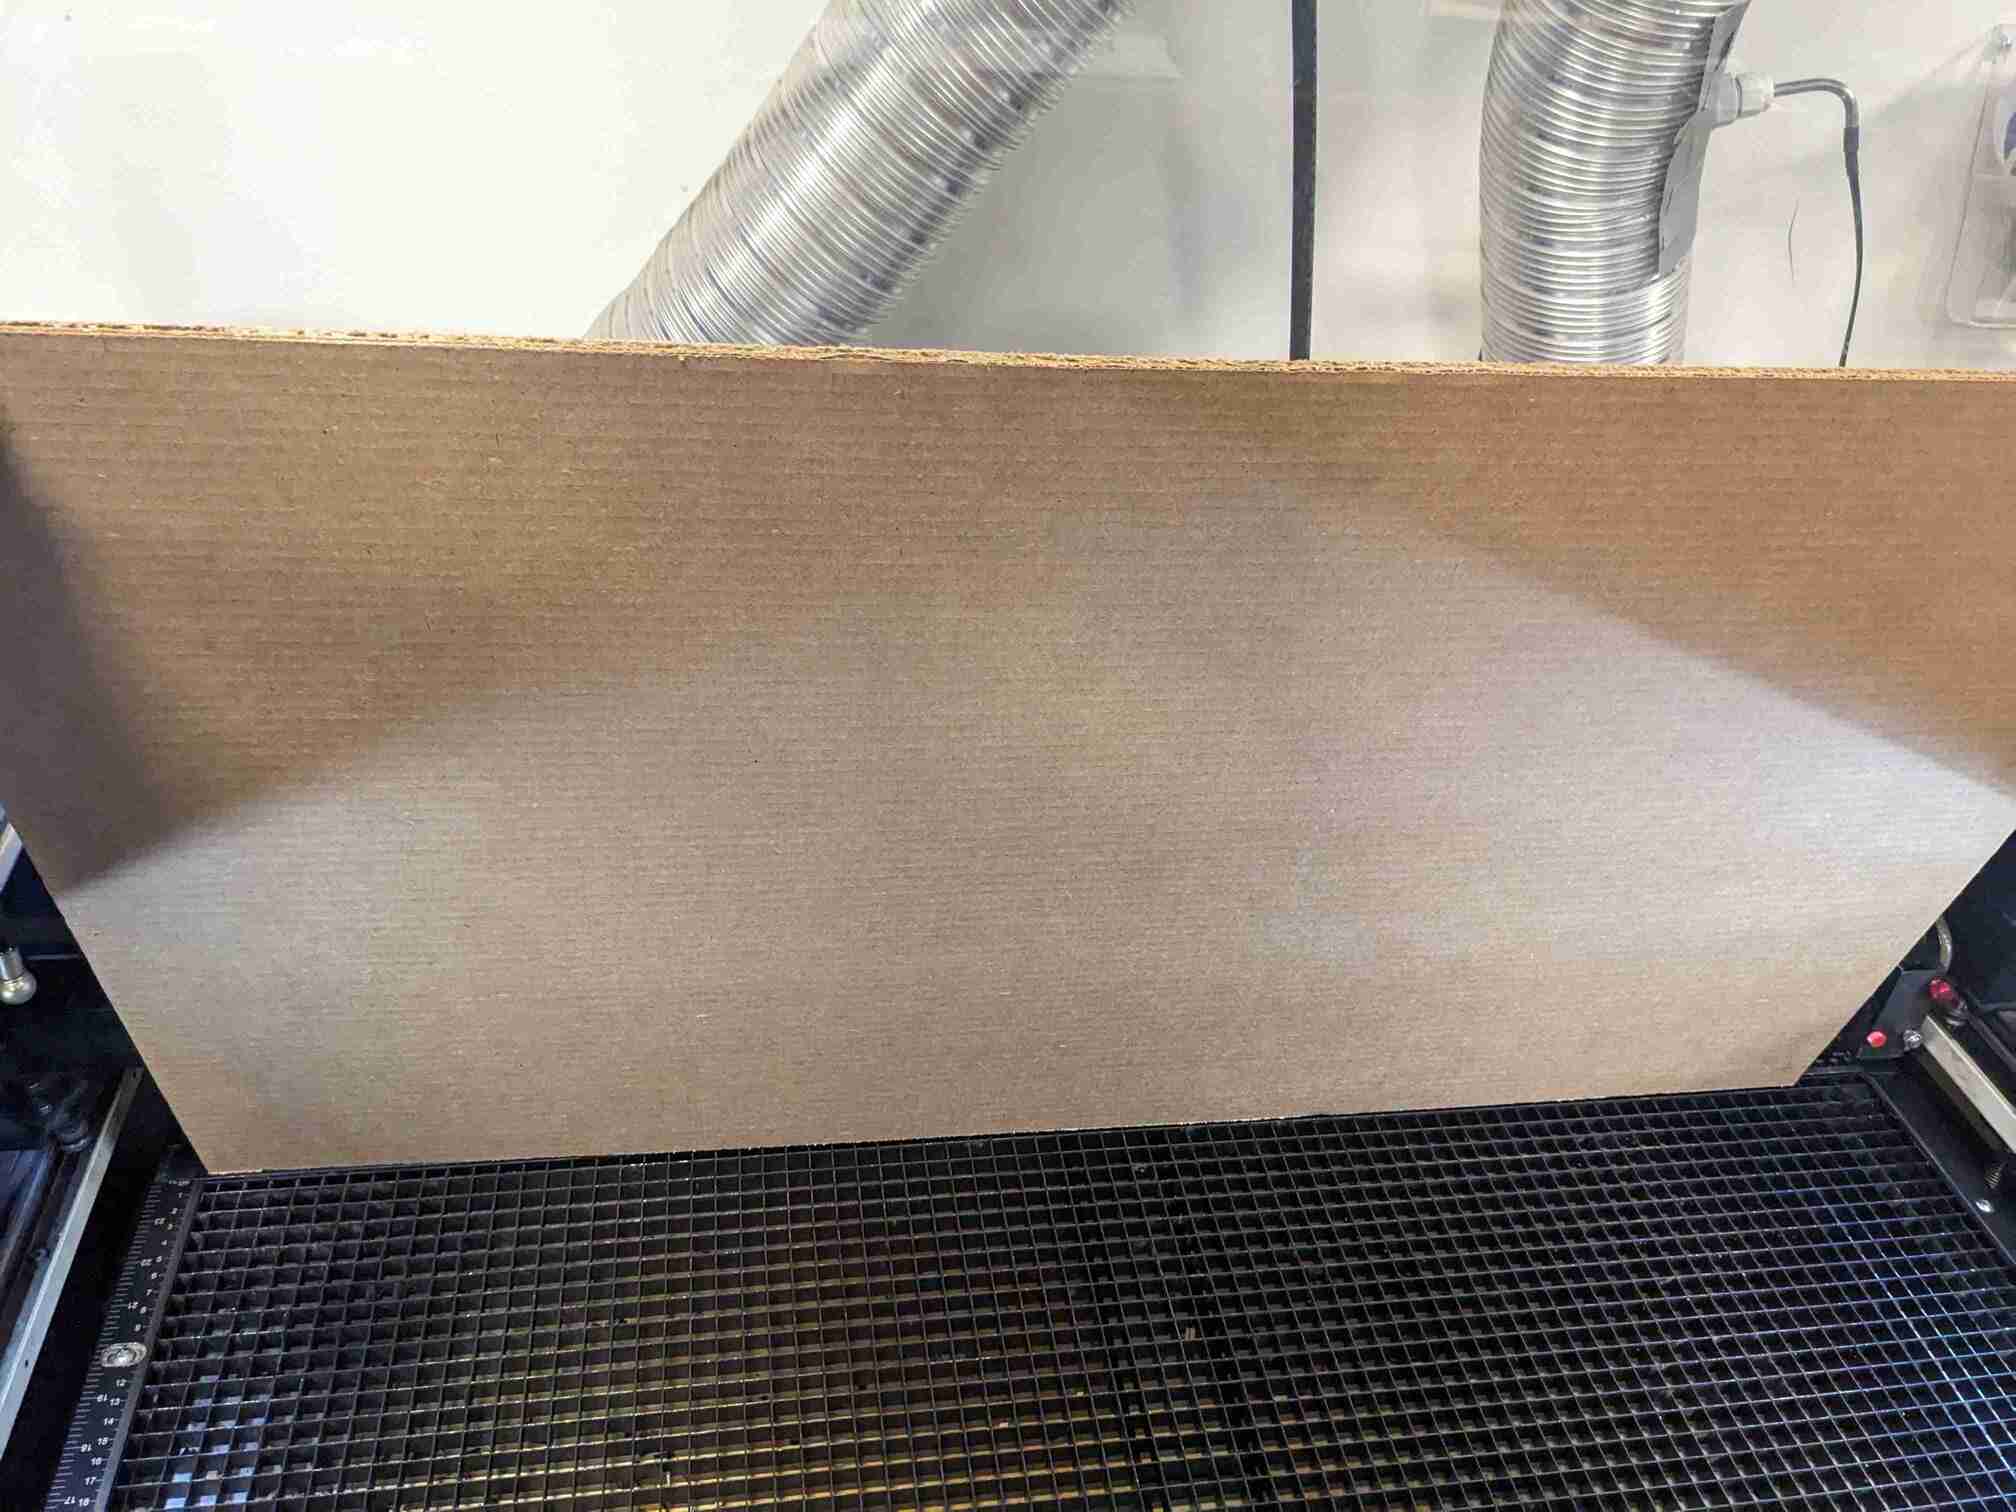
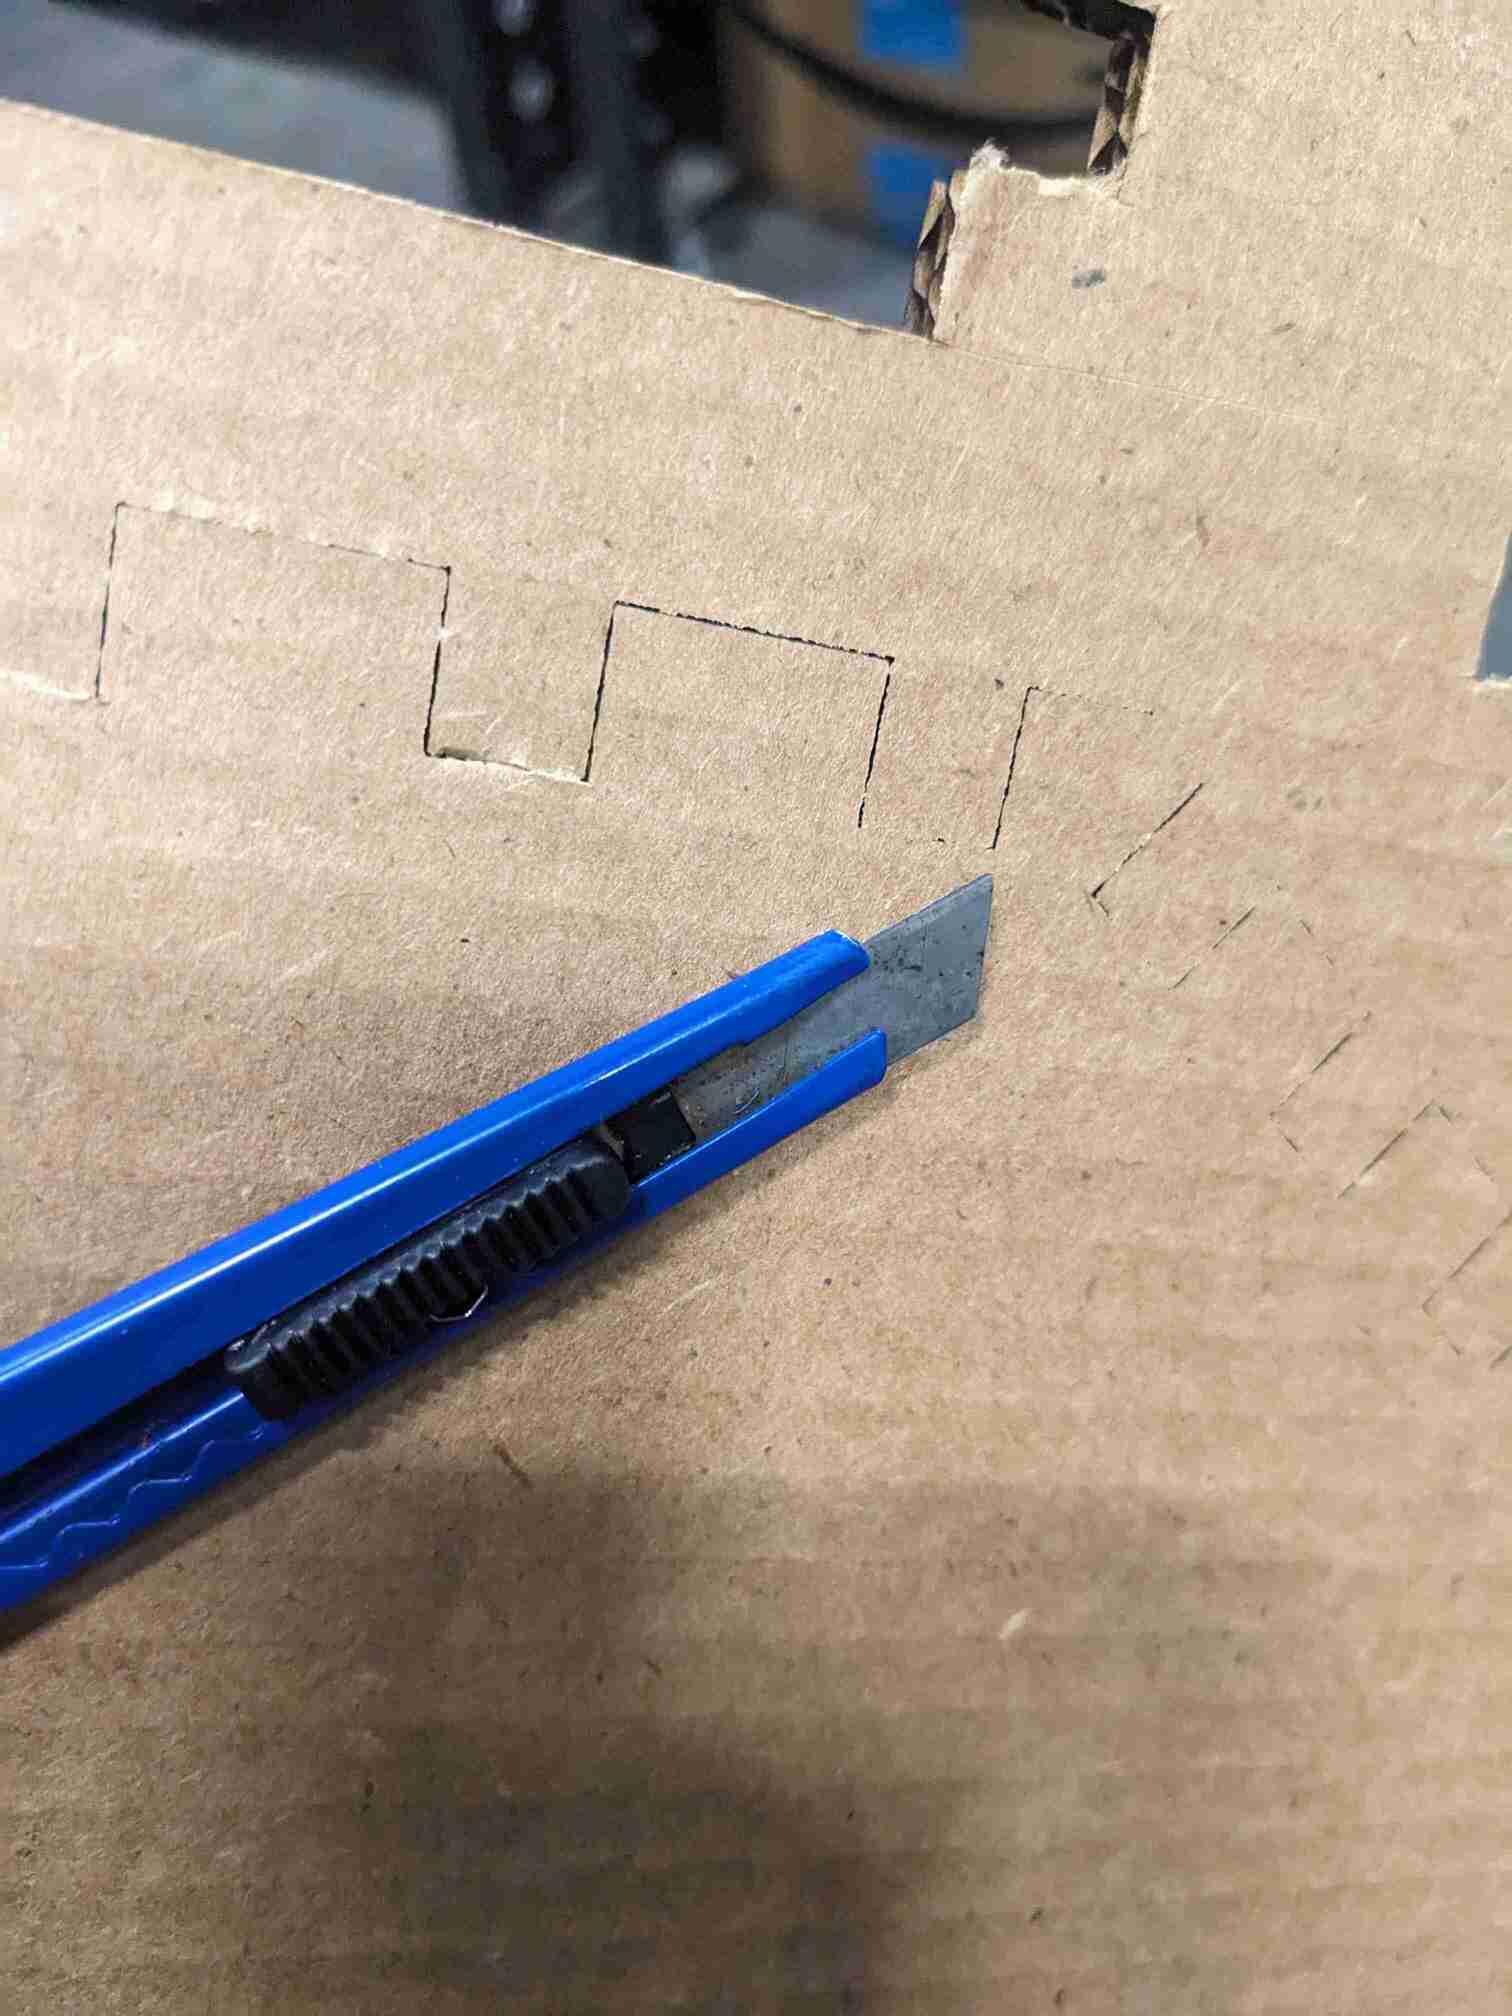
I imported all my pieces onto CorelDraw, and started to realise that the design was bigger than expected, but I'm not quite sure why. I went ahead and distributed all the pieces onto 3 sheets in CorelDraw. After discussing with my classmates (shoutout to Alan), I decided to use double corrugated cardboard in order for the strings not to bend the body of the guitar. I cut the first pieces and realized that the added thickness to the cardboard meant that I had to use other parameters for the laser cutter than the default ones. My first sheet of cardboard was not cut through at all, and I had to do a second pass. I measured the second sheet of cardboard and obtained a thickness of 1/4'', which led me to use half of the speed I used, so 1.4. This worked much better on the two other sheets of cardboard I used. Oh, and I had to use the hand cutter to finish cutting some pieces cut with the first settings.


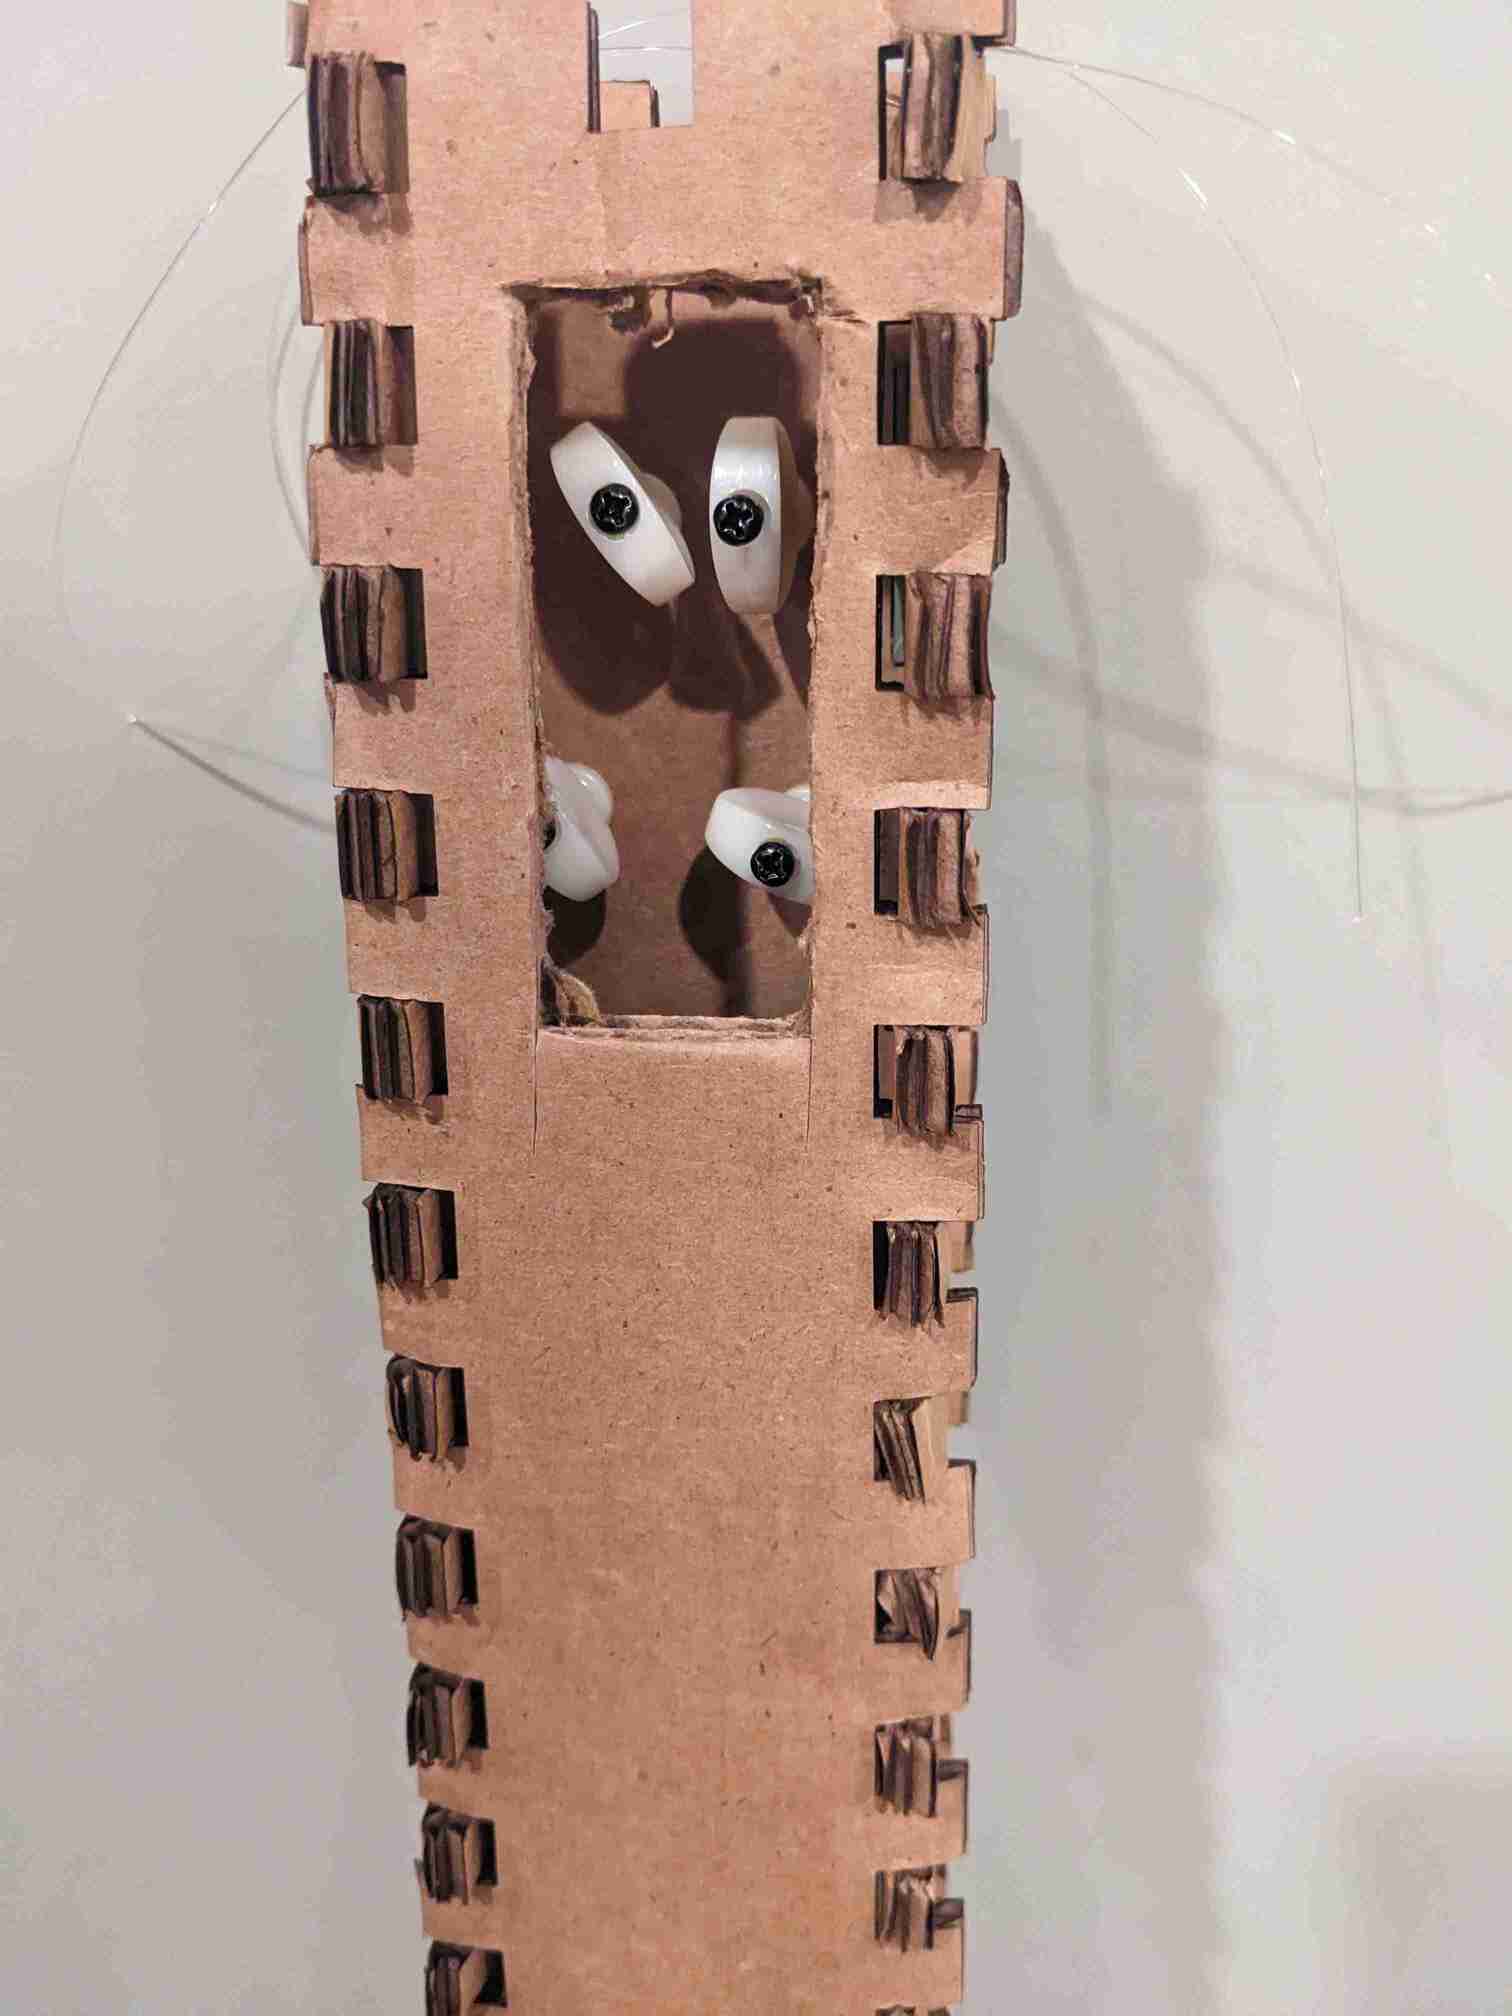
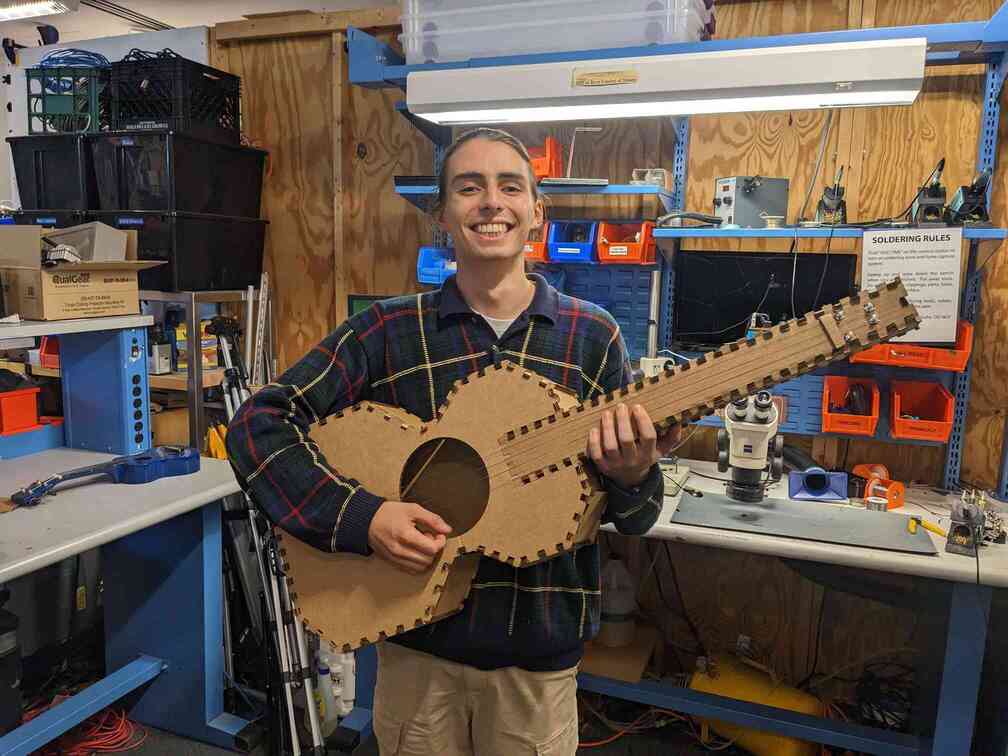
By this point, it looked my ukulele was actually going to be a full sized guitar. I then had to assemble my 26 pieces into the guitar. Some press-fit joints worked perfectly, but others less so. I had to use a hammer to hammer some pieces in (thanks cardboard for your flexibility and forgiveness) and secure the assembly. This started to look good and got me excited.


I then used a set of 4 ukulele strings that I bought earlier to try and actually string my guitar-shaped ukulele. I pierced small holes through the bottom of the guitar and let my strings pass through. For the pegs, I had to cut an opening at the bottom of the head of the fretboard, and pierce some holes. This turned out pretty good, but the pegs I had bought were a bit wobbly, so I had to use extra cardboard to add some thickness to the initial layer of cardboard, just where the pegs are.


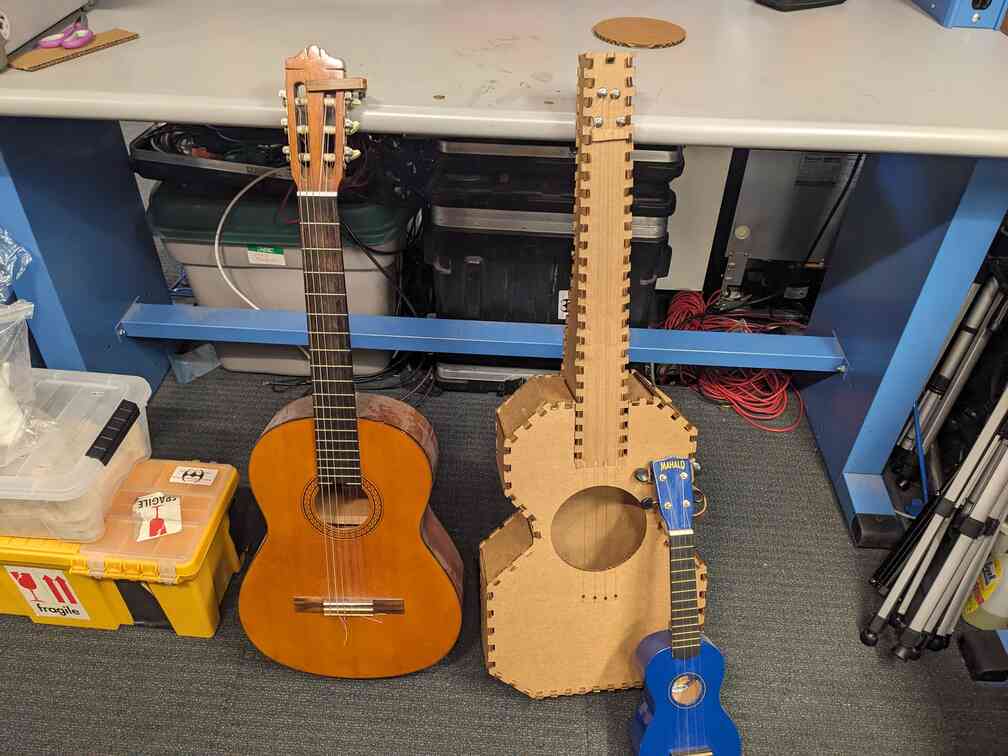
Finally, I tuned the ukulele-guitar and it turned out to be pretty good (proof on picture below)! A major problem is that the cheap pegs that I got kept turning by themselves and getting out of tune, probably because the cardboard cannot support the pressure as well as wood would. Anyway, it was a great experience and I definitely learned a lot from it. I finally compared my wannabe-ukulele to a real ukulele, as well as to a real guitar, and the difference in sizes was pretty fun for me to see. I definitely need to pay more attention to how sizes on the CAD software translate to sizes in the cutter in the future.
I additionally decided to design a few vinyl stickers inspired by album covers, which was really fun. Below is my sticker for Taylor Swift's Midnights album. It had a lot of very small features which made it hard to properly weed without damages, but I managed to only lose one of them (apologies Taytay for your nose bridge)


Notes to a future me (learning outcomes):
- Spend less time on CAD and more time on the cutting, it will help you see what's feasible and what's too ambitious.
- Check the actual size of your carboard surface before starting cutting.
- Take more time to figure out the best kerf settings for your press-fit joints to work best.
- Don't make too many small features for the vinyl cutter, you'll hate yourself.