


3D Scan+Print_files/shapeimage_5_link_0.png)
3D Scan+Print_files/shapeimage_5_link_1.png)


Here’s what happened ...
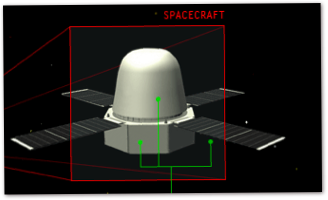
A few years ago, one of my labmates created a 3D printed 1/32 scale model of our satellite. It included heatshield, bus and solar panels. Unfortunately, since that time the design of the spacecraft has changed and the shape/dimensions are no longer accurate. Although the CAD designs all still exist and could be resurrected, I wanted to explore making a 3D scan of a simple part of the model (heatshield). I plan later this semester to modify it using GeoMagic and other tools.
The 3D scanning process was straightforward, though lighting optimisation was a trick. Because the scanner uses both the visible spectrum and laser wavelengths, it is necessary to create a uniform optical environment. I tried various approaches but eventually settled on top-down lighting. It is important not to light the object too brightly, because the scanner requires a degree of shading in order to adequately determine contrast and depth.
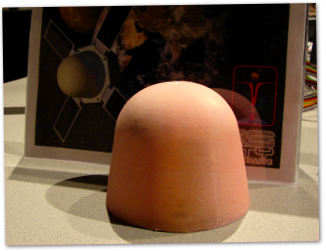
The print run (for me) worked flawlessly the first time. Excavating the parts was fun ... make sure to do it slowly and carefully otherwise the fine powder is guaranteed to get everywhere. After excavation, I brushed down any remaining dust from all the objects and transferred them to the oven. Wax treatment and heating followed, with good results. Photos will be uploaded soon.