Week 2: Press-fit kit
Assignment: "design, make, and document a press-fit construction kit"
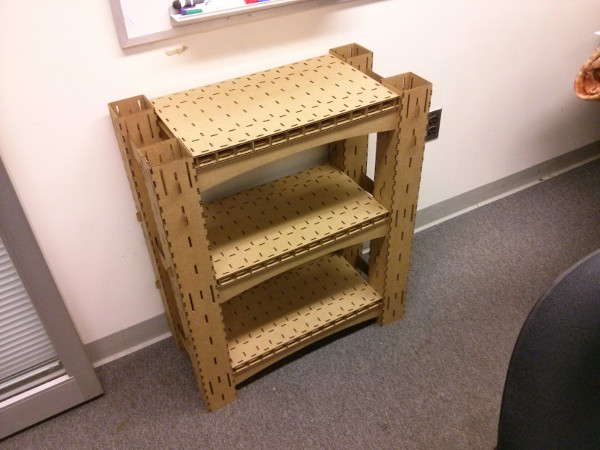
T-shirt holder
Software(s): Solidworks (MCAD), Inkscape (drawing), fab modules
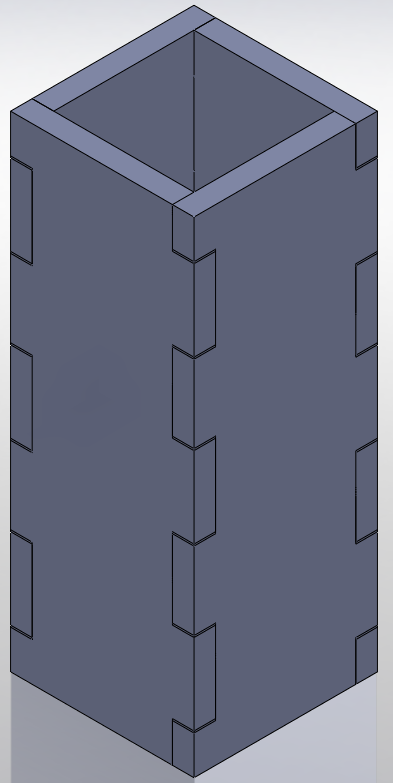
I started by designing a really simple construction block in Solidworks. The idea was to be able to build beams with 4 of these parts.
I made a drawing from my 3D part and exported it in DXF. I opened that DXF in Inkscape, changed the linewidth to 0.001" and saved as an SVG.
I opened the SVG with the fab module and I sent it to the printer (Power 35%, Speed 50%, Rate 700Hz with autofocus). It came out twice as big
as designed... I guess I forgot a scaling factor somewhere in the chain of commands.
For slots I used the same male size and a female size of 3.95mm*15.15mm. It snaps into place real tight (you can hear it!)
On my second try I saved as AI (Adobe Illustrator) instead of DXF and I made sure that all my factors were 1:1. It worked, my part was properly scaled. I started experimenting with
press-fitting. Initially my male part was 15.5x4.5mm and my female was 15x4.5mm. It didn't work, too slack. I increased the male to 15.75mm and this time it was too tight. 15.65mm
proved to be the perfect width. I was ready to start building real parts.
I designed a first tablet in Solidworks. Rotating it was pushing the limits of my laptop... a good sign that it was too big.
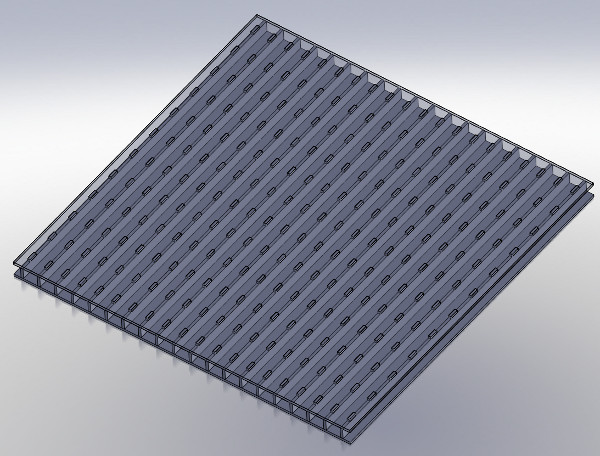
I changed the size to 30x50cm, also known as "2 t-shirts wide", and I started making the parts.
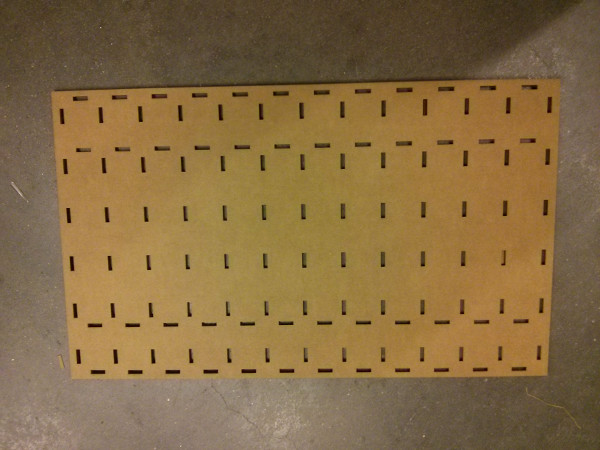
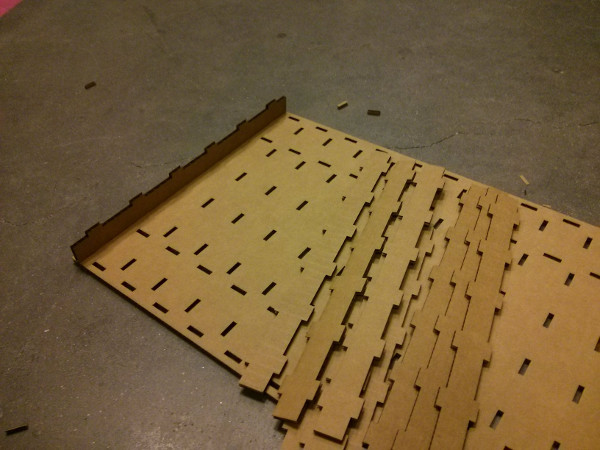
First tablet top:
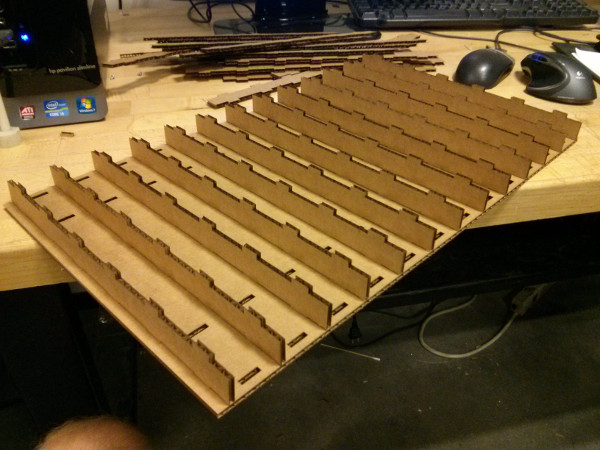
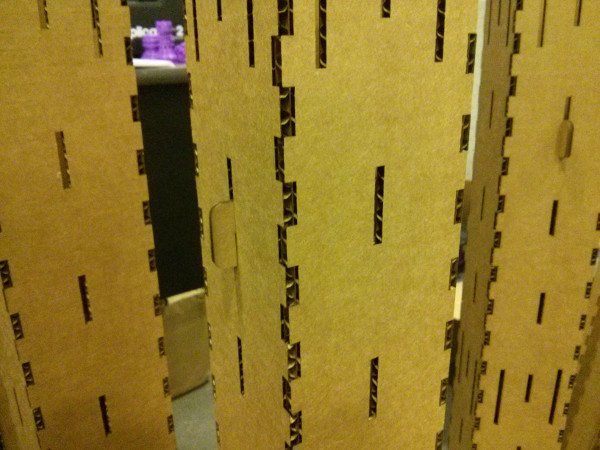
Tablet fillers (one is assembled):
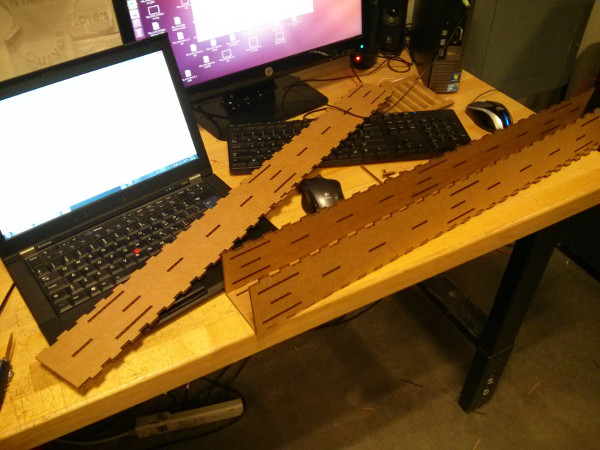
Tablet being assembled:
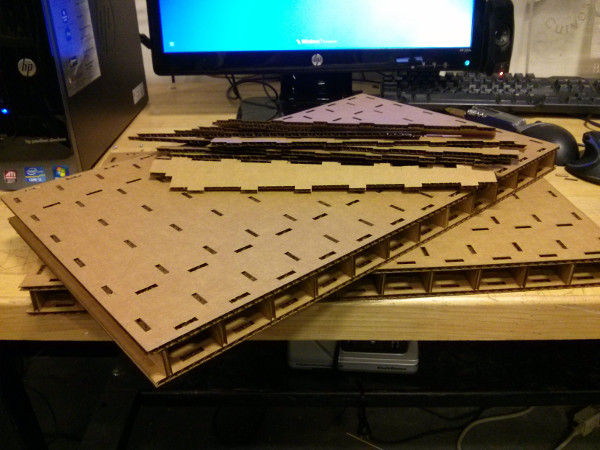
First day of work: 2 tablets and some extra fillers:
I had to increase the laser power from 35 to 43% over time. I assume that the lense was getting dirty. Getting consistant cut on the whole cardboard sheet
proved to be hard. Who could have guessed that it's not the best engineering material? I ended up using only the top-left corner of the machine and moving my
sheet 4 times to fill it.
At this point I stopped making full Solidworks assemblies. I was working in the shop, cutting parts while designing the next ones. It's not optimal, but it was useful
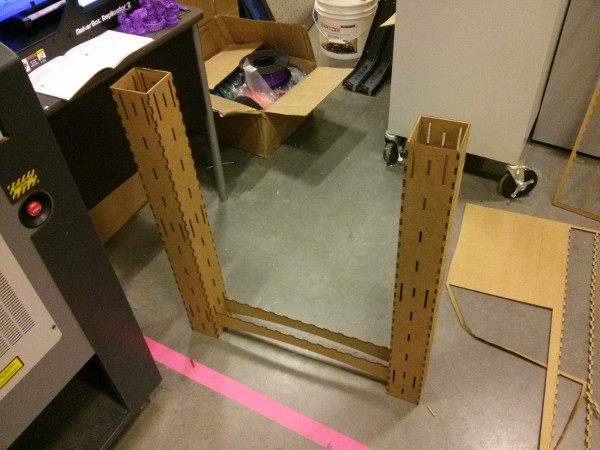
to test concepts quickly when working with material such as cardboard. Here's one leg:
I designed some lock pieces to strenghten the structure:
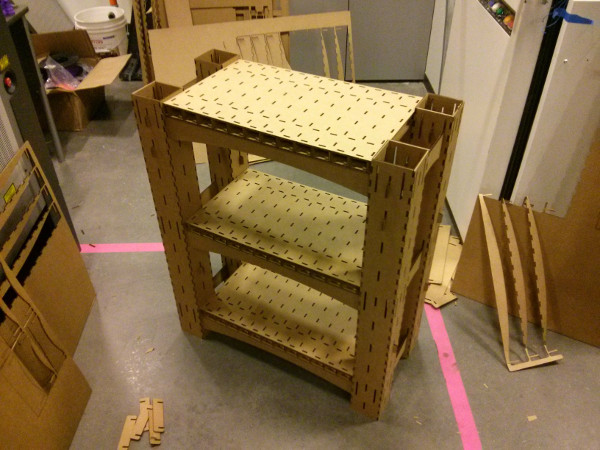
Partially assembled dresser:
Completed!:
Conclusion: It's surprisingly stiff! It will support my t-shirts without any problem. If I had to do it again, I would change 2 things. First, I would make and assemble more lock pieces.
Second, I would make sure to join my lines in Inkscape to speed up the laser. I totally forgot to do it and it made innefficient cutting paths. Building the next one would be much faster.


Jean-Francois (Jeff) Duval - jfduval(@)media(.)mit(.)edu - 2013
Top | MIT Media Lab | How To Make (almost) Anything 2013 | Index
"Hidden" keywords: Jean-François Duval, JFDuval, Jeff Duval, PCB, Dishpenser, MIT Media Lab, Biomechatronics, Electronics, Robotics, DIY, Hack, Hacker