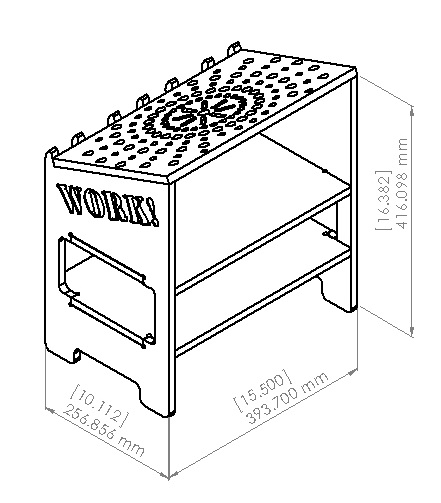
Week 5: Computer-Controlled Machining
This week's assignment was "make something big".
Big Rocking Chair
Software(s): Solidworks (MCAD), Inkscape
My plan is that when I'll be ready to buy my first house, I'll buy wood- and metal-working tools instead of furniture. With these tools
I'll be able to build the perfect pieces of furniture, adapted to my taste and needs. In the press-fit assignment I successfully made a
t-shirt holder in cardboard. It works, I'm using it right now, but it's not the level of quality and durability I envision. For "Make
something big" I wanted to build a nice rocking chair. I wanted to experiment with an idea of 2.5D design: assembling multiple 2D slices
together to form a 3D structure.
I started by taking all my measurement. That chair is designed for a 5'8" man with shorter than average legs (I found that out while using an online bike sizing tool...).
- Knee to ground: 19in (483mm)
- Middle of butt to ground: 32in (813mm)
- Knee to butt: 32 - 19 = 13in (330mm)
- Middle of butt to top of head: 36in (914mm)
- Shoulder's width: 21in (533mm)
If it's right, I measure 32+36=68in = 5'8" good. I need 10 "slices". I designed the chair to have the center of rotation right below my center
of gravity (that I assume is at waist height). Here's the first piece:
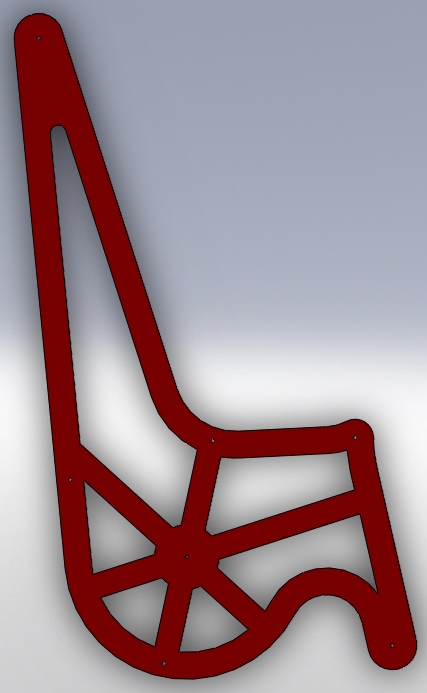
For sure, that design is extremely inefficient in terms of material use. I chopped it in three parts:

The idea was to separate the large pieces with small pieces (spacers) and to build a sandwich that would be held together with threaded rods and bolts.
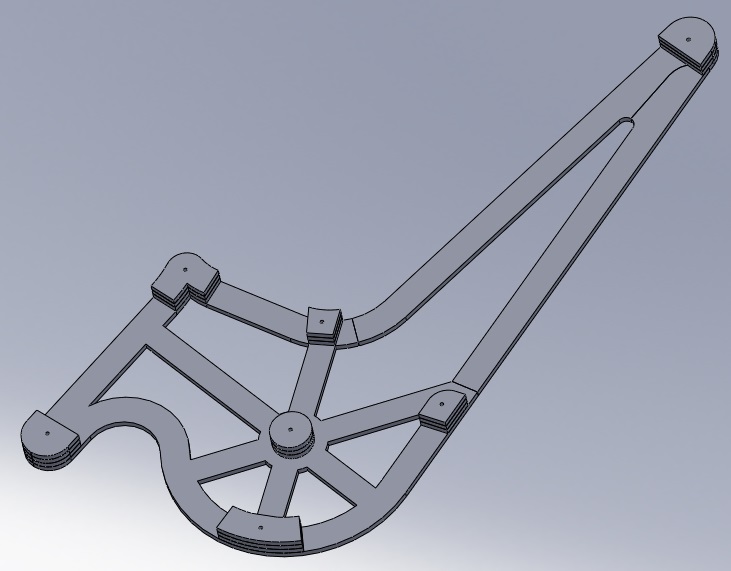
When I started laying out the different pieces on a virtual sheet of 4x8' in Inkscape I realised that I failed at making a well-engineered chair. This design needs
33 big parts and 324 spacers, plus the rods... For that reason, the only "results" are in CAD form:
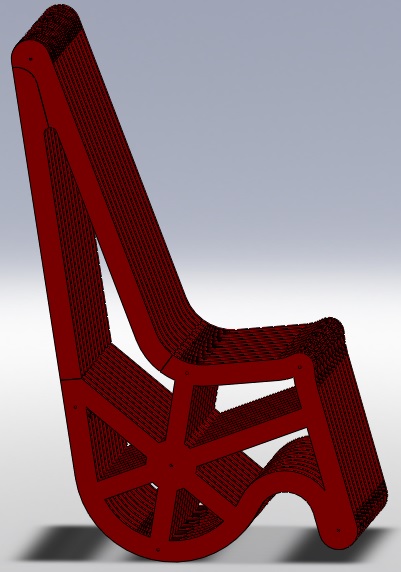
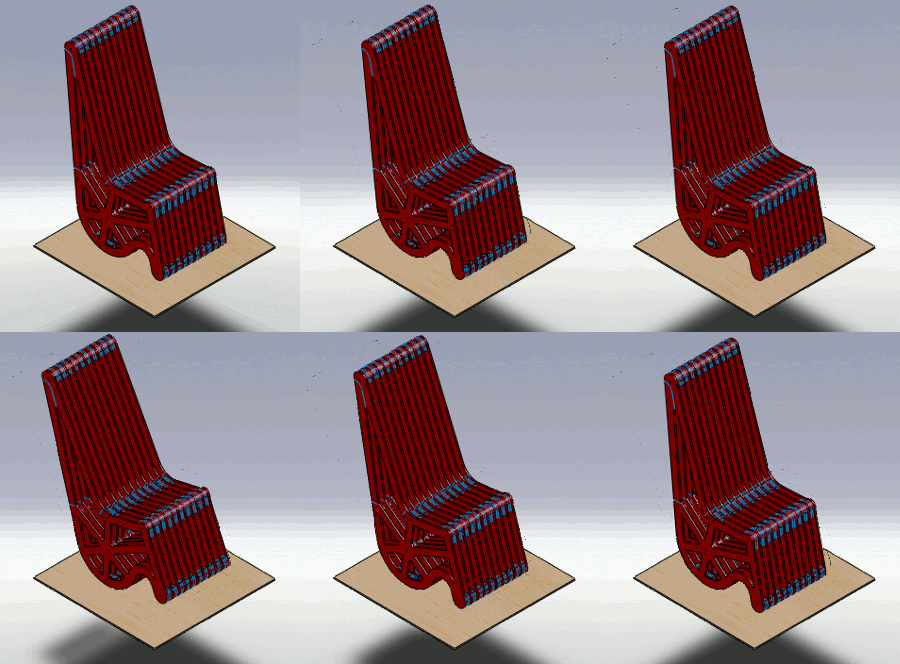
Conclusion: Trying to make a chair with only plywood or OSB is possible, but my approach at compensating for the weaknesses of the materials and the short design cycle was a failure. I'm not forgetting the whole idea, I simply need to be smarter with my design.
Stand-Up Desk
Software(s): Solidworks (MCAD), Inkscape, PartWorks, ShopBot 3
With only one day left before my time on the ShopBot, I started a new design. It's not really big. In fact, my
cardboard press-fitted piece of furniture is bigger
than this project. Nonetheless, it taught me how to use the ShopBot both to cut and to engrave wood.
The design is quite simple with only 5 unique parts. It's made to be used on top of a regular desk (29").
It can hold any 14" laptop at the perfect height for a 5'8" person.
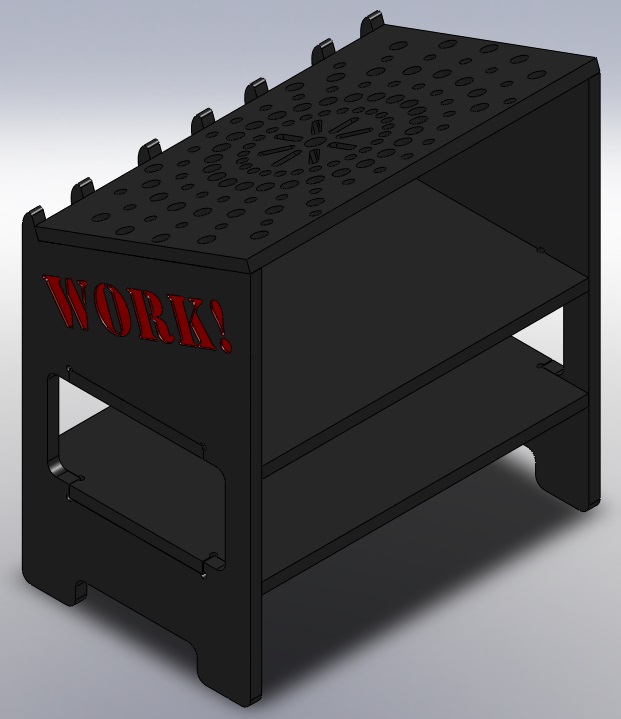
Everything was designed in Solidworks. I made drawings of the individual parts and I saved them in Adobe Illustrator format (.AI). I used Inkscape to
panelize them on a 2x4' virtual piece of wood. I made all the lines 1 mil thick. I saved the result as an SVG. I then found out that PartWorks doesn't
recognize that format so I resaved in DXF.
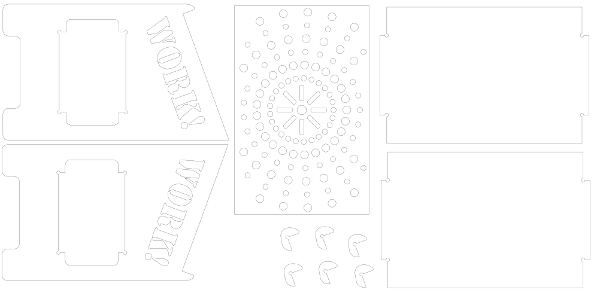
Please note that on Tom's advice I increased the spacing between the parts in PartsWork.
I used a 1/8" endmill for the pocketing operation (text engraving) then a 1/4" endmill for the profiling operations. Although I intended to use MDF for
that project, I couldn't buy some before my time on the ShopBot. I used a scrap of cheap plywood that I found in the shop. I measured the thickness to
be 0.5". I programmed the cut depth to 0.55". It was insufficient in some areas: getting the parts out was hard. I had to use a blade to separate some
of them from the base sheet.
I cleaned all the edges with the belt sander. I made my best to get a smooth finish, even though this low-quality veneer was rough.
This picture shows the stand-up desk being glued:
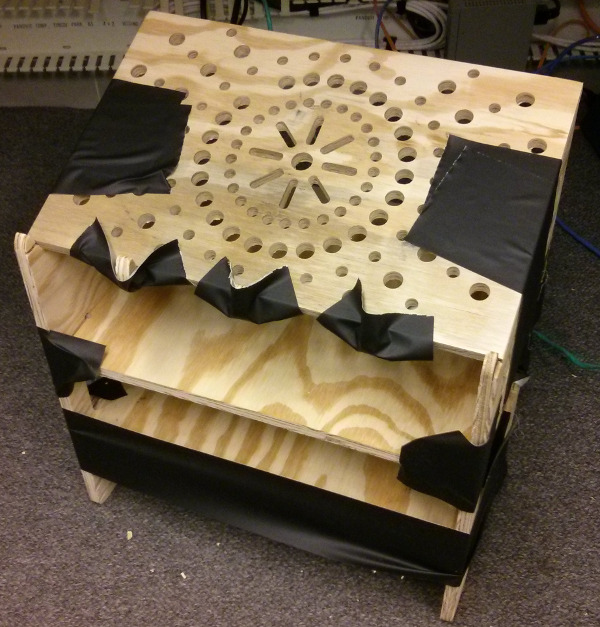
Fully assembled:

This is after I spray-painted it black:

After I painted all the letters red (I used acrylic paint from the craft store):

And here's the final result:

Conclusion: This project is way smaller than what I wanted to build, but it's a useful piece of furniture. I'll challenge myself more in the following weeks!


Jean-Francois (Jeff) Duval - jfduval(@)media(.)mit(.)edu - 2013
Top | MIT Media Lab | How To Make (almost) Anything 2013 | Index
"Hidden" keywords: Jean-François Duval, JFDuval, Jeff Duval, Dishpenser, PCB, MIT Media Lab, Biomechatronics, Electronics, Robotics, DIY, Hack, Hacker
