Computer Controlled Machining – ShopBot
Ideation & Sketch to Vector Drawings
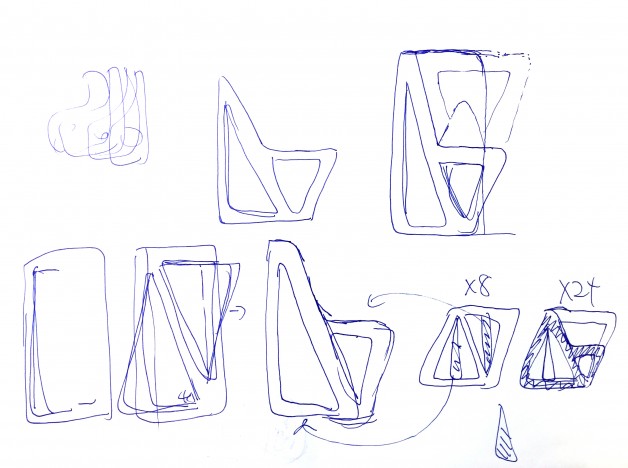
I want to make something that is not easily made with a table saw or a bandsaw. I started the project using Autodesk Maya’s soft brush, I was able to create organic forms much easier than SolidWorks. However, I quickly gave it up because I could not export a useable .obj file for SolidWorks.
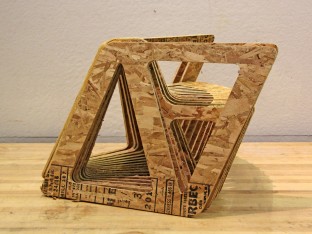
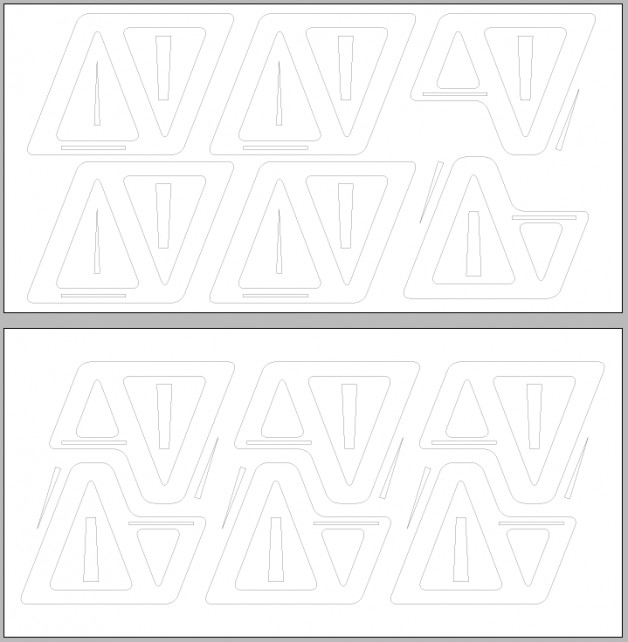
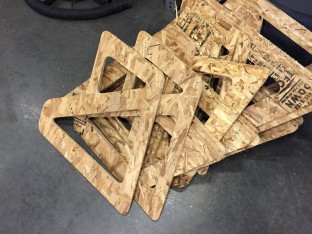
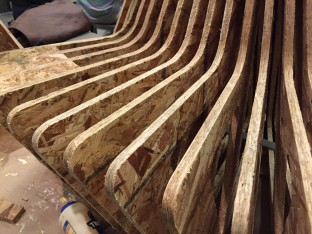
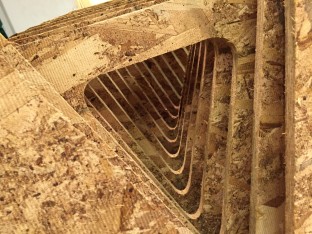
Since I was running low on time, I decided to go with something simpler. I end up not using the 3D software and decided to do all the calculation and sketch by hand. I then draw all the spaces inDesign, I rounded all the corner and lay them out like on 94” by 48” page. I was able to quickly create different version by duplicating pages. I end up making an accordion sculpture, where the small triangles serves and spacers for each opening.
Cut layout in inDesign
Import with PartsWorks & Starting Cutting with ShopBot
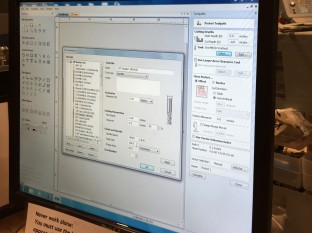
Import file & set cutting depth: I created 2 cutting profile. One is for cutting through and one is for marking where the joins go. Make sure you measure your board, they could be different thickness than on the CBA supply google doc.
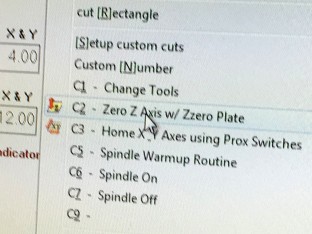
On the ShopBot: I set x, y & z to zero using the arrow and the metal plate.


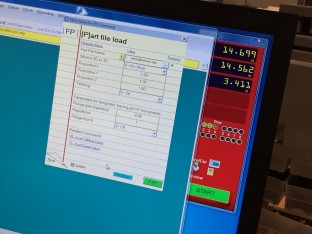
Checking ShopBot setting: making sure the cutting speed is correct.
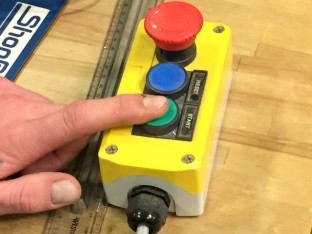
Turing it on: After you import the part file, click on the small green start button on computer screen, then press the green physical Start Button to start the end mill bit to start cutting.

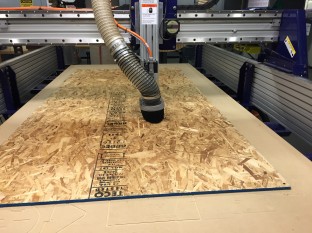
Cutting timelaps & Zeroing the Z
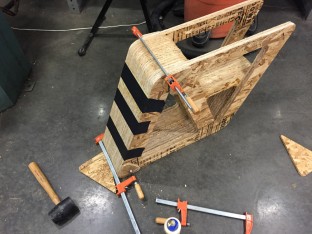
Cutting, Gluing, Sanding & Clamping it together
I ran out of my 2 hour cutting time and I did not have the time to recut my pieces that didn’t cut through due to the uneven board. I save the pieces and time by cutting it with the side of the drill bit, it comes off very easily since the thickness is only about 0.125”

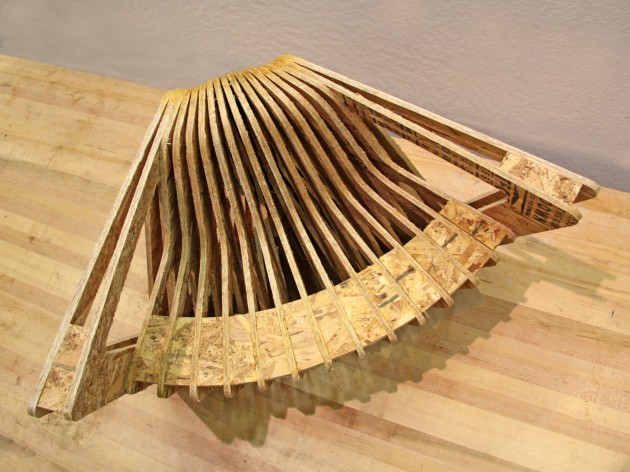
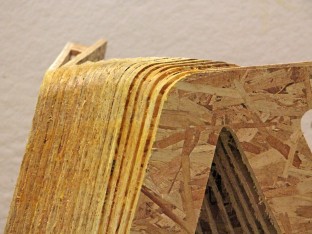
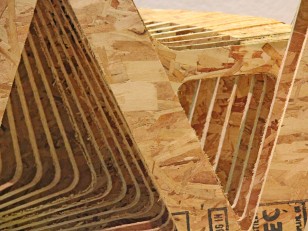
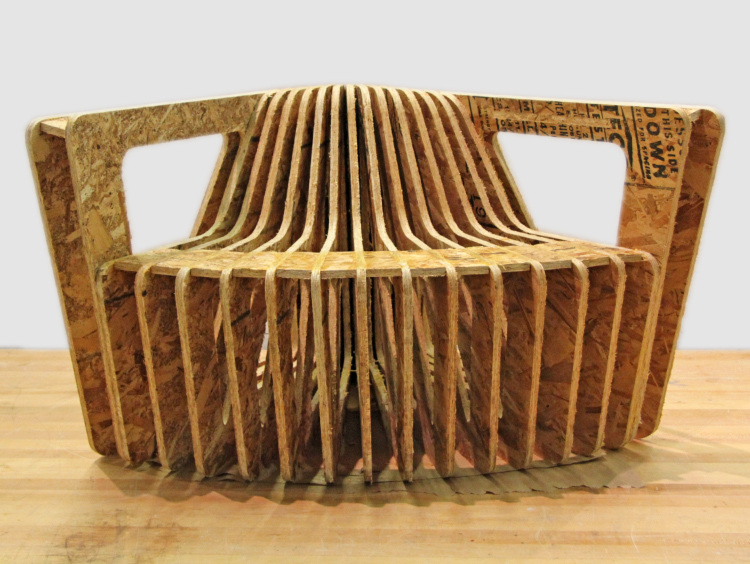
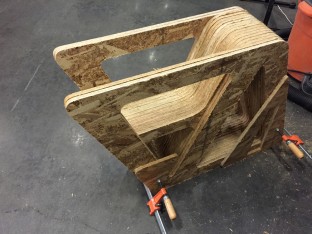
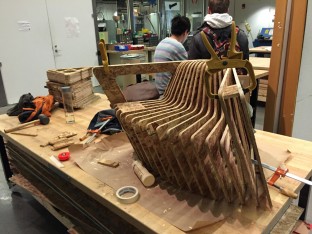
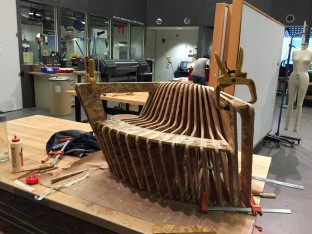
I clamp my pieces together and sand it along the surface. I use L square and the flat floor to make sure they are all align. I secure the “spine” using duck tapes, and start to fan the pieces out with the triangle spacers. The dock tape spine keeps all the pieces together while I fan all the pieces with the spacer and gluing them using the wood glue.
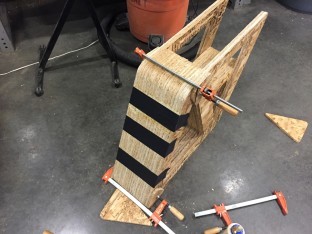
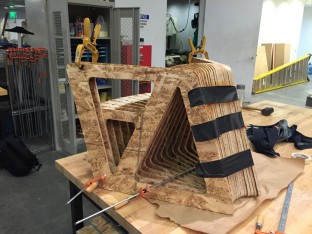
I had to work quickly in order to get my upper spacer in before the bottom triangle spacer drys in place.
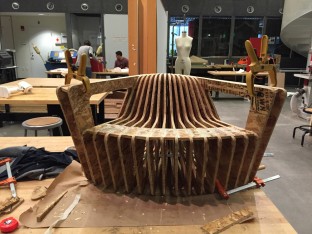
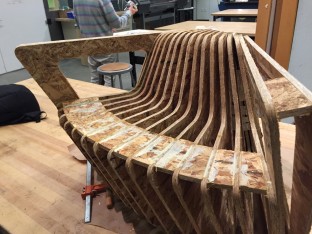
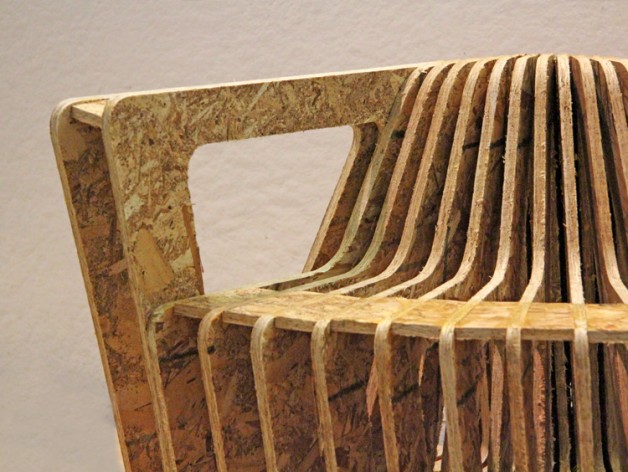
This is the final product after one day of drying, not bad for 12 hours of work.
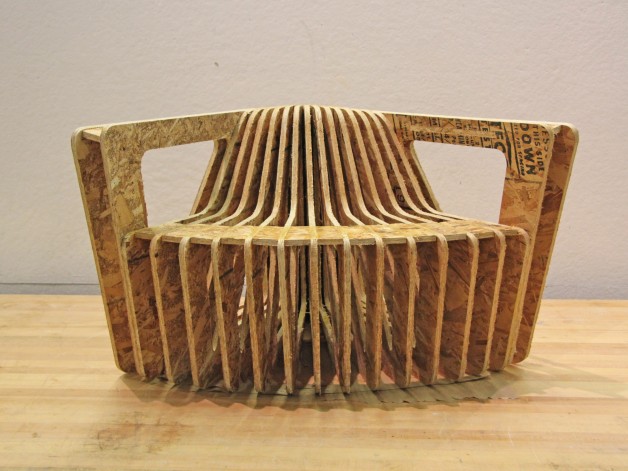

Here are some un-dried wood glue showing on the spine, I used a lot of it to secure the piece.