Embedded Programming
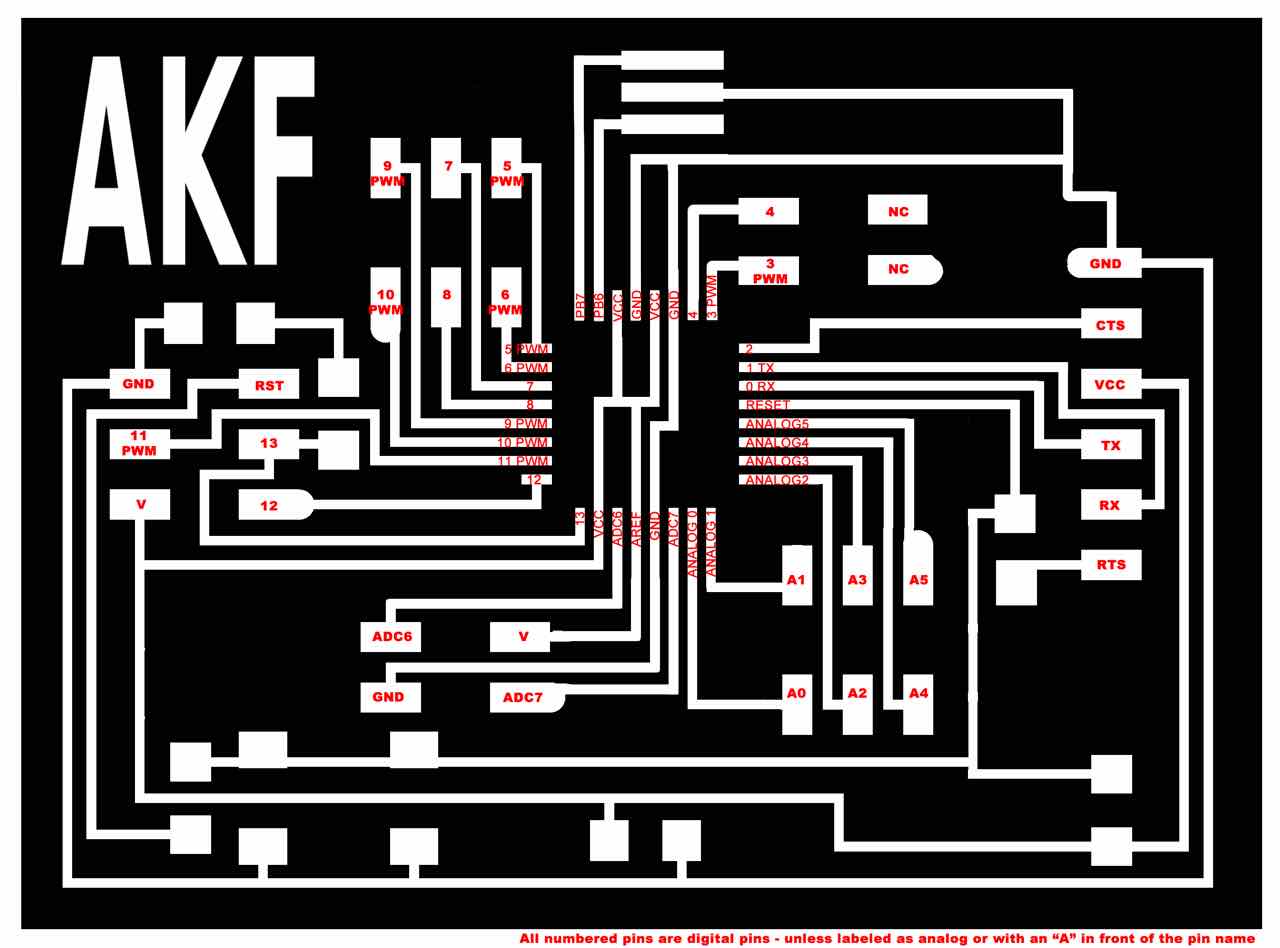
So I went to plug in my microcontroller from week 6, and the IC got all hot and so I knew that it would have to be resoldered or fixed. There were no visible shorts, but I had used a funny design, so I decided to make a fabduino! I used this page by Anna Kaziunas France to get the traces and components. It is basically an expanded version of Neil's atMega328p board with all the pins pulled out.
Here they are side by side

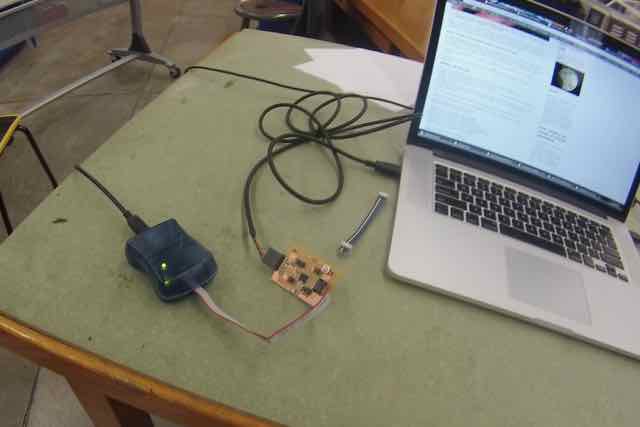
everything went really smoothly with the milling and soldering. Nadia Peek came and helped us install AVRdude, crosspack, Python, and codex tools. She also has some really good material on her website about Fabduinos. Then on to loading a program on. It took me forever to figure this out, and it wasn't until Andrew bopped into the lab that I was able to get anything onto the Fabduino. It is actually quite simple, plug the Fabduino and AVRISP2 into usb ports and each other.
Now you have to get the correct files for your board. I used the ones provided on the course website. you need:
1. Makefile
So I renamed the .make file as just <makefile> no extension. This allowed me to call it from terminal. I used cd ~/"the file address" to point to the correct folder, and then I used the make command to write the program to the Fabduino. This is where I got hung up... when you use the makefile, you have to look inside the file and point to specific lines therein.
First thing to do is make sure that your makefile is calling the correct project. The top line defines the project, make sure the name is the same as the .c file you want to load.
next, you have to match the ISP that you are using. The first time I loaded a program, I used the AVRISP2, so in terminal, my command was <make program-avrisp2-fuses>, which set the fuses, and then <make program-avrisp2> to send the program to the Fabduino. Later, I used my own FabISP, and so for this I used the <make program-usbtiny-fuses> and <make program-usbtiny> commands.
When it came to actually programming the Fabduino, I resisted going to the Arduino IDE. I wanted to try my hand at c, and this turned into a huge undertaking. I was able to load a few blink programs, and in general I could change the frequency of the blink. I really wanted to experiment with motors and buttons. I was hoping to be able to use a button to cycle through a list of PWM speeds to control the speed of a DC motor. I tried adapting code from a variety of places, but I couldn't seem to get my pins right.
Finally, I found a simple PWM code that takes advantage of the atMega328p's hardware. This was made as a simple LED fader, but looking at the schematic, I realized that PORTB had several pins that would read the same PWM signal. I used a multimeter to find an appropriate header pin, which I connected to a relay and motor like this.

This was the code I used, adapted from here.
Basically it worked, but I should use a power switching transistor instead of a relay, which doesn't switch fast enough for pwm. you get the idea, though!