Kim Smith
3D Printing
This week, print something with the 3D printer that would be difficult to make subtractively; and 3D scan an object. For me, at this point, it was good practice in using 3D modeling software; I am trying to learn Rhino. I played around with 123D for a while, after feeling frustrated with Rhino. I appreciated the user-friendly interface of 123D but ultimately stuck it out with Rhino as it just offers so much more. I am still trying to master the basics, so this week was really good practice; I made huge strides in all my struggling.
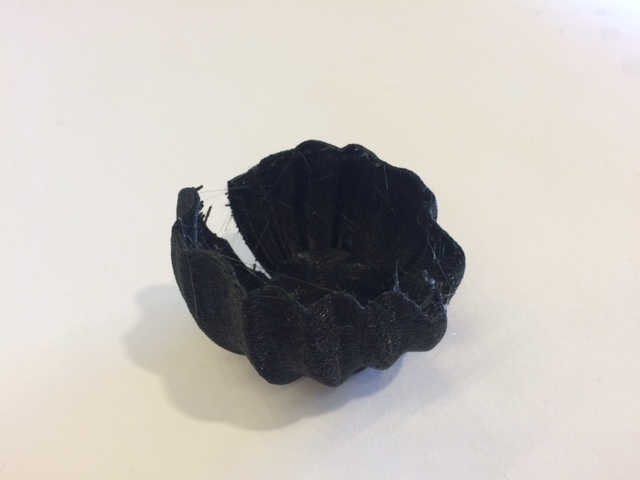
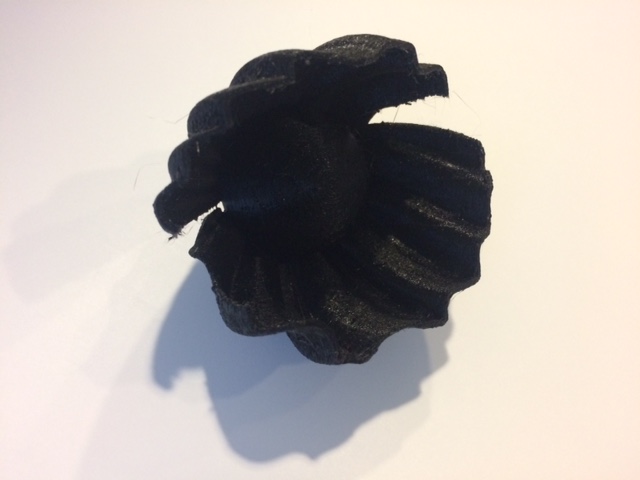
I wanted to design a small object that featured organic forms, so decided to make a clam shell with a pearl inside. I figured I could figure it out, and it would be a good challenge and would let me try organic shell forms, while still being able to print it without supports. In trying to come up with design solutions, I felt incredibly limited by the 3D printer, in part because I wanted to use the Ultimaker without support structure, so I had to think in terms of the way it would be constructed. In the end, I was sort of unimpressed with the process and felt incredibly detached from it.
Notes from Class
Materials
ABS--better on high end
PLA--what we use, plant based polymer
Structure:
need supports built in
need for post-processing such as removing bridges
sharp edges are difficult, better to have multiple passes of filament for edges. Thickness should also be more than one filament thick
clearance must be far enough so that they dont touch but near enough for smooth interaction
test on specific machine to determine clearance
no need to make solid object; should have porosity to cut down on build time and material cost
widely used file formats:
STL--uses triangles,
3ds--uses curves,
x3d--uses color and 3d,
use cura for ultimaker; can upload images from other source
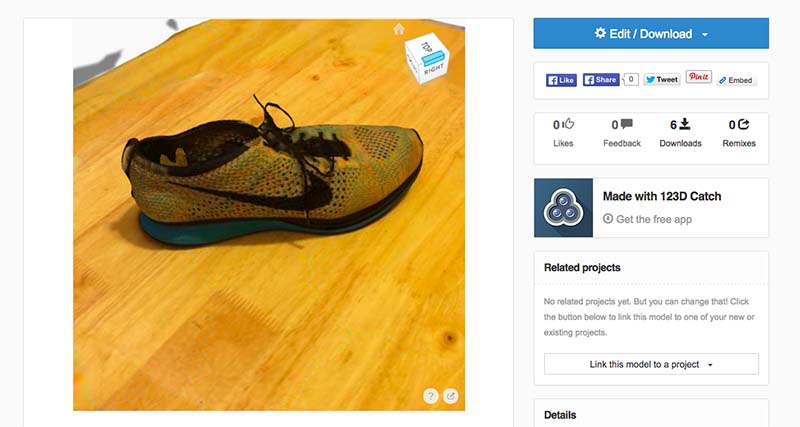
123d catch: using photos from phone and reconstructing 3d in app
Process
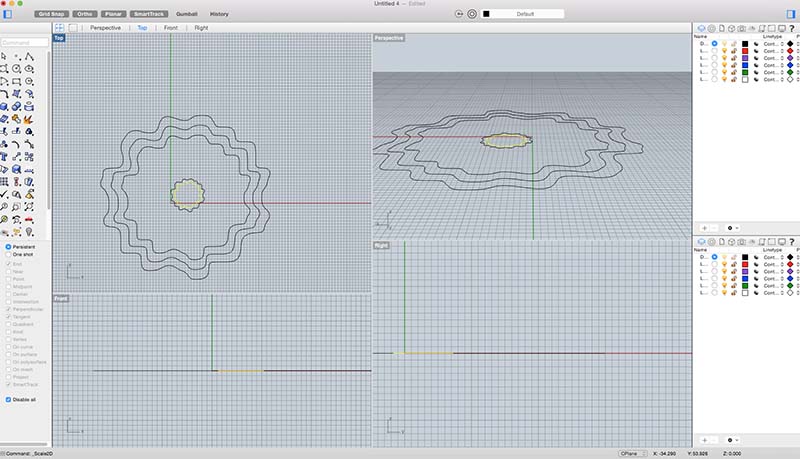
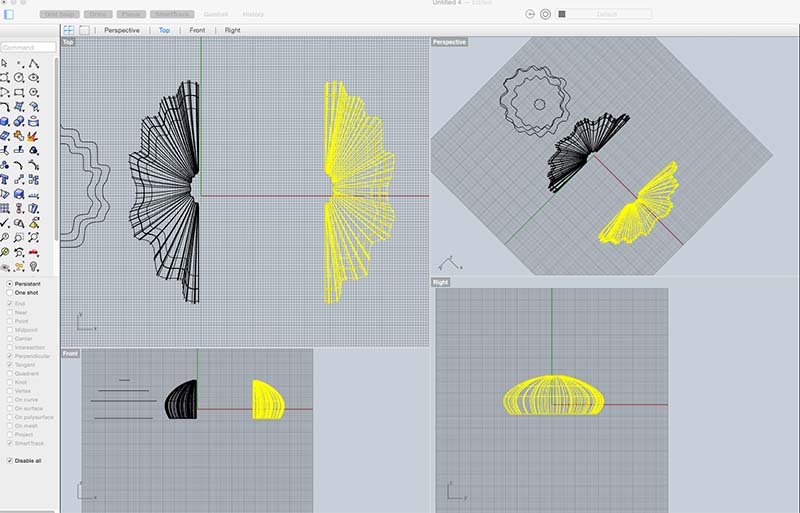
Learning how to model in 3D is incredibly interesting because it involves thinking of constructing an image in a completely new way. After having watched a few tutorials and basically looking up any command I was trying to do, I came up with an idea of the process I would take to create my object. In order to get the curved surface with secondary ripples of the clam shell, I created an undulating line in a circle as a cross section. Then I copied it, and scaled it down, in order to create cross-section rings of various sizes that would create a spherical form.
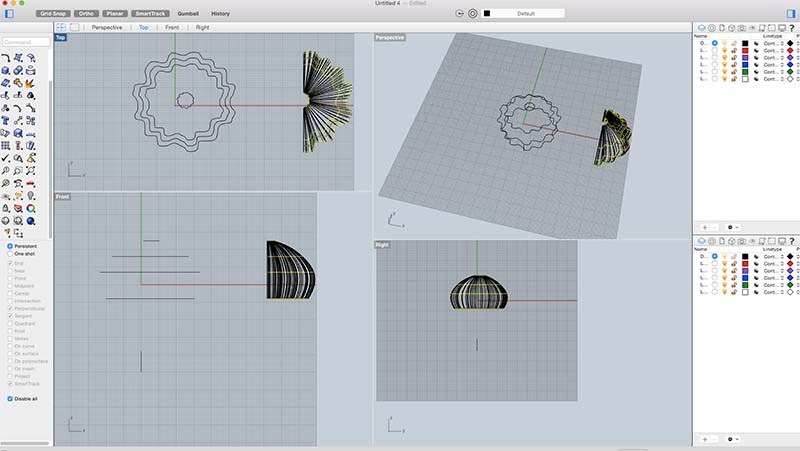
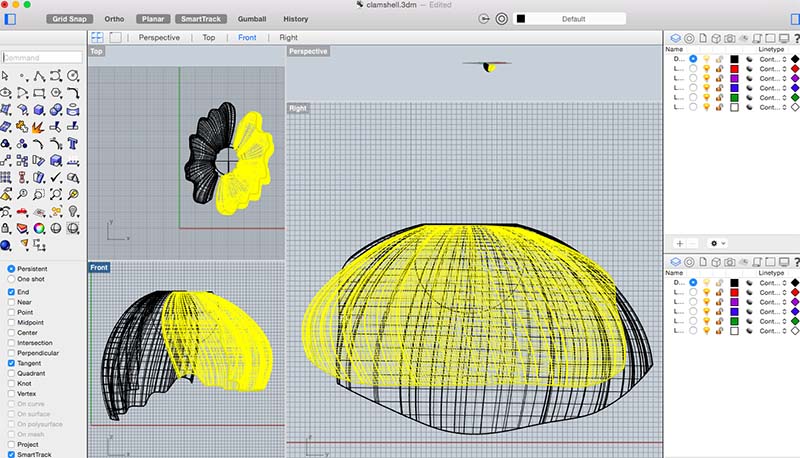
From there I used the loft command to fill out the form along the cross sections. Then I split it into quadrants and manipulated the form using twist/stretch. I used the symmetry command to get an inverse image of one piece, which I used to form the two pieces of the clam shell. Next, extruded surface for volume, placed the two together. I then created a sphere for the pearl and placed it inside, then extruding the surface. I trimmed the bottom of the 3 pieces in order to get a flat base and then used the cap command to close the open sphere.
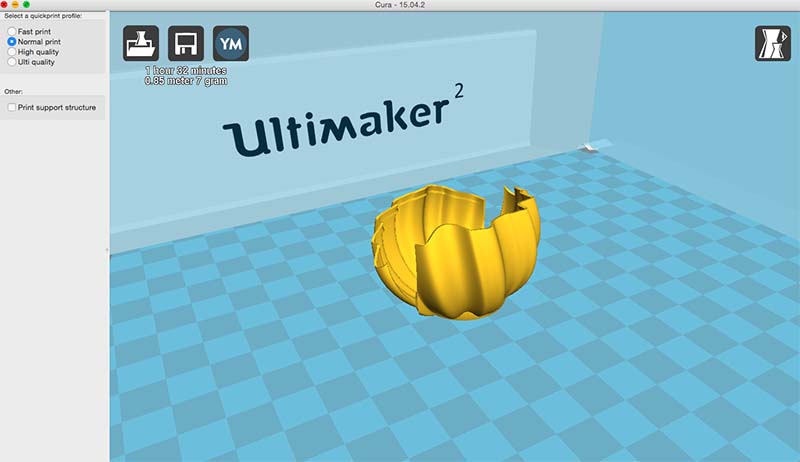
I exported the file to STL and then opened in Cura, the software for the Ultimaker. From there, I was able to make specifications for use on the Ultimaker2 and make the file in order to print the piece.
Printing
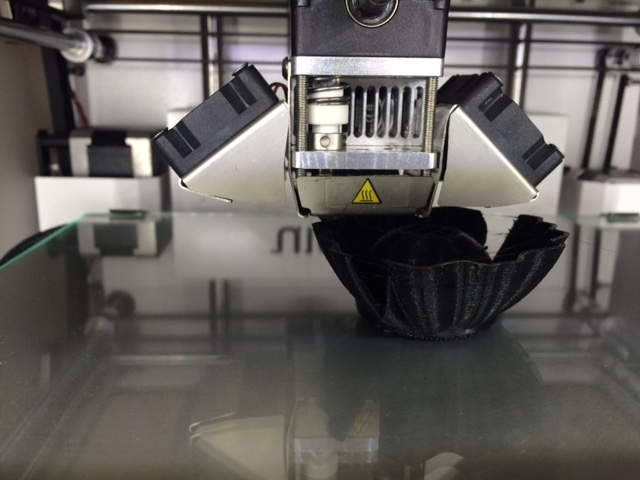
Decided to use the Ultimaker2 in my lab, and it was notorious for acting up. Caroline helped me get it going. First round was a bust. I had some issues with the base of my design, so I went back to the drawing board and fixed some things on the base. I realized that the foundation is really important on these printers, and several of the prints came off the surface during printing and lost their orientation. Round two was not the best start...in the beginning the filament was not flowing properly, but then it was, and I decided to let it print for a while and see if it would work out. It did. It printed very well.
Print Settings
- Printer: Ultimaker2
- Material: black ABS, from Ultimaker, 2.85mm
- Flow: 100%
- Temperature: 210C
- Base Temperature: 60C
- Fan: 100%
- Print Quality: Normal
After Printing
The print was a little fuzzy, I spent some time removing the burrs. I am not sure the cause of this; but it wasn't really that bad. A little stringy in parts, but it was easy to remove. Not the best, but better than I had anticipated.
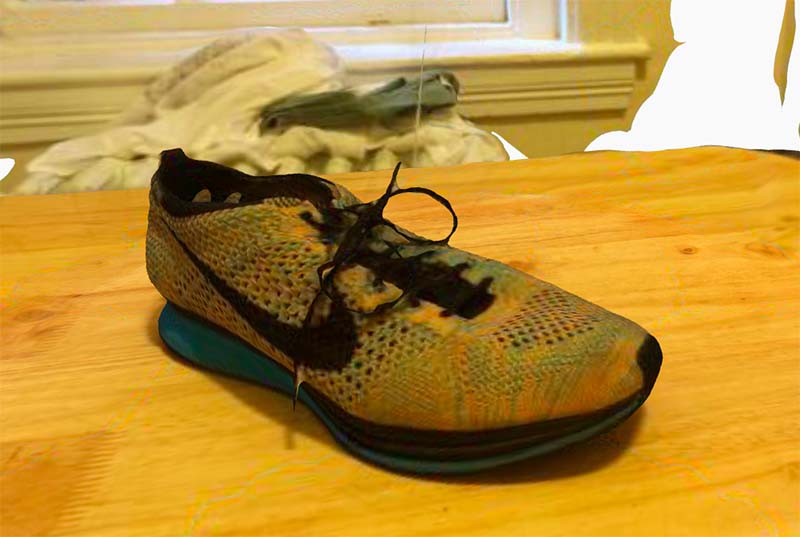
3D Scan
For the 3D scanning process, I was most interested in the 123Dcatch app because of its accessibility and how easy it seemed. And it was. I spent about a minute taking photos, orienting myself in front of a barracaded cone and circling around, trying to get multiple angles from similar distances. At first I had way too many images, was a bit trigger happy, and had to cut about half. I did and then the image processing took quite some time, and eventually crashed. Tried again with a shoe. Still took a while, but worked out well. Would love to play with the process more in the future, super cool.