Maroula Bacharidou
MAS.863 | How to Make (Almost) Anything
Making something big
or, Le Corbusier for the masses
*1. Idea: Copying, adapting, designing, machining, making
2. Designing
3. Machining
4. Assembling
*
1. Idea: Copying, adapting, designing, machining, making
This week's assignment was to make something big using one 8 ft. x 4 ft. sheet of OSB (Oriented Strand Board), which is rather a material made of wood rather than, actually, wood. Despite being a low-quality material, I realized that it can be very used in many cases of fabrication, especially for large projects. One of its strongest points, as I realized while experimenting with some sample cuts, is its ability to create strong friction fit connections.
The object that I decided to design and fabricate was a chaise longue inspired by swiss architect Le Corbusier's LC4 Chaise Longue (the price of which ranges from $ 1K to $ 5K). Le Corbusier's design is much more delicate, and the original chair he designed was made by different materials. However, what I wanted to replicate was not that, but the sense of floating above the ground that the chaise longue creates, which is maily created by the curve that makes its profile, mimicking the curves of the human body.
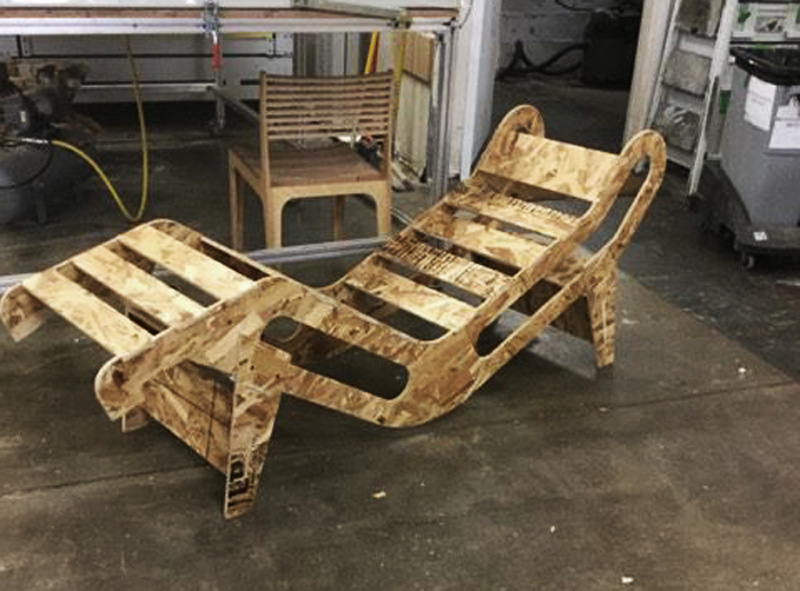
Figure 1. The "big" chaise longue, at the Architecture woodshop.
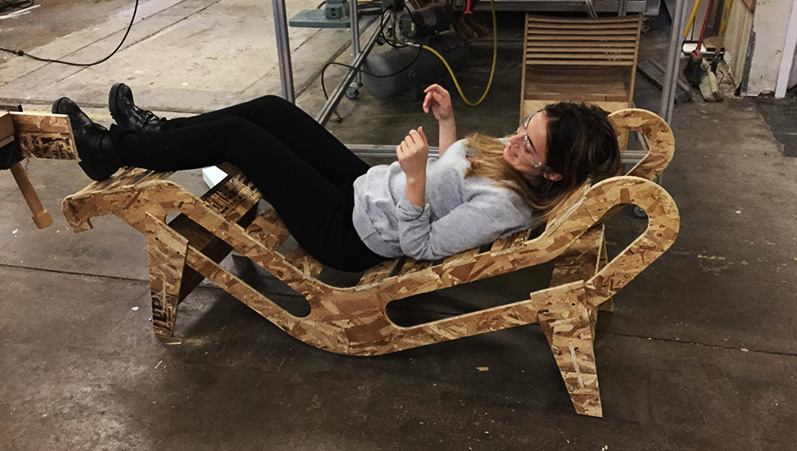
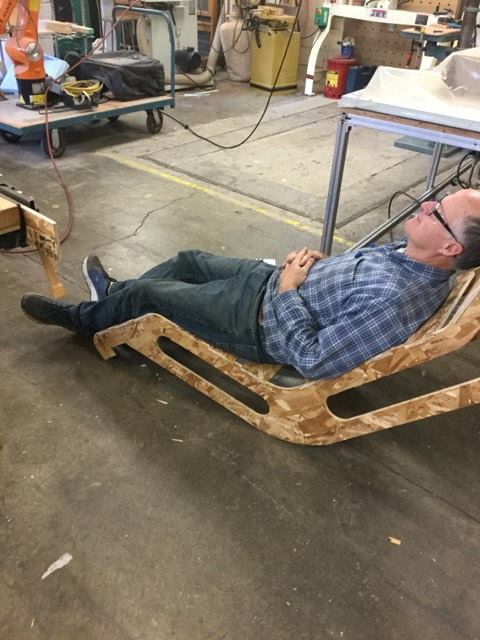
Figure 2. Using the chaise longue, with a little hesitation at the first time. I was surprised how such a light structure could bear my weight.
The process of designing, machining and making my chaise longue is illustrated below:2. Designing

Figure 3. Starting copying ahem designing the object by replicating the basic curve.
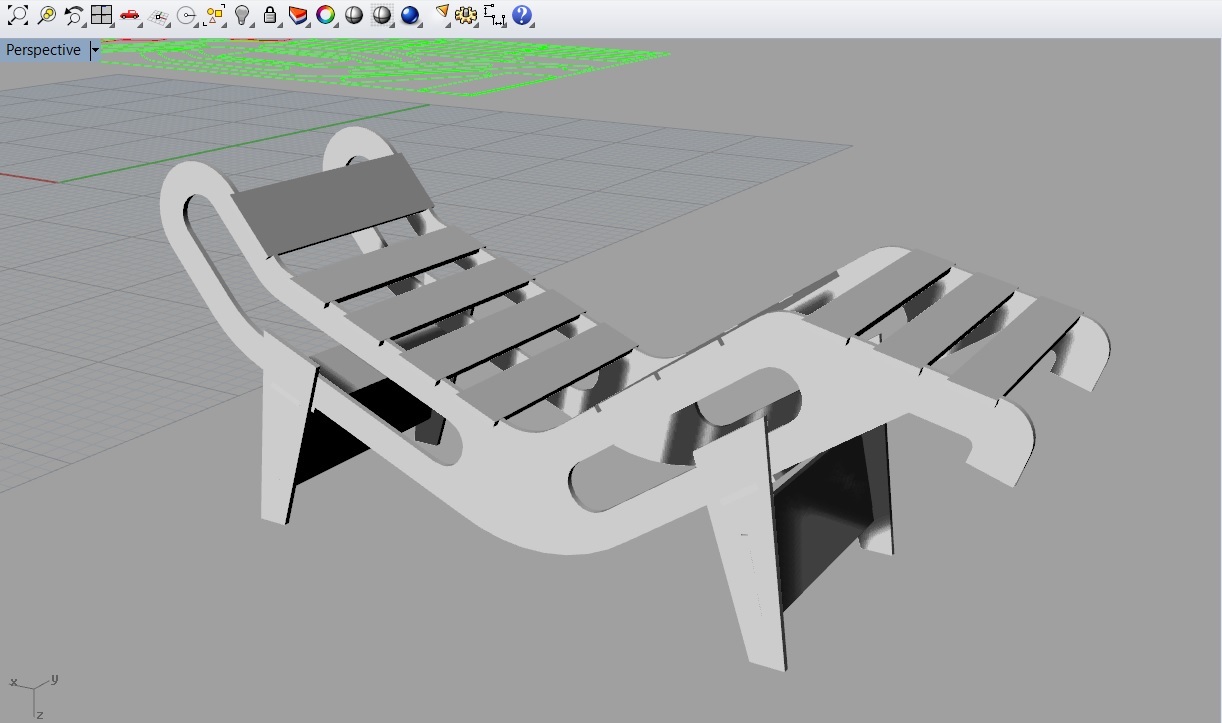
Figure 4. The 3D model of the chaise longue in Rhinoceros.

Figure 5. Designing the friction fit connections between the profiles and the boards.
3. Machining
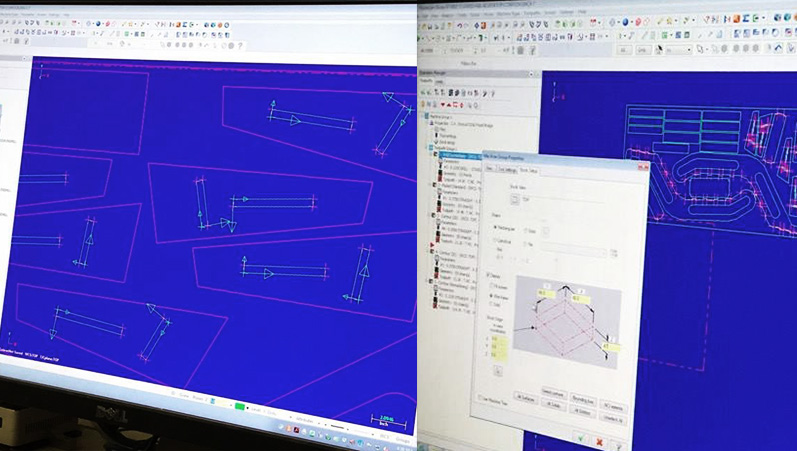
Figure 6. Importing the file in Mastercam, checking the paths and the directions of the routing. The have all to go clock-wise or counter-clock-wise, othewise the router will take material out of the pieces to be cut, which is what we don't want.
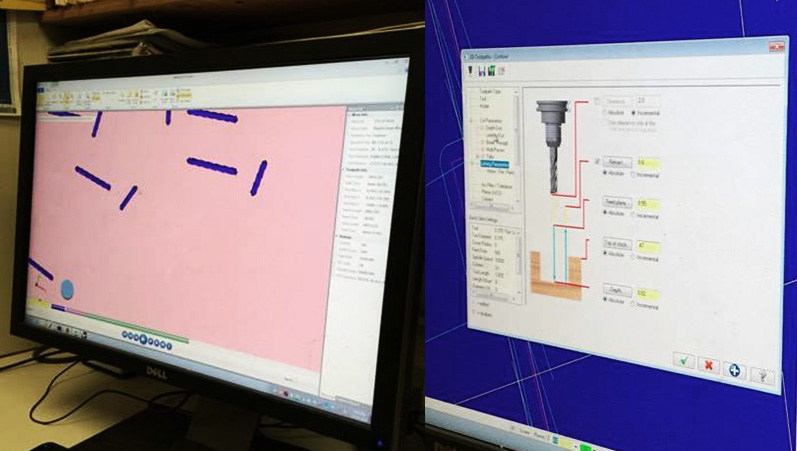
Figure 7. Setting the depths and checking the edgy corners in my design. Despite I designed points in the file that I exported to Mastercam, some edges were not sharp. They points were cut, though. I fixed it, as we'll see below, by hand.
4. Assembling
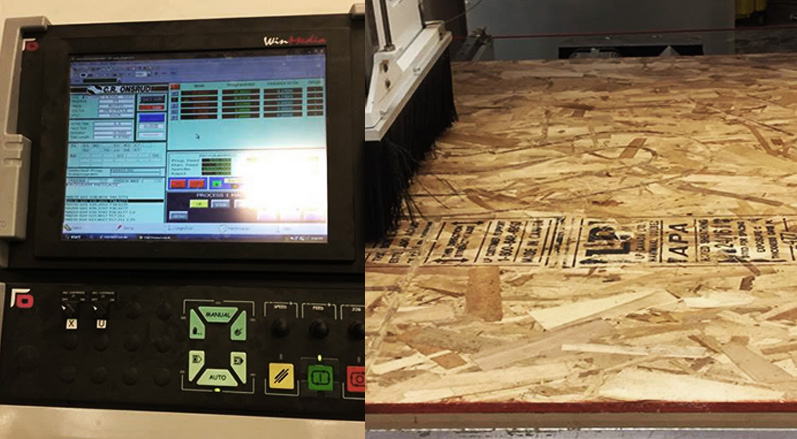
Figure 8. Sending the design to the router.
Figure 9. Refining the pieces manually, using either the sander or the manual router, which was one of the most pleasurable parts of the process. The router needs a lot of precision, proper holding and gentle moves.
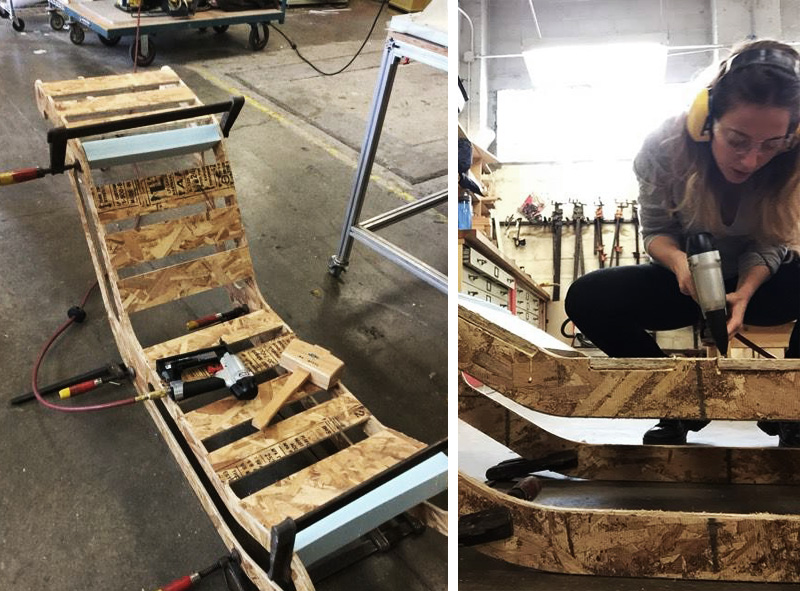
Figure 10. Clamping the two basic profiles in order to place the boards. Despite trusting the friction fit connections, I decided to put two nails in each side of the board using the pneumatic nail gun.
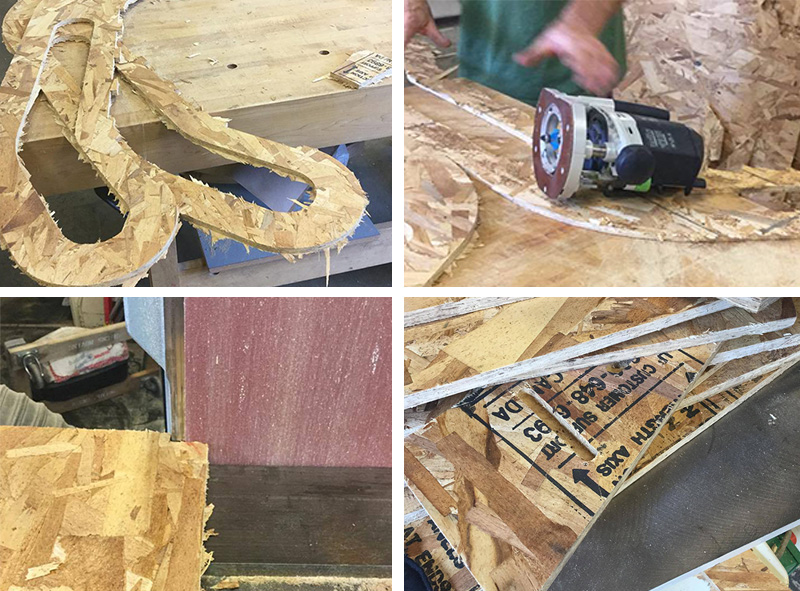
Figure 11. Sanding and refining the edges upgrades any shape made of OSB.
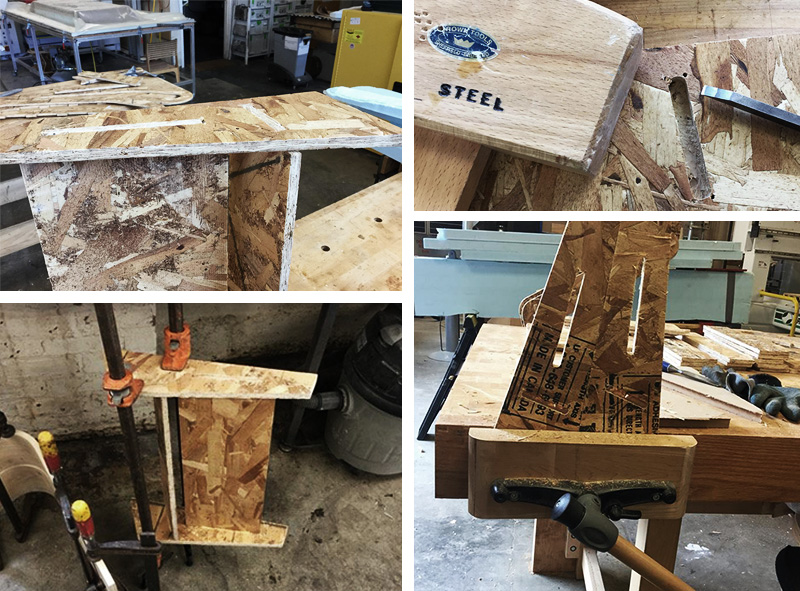
Figure 12. Refining and connecting the bases of my chaise longue. That's where friction fit was enforced with some wood glue. I clamped each base for about an hour.