Maroula Bacharidou
MAS.863 | How to Make (Almost) Anything
Qubricks
from hydrostone, this time
1. Idea2. Designing
3. Machining
4. Molding and casting
*
1. Idea
This week's assignment was to design a 3D mold, machine it, and cast parts from it. I found this assignment very exciting, as it could be a way to see how my bricks can be made by different materials in large amounts, so that they could start building things. I found the middle part of the assignment, that of machining, the most challenging, as it made me realize that molding and finally casting are the end of a process that requires a very careful and forecasting (no pun intended) design.
2. Designing
I started with a simple version of Qubricks, designing the with sharp edges and an "empty" space at the center of the edges so that they will be able to interlock with each other. I adapted the size of bricks to the size of the wax block through which we had to make our mold. I designed a 2 x 2 x 2 inch brick using Rhinoceros, and then split it in two pieces in order to cast it in a two piece mold. The flipping / rotating steps that would make the negative of the brick plus the rubber mold were quite confusing (a good way to understand the right way to design a mold is to make sketches and try to think how you would split and rotate the parts in the real world). Drawing a central square on which the two parts of the mold would attached on each other, and orienting the model in the wax piece according to that, was very helpful.
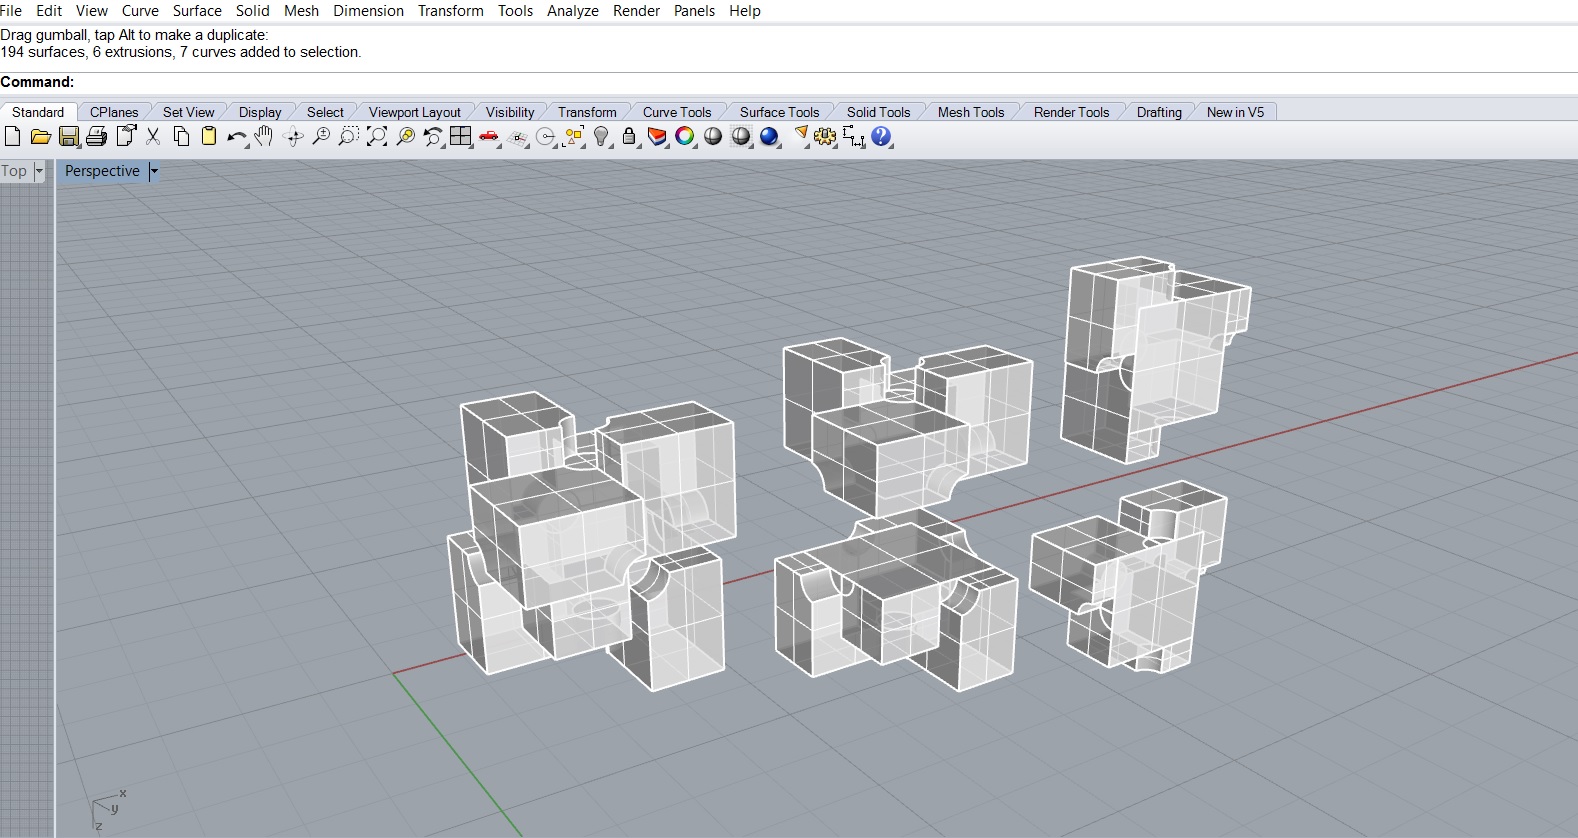
Designing, splitting, flipping, rotating the design in Rhinoceros.
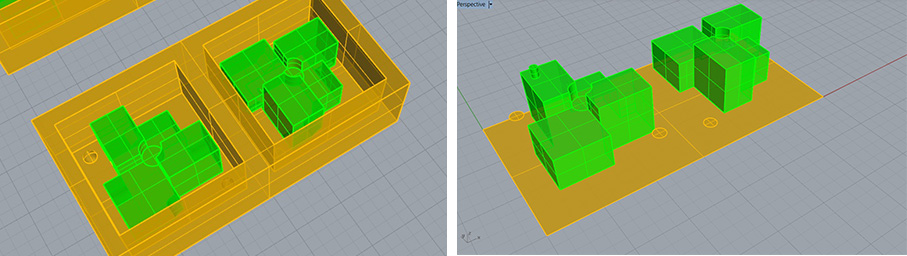
The model split and arranged in the mold.
3.Machining
After the troobleshooting, the simulator showed that the model was ready to be milled.
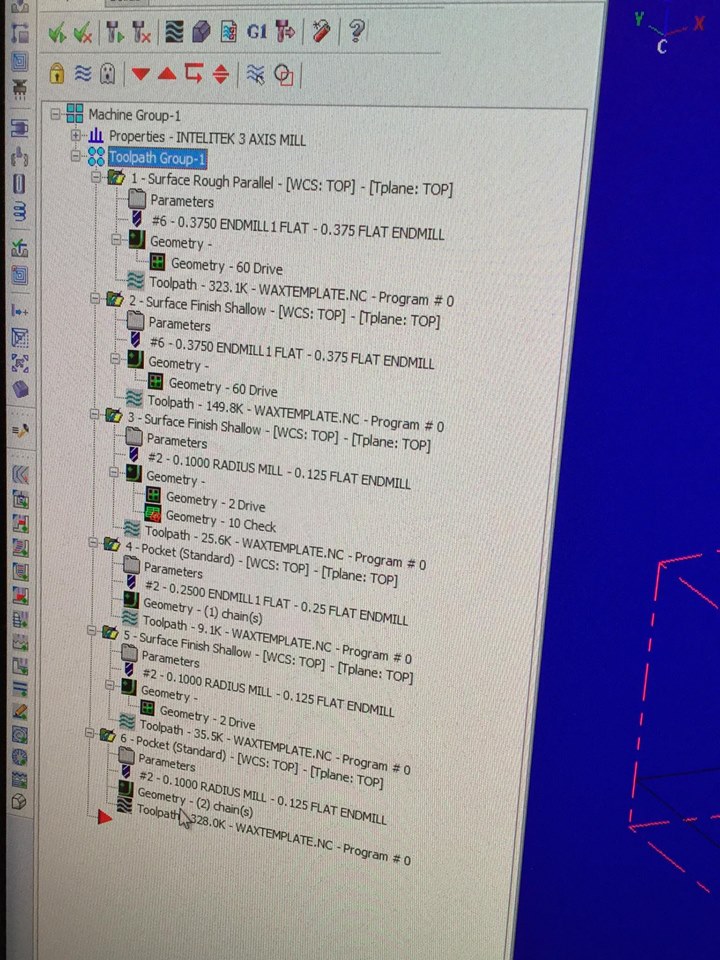
The toolpaths I used in Mastercam for the machining of the mold. I found very interesting how the same endmill can have different results depending on the path (shallow, parallel, zig-zag). Everything has its imprint on the wax mold!
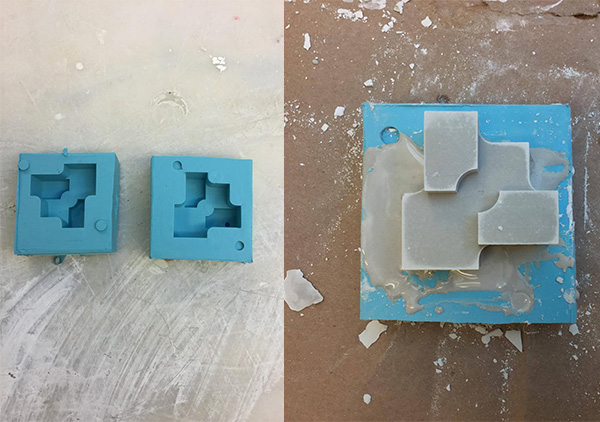
4. Molding and casting

Building the walls outside of the mold, preparing OOMOO, bubbleshooting pouring a thin string of OOMMOO (the same works with the plaster, too).