Maroula Bacharidou
MAS.863 | How to Make (Almost) Anything
Embedded programming
programming our board to do something
1. Assignment___a. troubleshooting a previous board
___b. remaking the board
___c. programming the board
*
1. Assignment
This week's assignment was to a) read a microcontroller data sheet, b) program our boards to do something with as many different programming languages and programming environments as possible.
___a. troubleshooting a previous board
The first thing I did before anything was to fix some issues that I was pretty sure that I would face due to problematic soldering of my board. With naked eye, I could see that two parts on my board were not properly soldered. I resoldered them, focusing on the part that had the copper sheet torn off, and checked the connections using the multimeter. The multimeter showed that my connections were right, so the second thing I did was to see if my board was readable a) from the computer, and b) from the echo-hello board, using the FTDI cable connection, which I made. I worked on a Linux environment and spent some time reading and understanding the host communication requirements. My board passed the first test but not the second: it was readable from the computer, but not from the board. Sadly, this step is not yet complete, and that means that I will have to resolder my board from scratch - and possibly redesign it.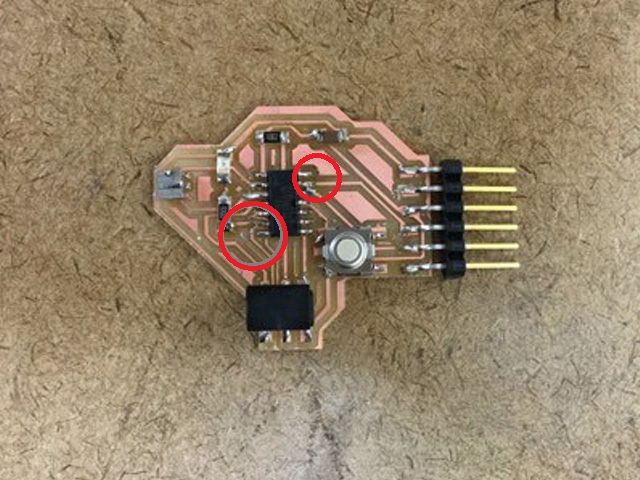
Figure 1. The suspect parts of my board. I resoldered them, but still, the connection with the board did not occur.
___b. remaking the board
After trying to fix the soldering issues of my previous board, I decided to remake it - as my connections in EAGLE were correct. I remade my board solering more carefully - after looking again at my old board, I realized that it had some fried-soldered parts. The new board worked.
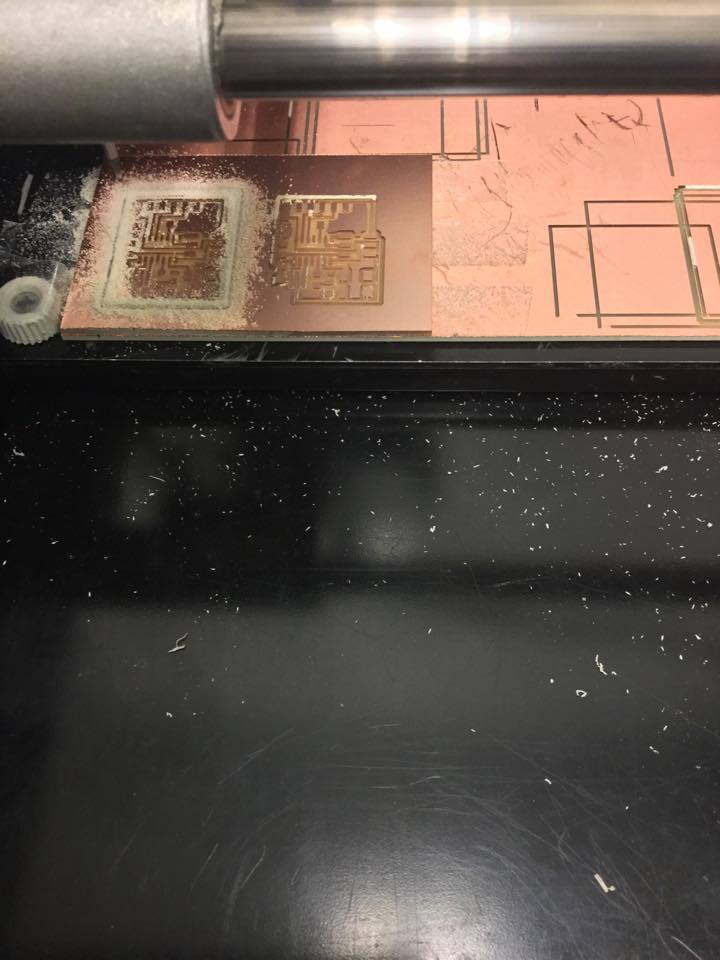
Figure 2. Remilling the board.
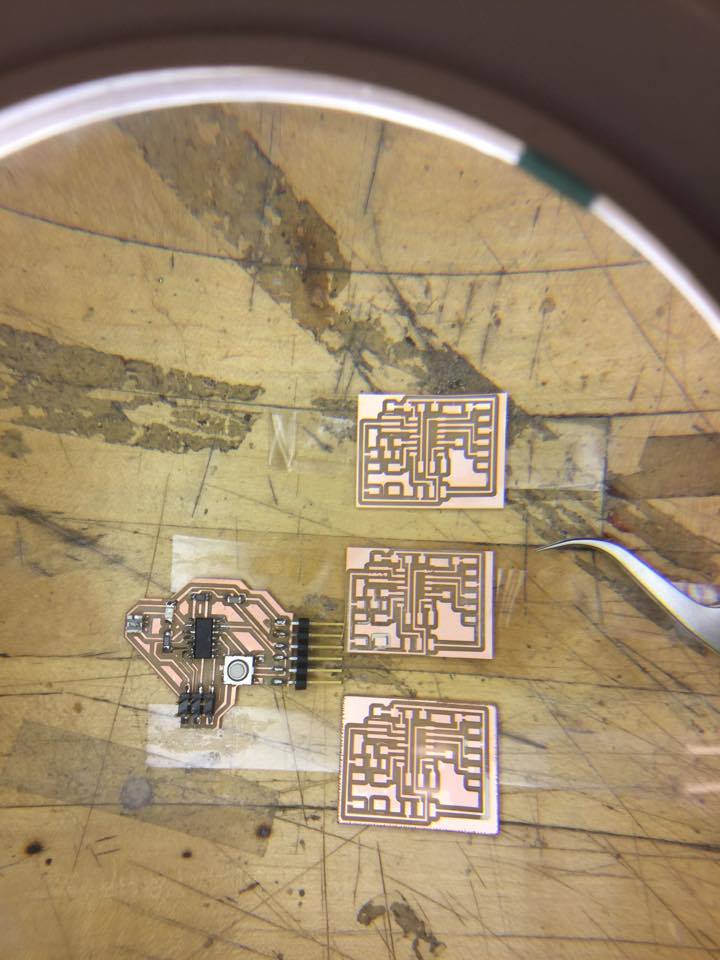
Figure 3. The boards before stuffing them. I made a couple of them.
___c. programming the board
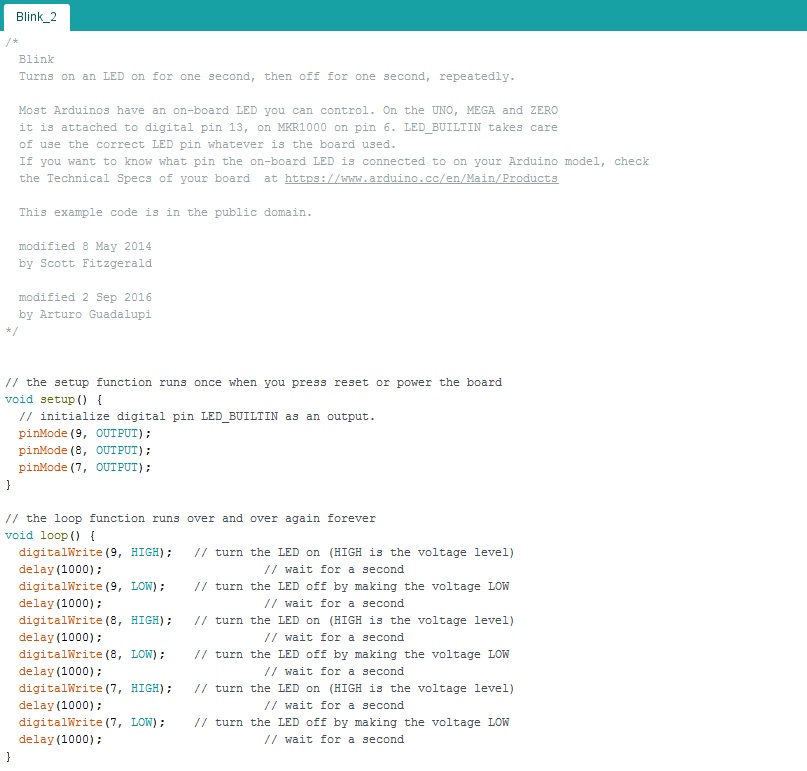
I programmed my board using the Arduino and the AVR ISP programmer. I ran a simple blink script.