Maroula Bacharidou
MAS.863 | How to Make (Almost) Anything
Making a stool seat
and learning about composite production
*1. Idea
2. Designing
3. Machining
4. Making the composites
*
1. Idea
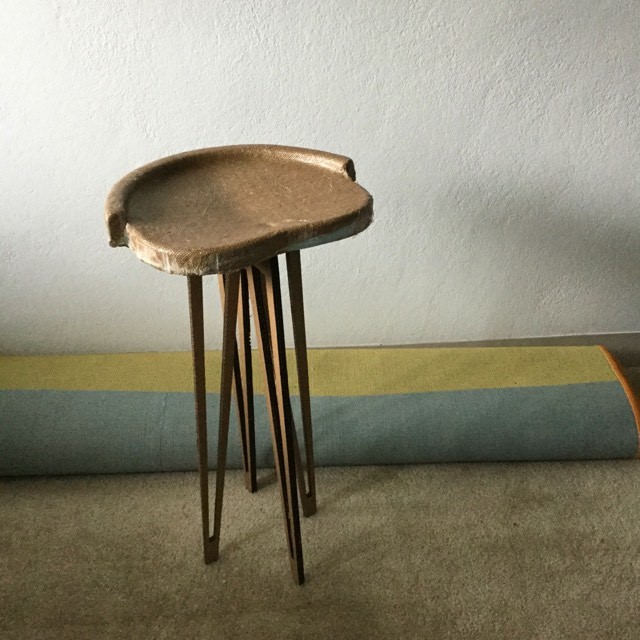
This week's assignment was to a) read the material safety data sheet and technical data sheet for the resins that we learned at Wednesday's class, b) design and fabricate a 3D mold and c) produce a fiber composite part in it. I decided to produce the composite part actually on the mold an not in it, which was quite challenging, as I realised during the making process.The idea behind composites is that combining two materials, natural fibers (burlap) and epoxy resin in this case, we can achieve very surprisingly good structural properties. I wanted to take advantage of this fact and make an otherwise vulnerable shape, a foam seat, sturdy and robust. My idea was to attach the seat to a wooden base.
2. Designing
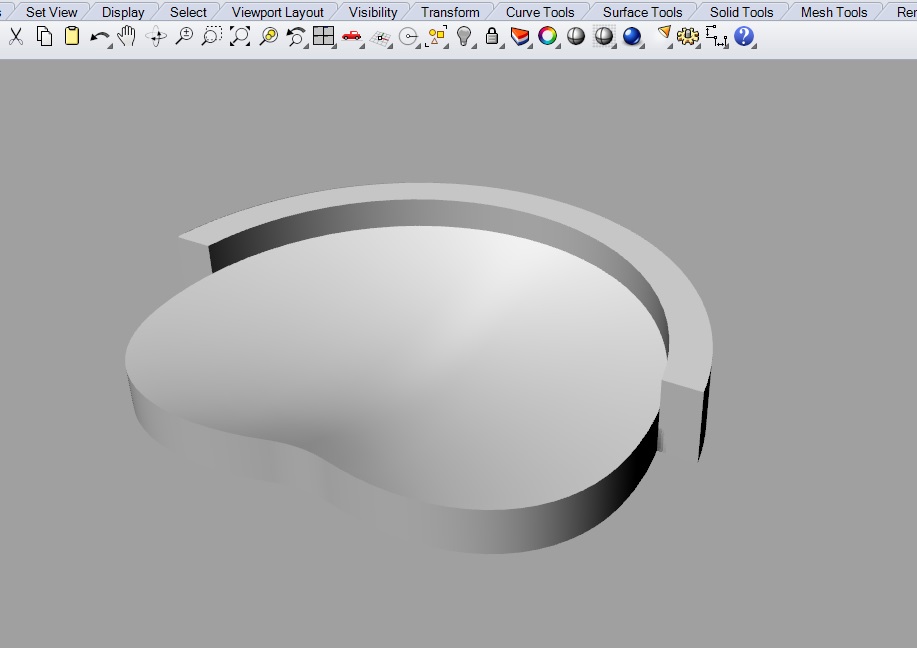
I created my design in Rhinoceros. I drew the basic surface of the seat and transformed its geometry in order to not be flat and correspond to the curves of the body.
3. Machining
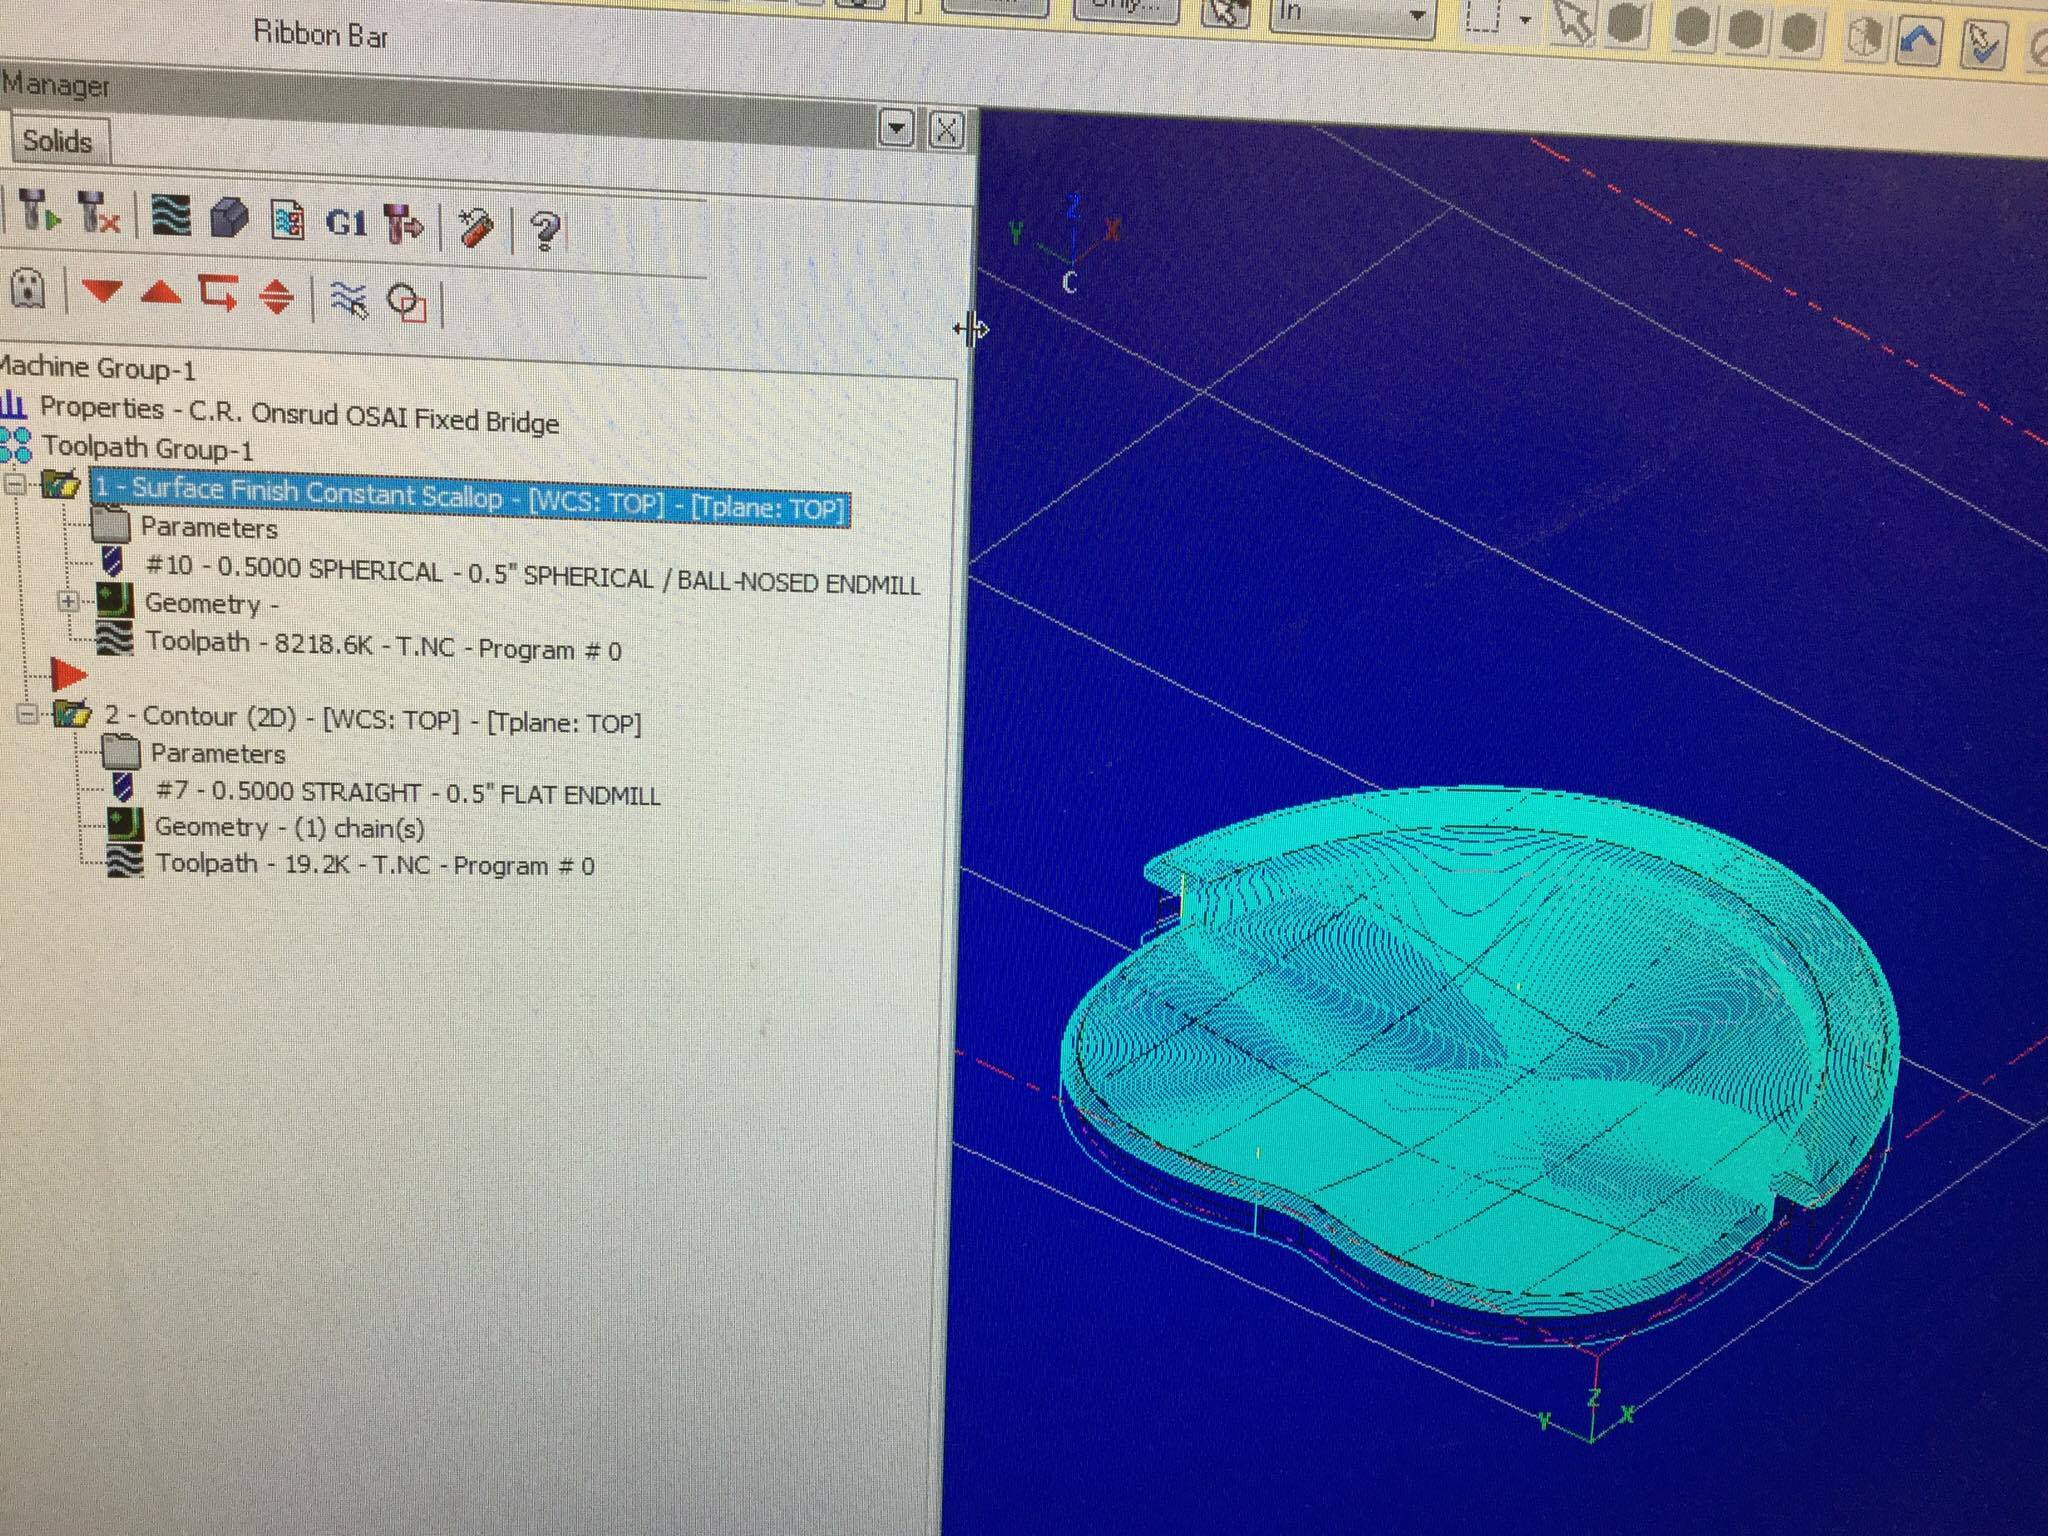
I used Mastercam to machine my mold. I used two toolpaths, one surface finish constant scallop with a 0.5 inches spherical endmill for the whole geometry and a contour toolpath with a 0.5 inches flat endmill for the whole geometry.
After I simulated the milling process in Mastercam and I had no collisions, I milled my mold.

I used the ONSRUD machine, which I was familiar with after the "make something big" project. The design came out really nice and smooth, except for the (kind of thick) onion skin that was left in the foam. That happened because the legth of the mill in ONSRUD was higher than what it was supposed to be. As I love sanding, I couldn't resist and made some extra chamfers and rounded corners using sandpaper.
4. Making the composites
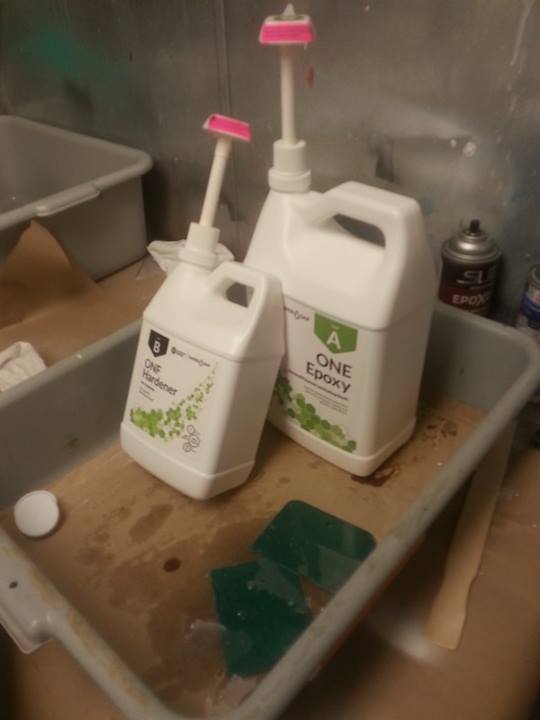
As I was wearing gloves in order not come in contact with the hazardous substances that I used after, the actual composites production process was undocumented. However, I took some pictures of the workspace I used, the tools, and some important parts of the process!
The steps I made for the composites production were the following: I first cut the Burlap into four clothes -two folding around the top and two around the bottom- and sprayed them with 3M Super 77 adhesive material. I sprayed the adhesive material directly to the cloth and not to the foam so that the latter would not melt. The buplap followed the shape of my geometry pretty well! Finally, I placed the 7 layers of burlap on top of my mold, together with a breather and several layers of cotton to absorb the extra resin and put it in the vaccum bag.
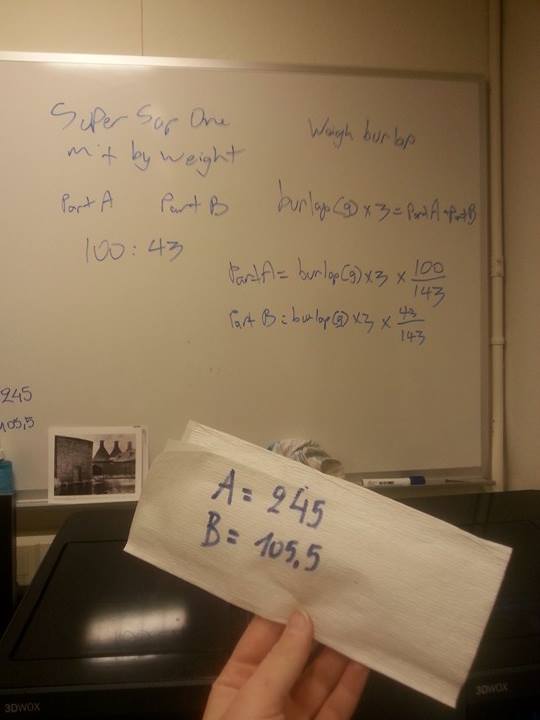
Then, I made the calculations for each part of the epoxy and spread it on my burlap-folded mold.
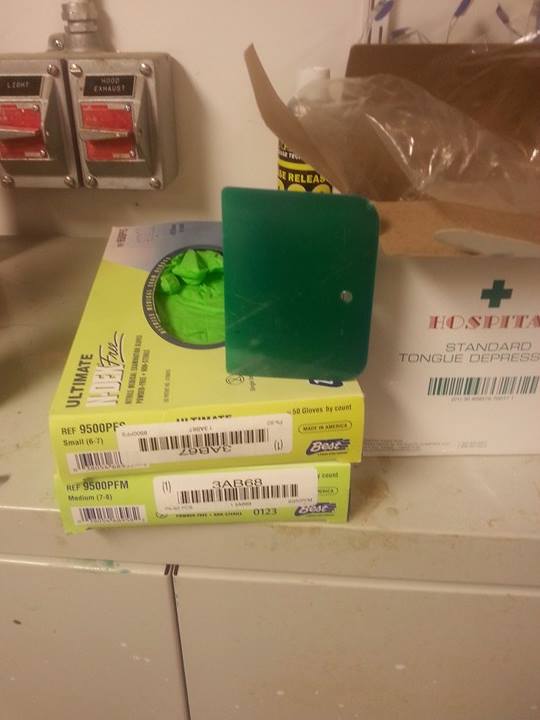
Wearing the right (two pairs of) gloves is super important in the composites production process!
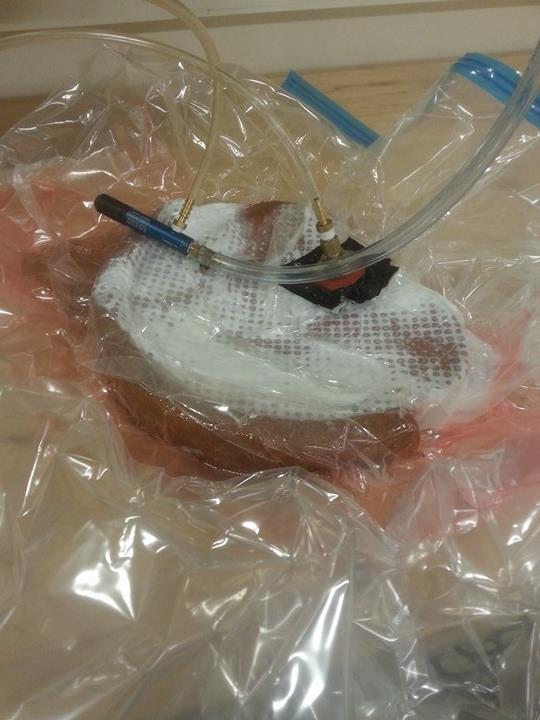
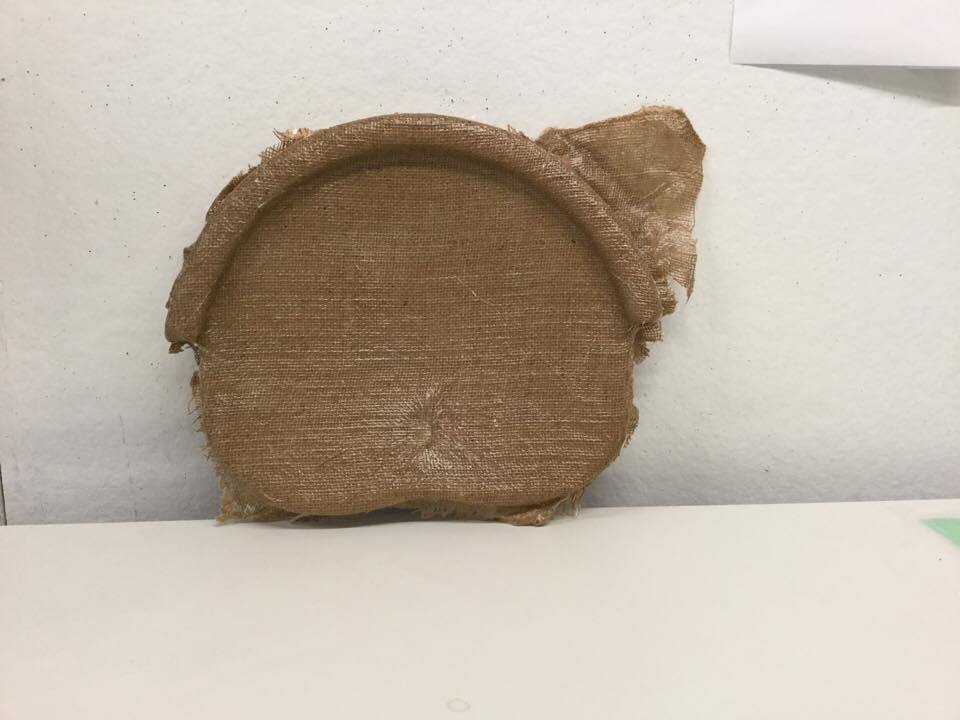
After I covered my mold in the wet composite material, I vacuum-bagged it for 4-5 hours. It tool exactly the shape of my mold -which did not happen with the wet composites- and got sturdier and harder as time passed.