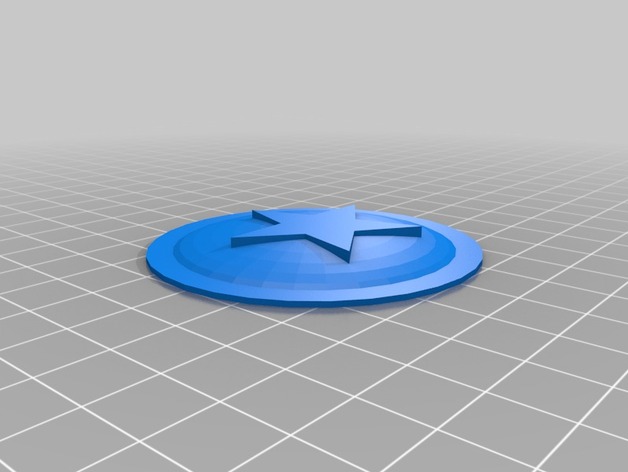
This was probably the least exciting weeks of all. My cellphone camera stopped working so I couldn't take that many pictures. Anna helped me out with a few pictures. I decided to make a composite for this design from thingiverse because it reminded me of captain america's shield
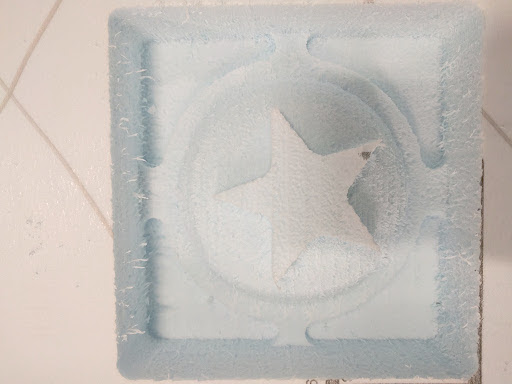
I milled my design, which was pretty simple as we had done milling in the previous weeks.
Here are the steps I followed for making the composite:
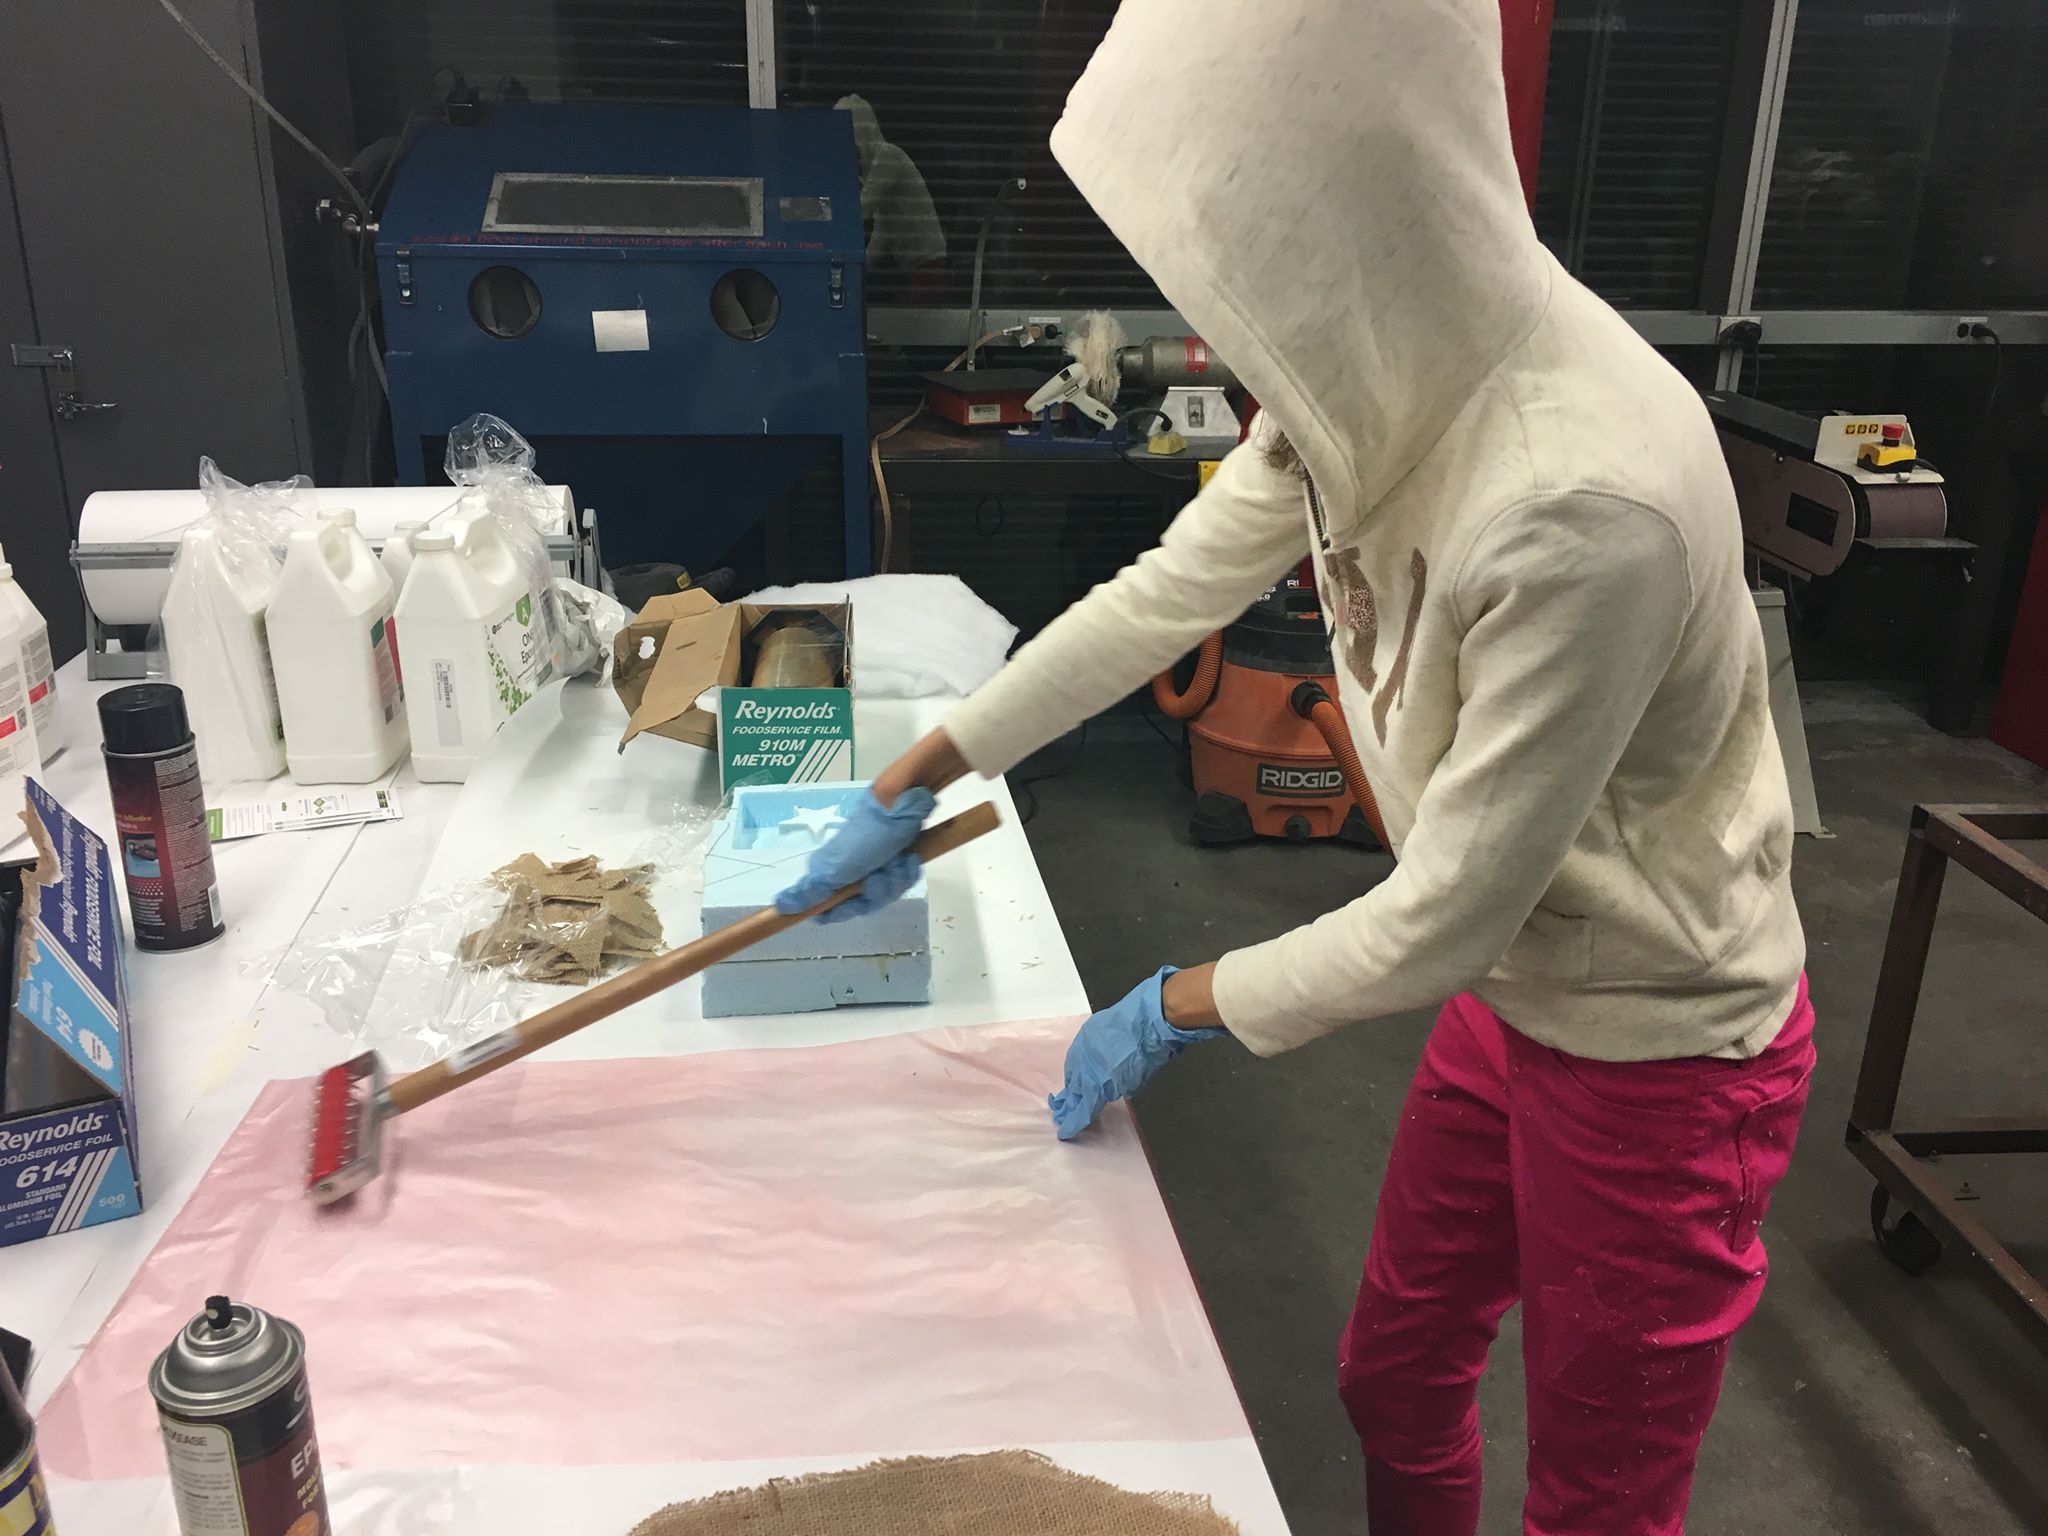
I used adhesive spray and placed cling wrap to seal the mold.
I sprayed mold release all over the mold and mixed the epoxy resin with hardener in a 2 to 1 ratio
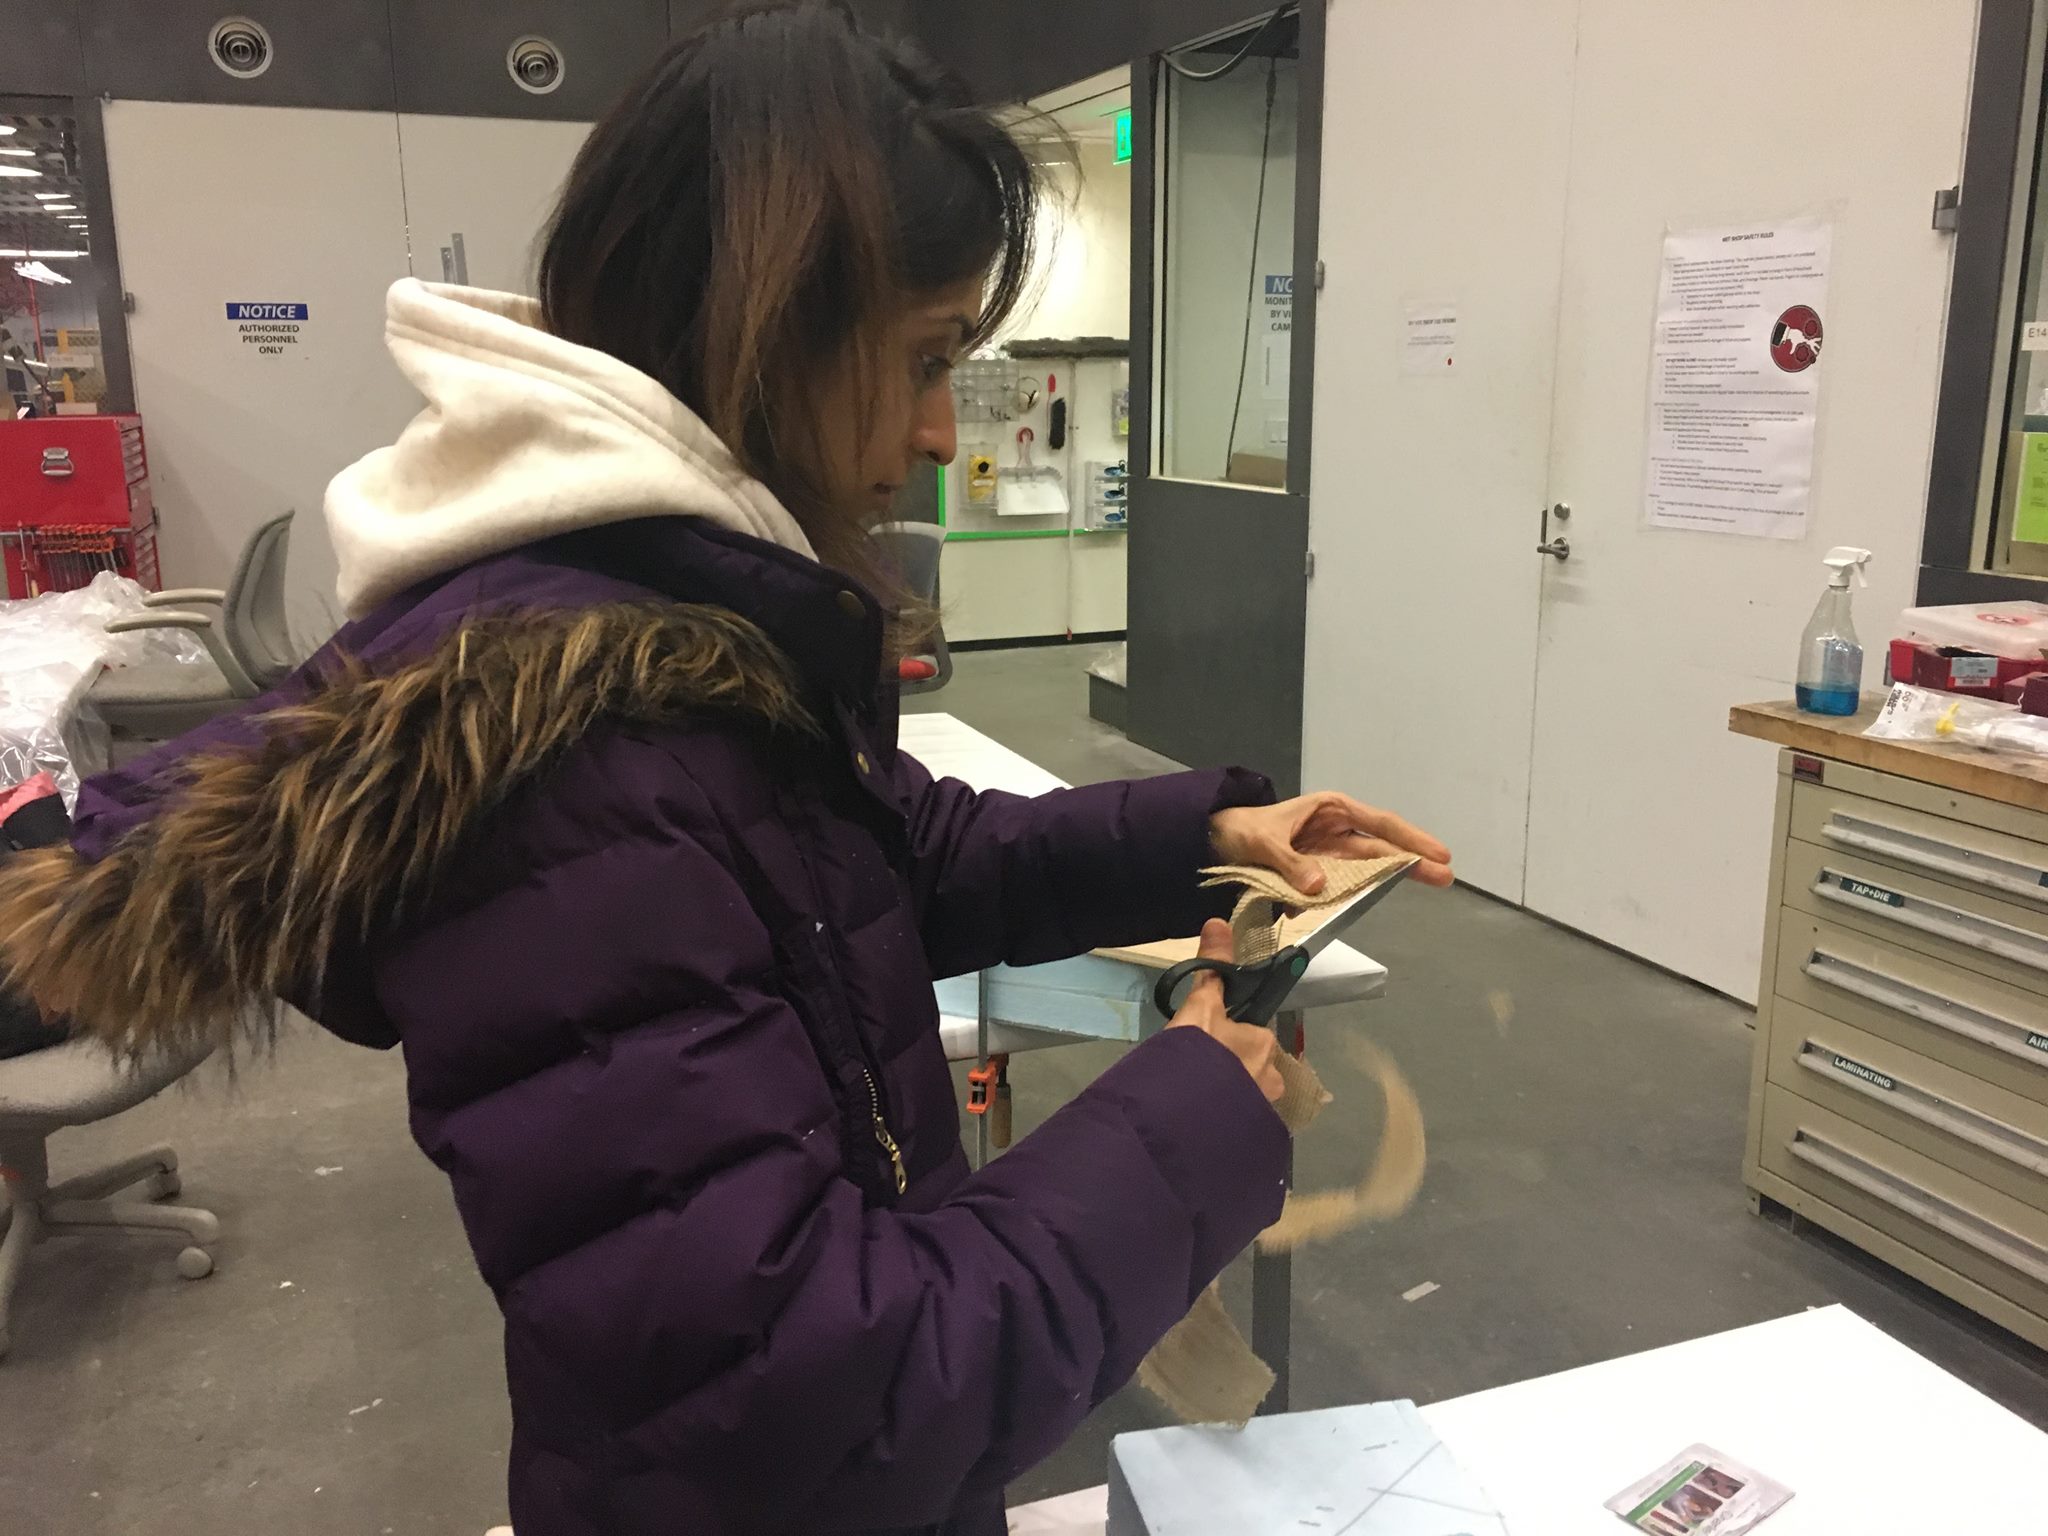
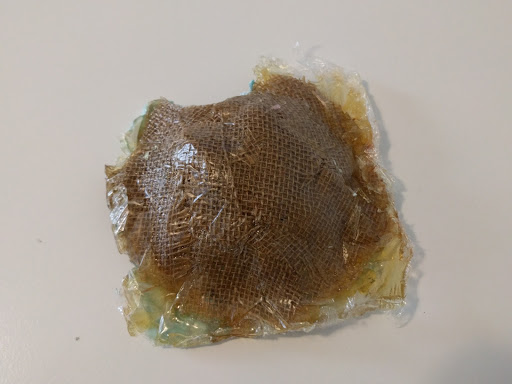
I cut pieces of burlap and placed them on the shape in 3 to 4 layers
I sprayed my vacuum bag with mold release.
I covered my mold in teflon and cotton and place it inside the vacuum bag
For several minutes, I ran the vacuum, but it wasn't letting creeating a vacuum inside the bag. Then I realized that I hadn't selaed it properly so I re-sealed it and cheked for holes. After that, it started creating the vacuum
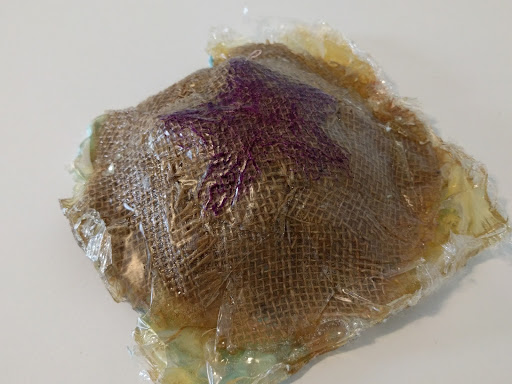
After 3 hours, I remived my materials from the vacuum bag ang and they were good to go.