

Final Project
What does it do?
- I decided to make a musical Rubik’s cube - one that plays musical notes when you turn different sides.
You can see the centers turning and music playing below
You can see the centers turning for a a full rubik's cube
- I had no experience in any of the skills required for this project, literally none. I didn't know 3D modelling or circuit design or even how a Rubik's cube works! I used the 3d modeling week, Input devices week, and Output devices week to build up to this project.
- I also have a UI WebGL model for the Rubik's cube from Interface and application programming week.
Who's done what beforehand?
moves will appear here
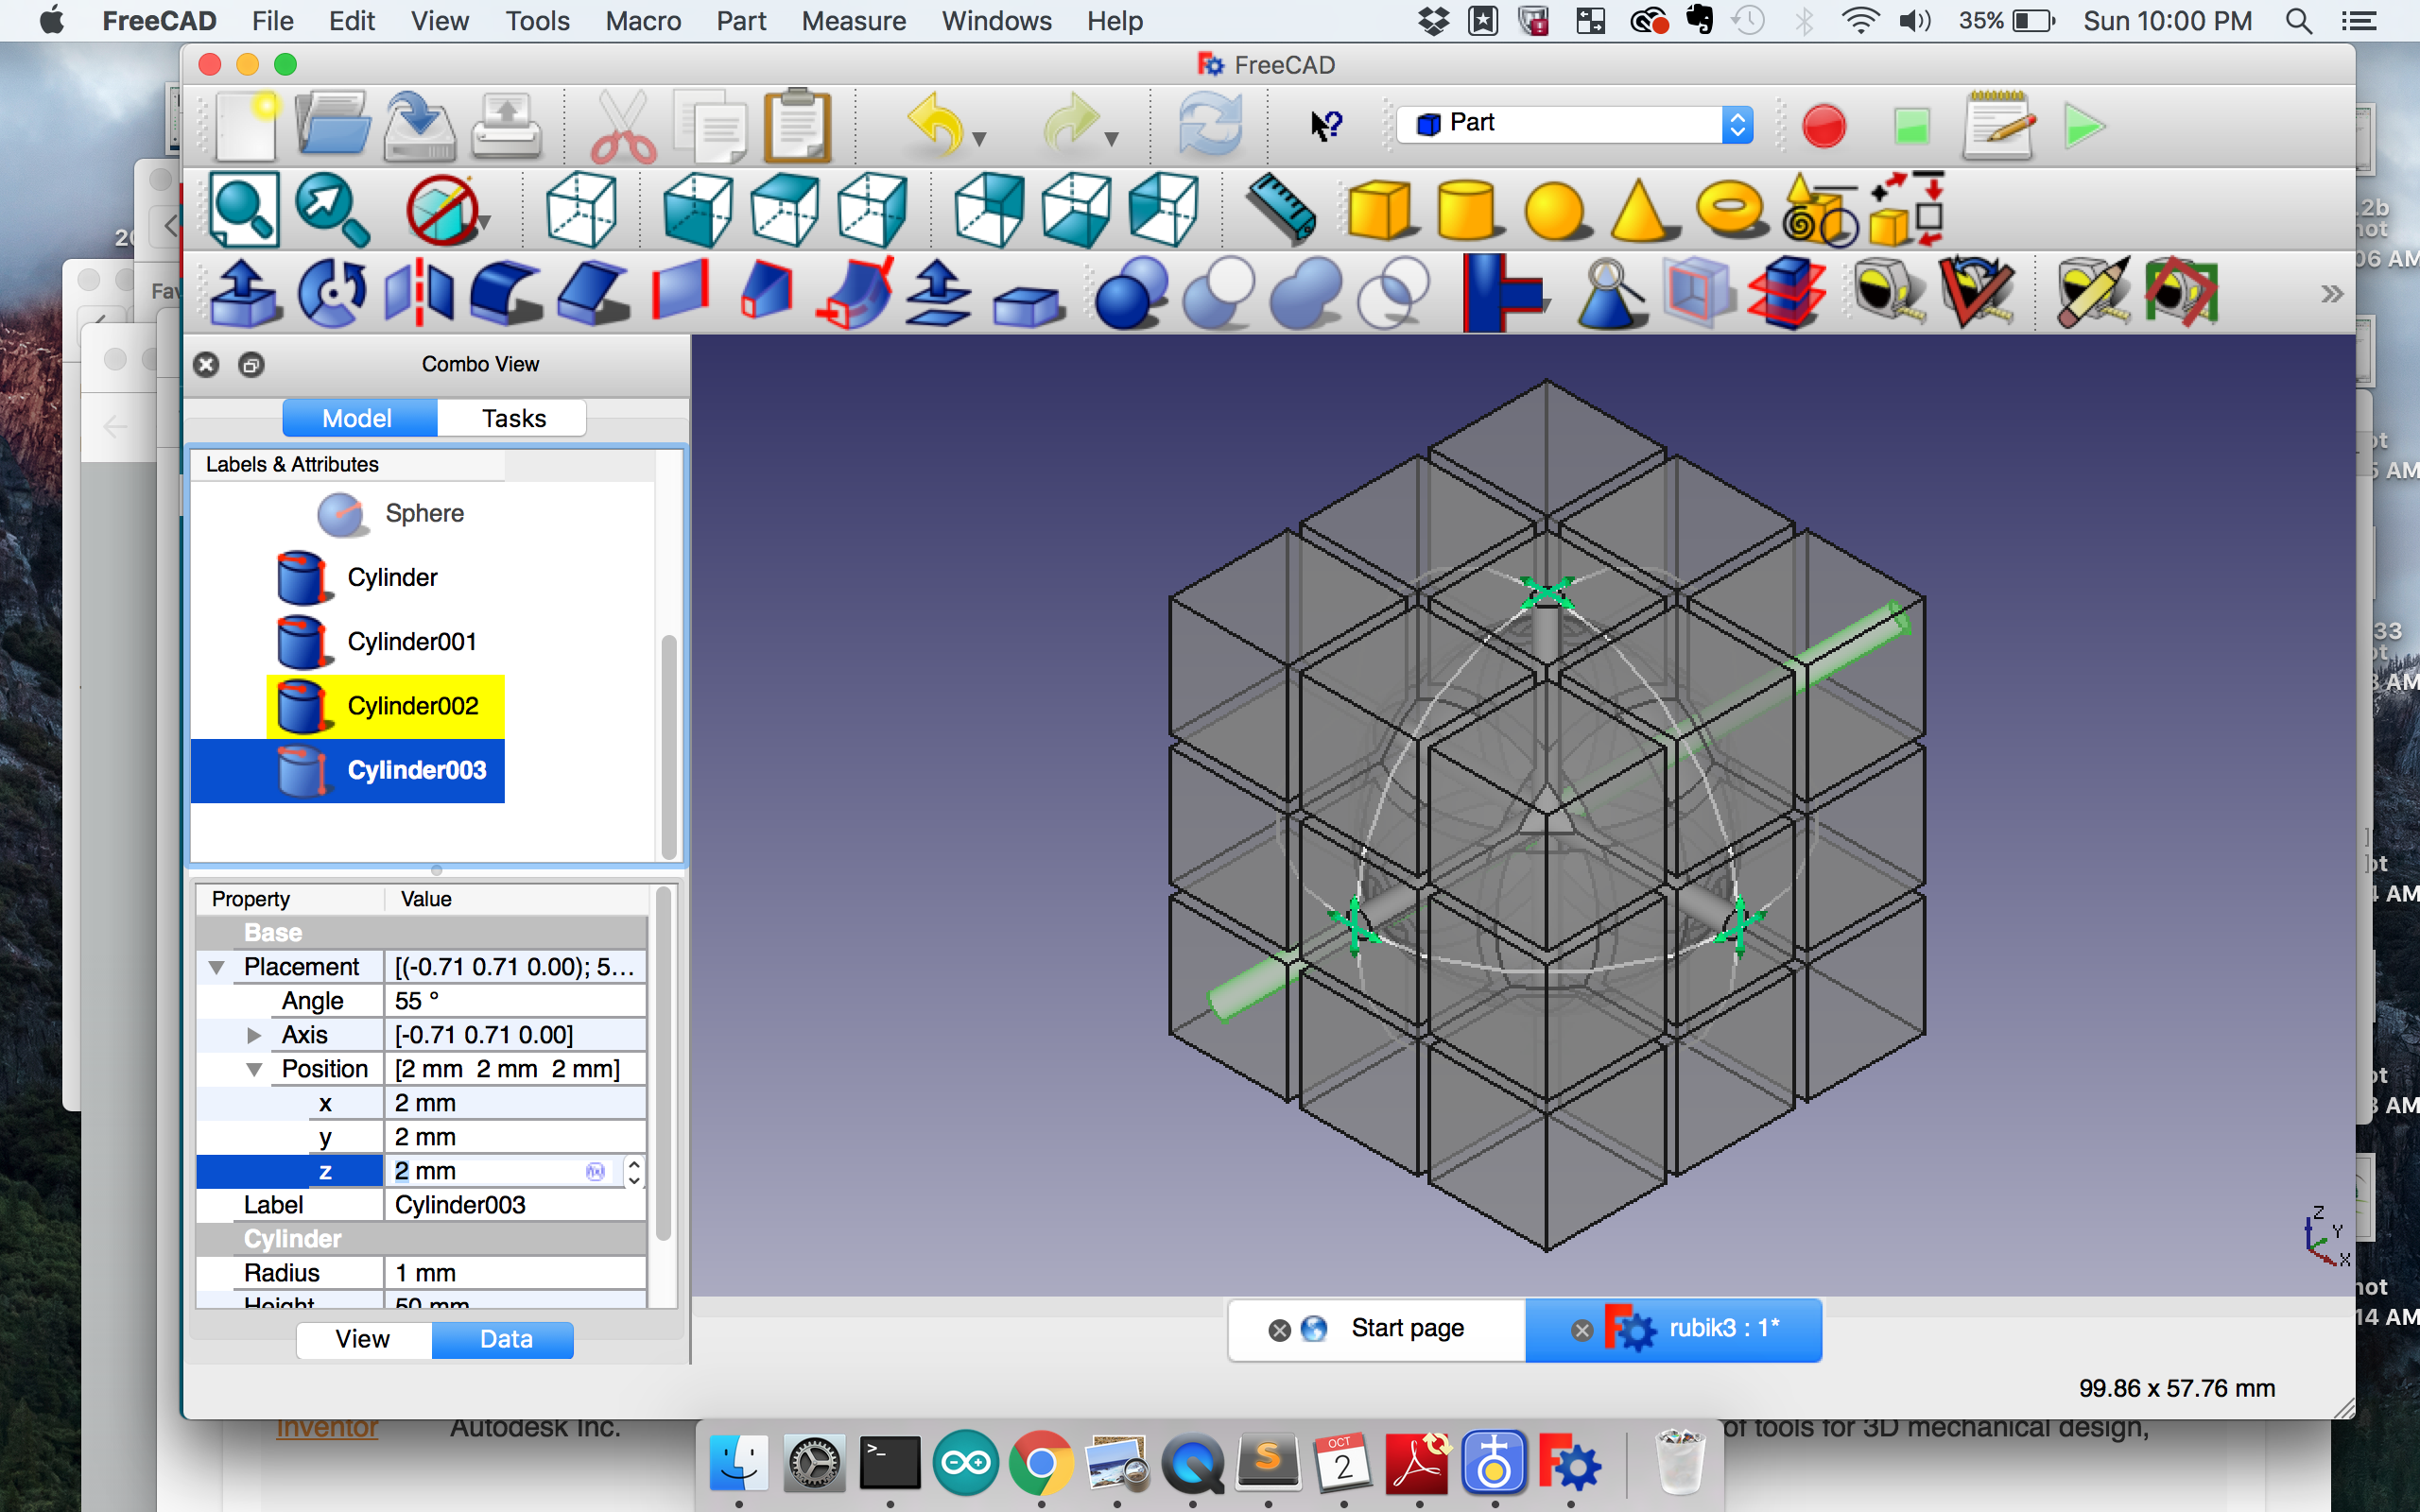
- I started by designing the 3D parts of the Rubik's cube, but there were a ton of other design consideration for fitting the parts inside the Rubik's cube that you may see in my Final updates page.
What did you design?



- What materials and components were used? where did they come from? how much did they cost?
- Ordered from Adafruit: 6 Rotary/Quadrature encoders: Bought from Adafruit - https://www.adafruit.com/products/377. Each one costs $4.5
- Ordered from Adafruit: 1 Mini metal speaker - https://www.adafruit.com/products/1890. Each one costs $1.5
- Obtained from FAB lab: 1 Atmega 328p TQFP chip (~$2), 2 resistor, 1 capacitor, 1 button, 1 LED, 2x3 header, 5 pin header for FTDI, and copper board for PCB. All these components are a few cents
- PLA for 3D printing: PLA density - 1.25 g/cm^3. Volume of cube: 4.5 inch cube = 1500 cm^3 (roughly). So we need 1500 * 1.25 = ~1875 grams of PLA. PLA costs around ~$20 per kg based onthis website. Therefore material cost of the cube is ~$40. This doesn't include the printing cost. I used the material and printed from the 3D printed in our fab lab.
- 3D printing
- Board milling
- Circuit design
- Assembly of parts (probably the toughest) cause it ivolved soldering, wiring, and fitting the pieces in the cube
What processes were used?

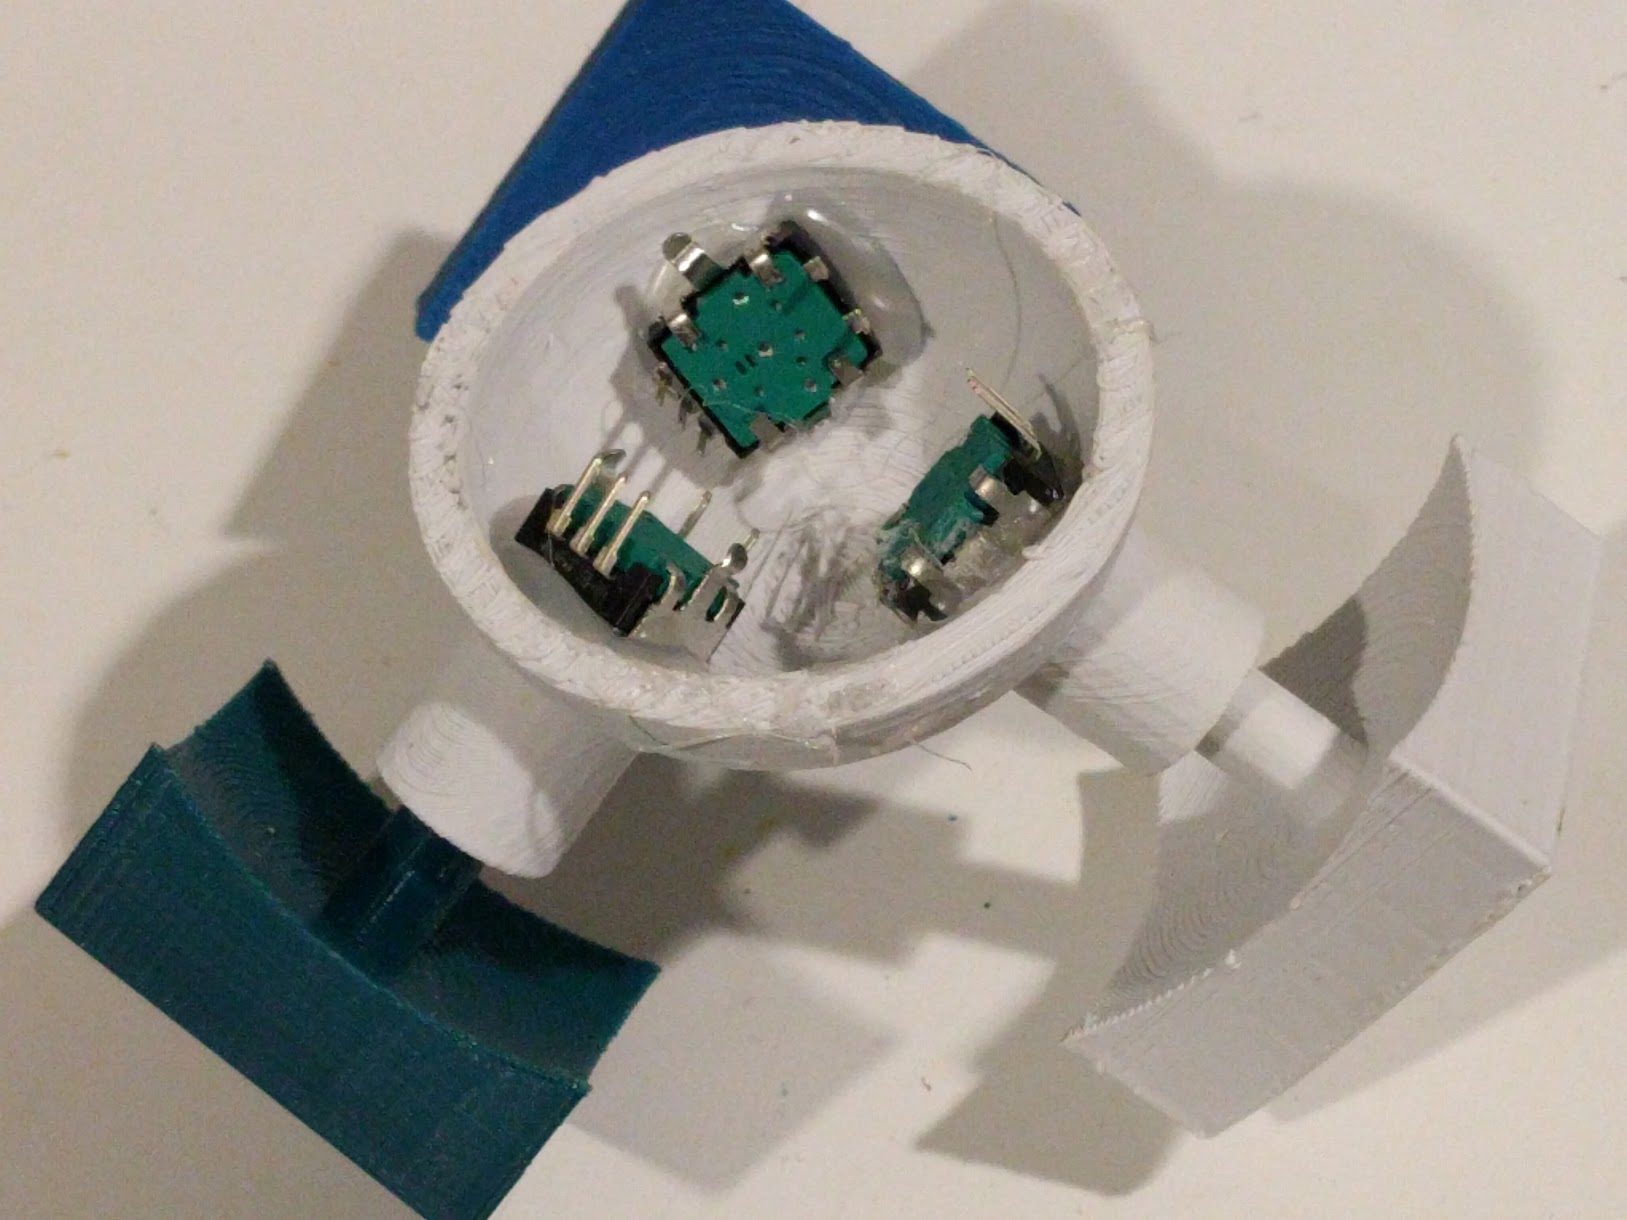
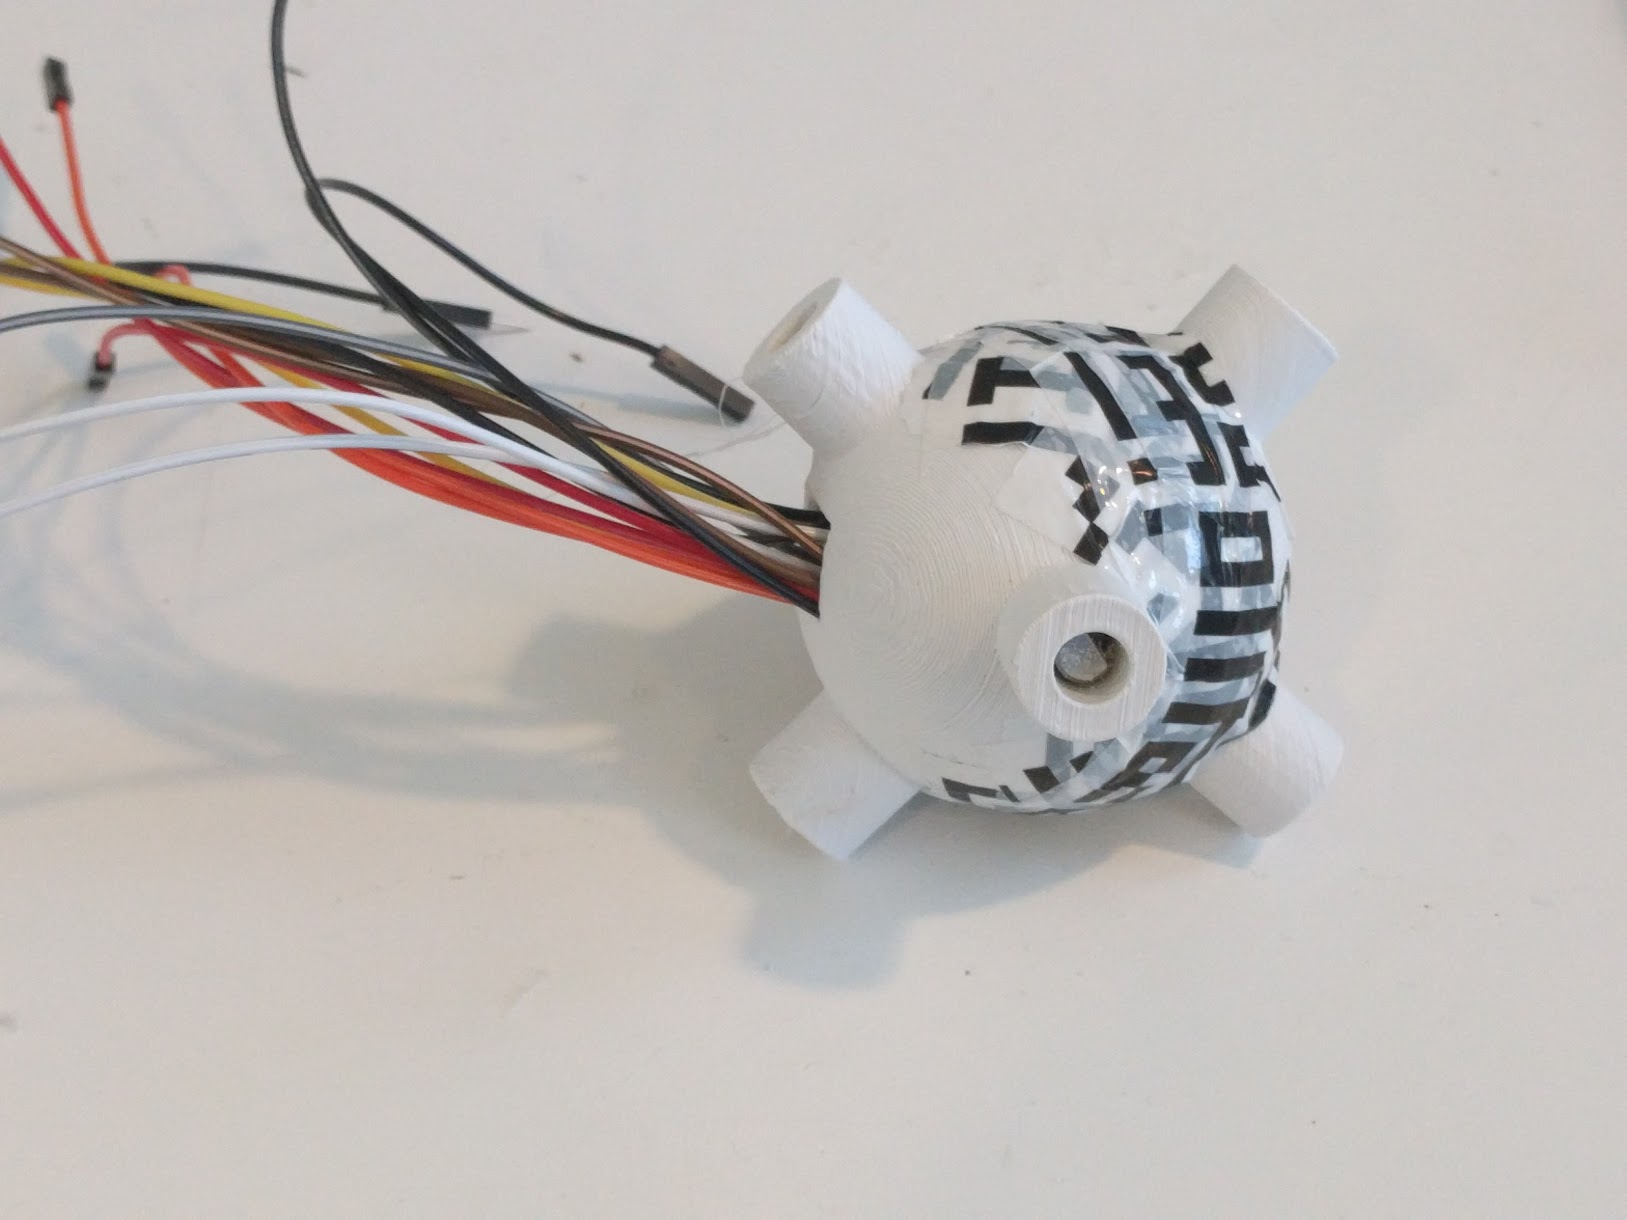
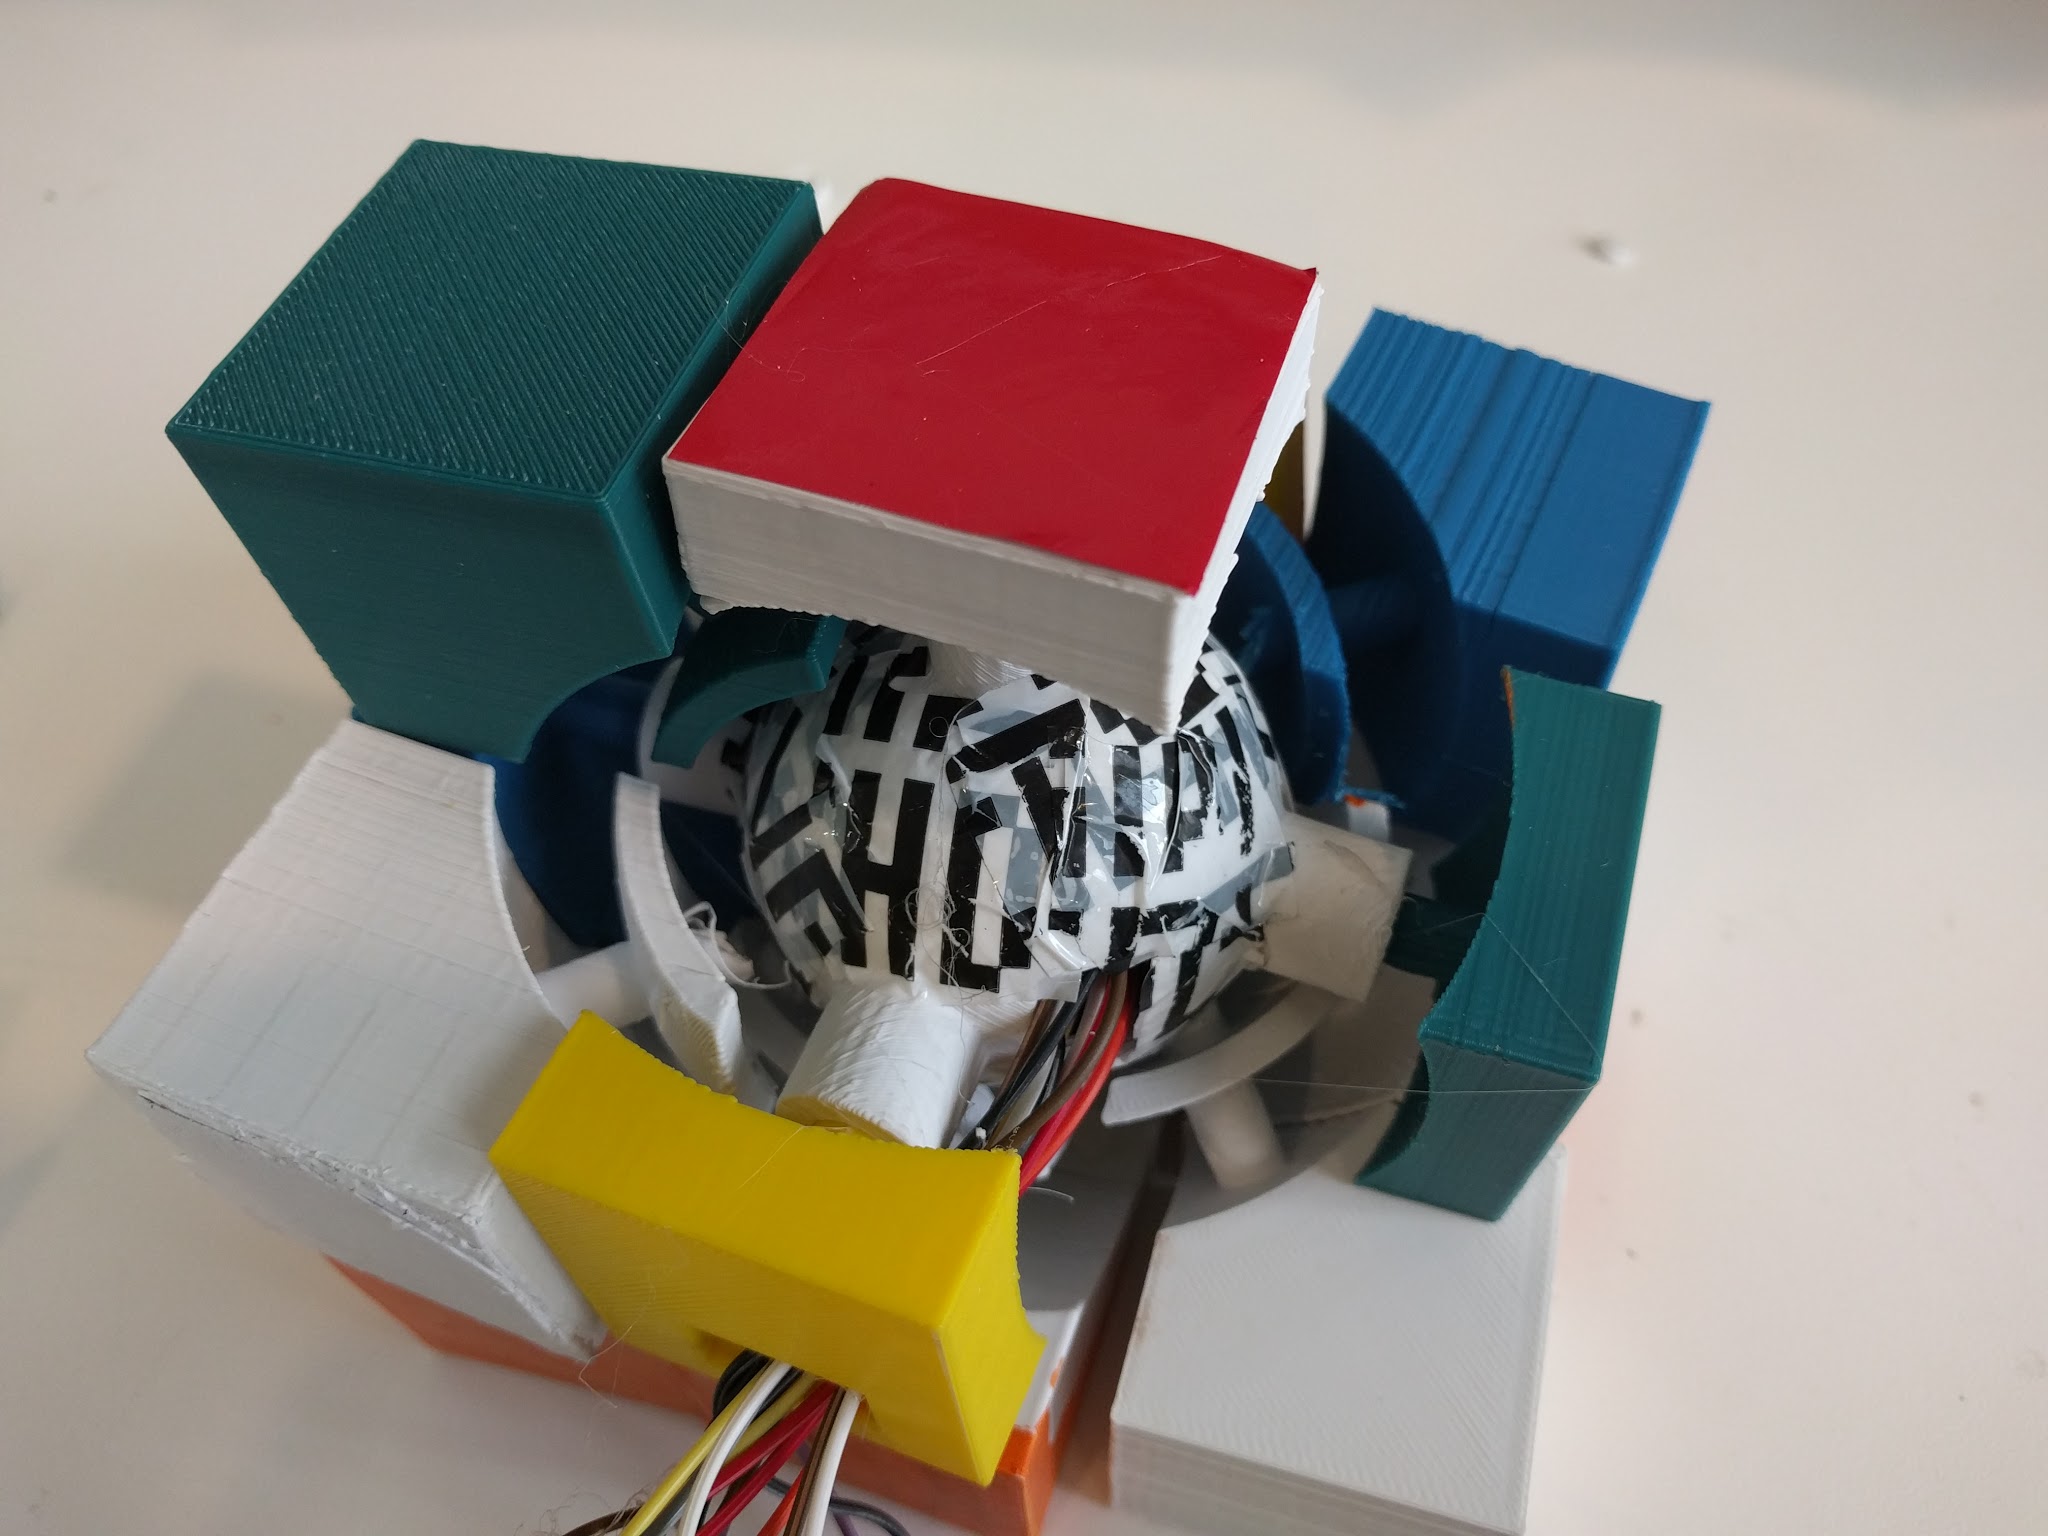
- How does a Rubik's cube work? How are the internal parts of the Rubik's cube? How do the parts fit together? What allows the parts to move? I didn't have complete answers to these questions till the very end of the project. The parts have to be interlocked carefully in each other so that they fit snuggly, yet have suficient space to move. The parts are very precise. Can you see how the first and second picture below differs from each other? The first one fits snuggly whereas the other one would fall apart. These differences are very subtle, yet they made a huge difference.


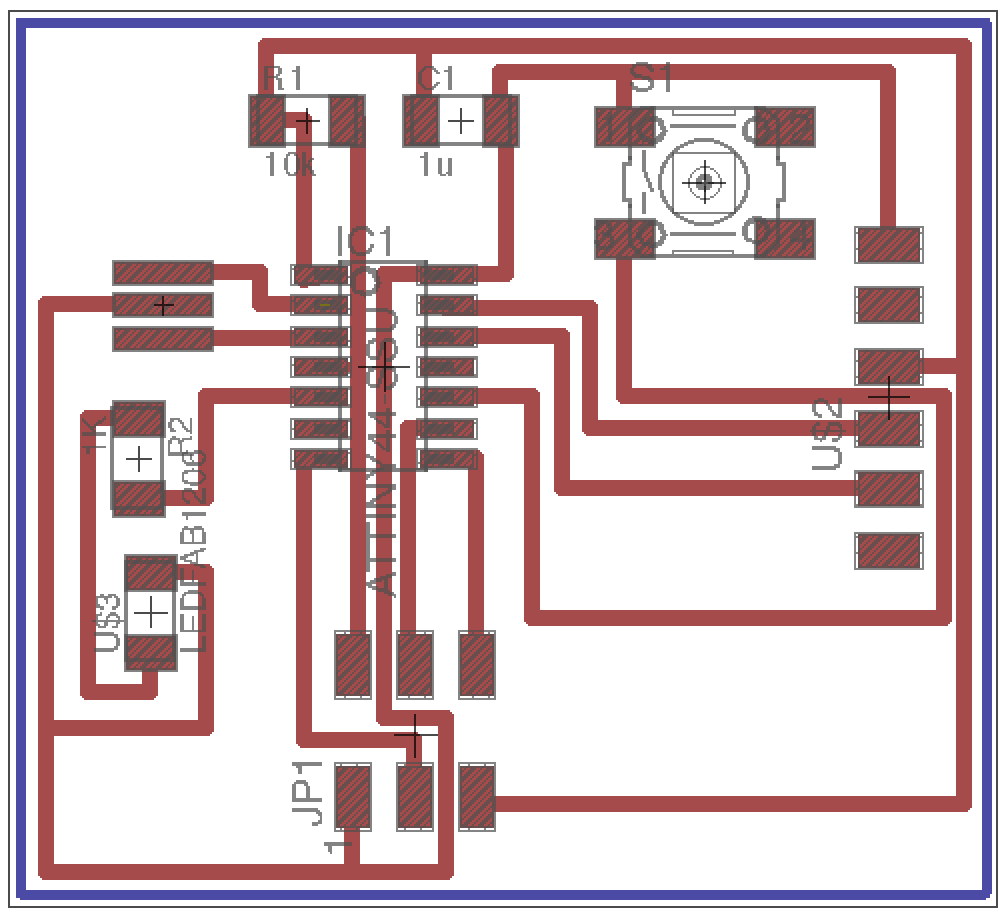
- How to fit multiple input devices to the smallest possible circuit/chip? I needed at least 13 I/O lines for the rotary encoders and the speakers. You can see my work below as I am trying to allocate the pins.

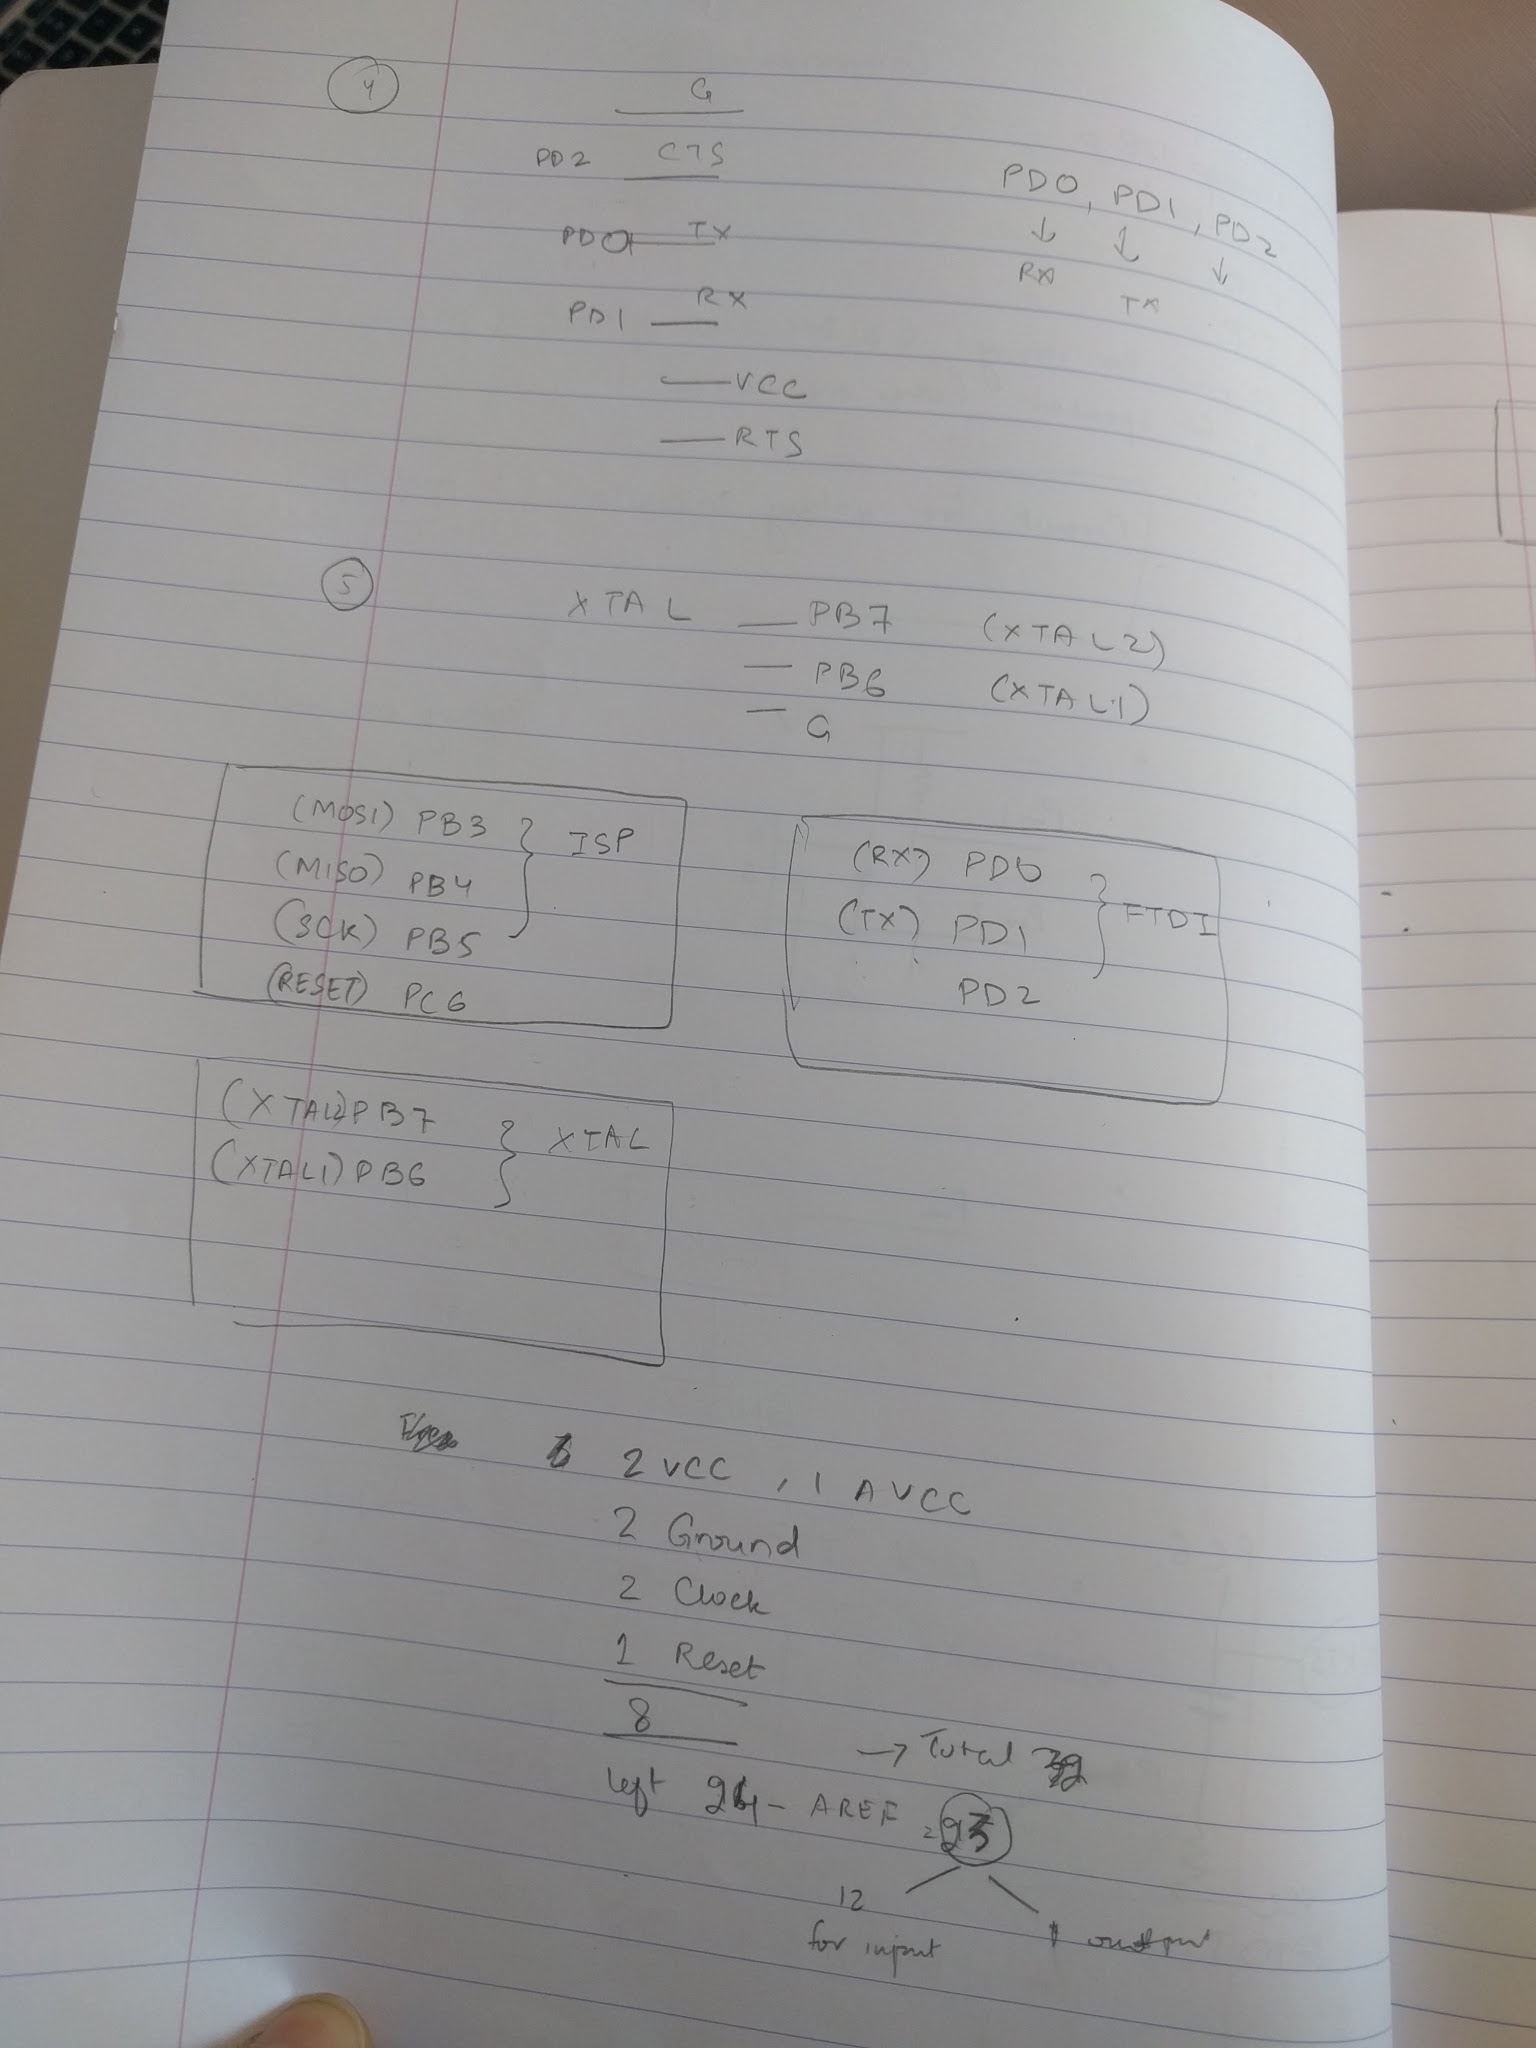
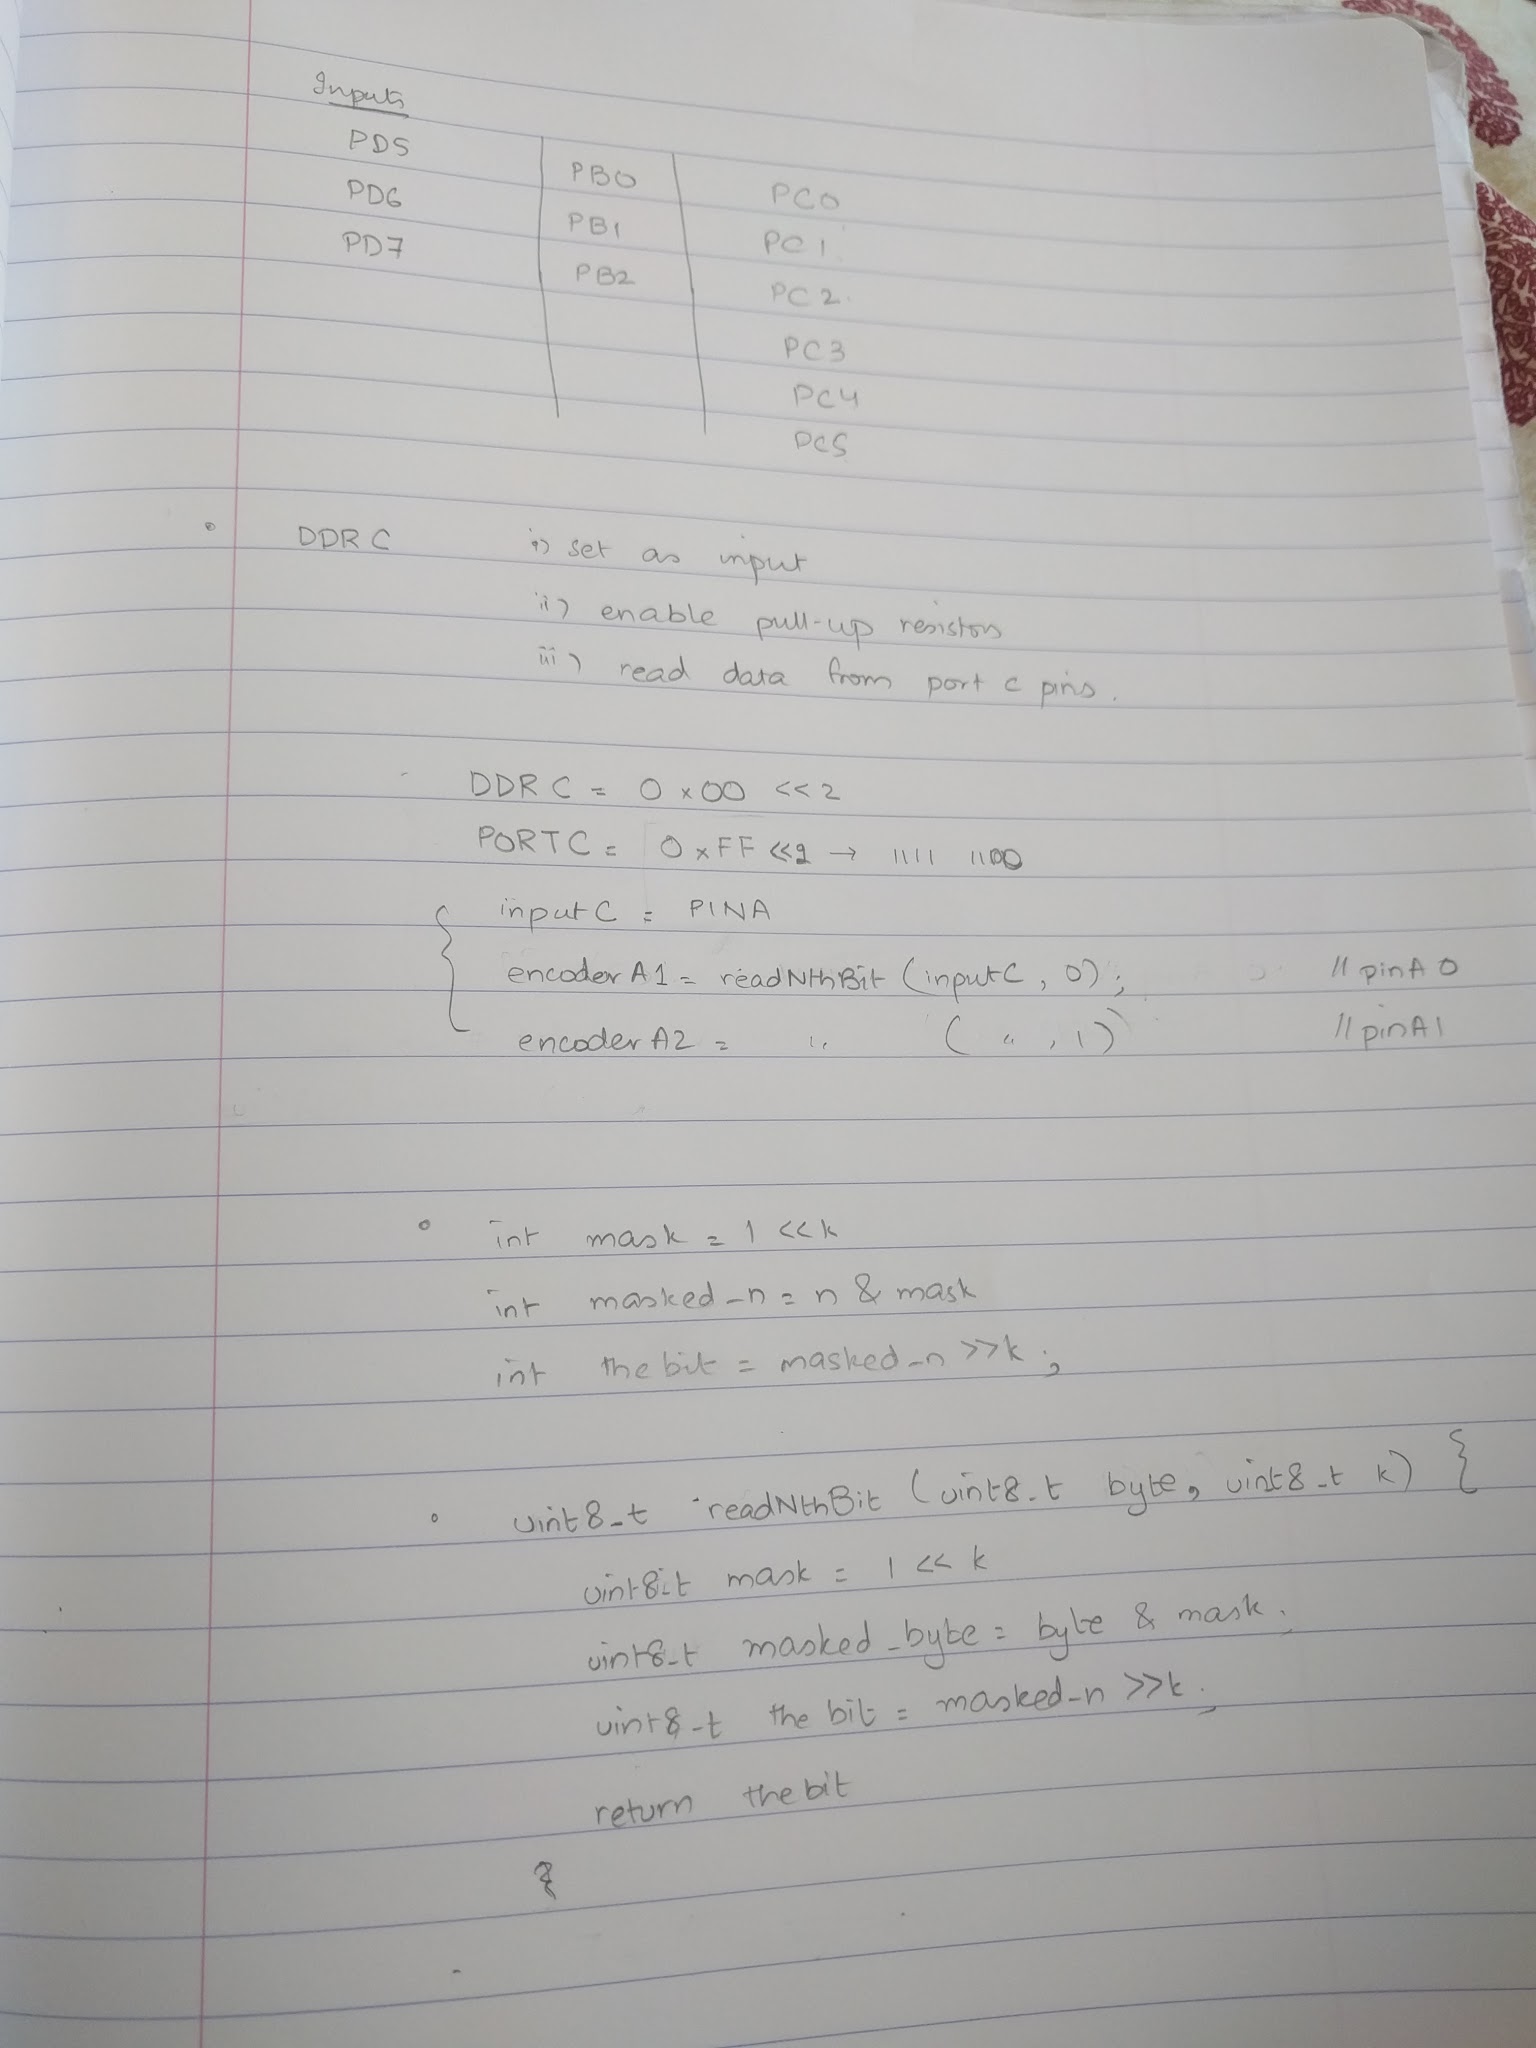
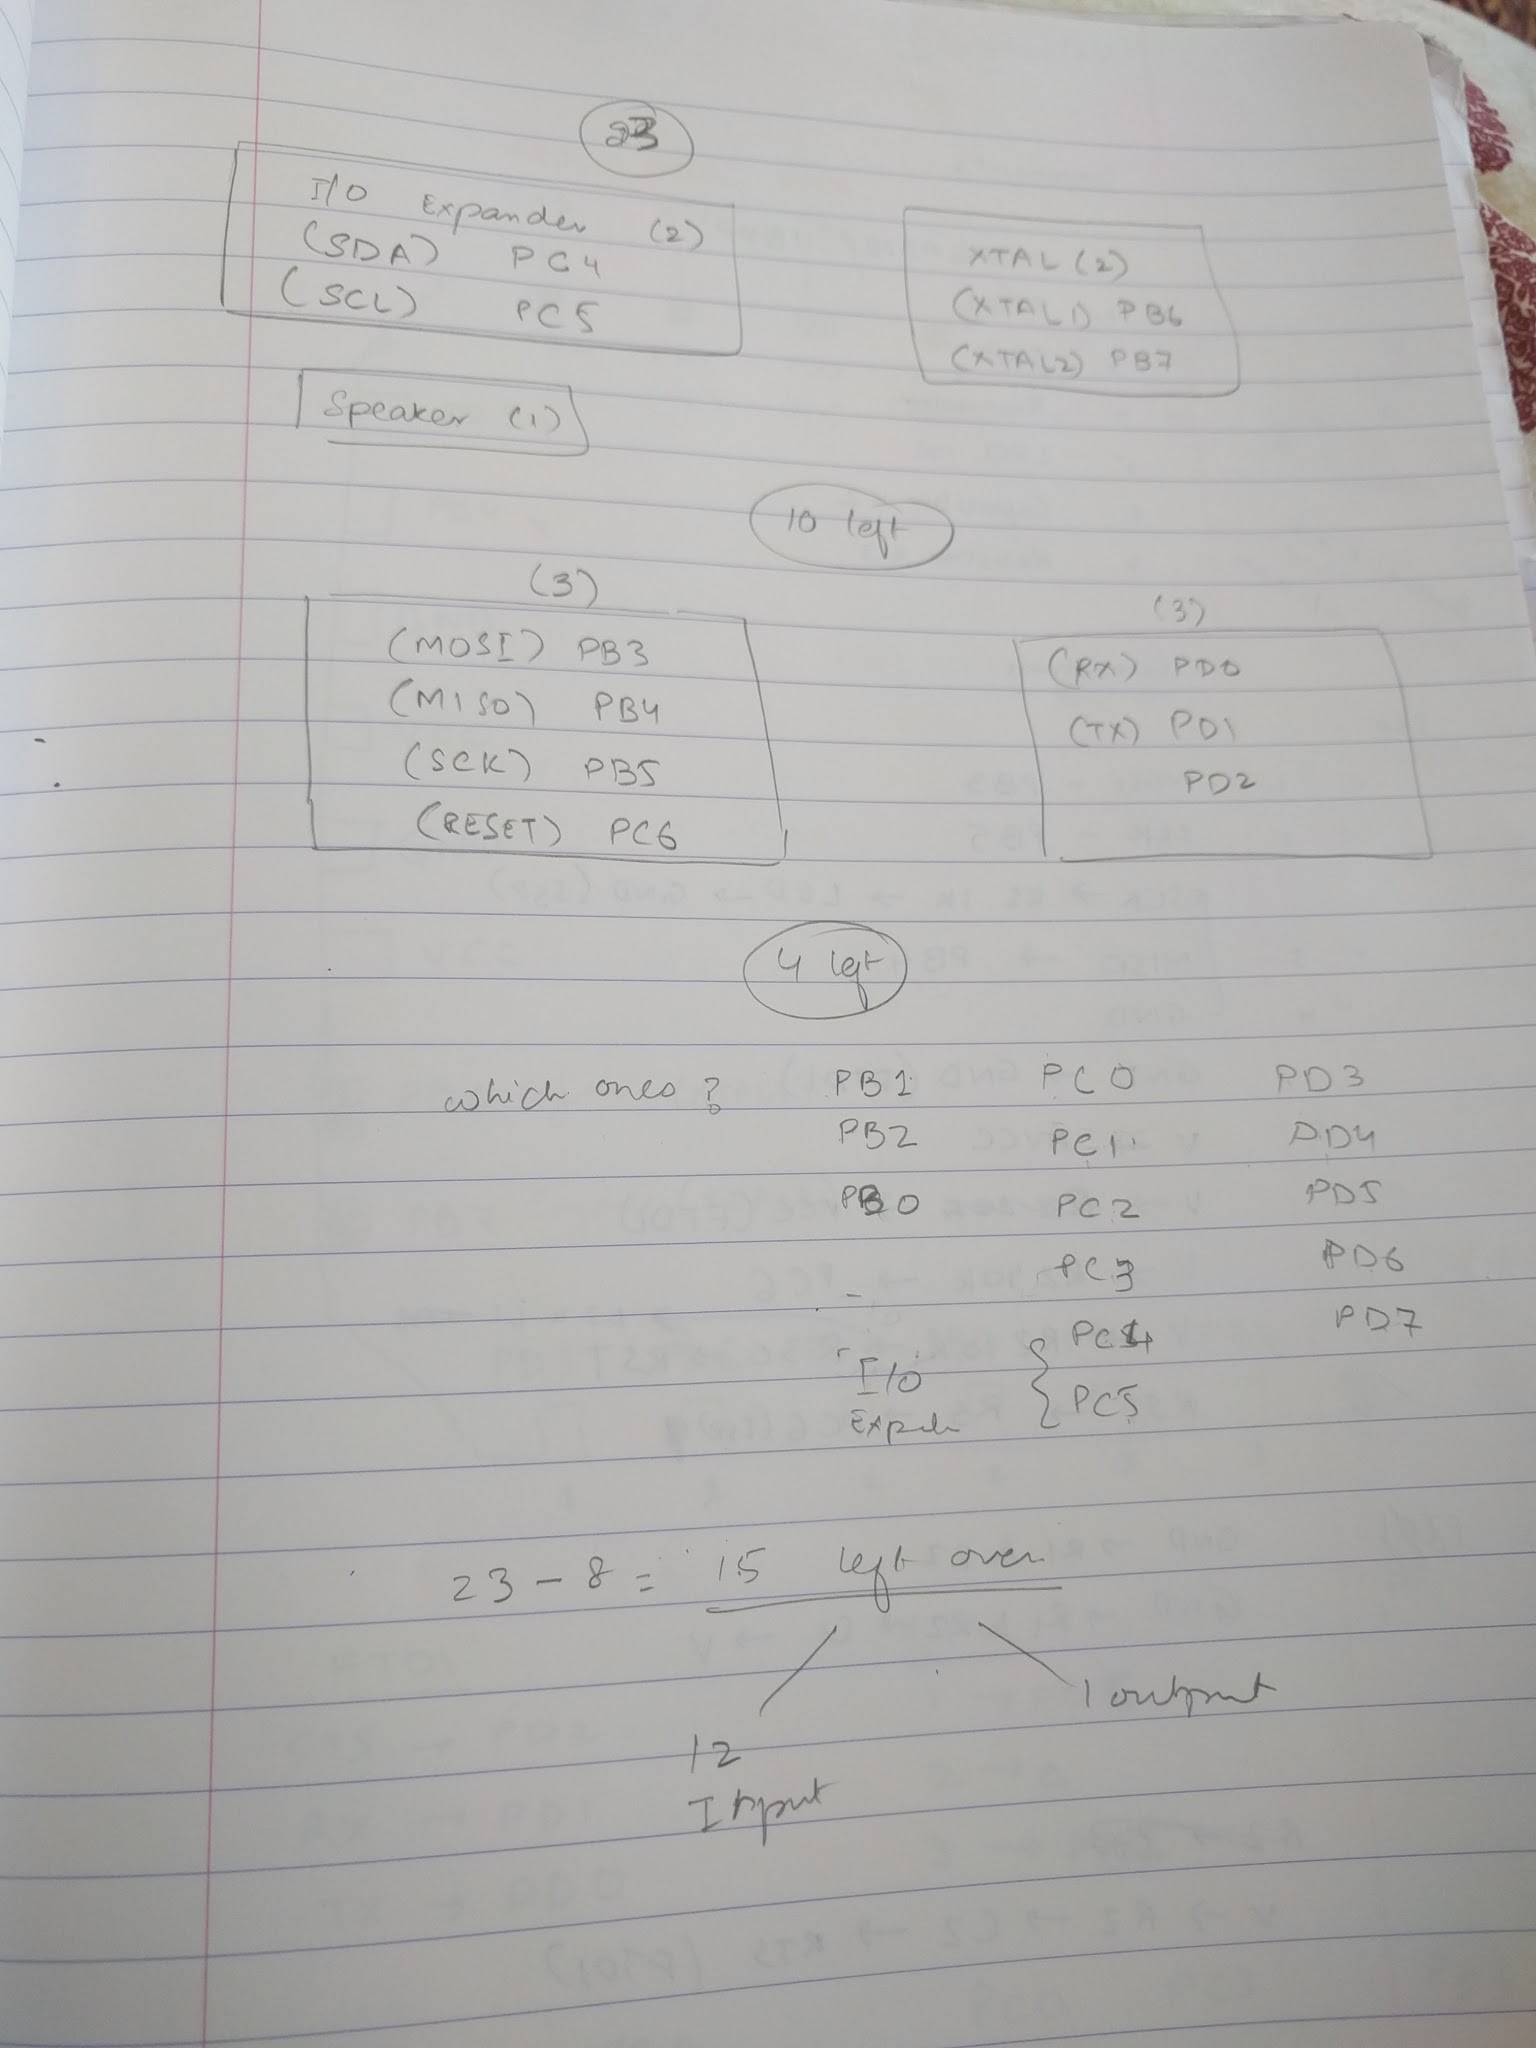
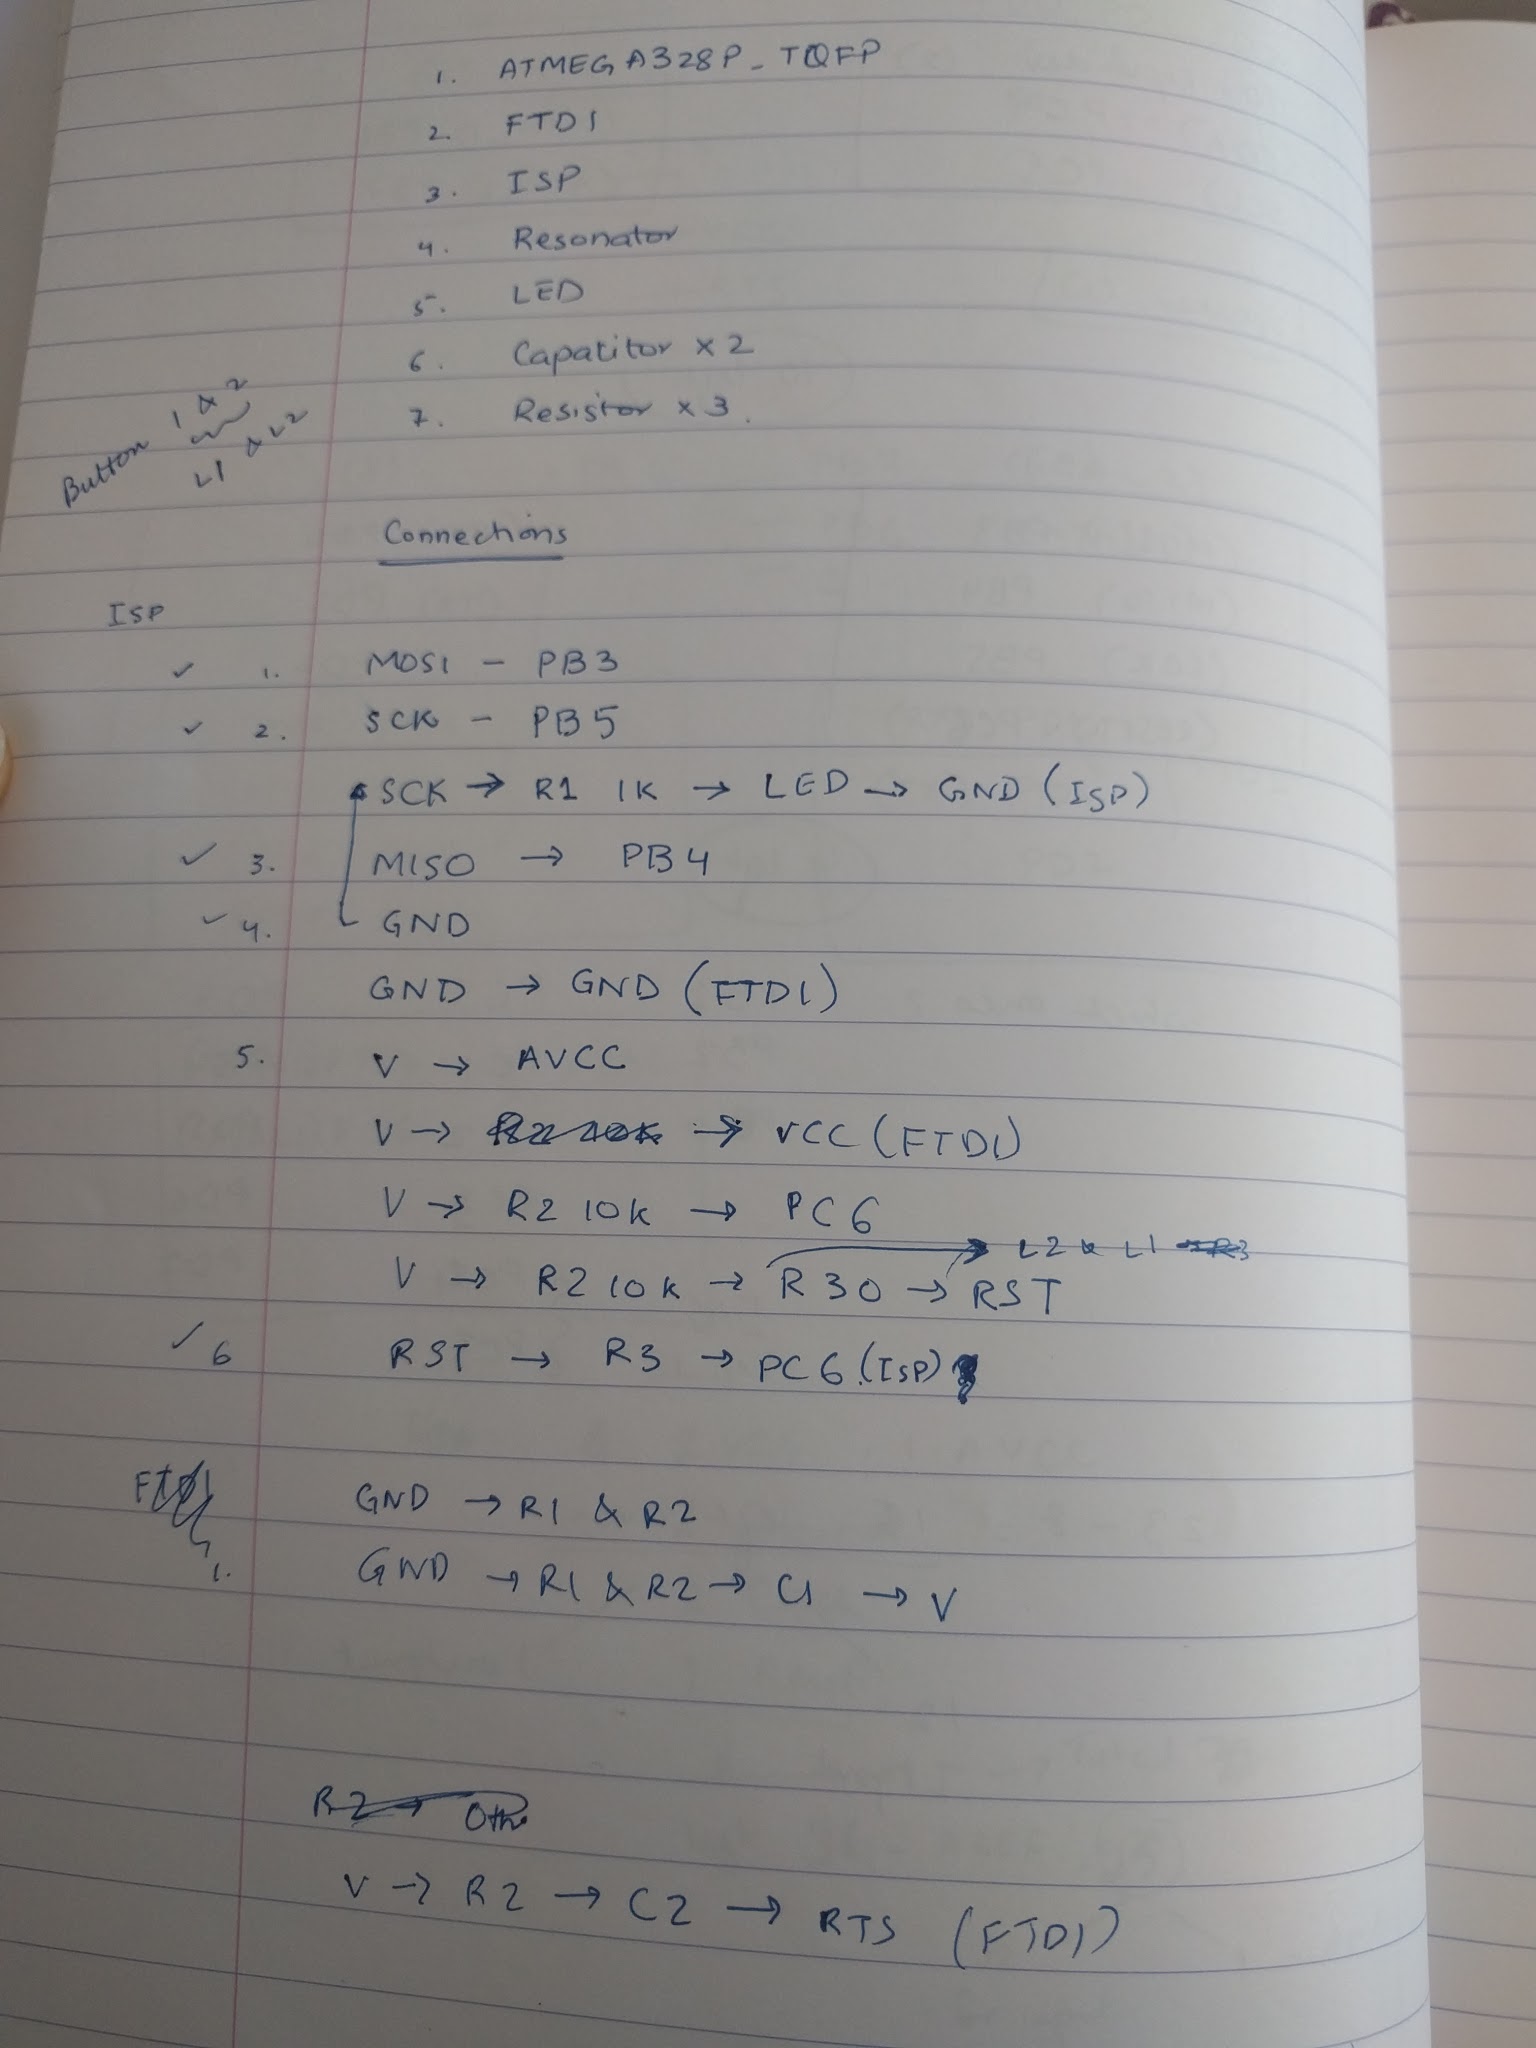
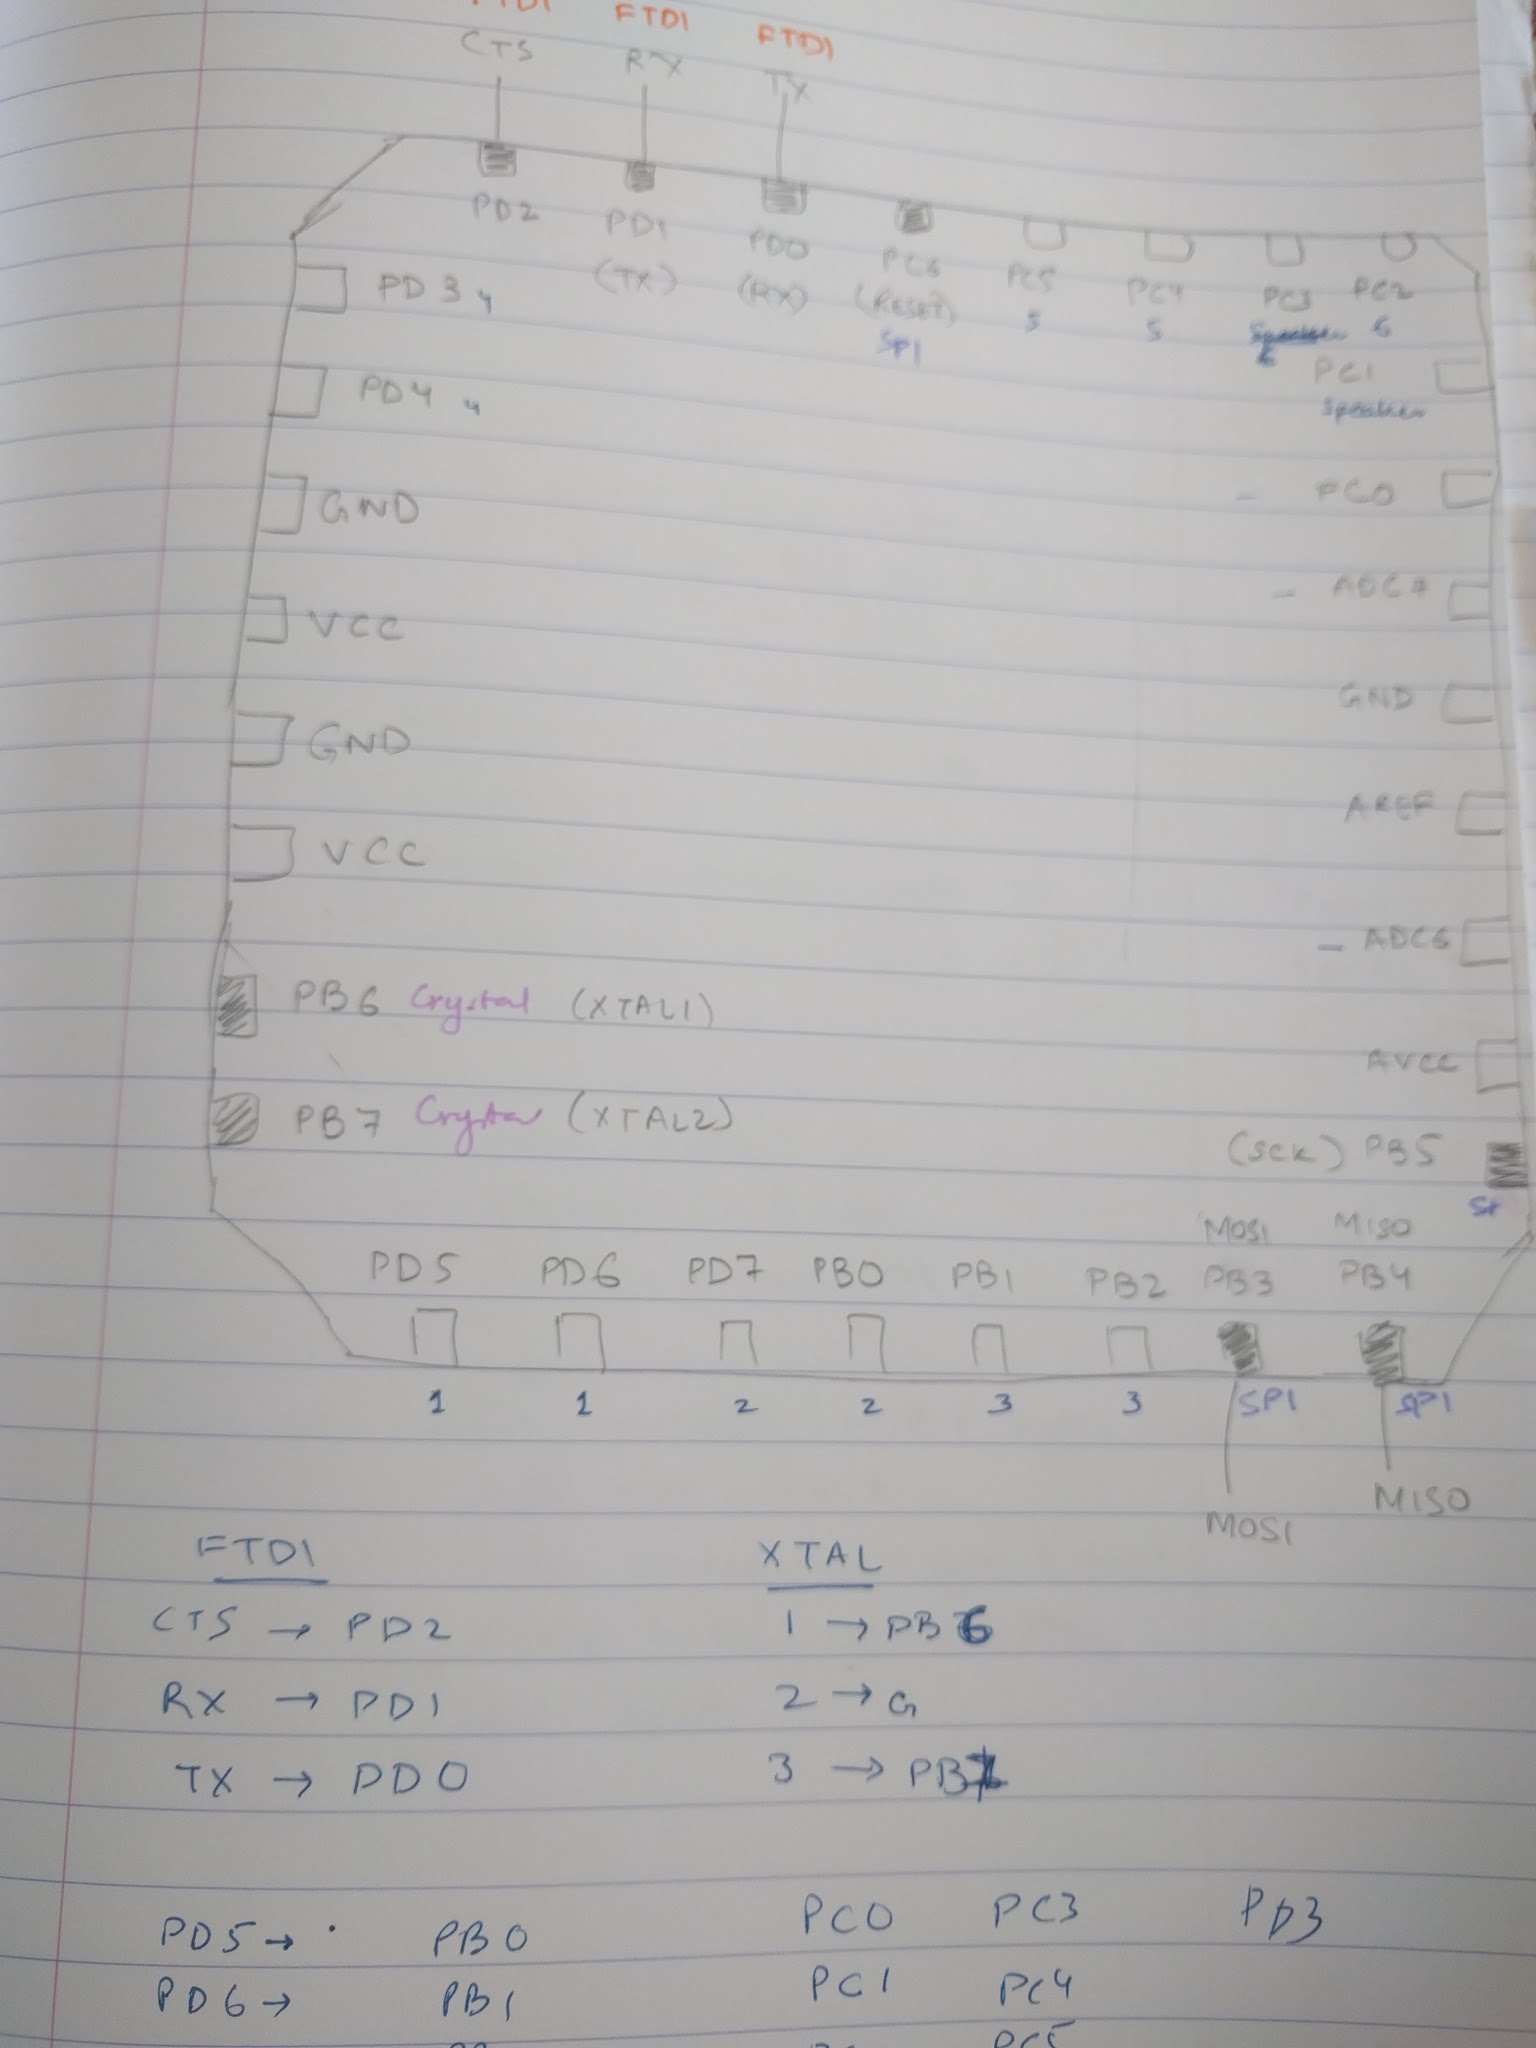
- What's the minimum sized cube that can fit all the necessarily components inside? You can see in my detailed notes on my project updates page that I went back and forth between fitting different components inside the Rubik's cube. It was a long process and I describe it in much more detail there

What questions were answered?
There were lots of questions that were answered - questions that I had not even anticipated.
- Electronics: I tested if the Rubik's cube turns were detected and the music was played
- 3D printing: I tested if the parts fit together, i.e. if you lift the cube, the parts don't fall off. Also, the partscould be moved so you could rotate the sides of the cube
How was it evaluated
- Using just a plain list
- Using the web interface that place music when you type each turn (using just music for memory)
- Uing the physical Rubik's cube that plays music (so music + muscle memory to memorize the turns)
What are the implications
The motivation is to use group theory to map rubik’s cube movements to changes in musical notes so that the harmonies change based on user’s action on the cube and the user can “play by the ear”.
Here's a video of the concept:
But in the short term, I'll use it for my music and memory experiments. I'll give users a set of Rubik's cubes moves to memorize in 3 different ways and evaluate if music and muscle memorize can help people better memorize/recall things: