7: Molding and Casting
design a 3d mold around the stock
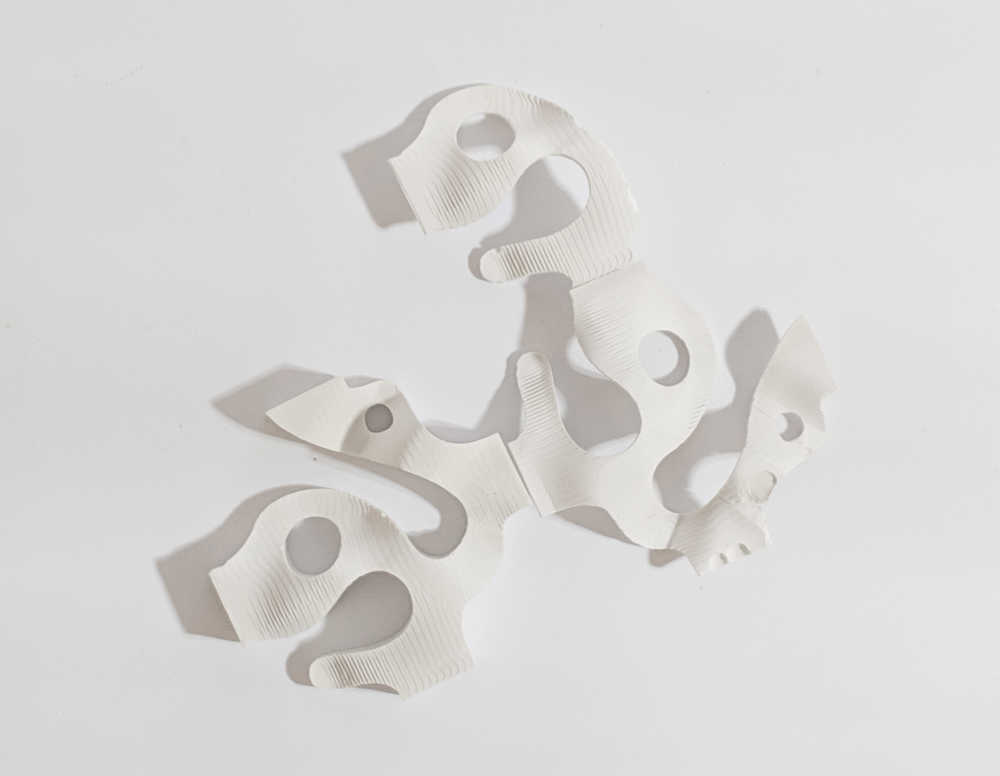
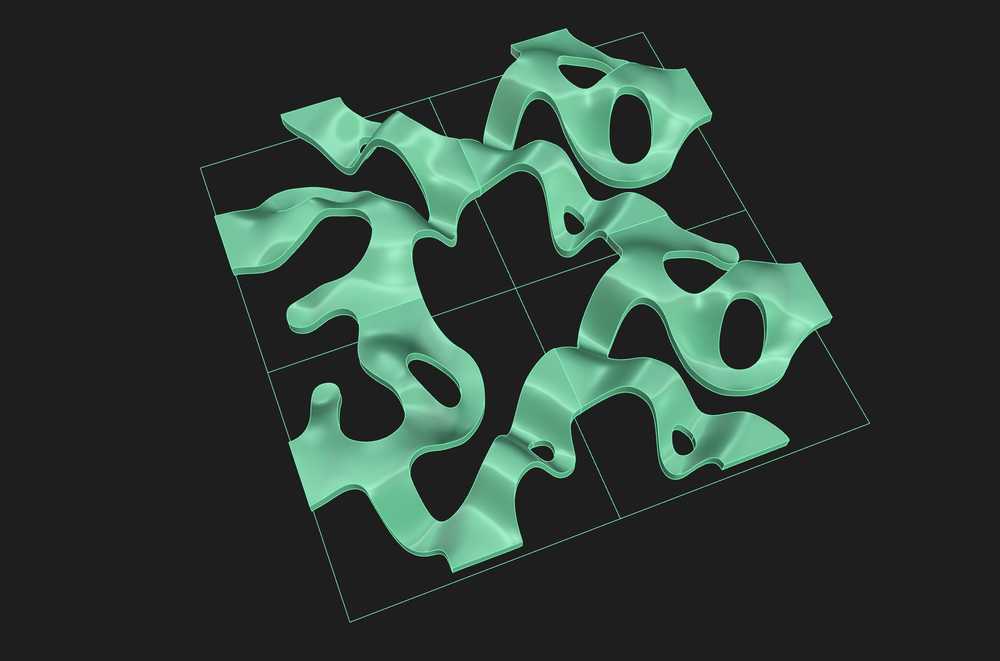
This week I was excited to try out silicone casting with the machinable wax - it was quite a challange to wrap my head around how to design a negative for the negative. My initial idea came from a modular pattern that could be oriented in different ways and create different combined patterns; I was fascinated by a RISD student project on the modular pattern.

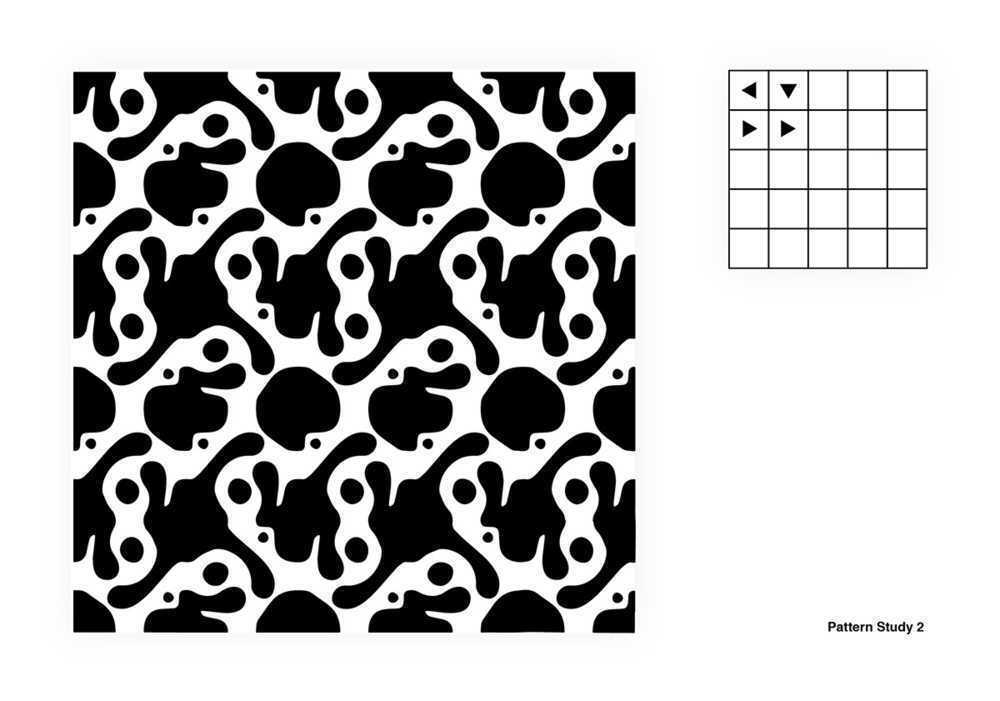
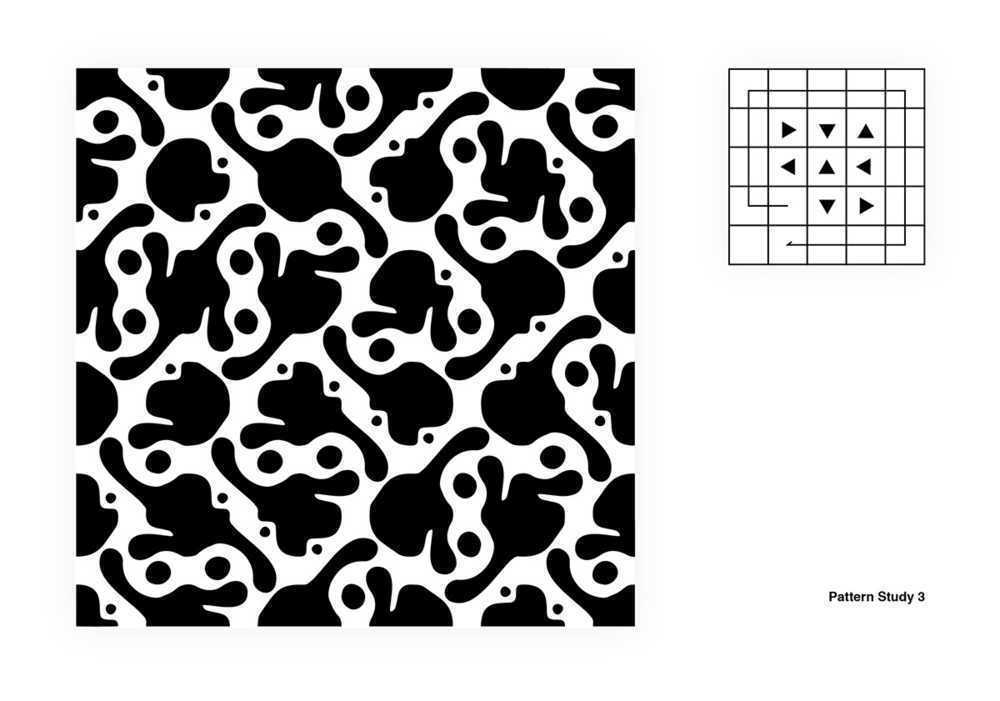
I wanted to test this pattern out as a three dimensional object by undulating the height of the white fill. One of the ways in which this could be done is called heightfield- where the brightness values are used to determine height of an object. This technique is used to record landscape elevation data (DEM)
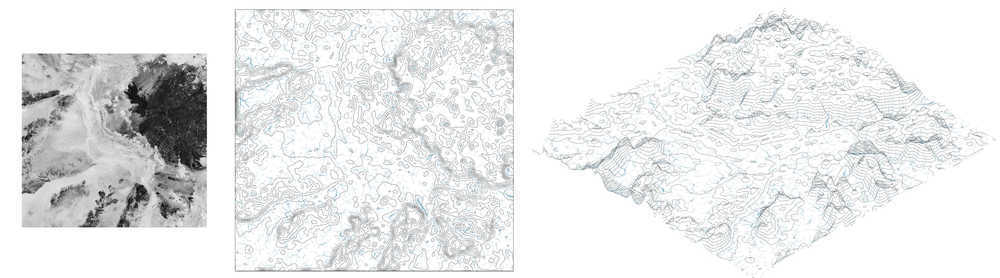
I first traced the original pattern and modifieid the thickness a little bit so that the object wouldn't break so easily - at least 1/8" thick. Then I brought it to photoshop and 'painted' the height by making it either white or dark grey - and using Gaussian Blur to smooth the transition. The idea is that the lighter areas in the image will be higher than the darker areas in the image when I bring it to Rhino.

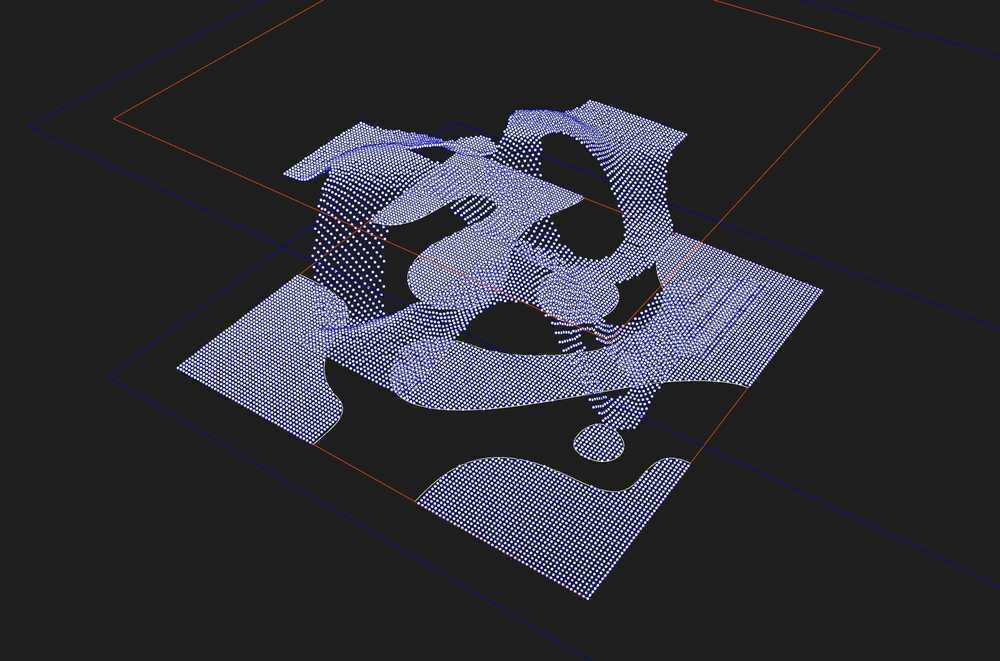
I brought it into Rhino by using the command called 'heightfield' - it gives me options on whether to create it as a mesh or a NURBS surface with the number of sample points to determine the height of each part of the surface. Here is a photo of the 750 x 750 grid mesh. The problem with mesh with lots of subdivisions is that MASTERCAM has a hard time dealing with the surface, and it's also hard to clean up in Rhino (I only wanted the undulating surface.)
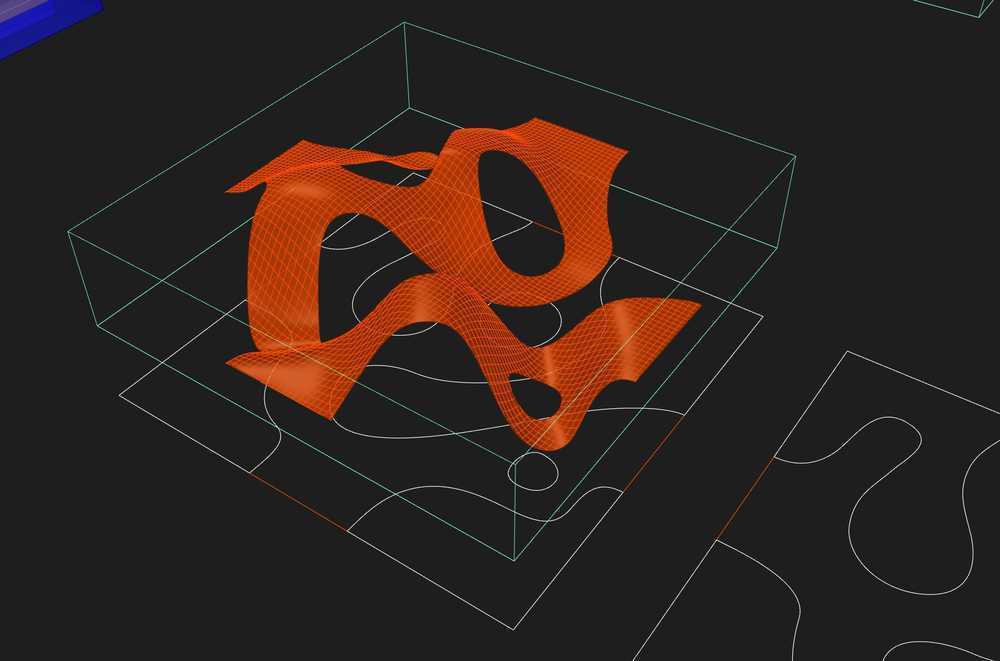
The second option I tried was using grasshopper and bringing in points rather than a mesh. This allows for a better control of the surface so I ended up using this method.
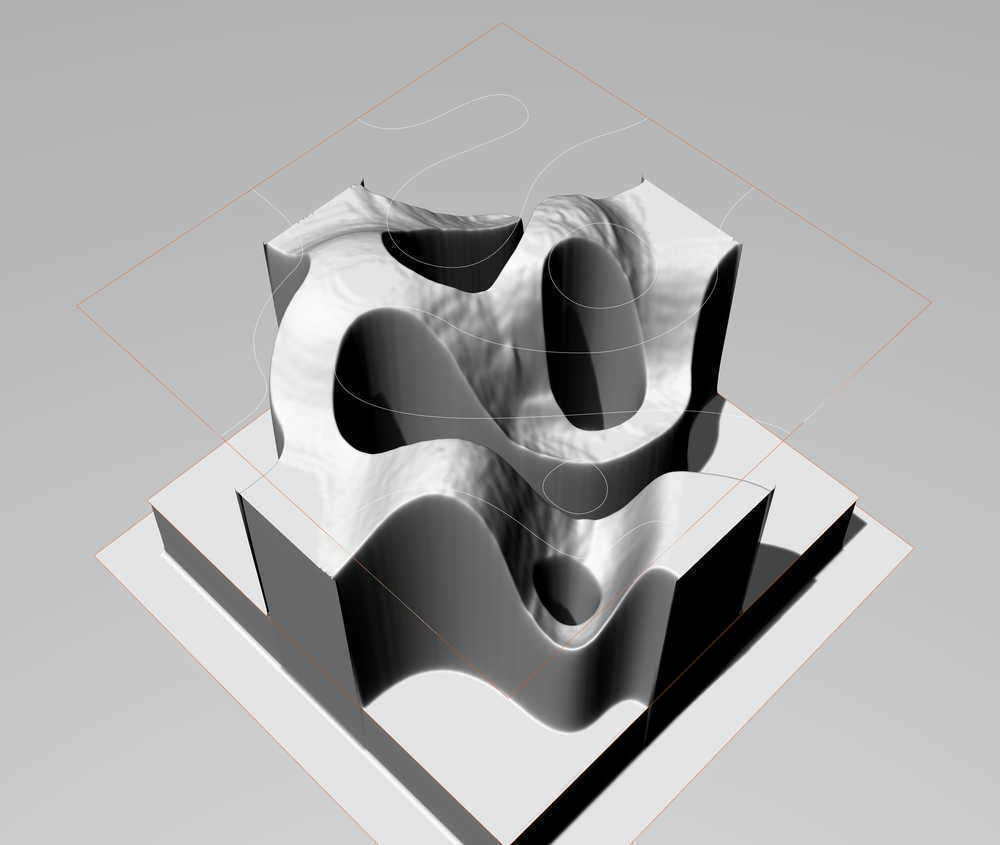
This is the surface created and trimmed from the points that I brought in through grasshopper using 'patch' command.
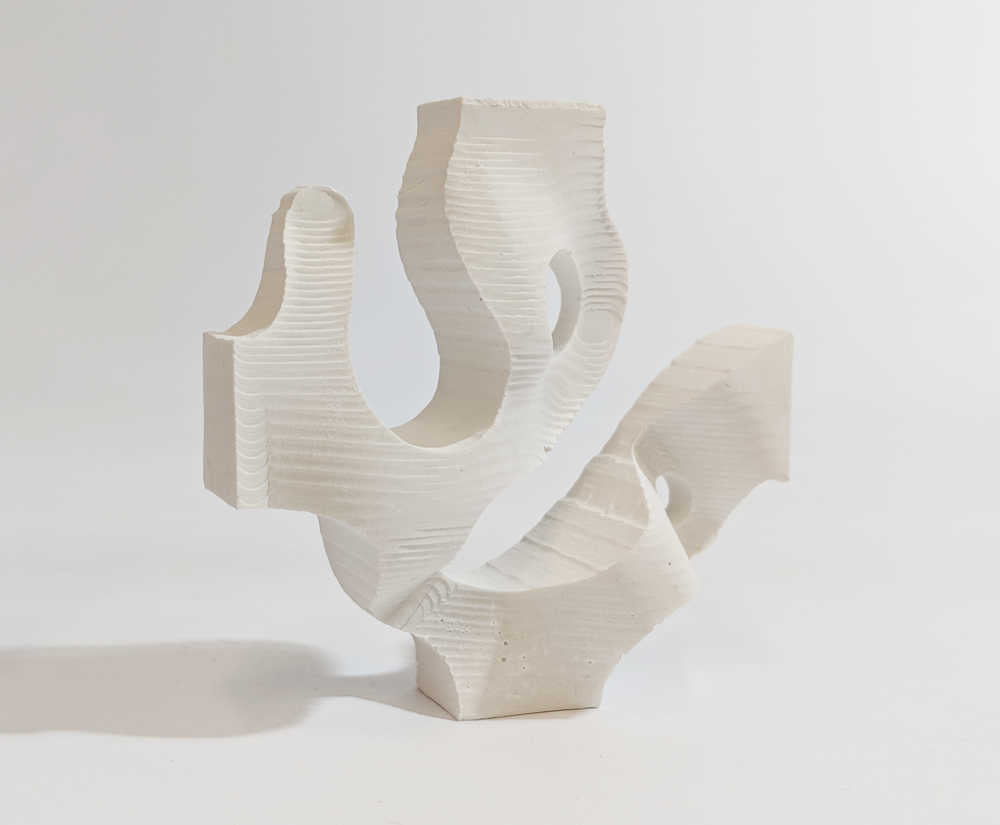
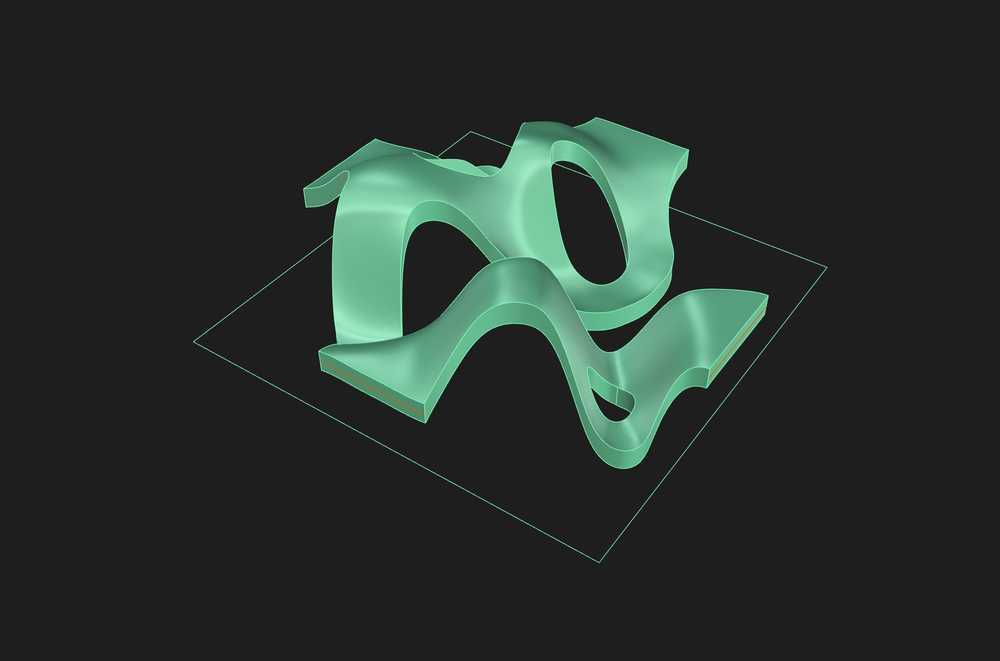
Ideally, this is the outcome I want - an 1/8" thick surface that undulates and is repeatable like a pattern. There are couple of things that I need to control in order to achieve this: This 3d piece should be able to touch the ground at enough number of points that it does not tilt; the locations where they connect should be relatively flat so it appears continuous across different tiles.
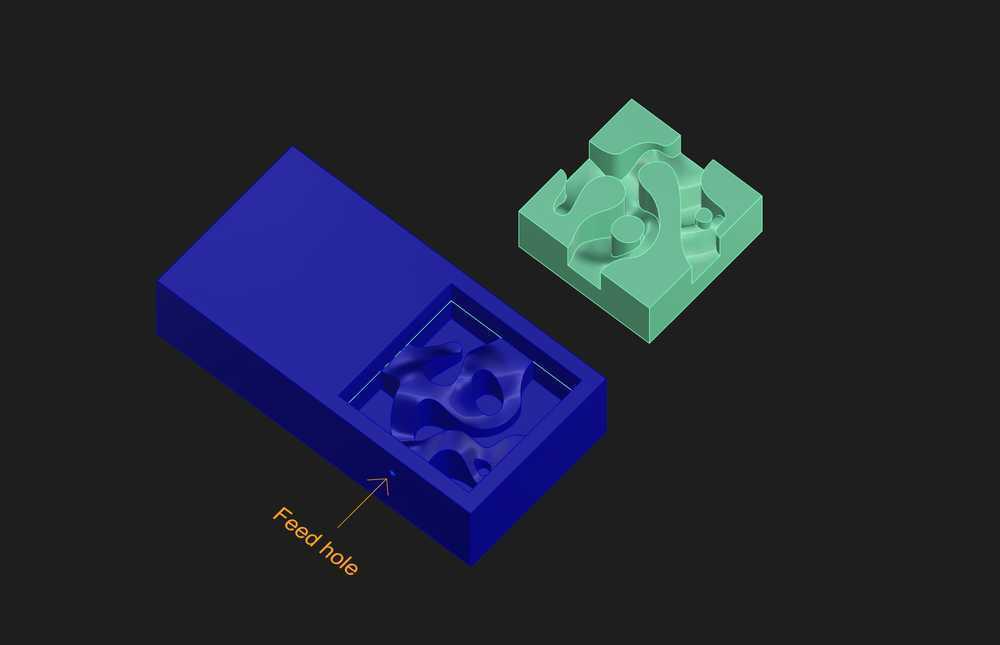
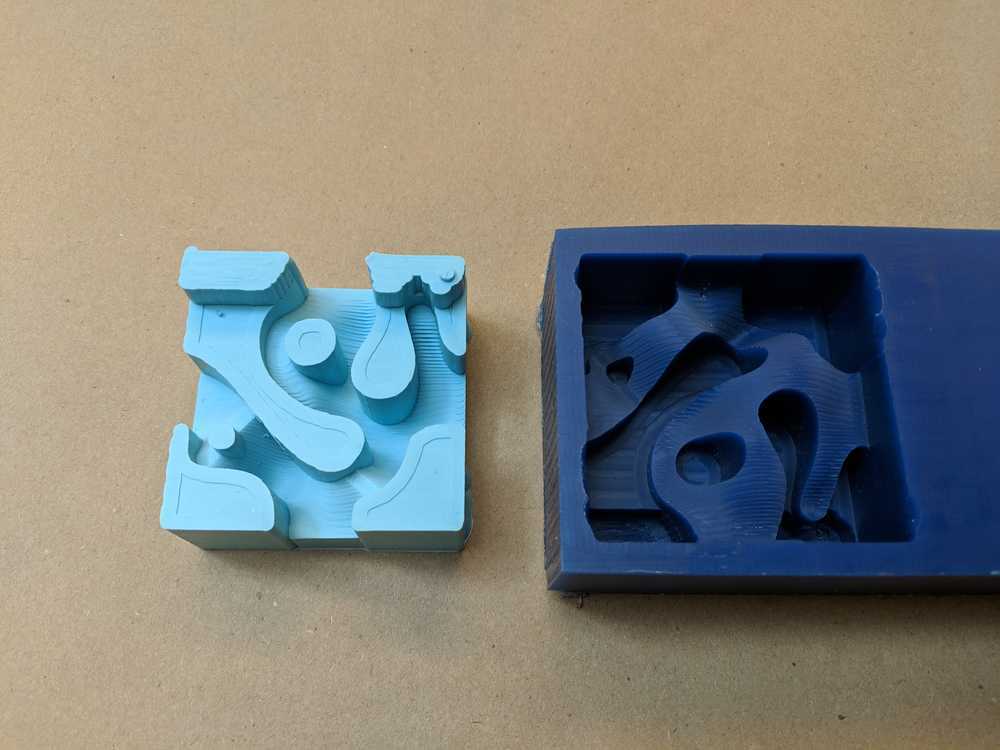
This is the mold setup. My strategy of getting this 1/8" thick surface was to get a silicone mold of the negative (light blue,) and then have it 1/8" offset from the original position so that the gap between the wax and the silicone becomes the mold for the wetstone.
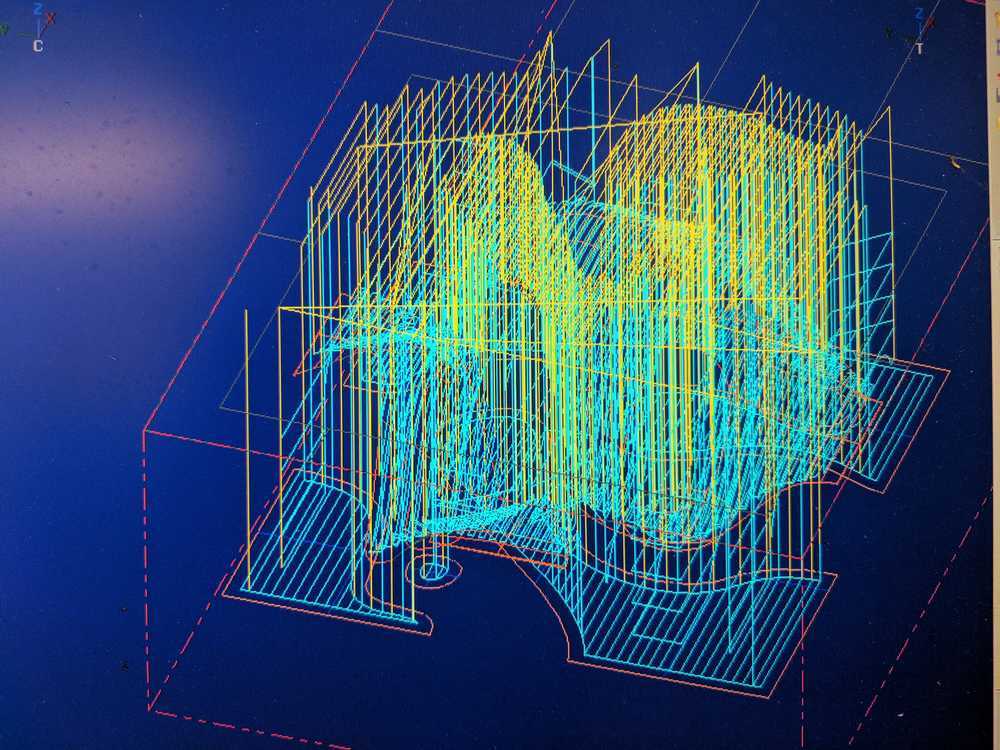
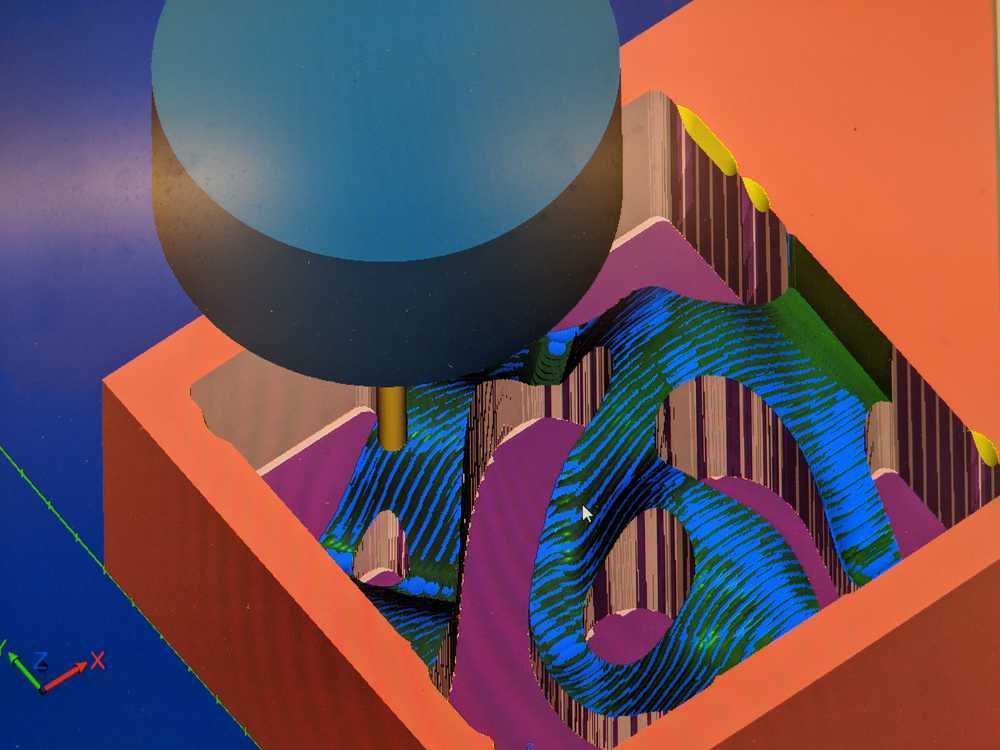
Setting up the Mastercam for Intellitek. This required some planning to get the edges sharp - I used 1/4" ball nose to rough out the surfaces and then used the 1/8" flat endmill to finish off surfaces and get contour lines.
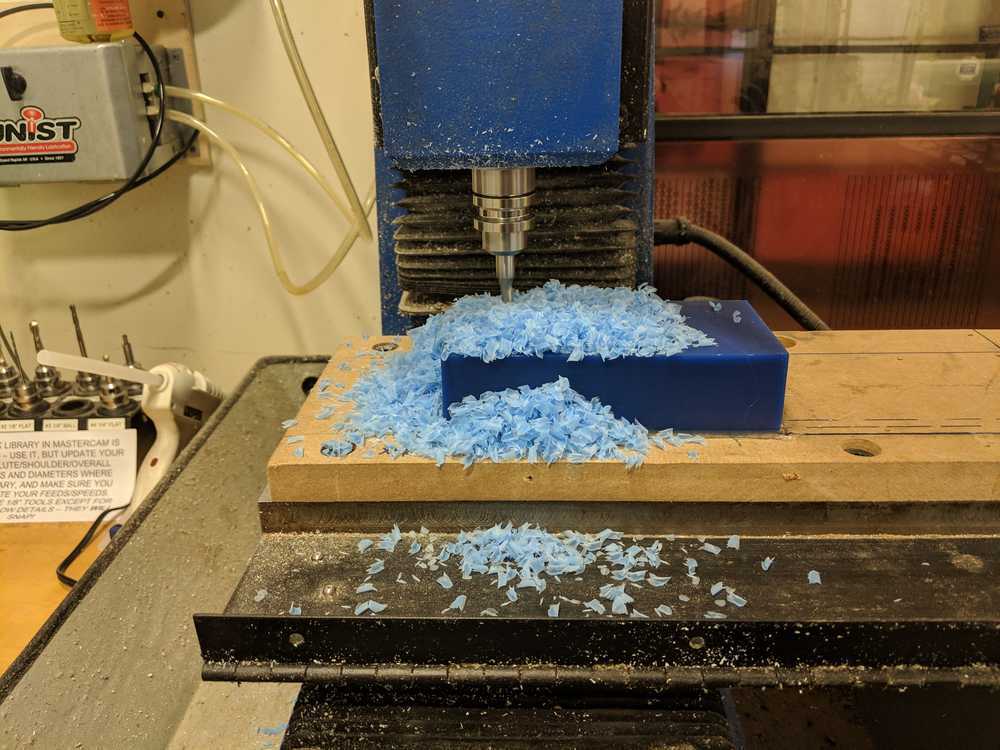
Milling it on the intellitek. It took around an hour.
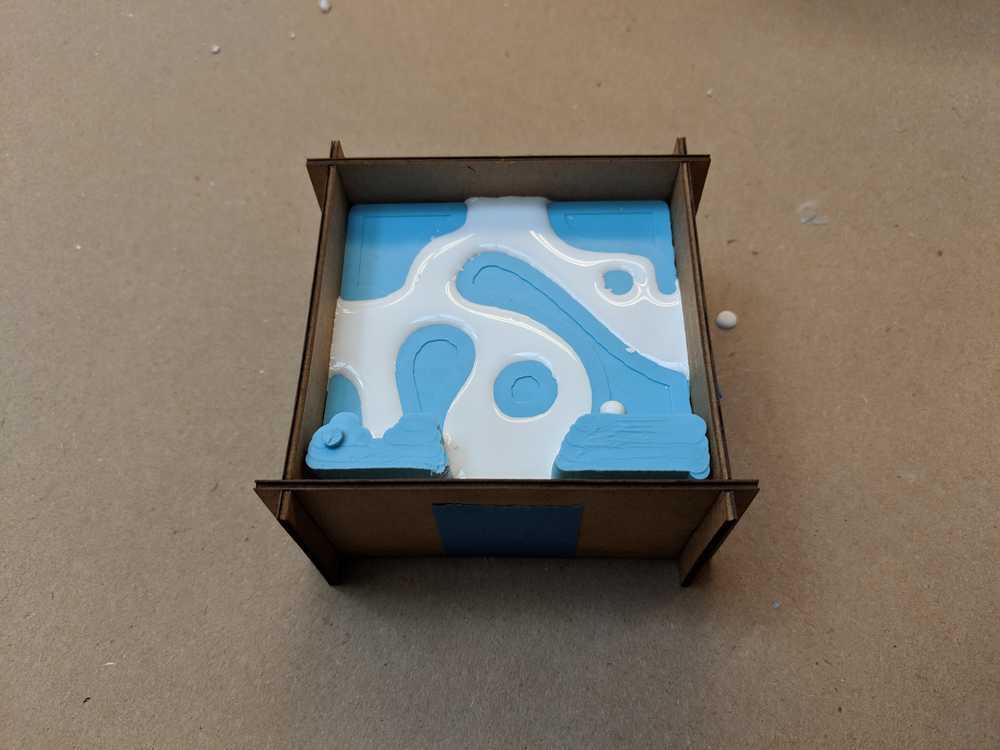
And the silicone negative came out decent, although I wish I could have cleaned up the perimeter so it would be easier to align.
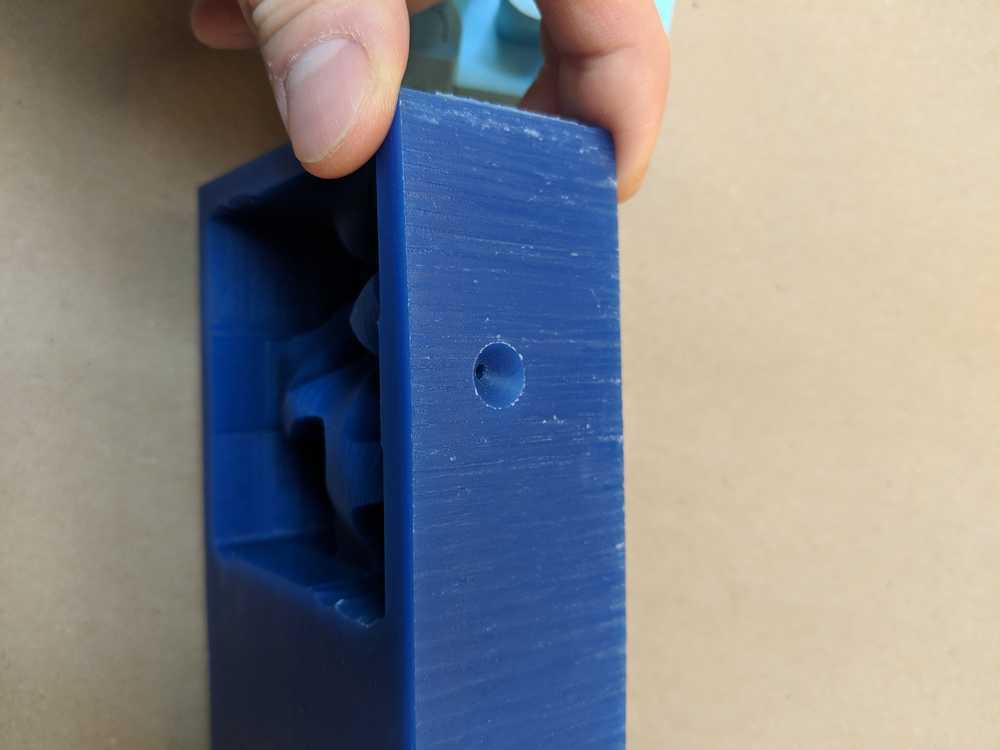
I drilled a feed hole on the wax surface aftewards to feed the wetstone through.
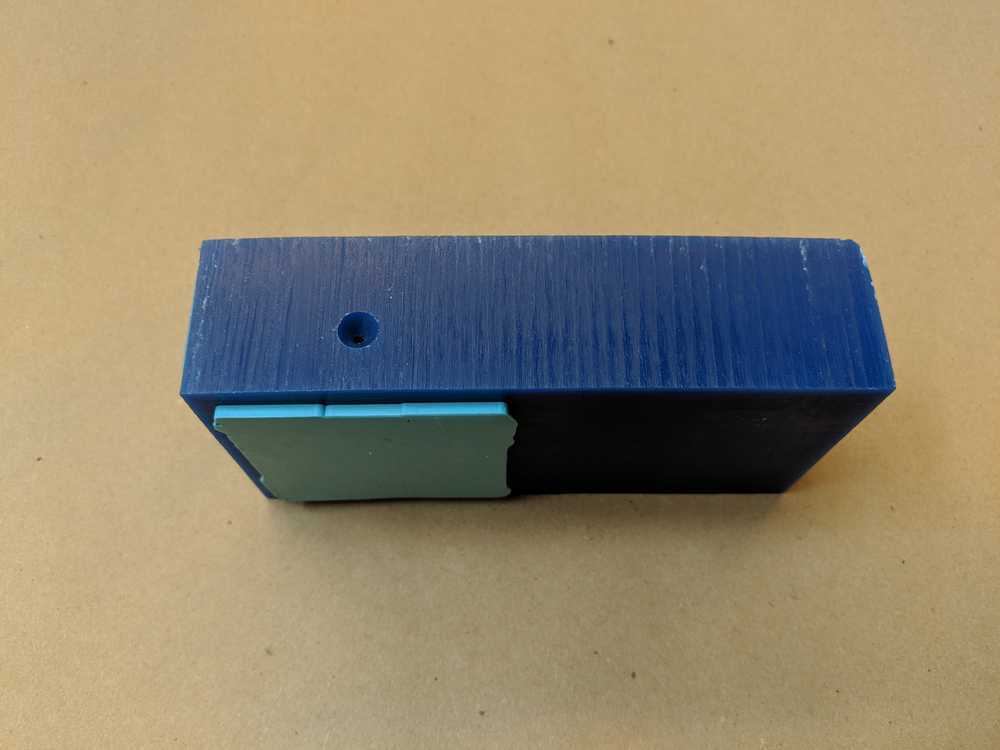
This is the mold setup. As you can see the silicone mold is about 1/8" offset from the wax mold, creating the gap through which the wetstone will be poured into.
Since it was such a thin surface to work with, I started out with a very thin mix - almost 1:1 ratio - so that I could have the mix get to all surfaces.
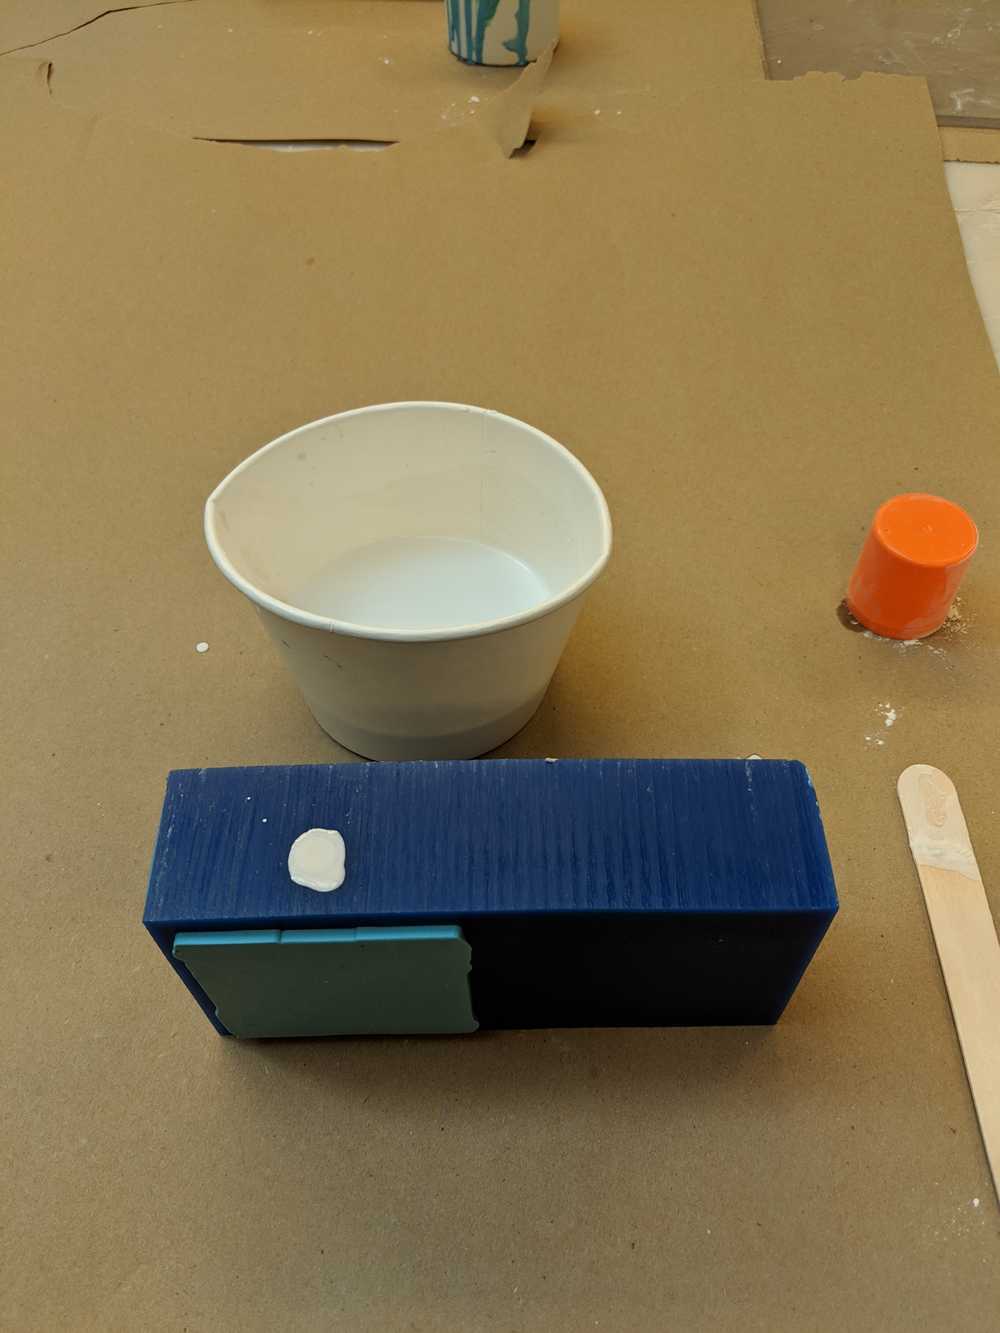
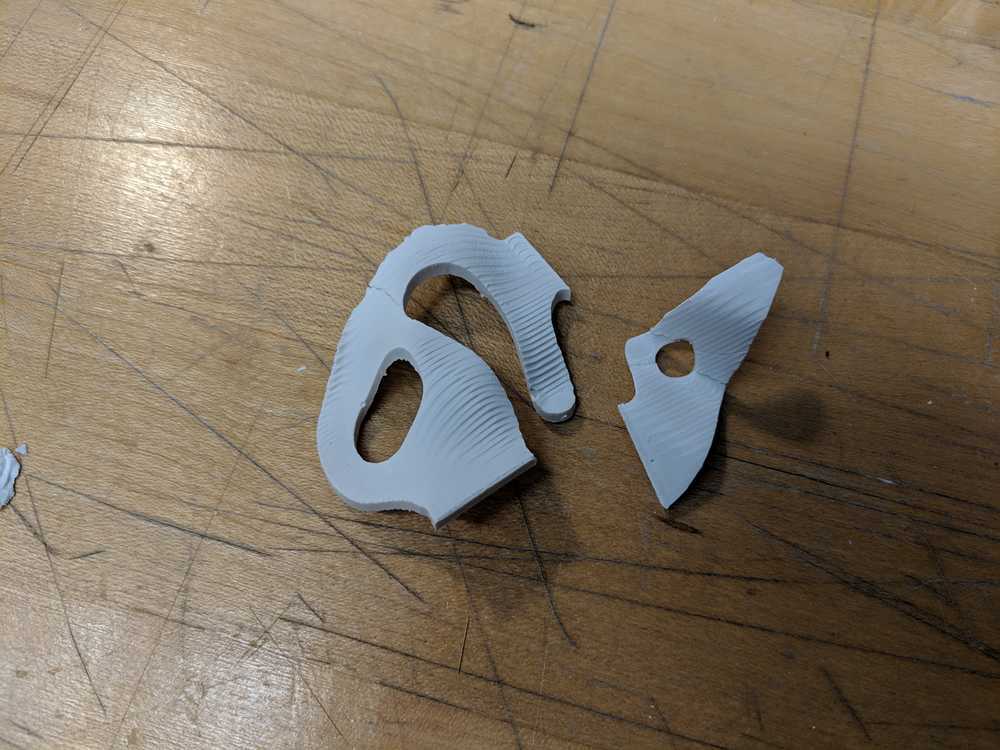
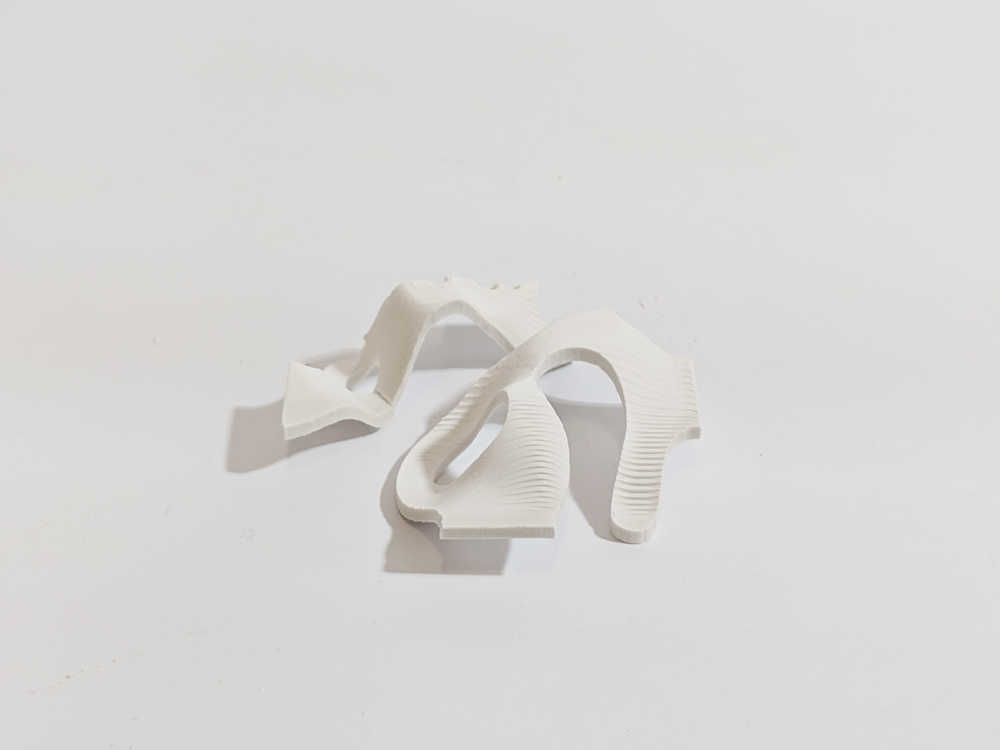
What I realized is that because the mix was so thin, the top 10-20% of the mix was basically just water with fine powders of the wetstone without cementing into hardened material. The bottom parts worked okay, but it was hard to take it off from the mold, and the surface broke into pieces as I took it off from the wax mold.
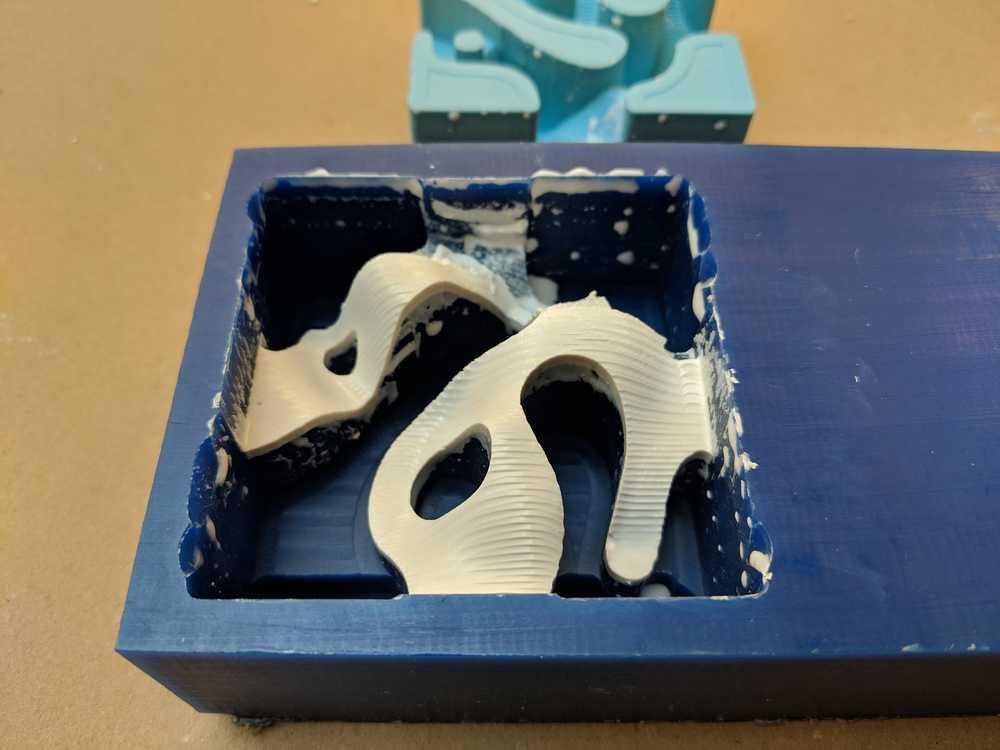
Alternatively, I am also just doing an easier version which the surface will become a solid volume that touches ground everywhere.
This is what I could salvage from the first set.