Week 2: electronics production
Skills used: PCB (printed cicuit board) milling and soldering
Part 1, PCB milling:
For this week's PCB milling assignment we used a Roland SRM-20 to make and in-circuit programmer that includes a microcontroller using a provided template.
Pictured below is the final milled and soldered PCB

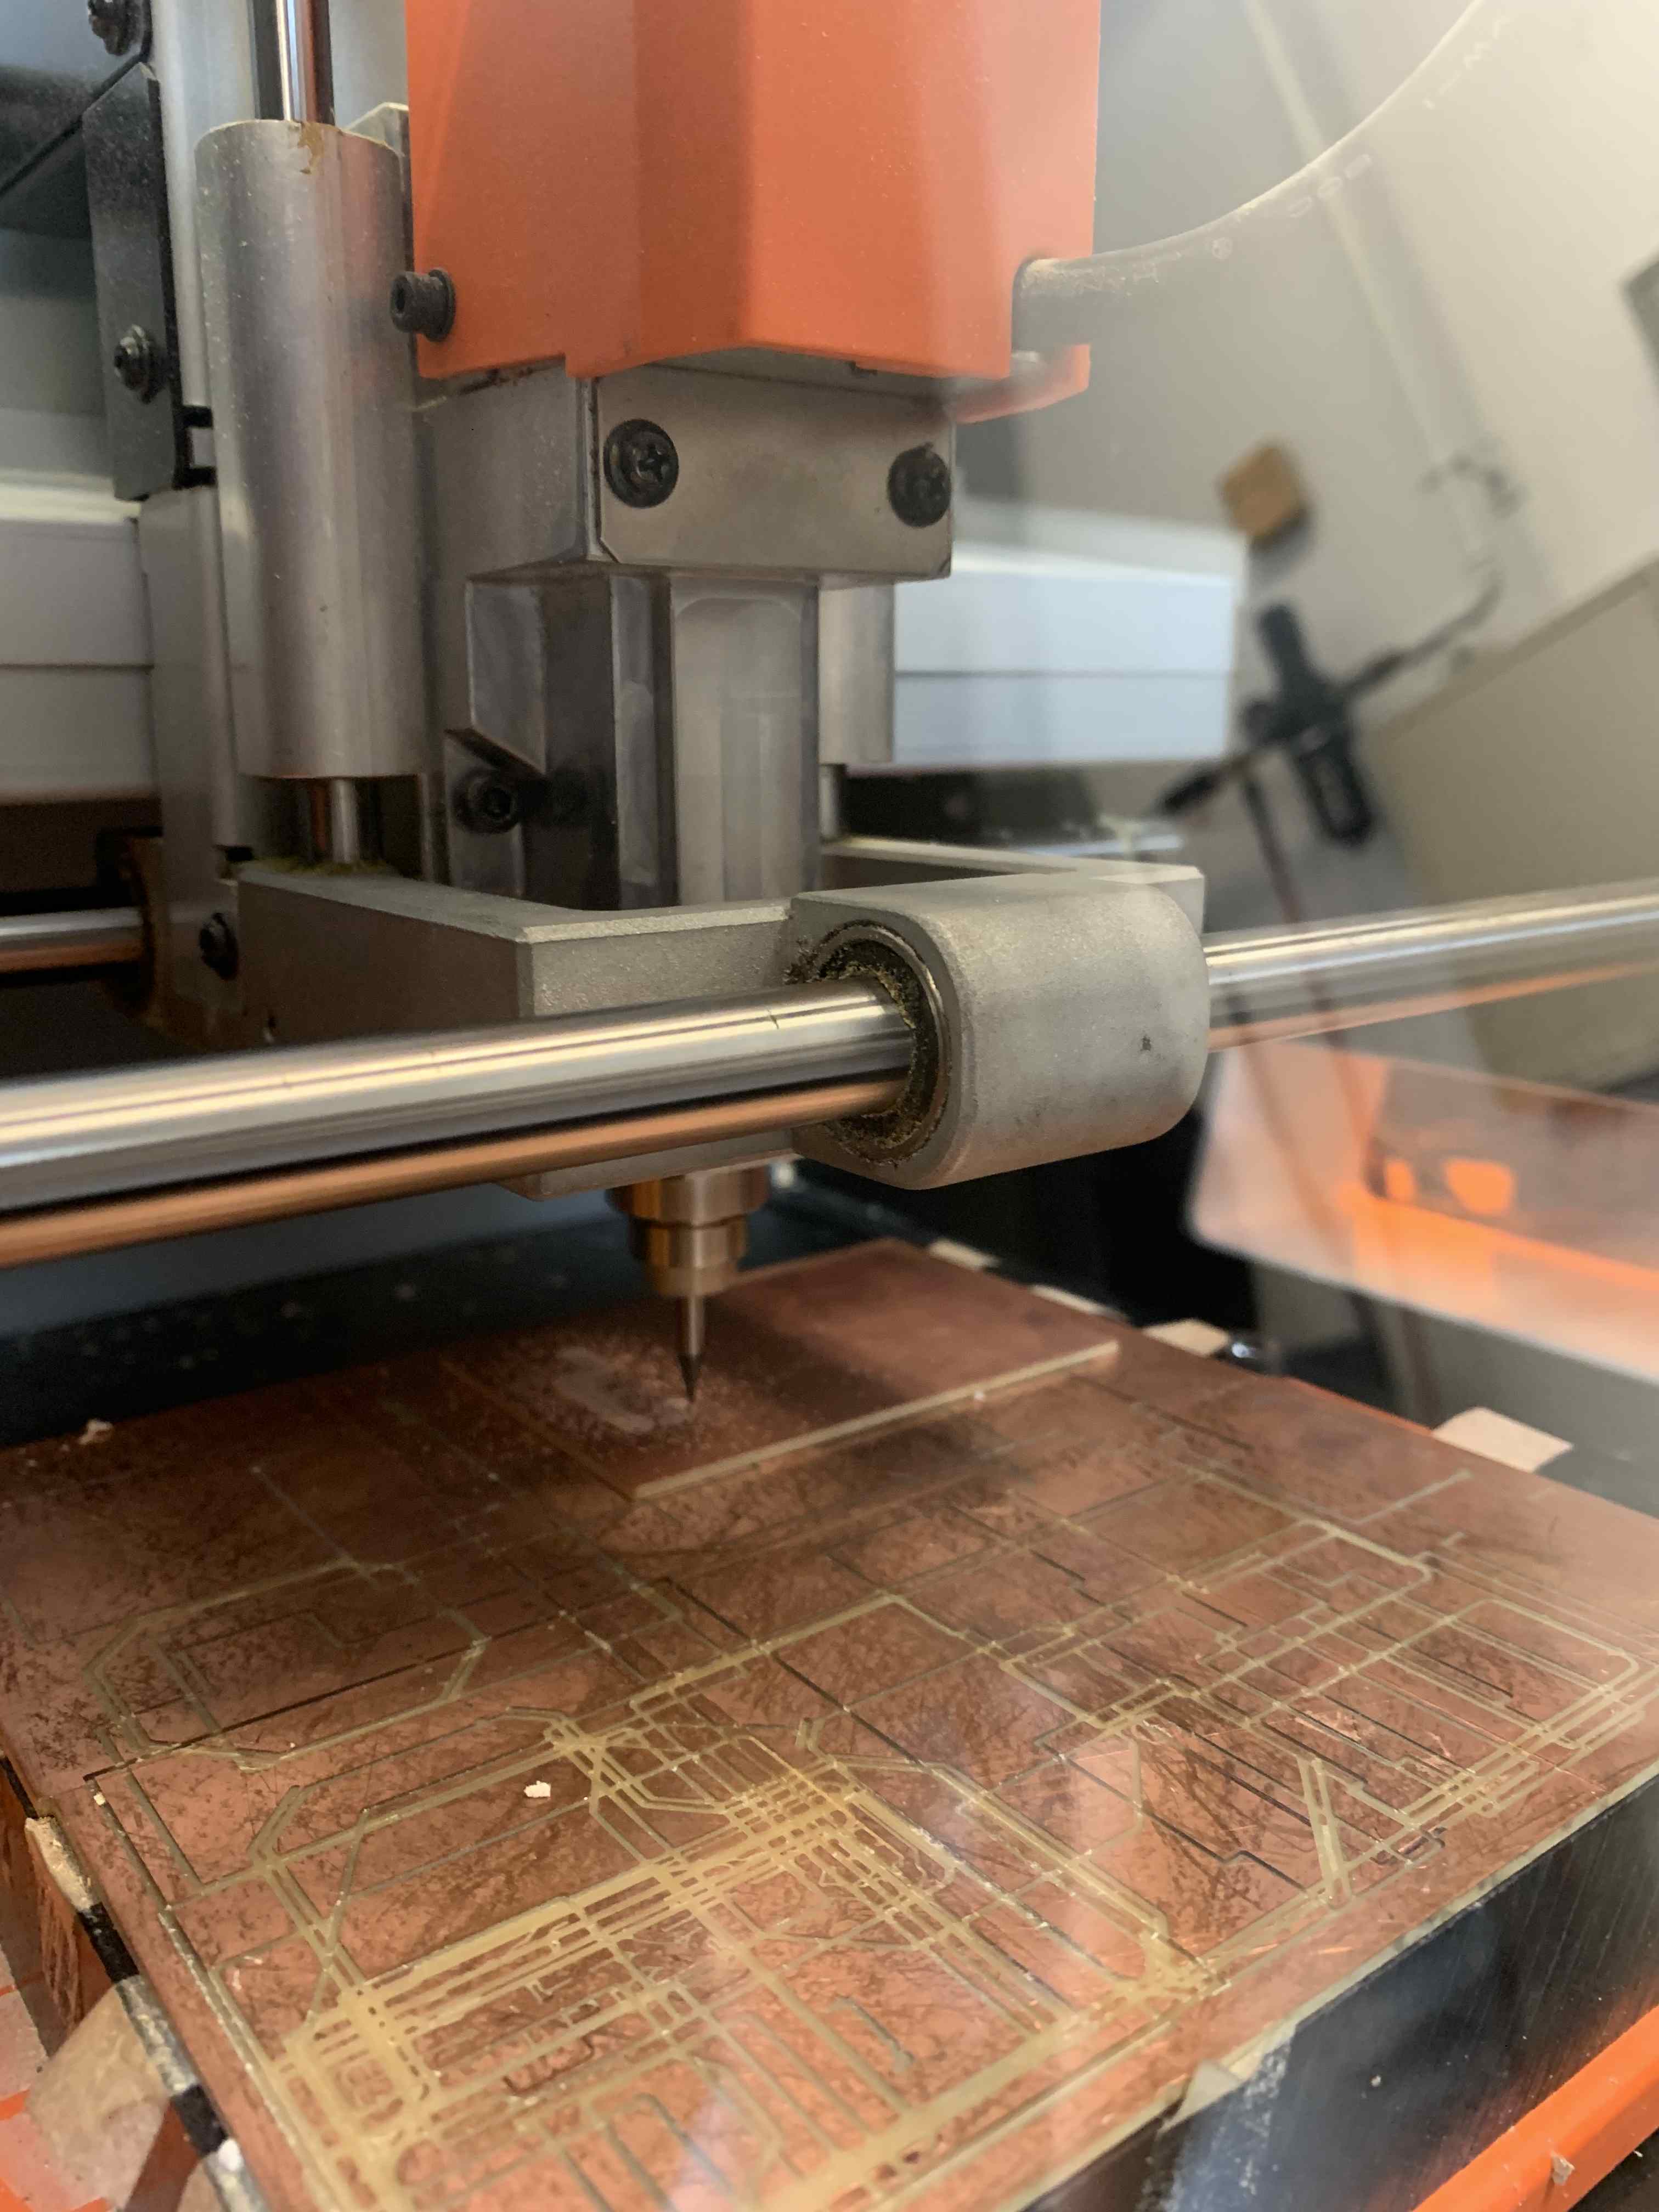
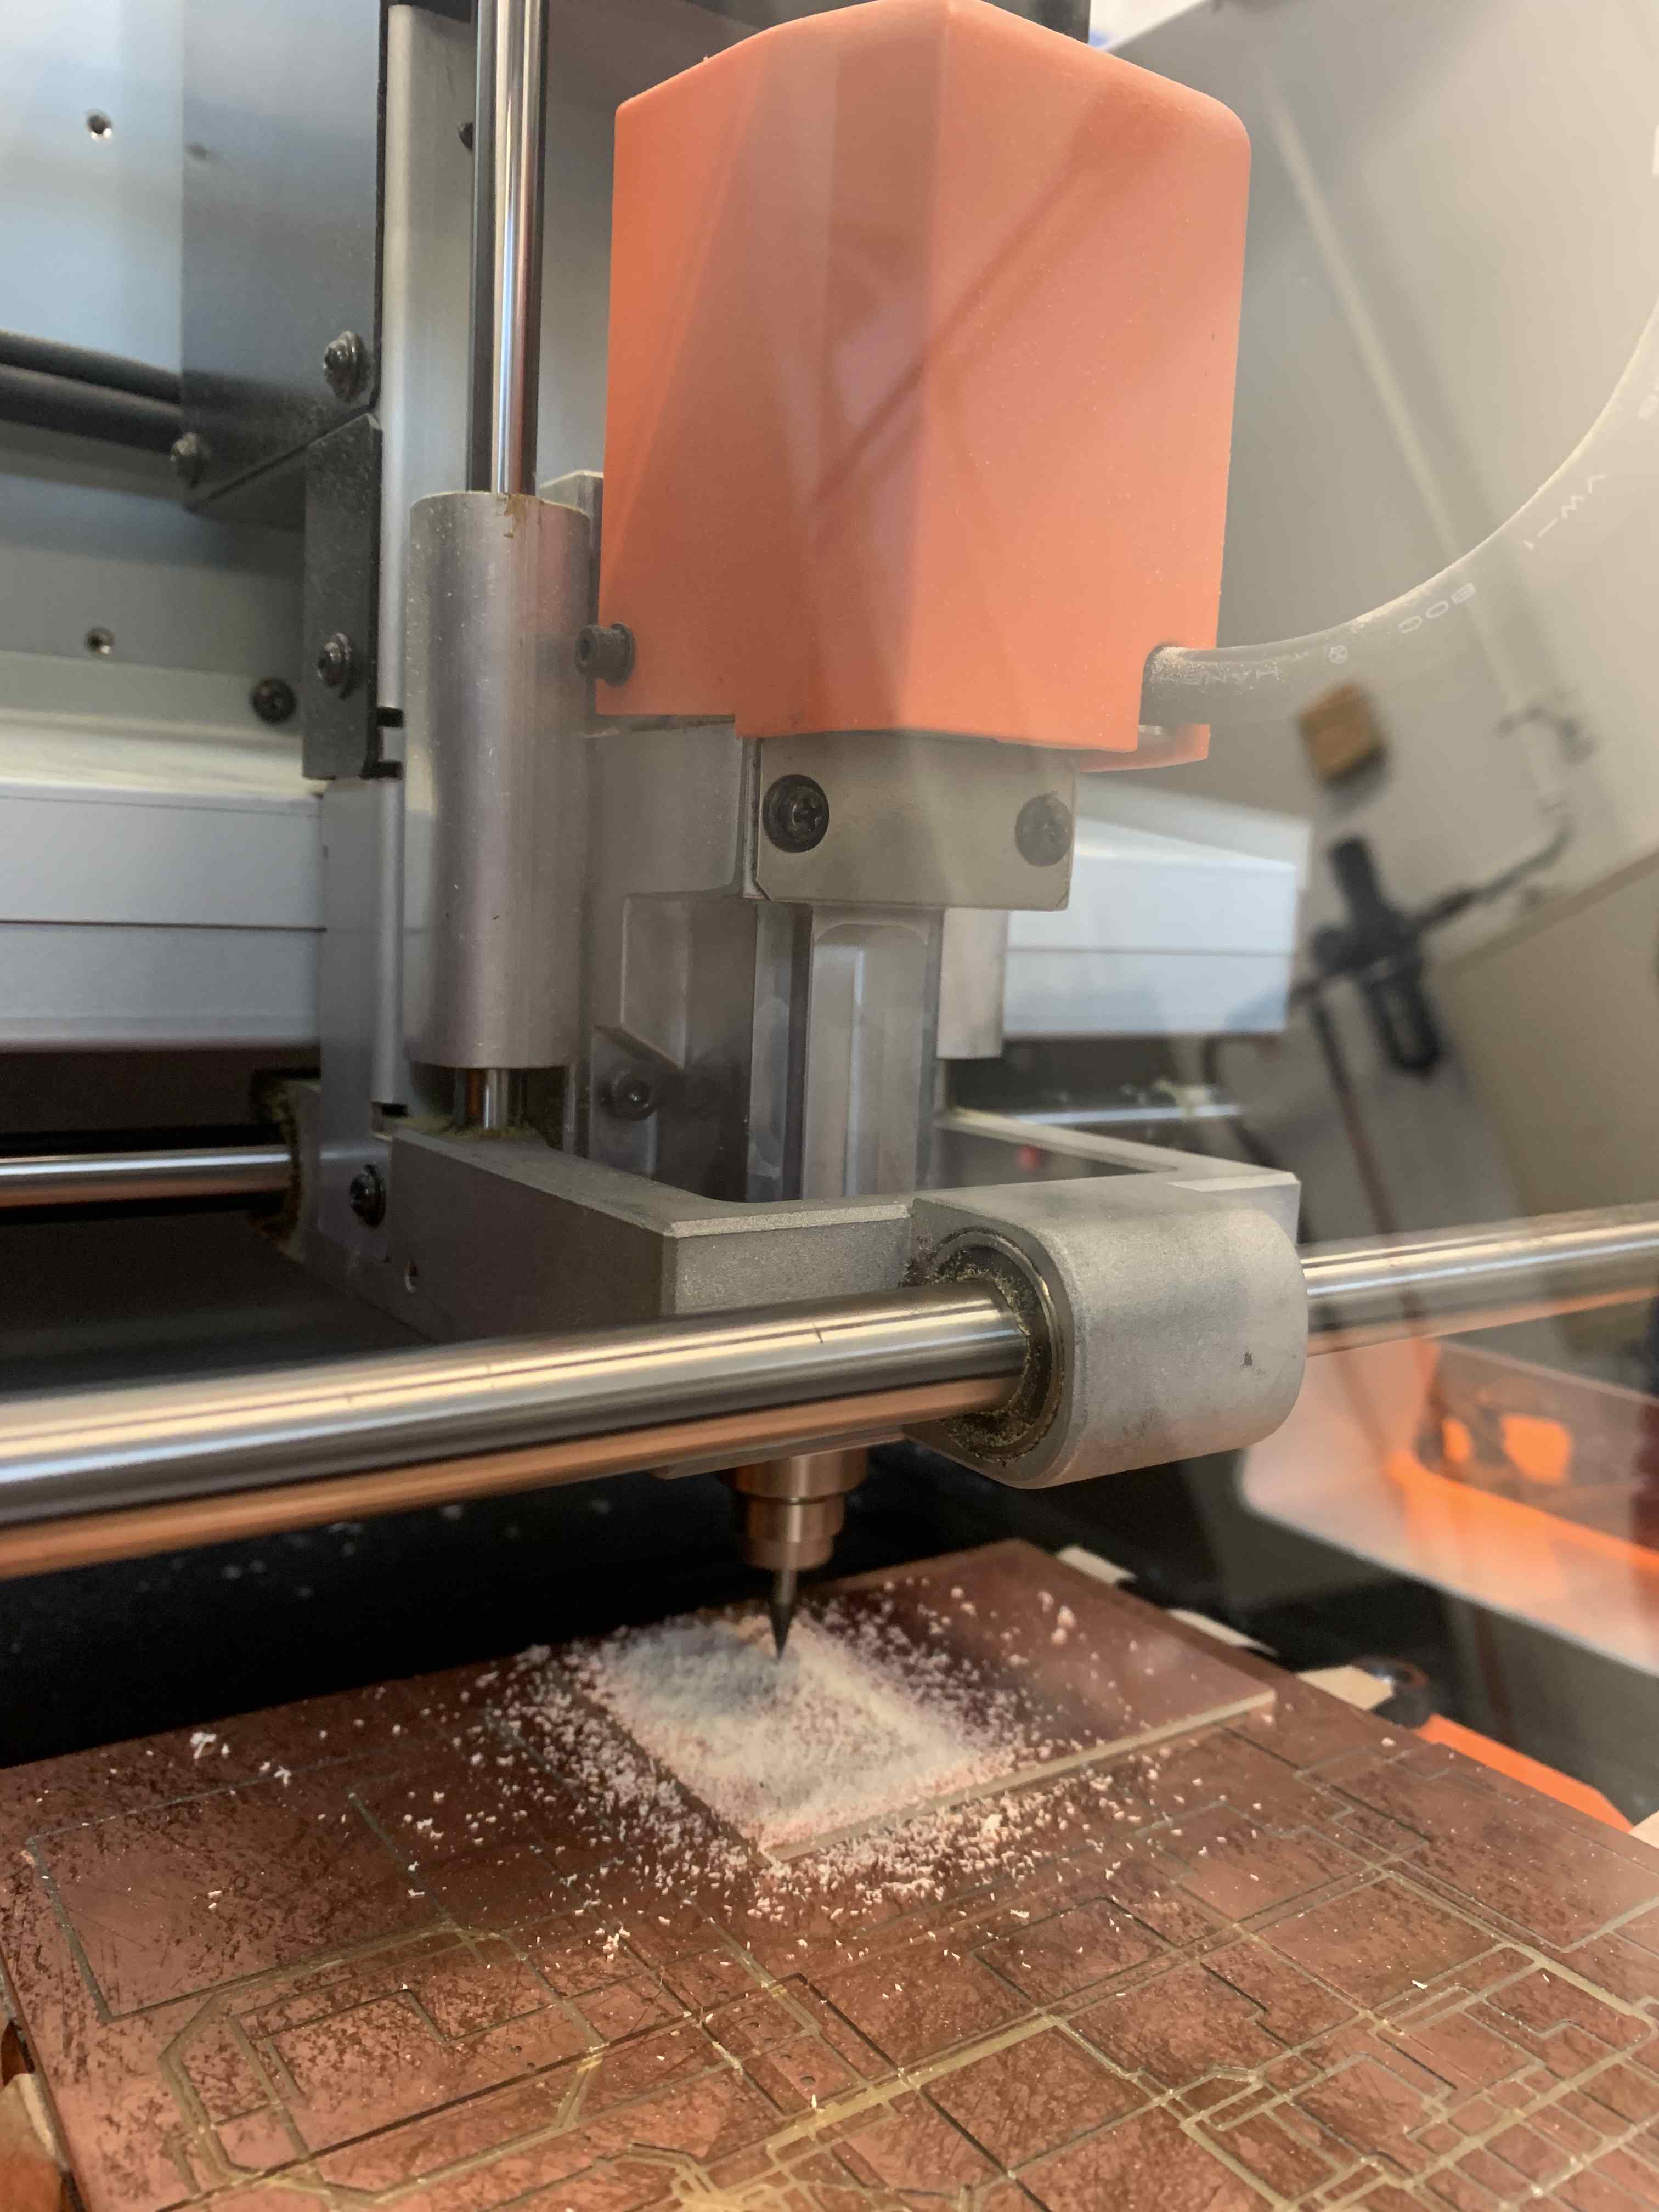
To start this assignment, my group and I milled a test strip to characterize the machine and gauge the tolerance of the circuit channels.
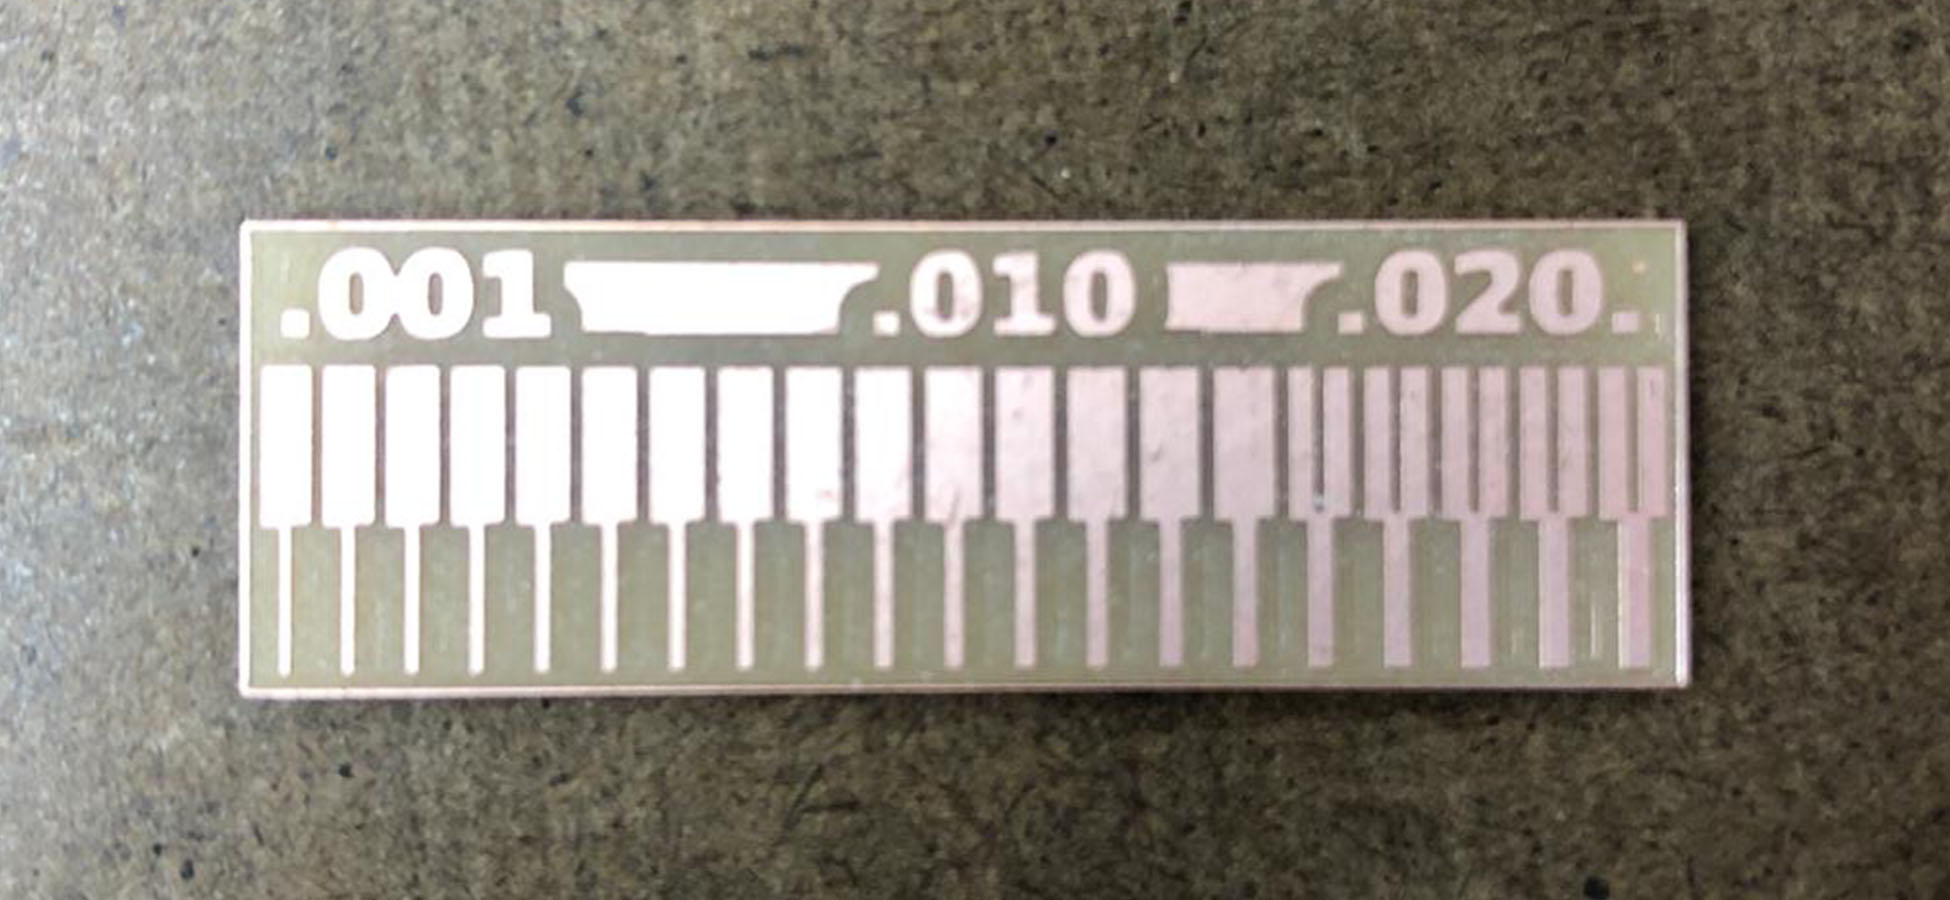
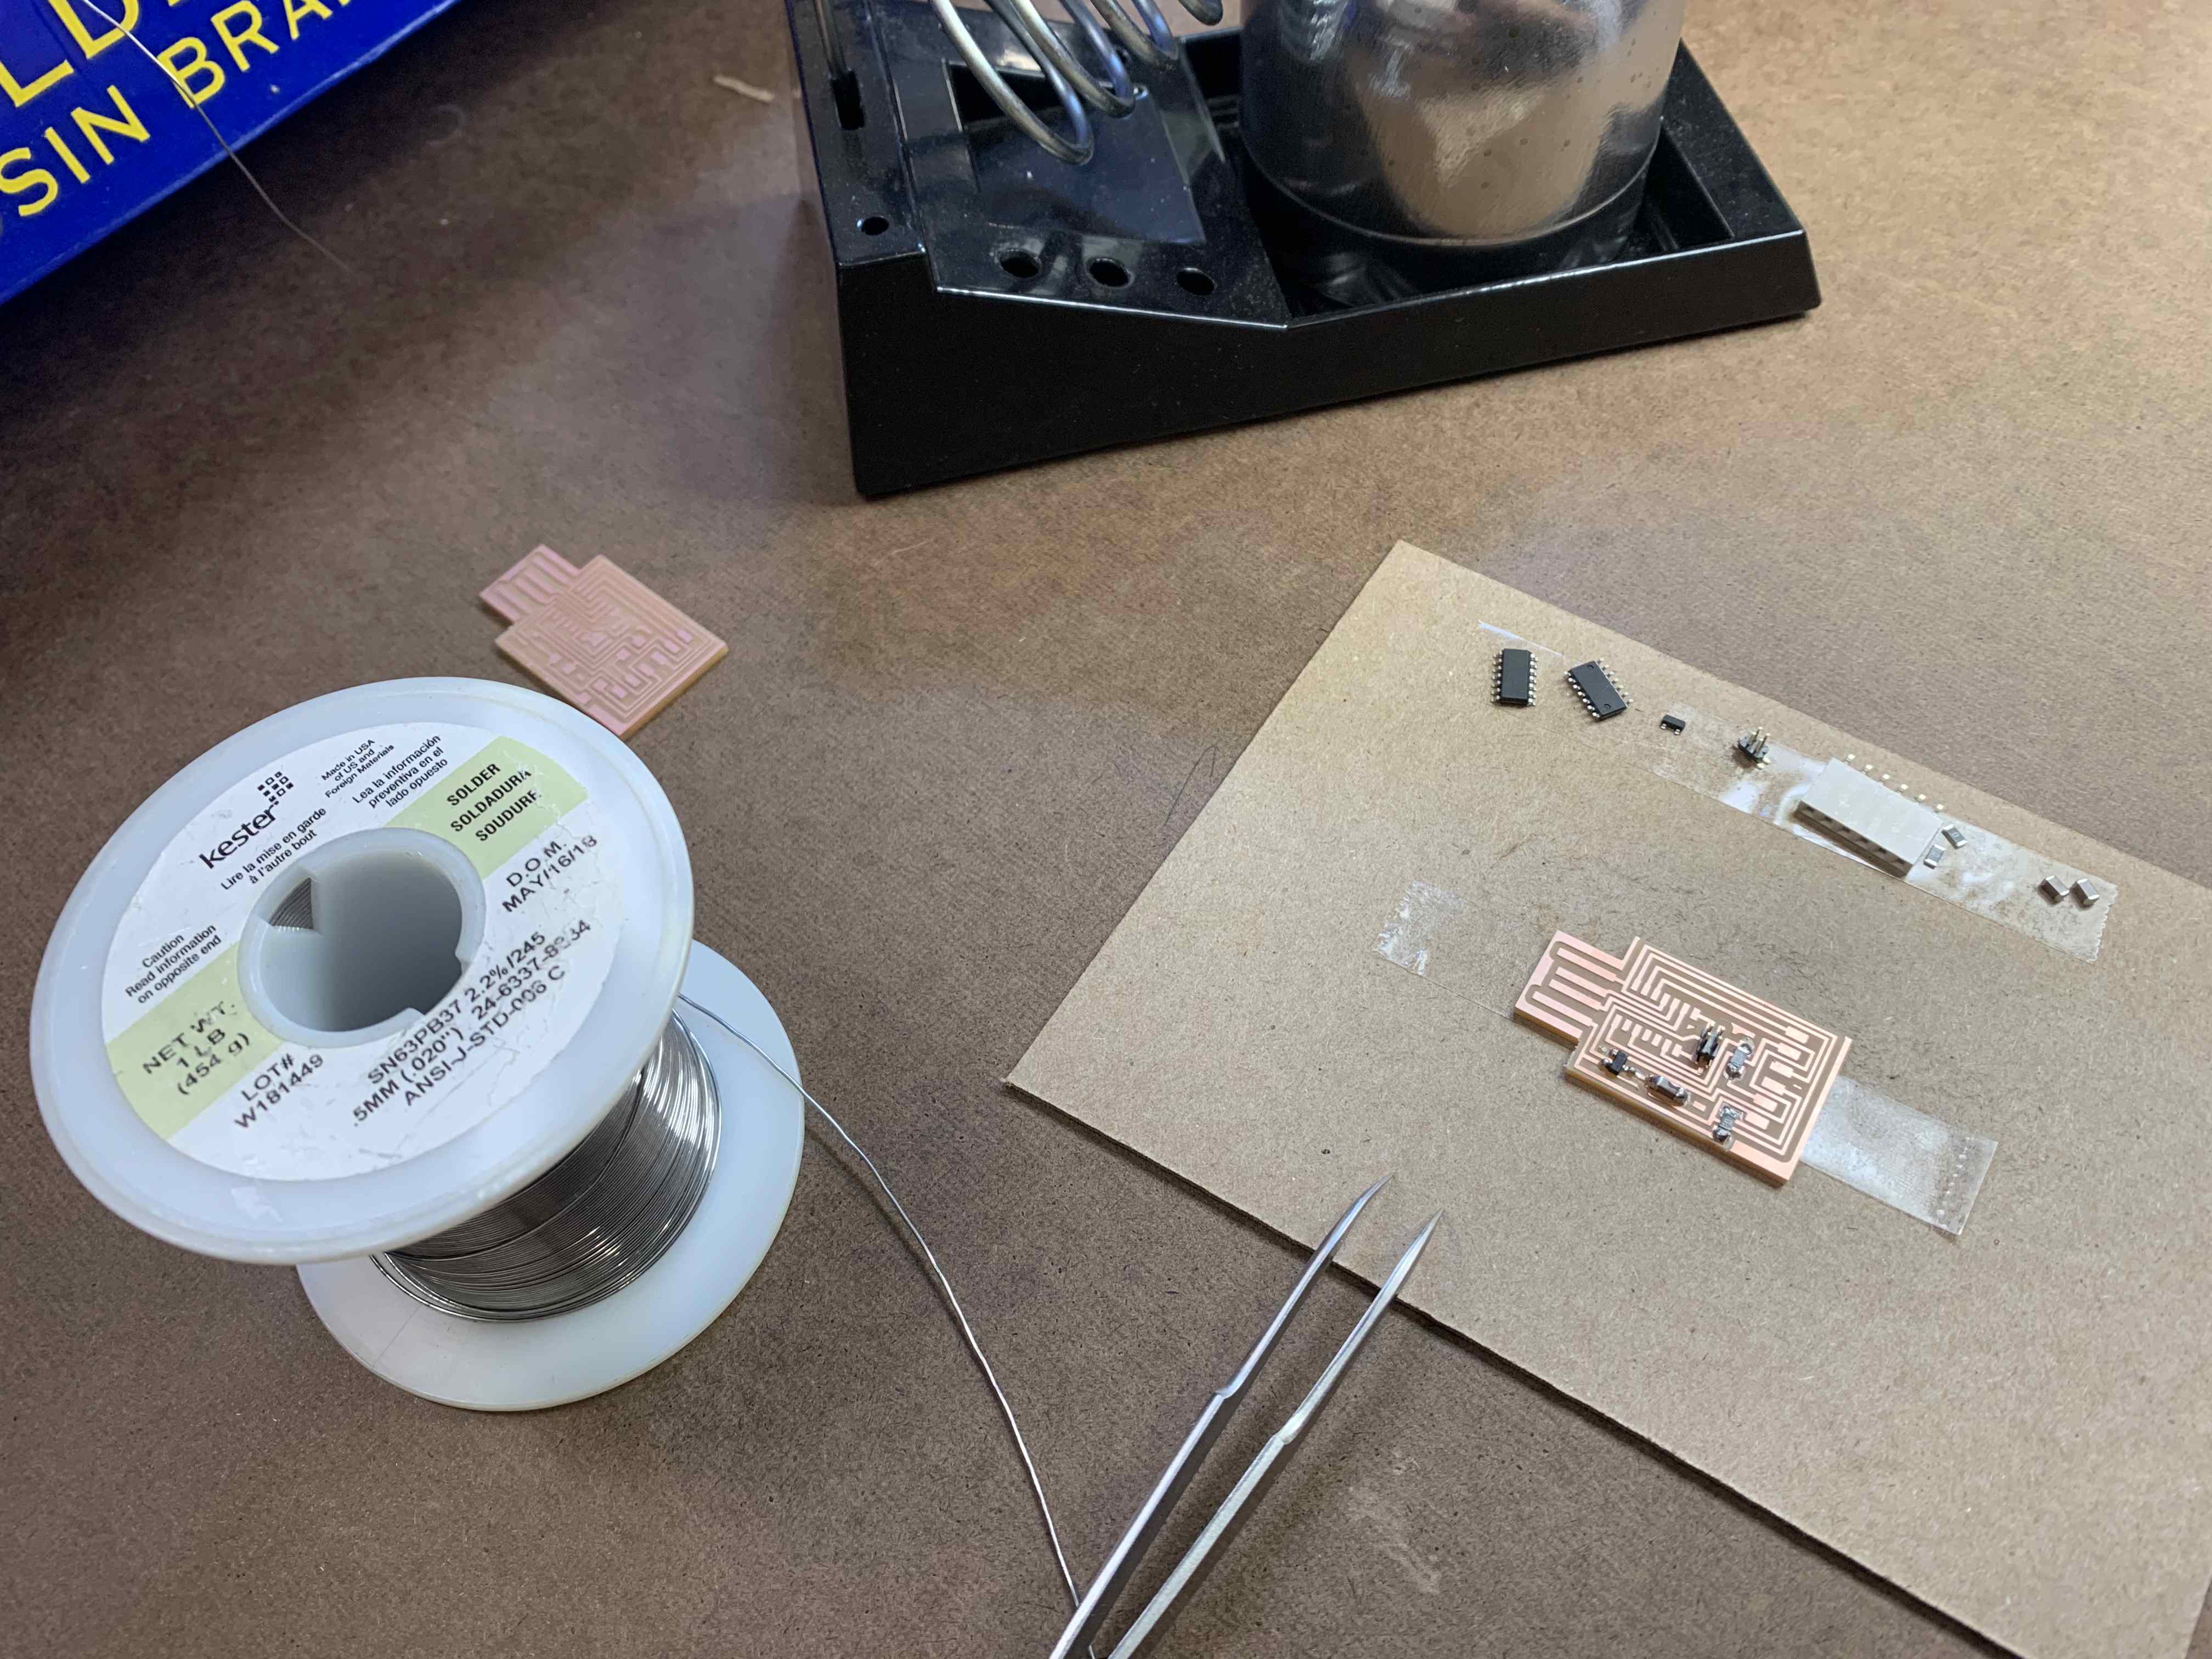
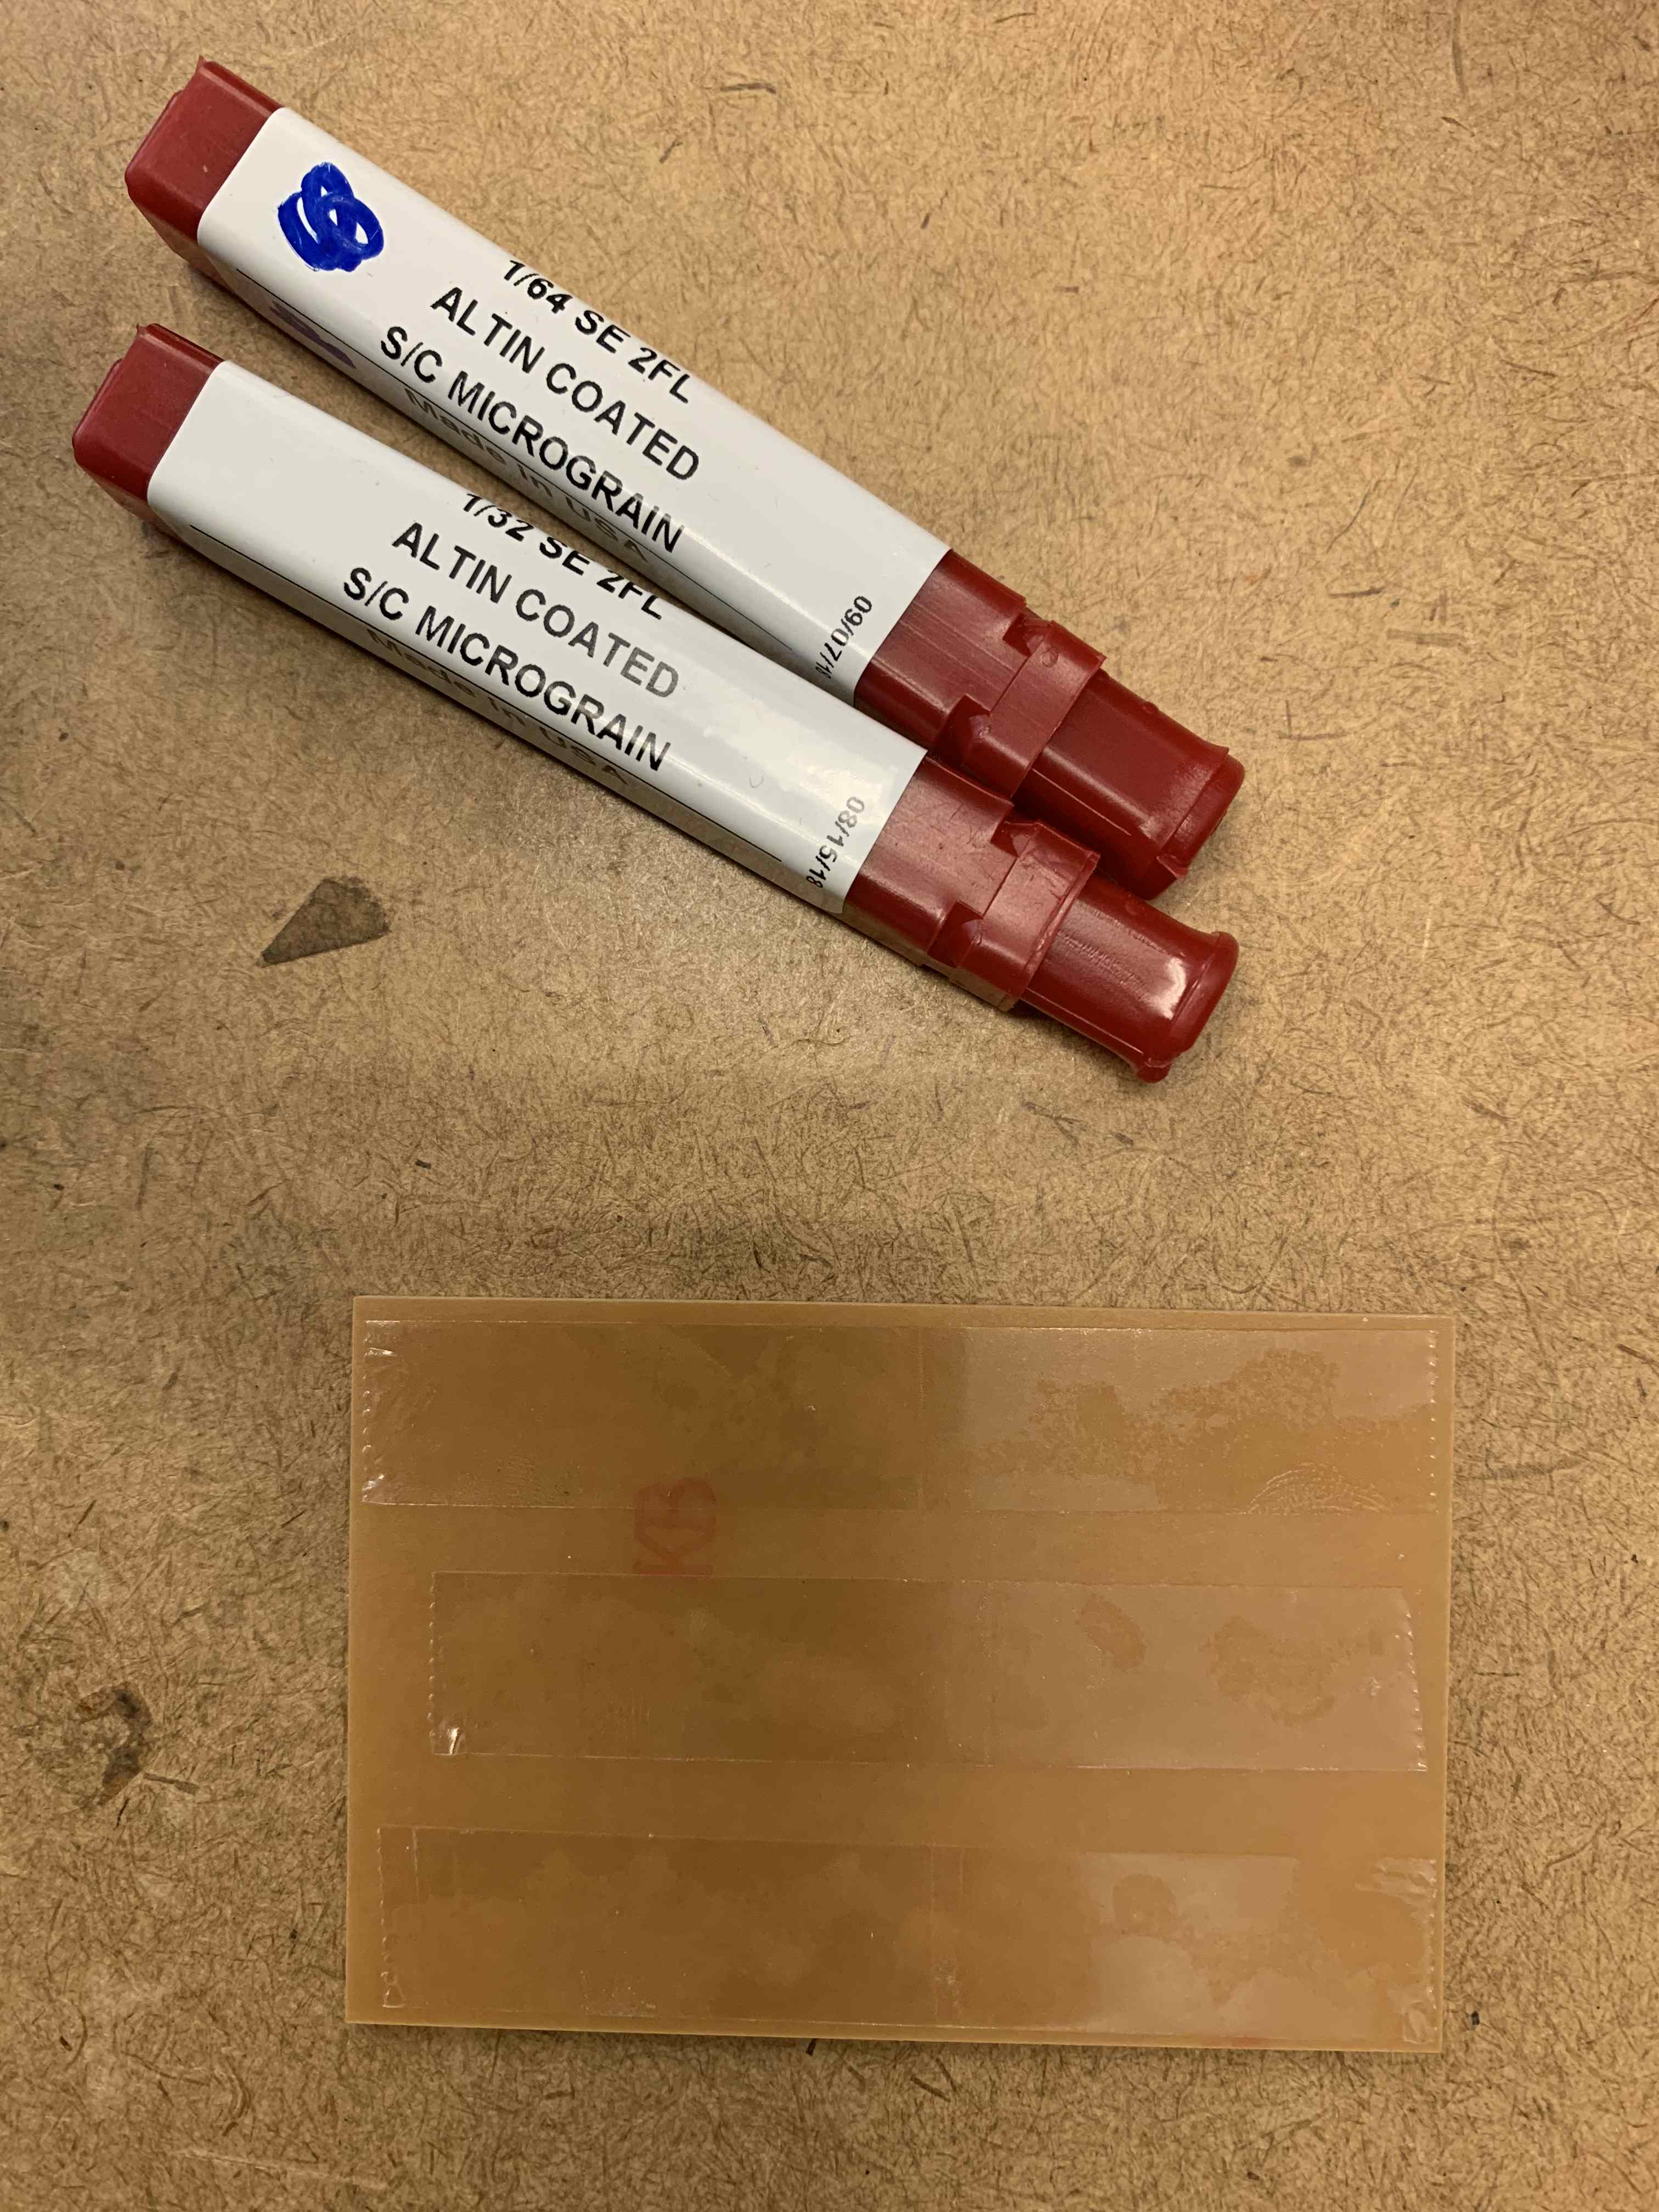
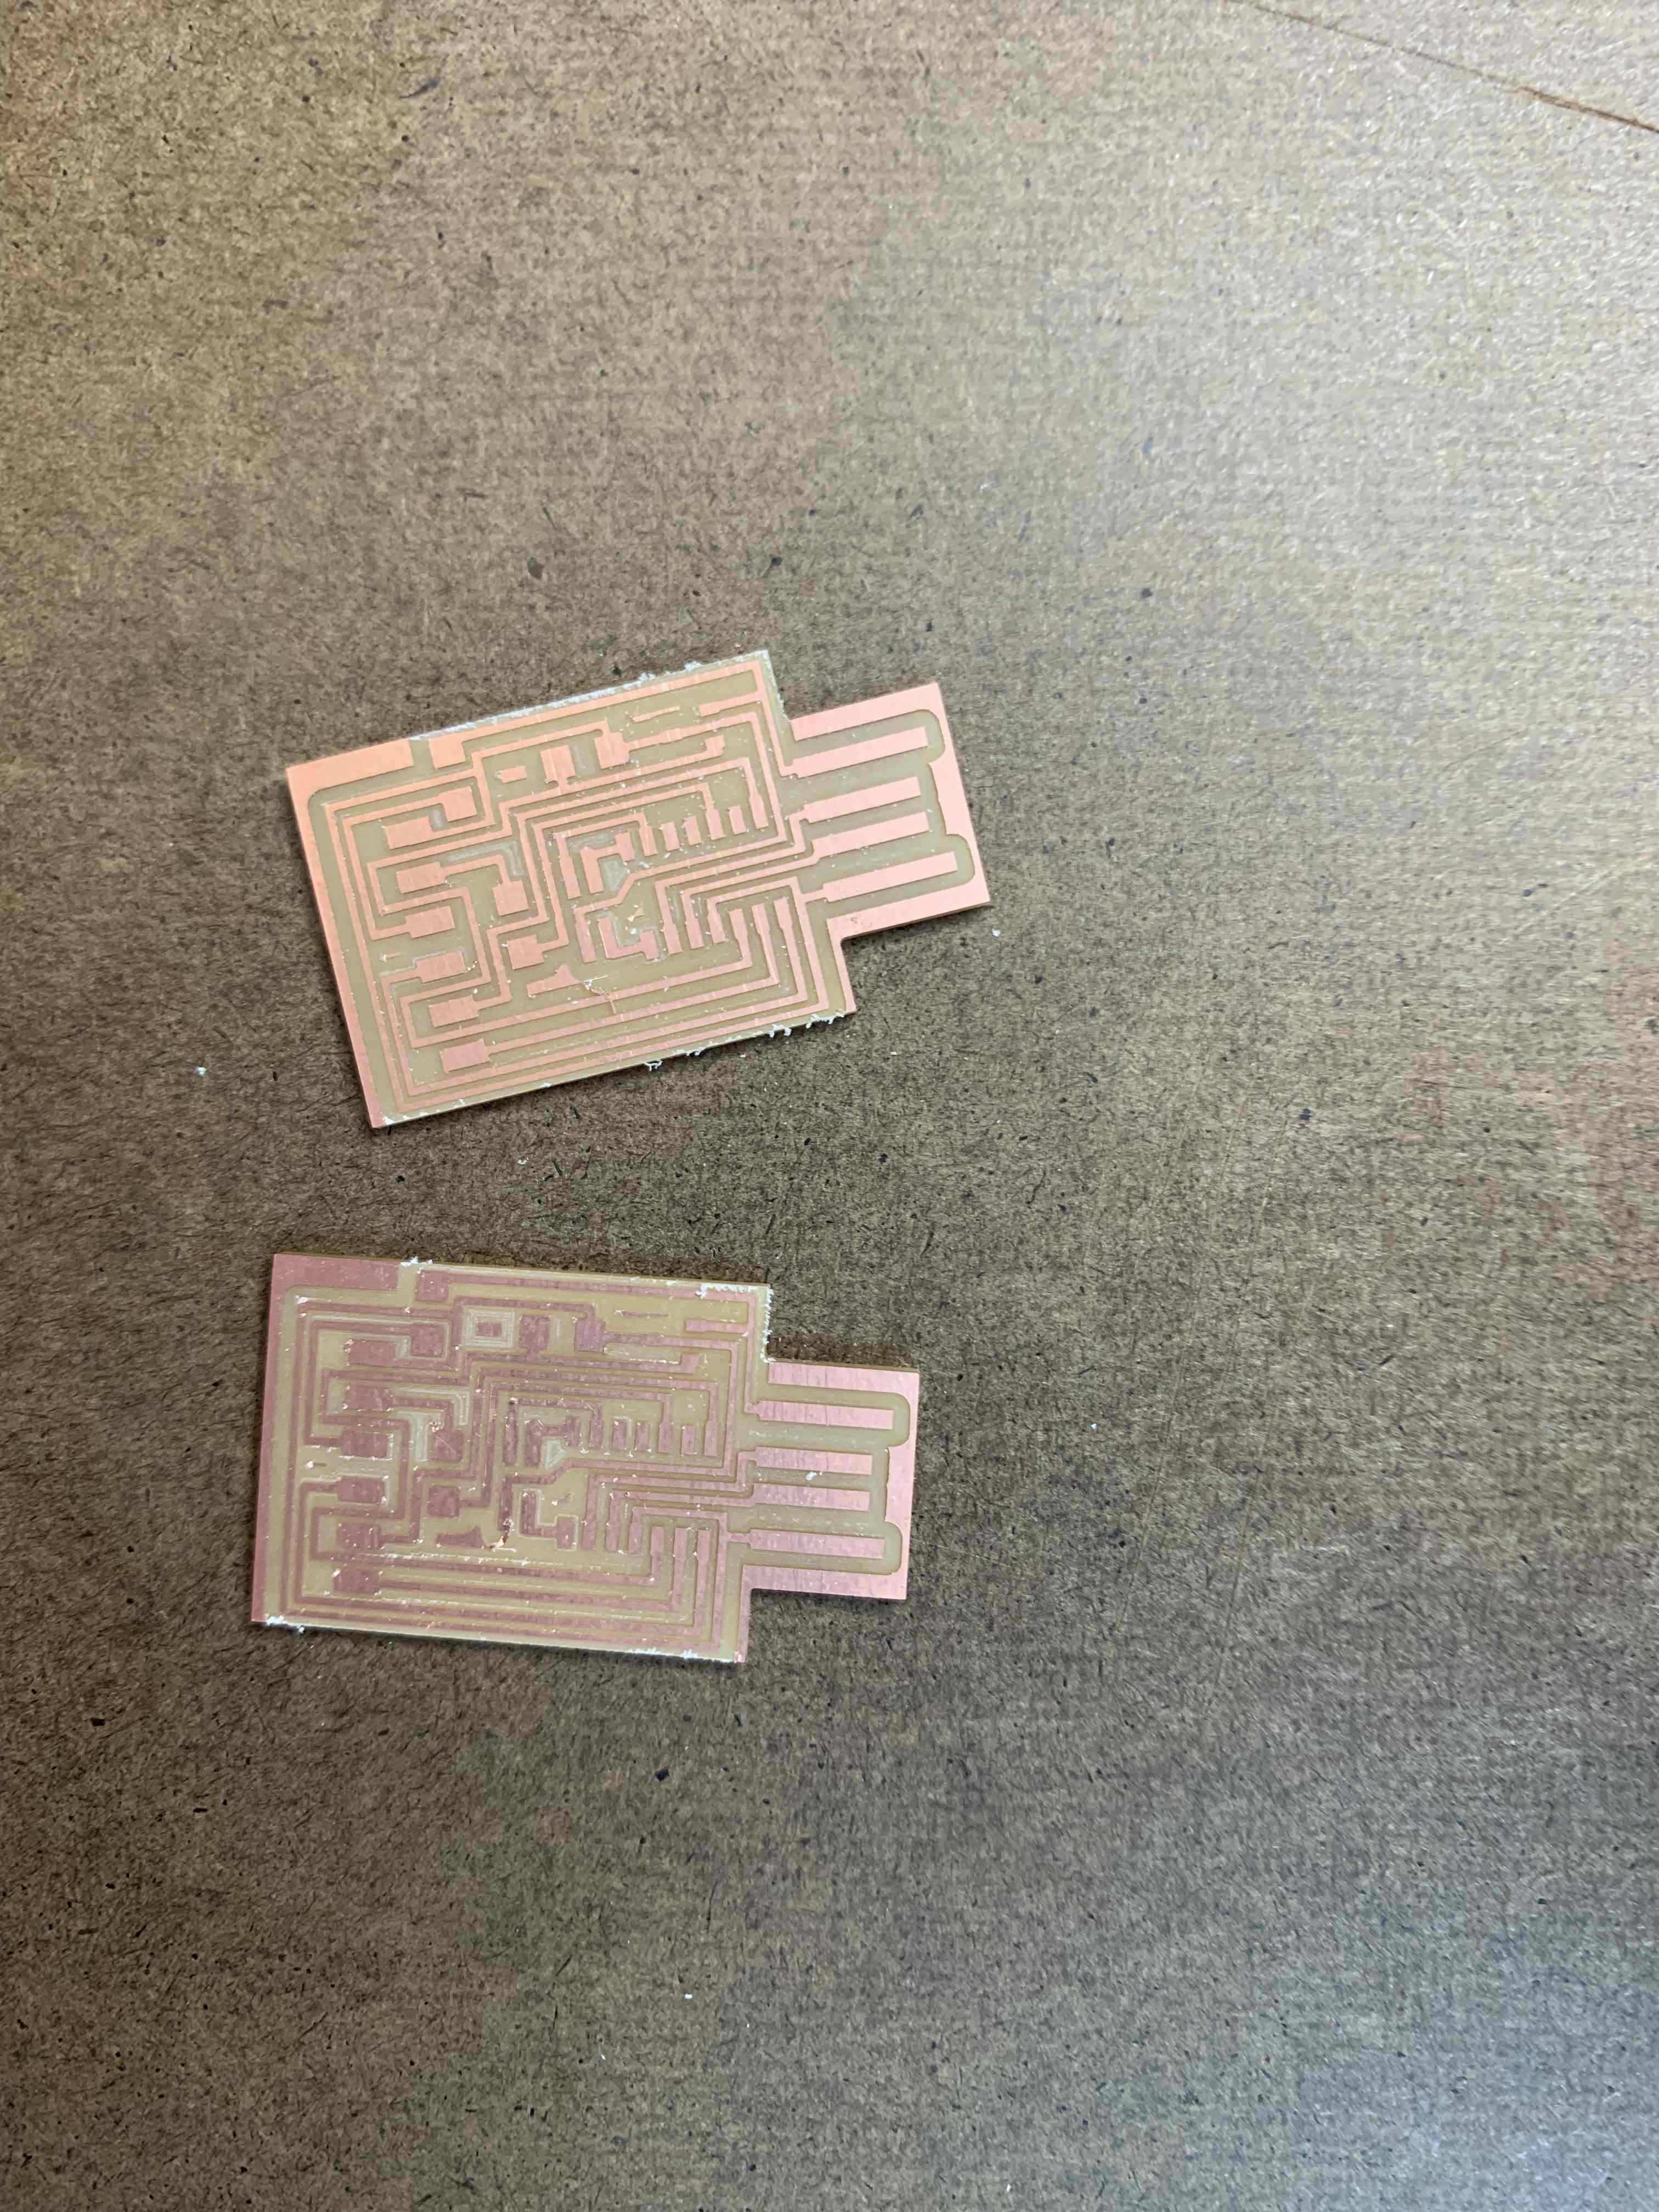
Once the Roland SRM-20 was characterized, I milled my own PCB following the methods used to mill our test strip. I gathered the 1/32 and 1/64 drill bits, applied tape to the back of the stock material, adhered it to the bed of the machine, uploaded the provided template to MODS, and milled two PCBs. The process was surprisinly quick.

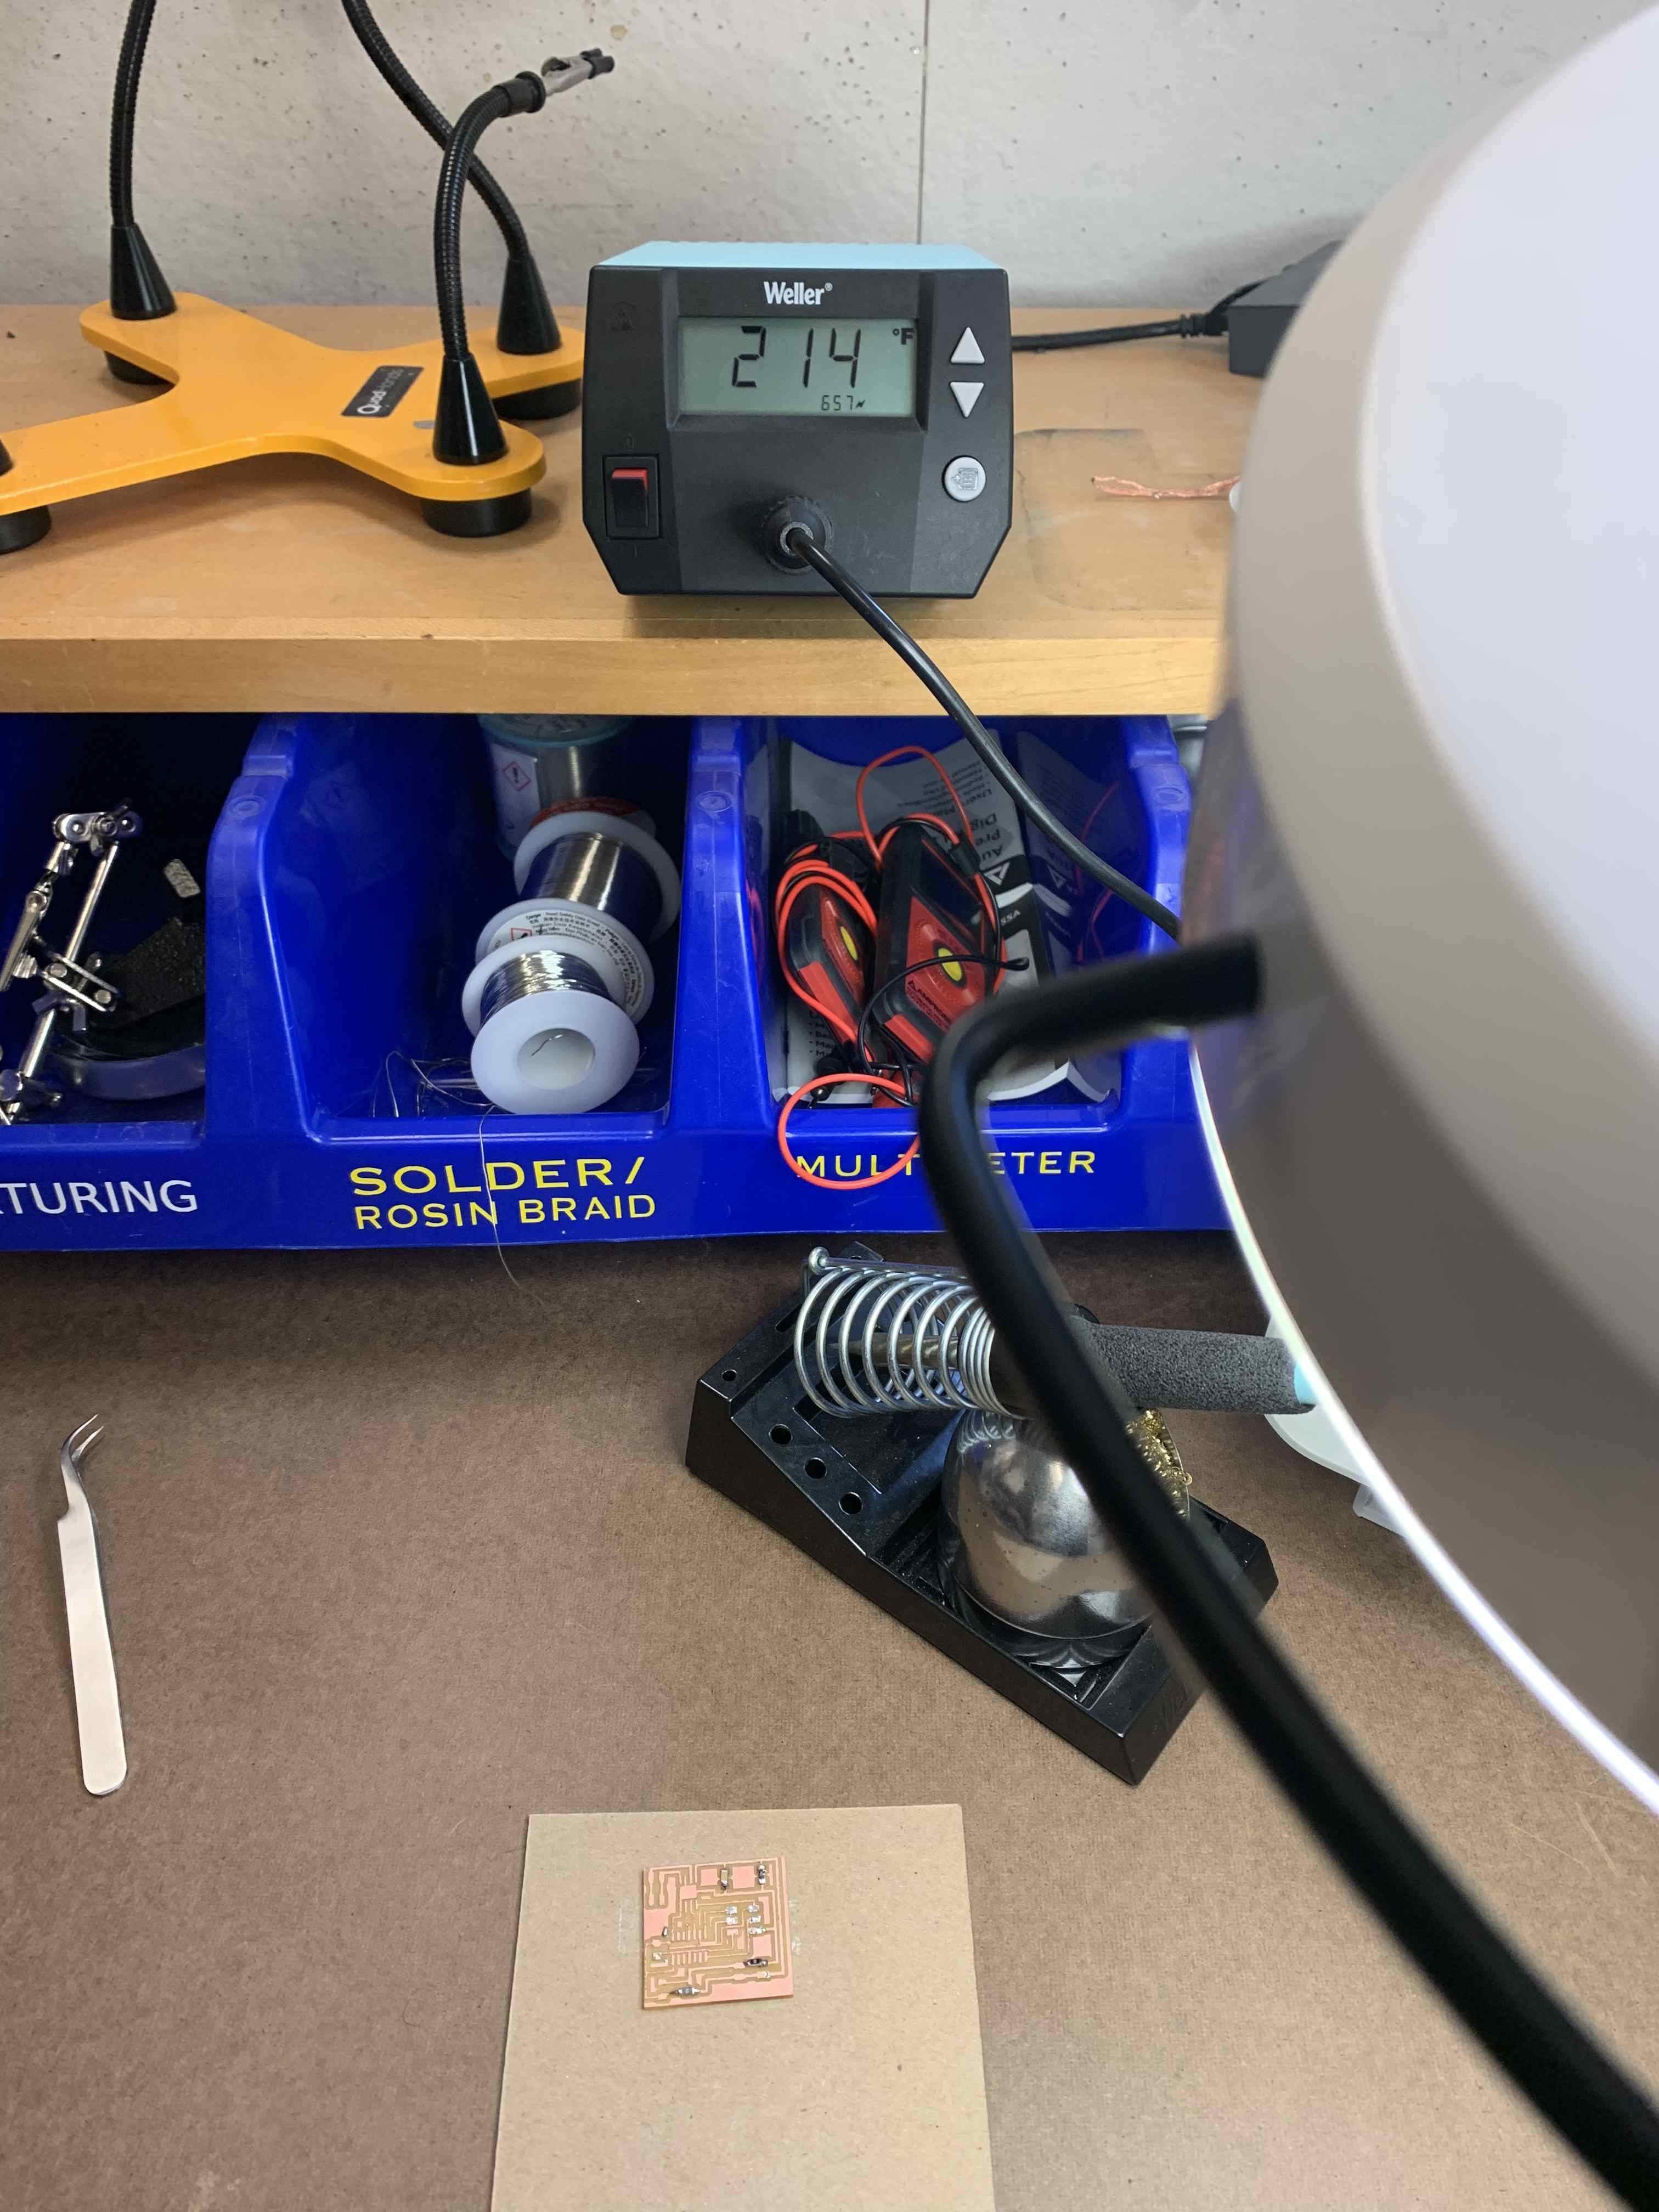
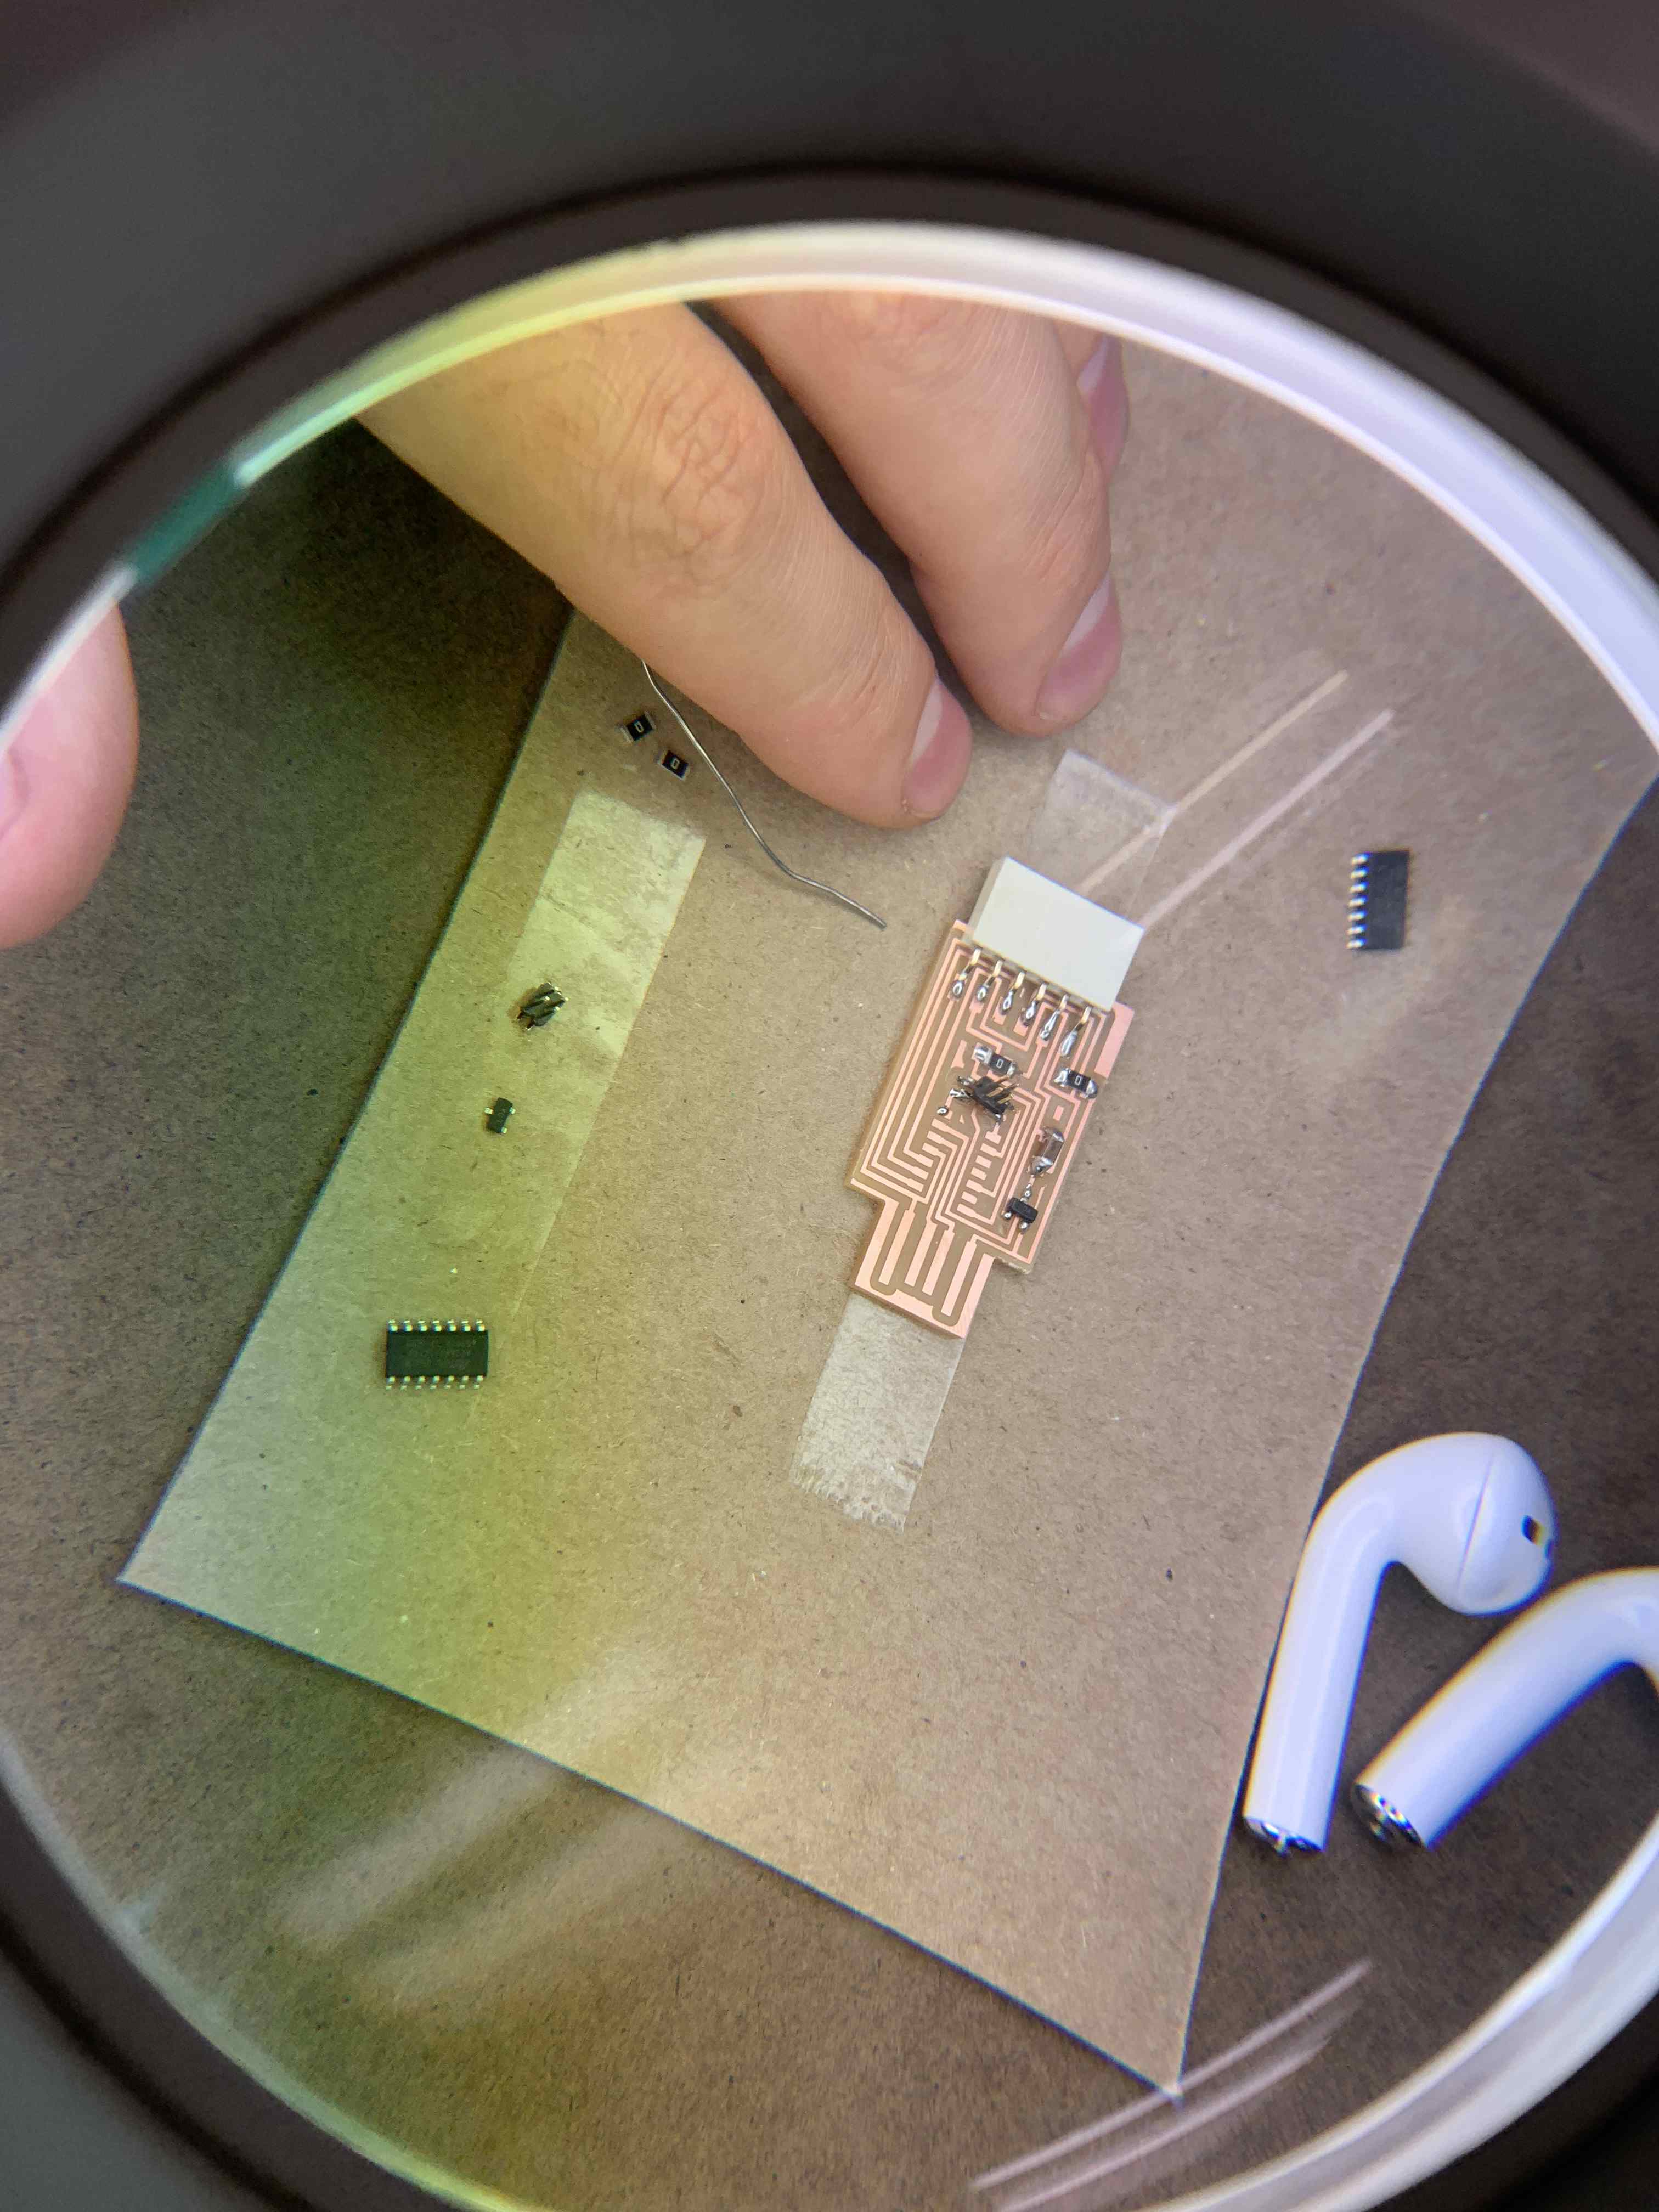
Part 2, Soldering:
After cleaning the machine and the newly milled PCBs, I collected the various parts needed to solder the microcontroller. Starting with a scrap piece, I practiced soldering before commiting to soldering the microcontroller for this week's assignment.