Week 7: molding and casting
Skills used: Rhino, Mastercam, milling, and casting
Part 1, Design:
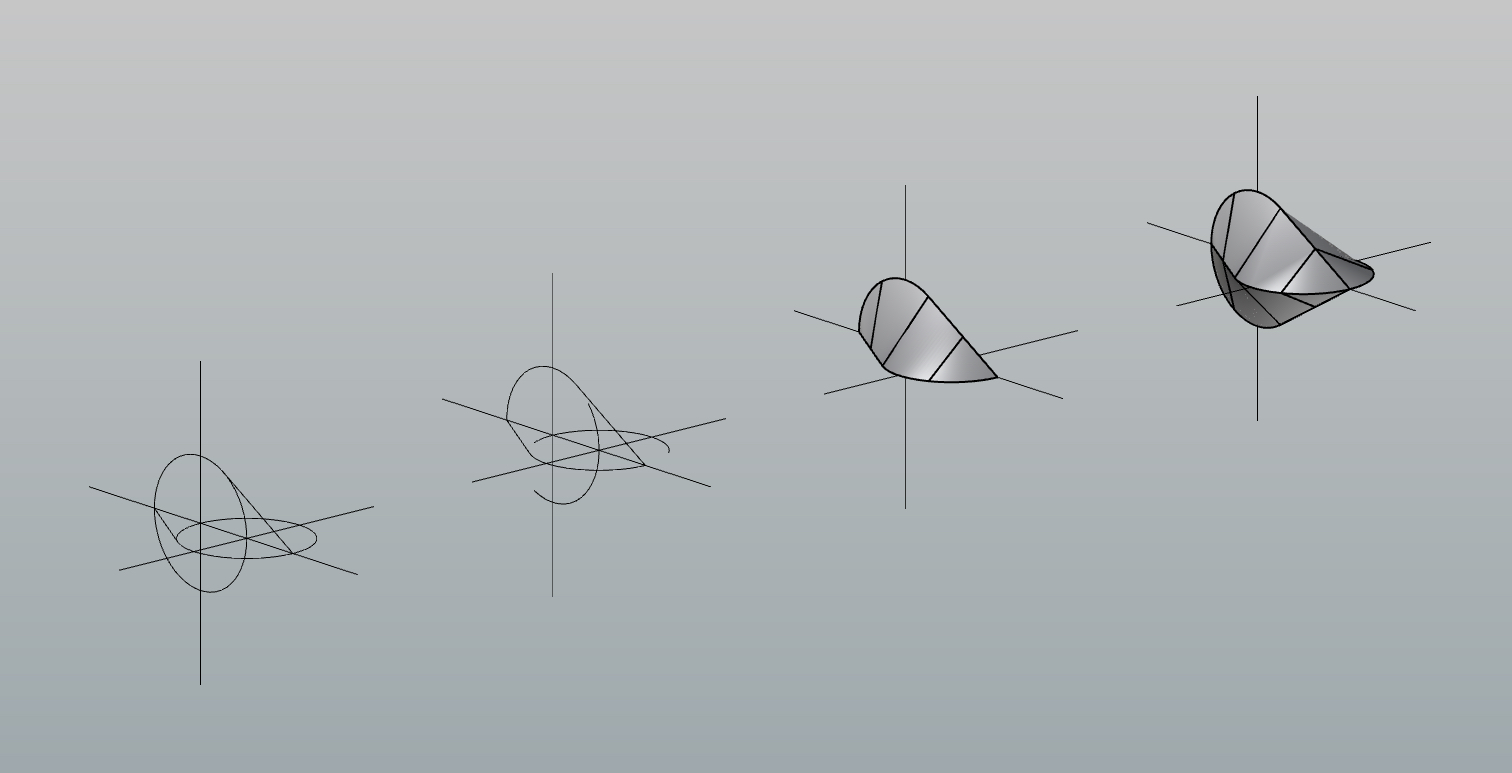
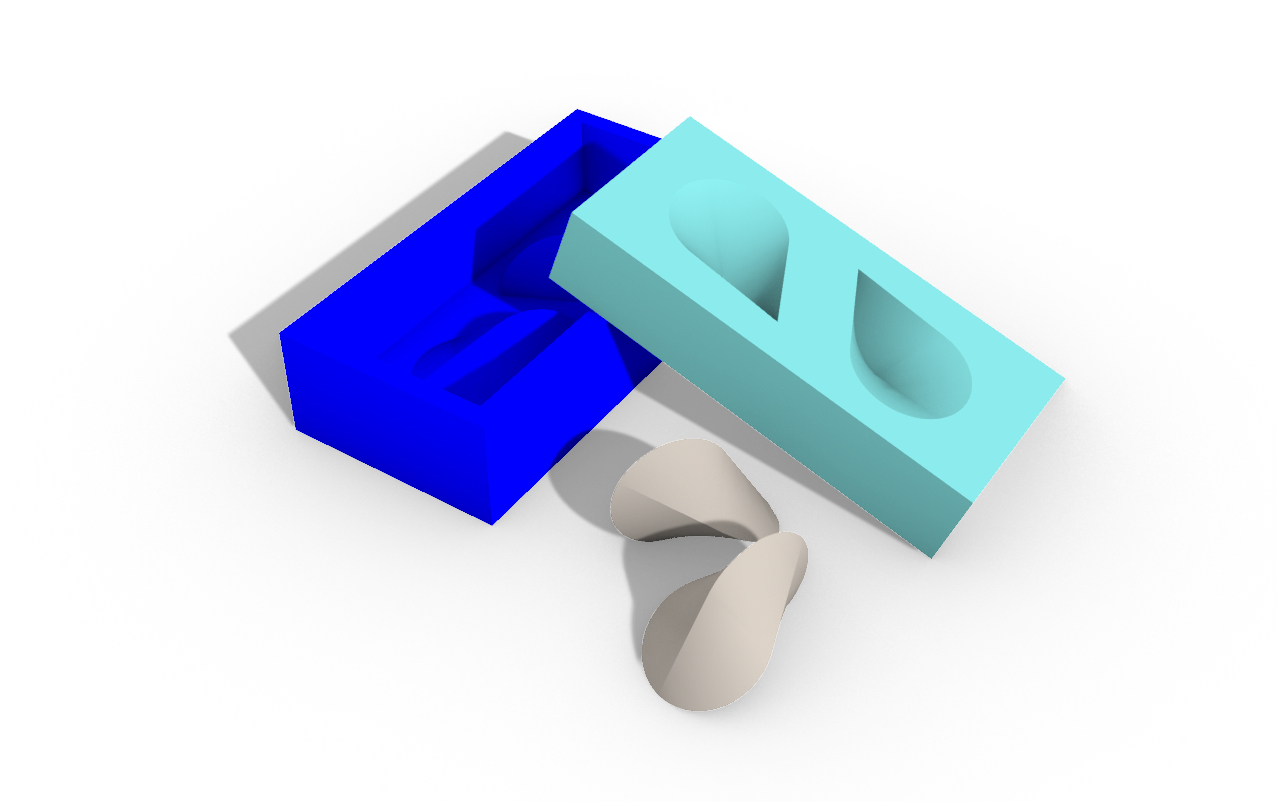
For this weeks assignment I decided to make a one-sided mold to cast an oloid. "An oloid is a three-dimensional curved geometric object that was discovered by Paul Schatz in 1929. It is the convex hull of a skeletal frame made by placing two linked congruent circles in perpendicular planes, so that the center of each circle lies on the edge of the other circle. The surface of the oloid is a developable surface, meaning that patches of the surface can be flattened into a plane. While rolling, it develops its entire surface: every point of the surface of the oloid touches the plane on which it is rolling, at some point during the rolling movement."
The distance between the circle centers equals the radius of the circles. One third of each circle's perimeter lies inside the convex hull, so the same shape may be also formed as the convex hull of the two remaining circular arcs. Pictured below is the Rhino model of the interrelated circles and the draft view of the wax mold.

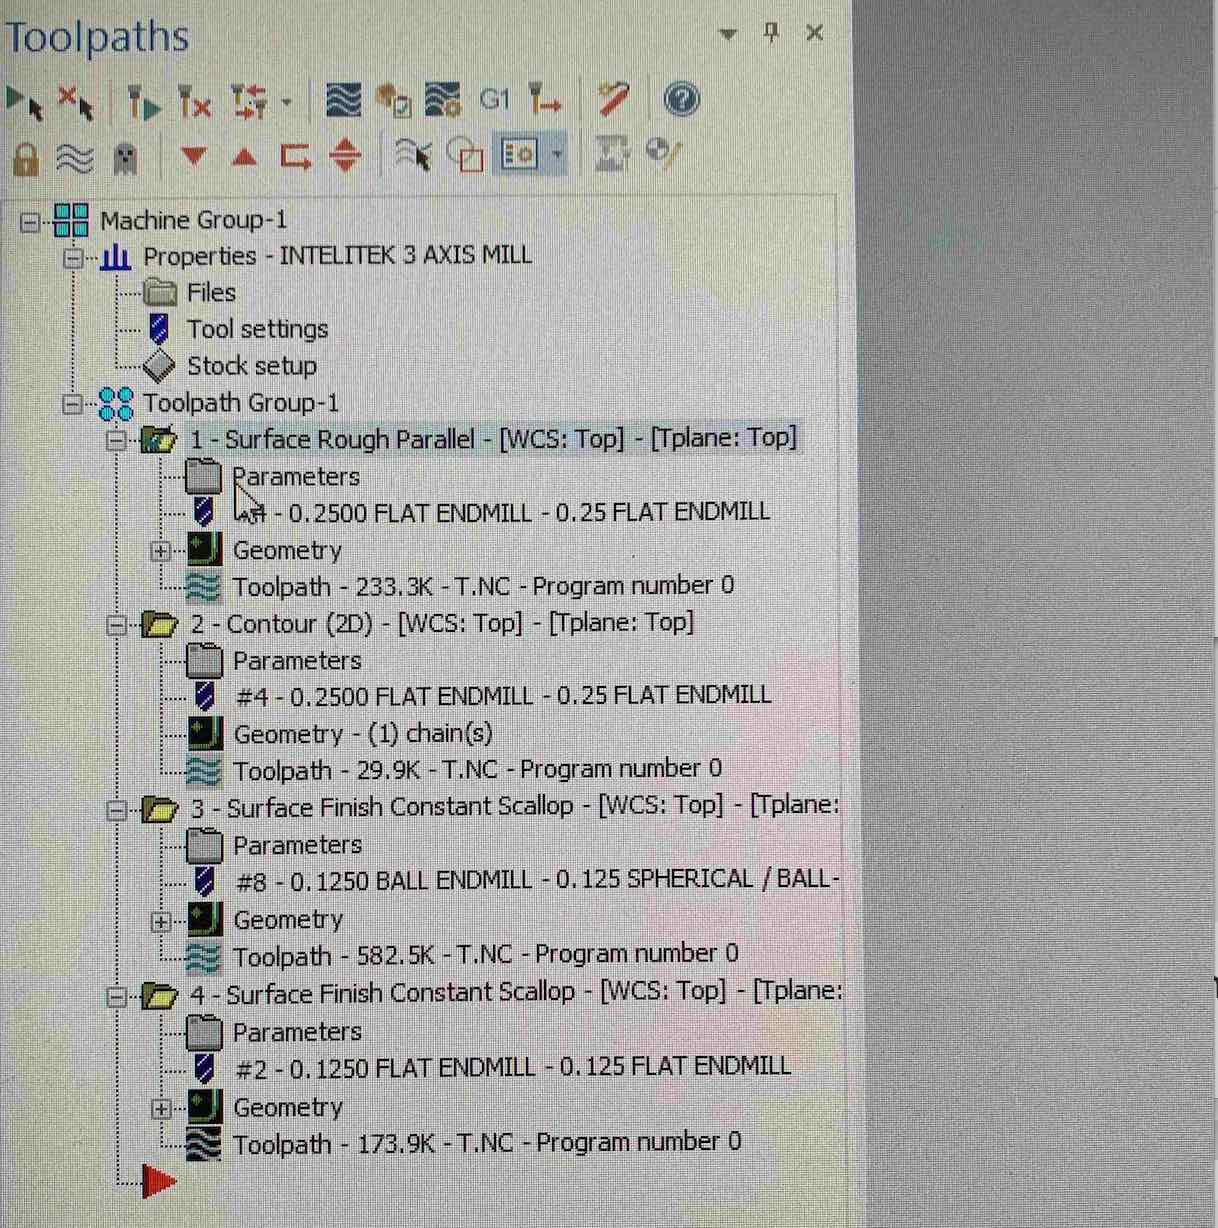
Jen from the Arch Shop was a extremely helpful working with me set up to the tool paths for this job in Mastercam. To be more effecient, it is suggested that you as fewer tools and tool paths.
For this job we used three tools and three tool paths: 1.) 0.25in flat mill to roughly cut the bulk of the material out of the cavity, 2.) 0.125in round mill to carve the contours of the oloid, and 3.) 0.125in flat mill to smooth the interior base a mill any profiles that require a sharp edge. Pictured below is a photo of the tool paths used.
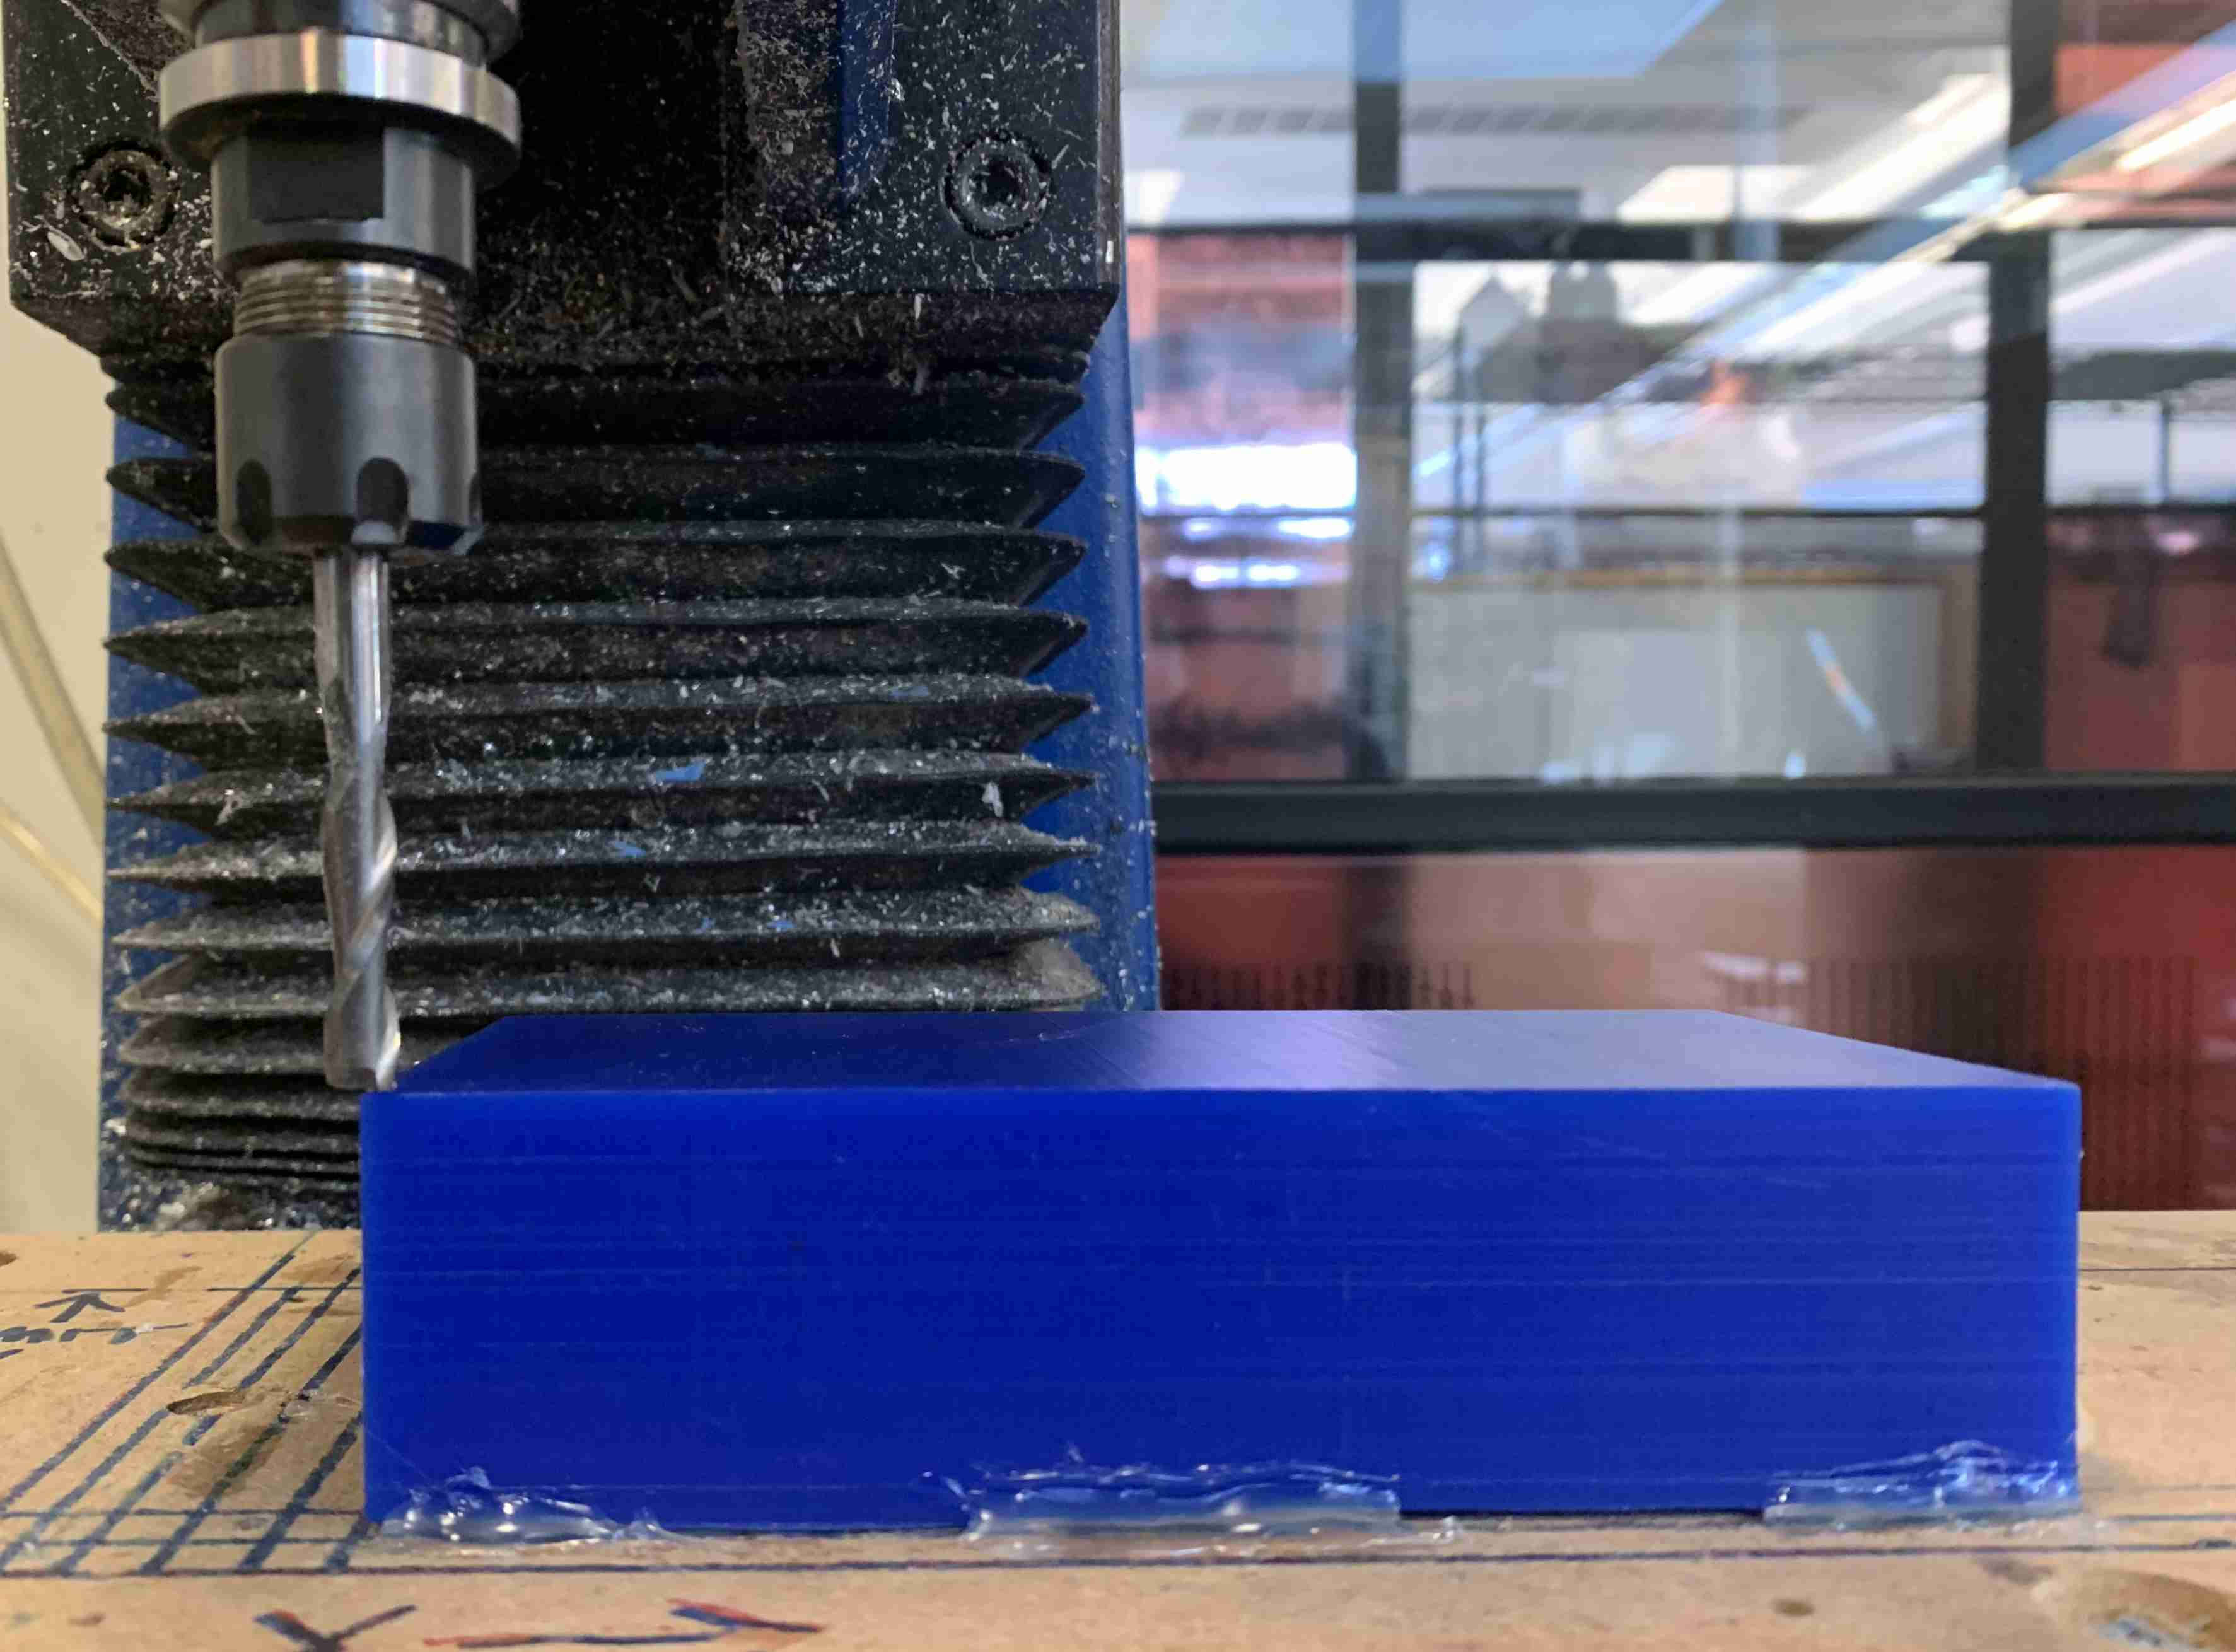
After the .gcode is set the first thing you need to do is adhere the material to the bed. When using wax hot glue works well to adhere the wax to the bed. Focusing on the corners apply a generous bead of glue to the edge of the wax where it meets the bed.

Then load the .gcode to the machine and load the correct tool into the collet and establish the tools x,y,z coordinates. While the router is milling, it is difficult to check for errors, so it is best to listen for any abnormalities.

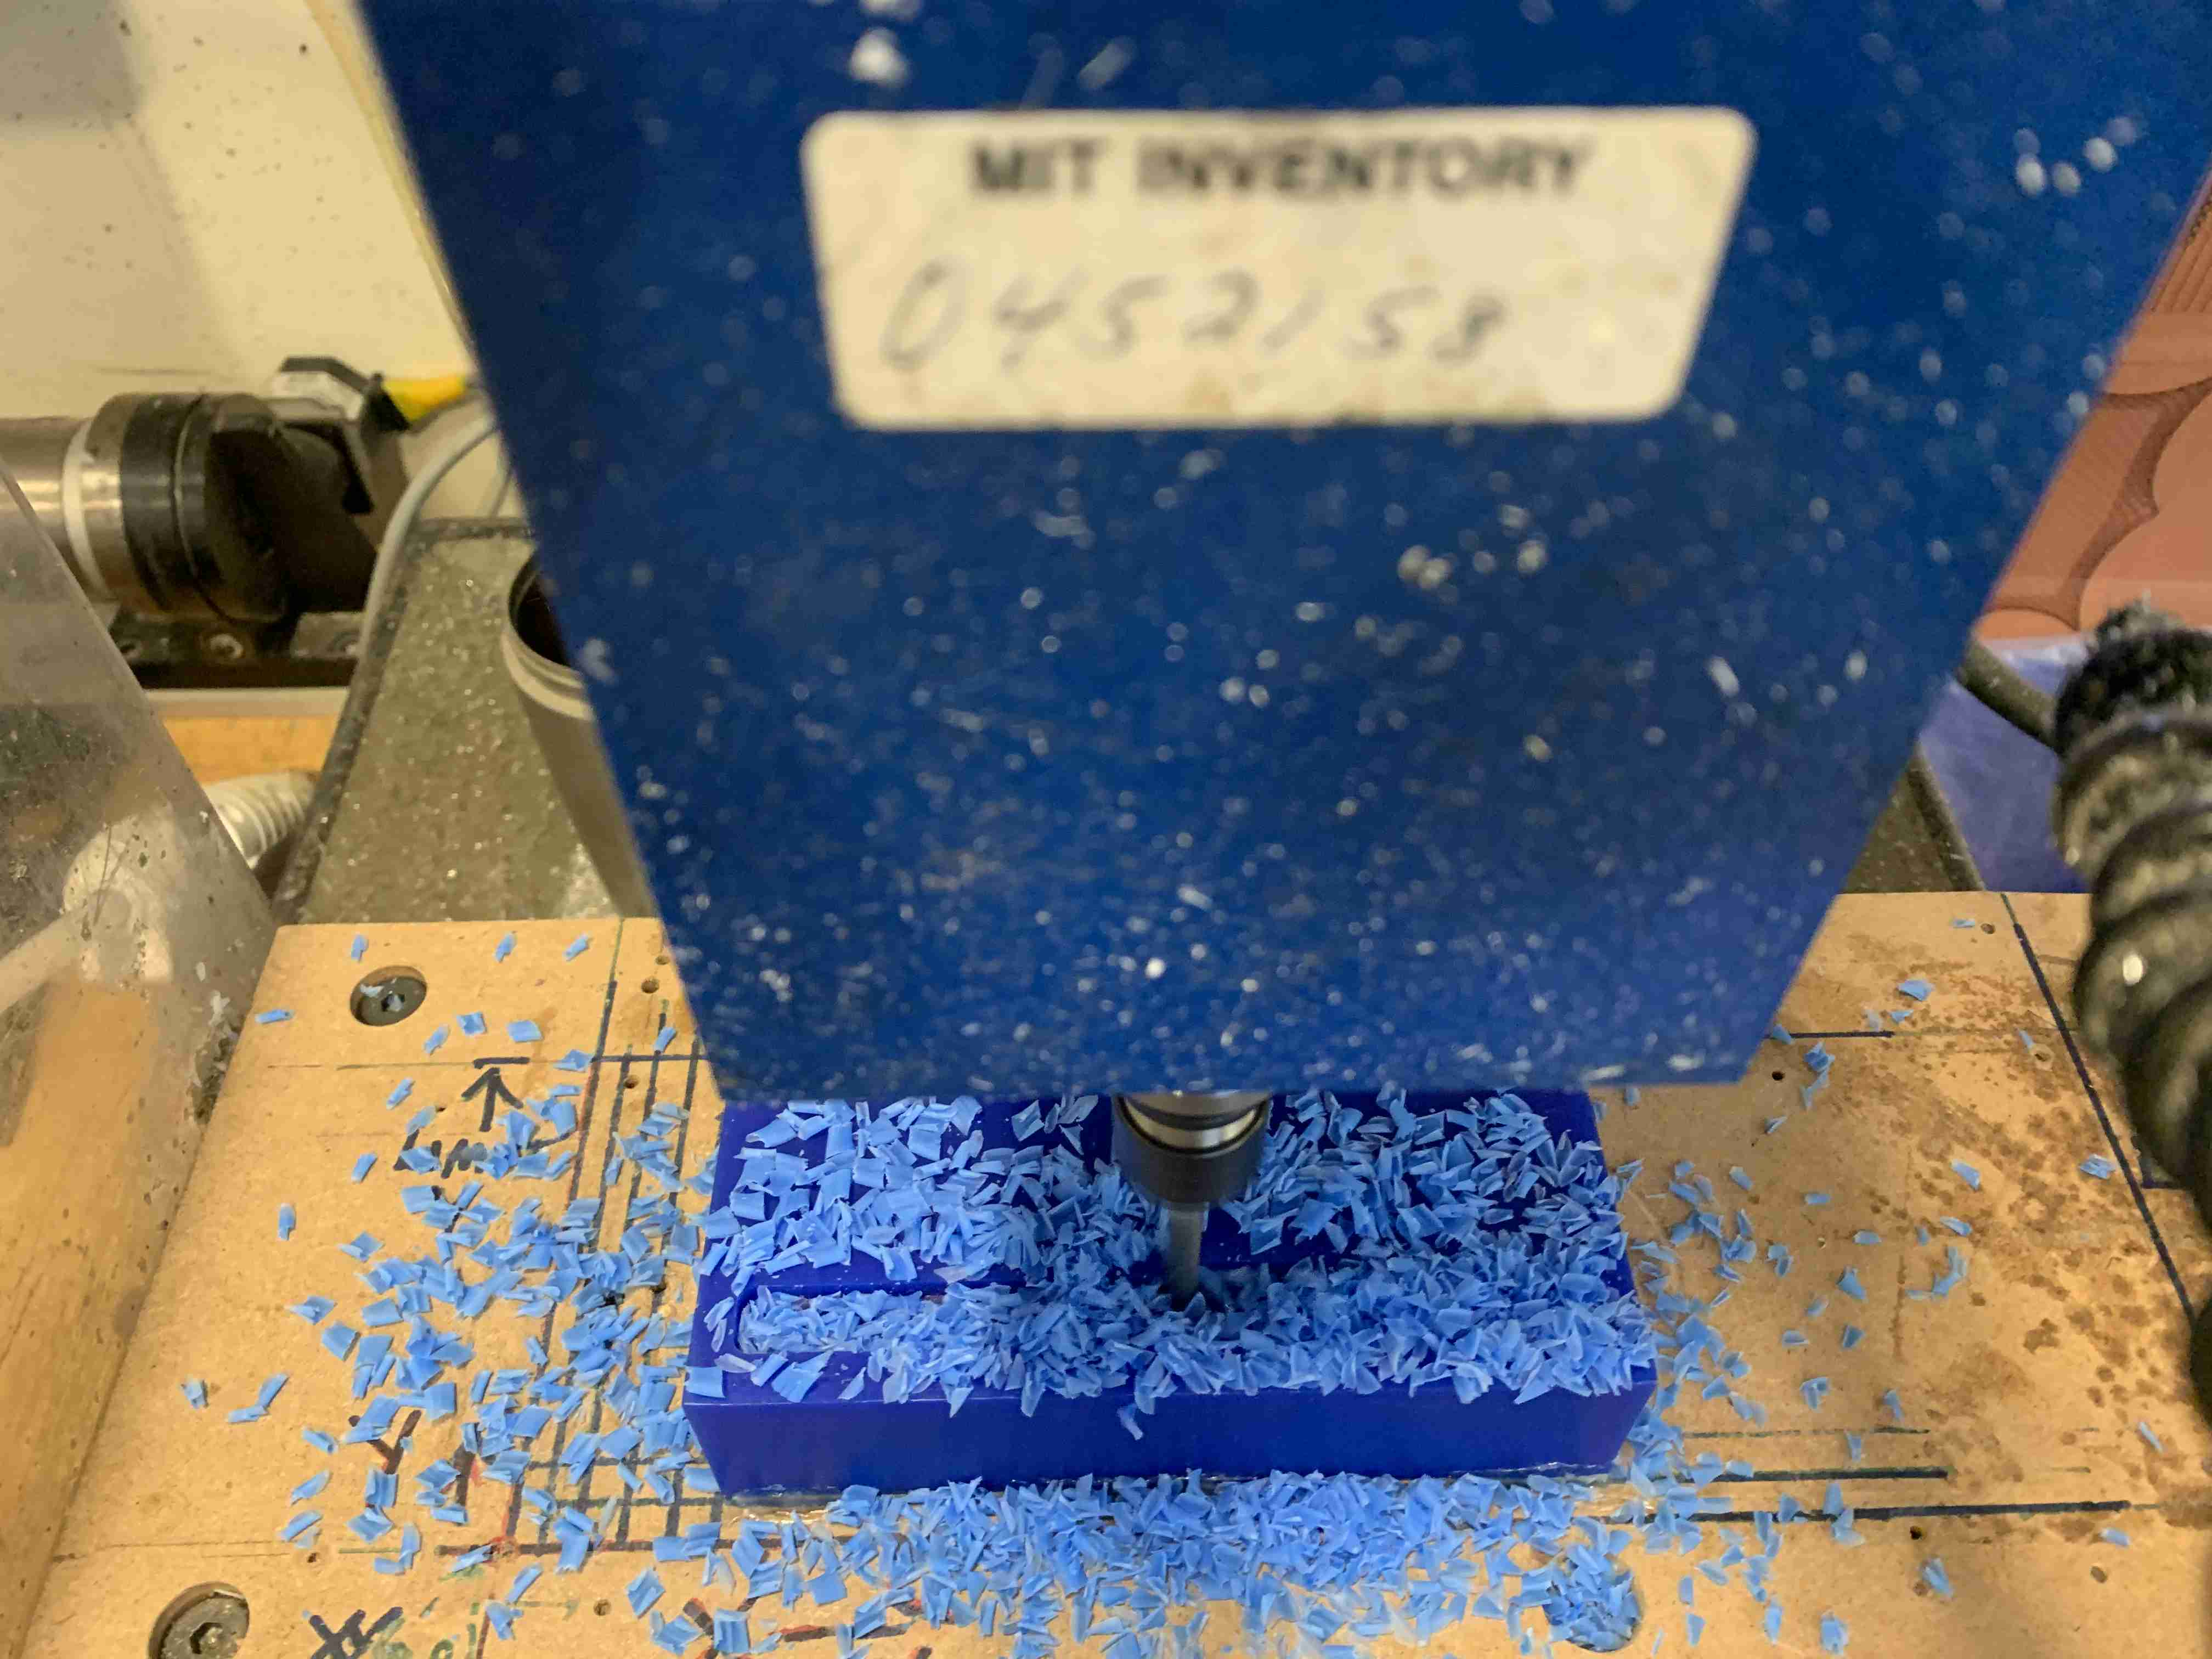
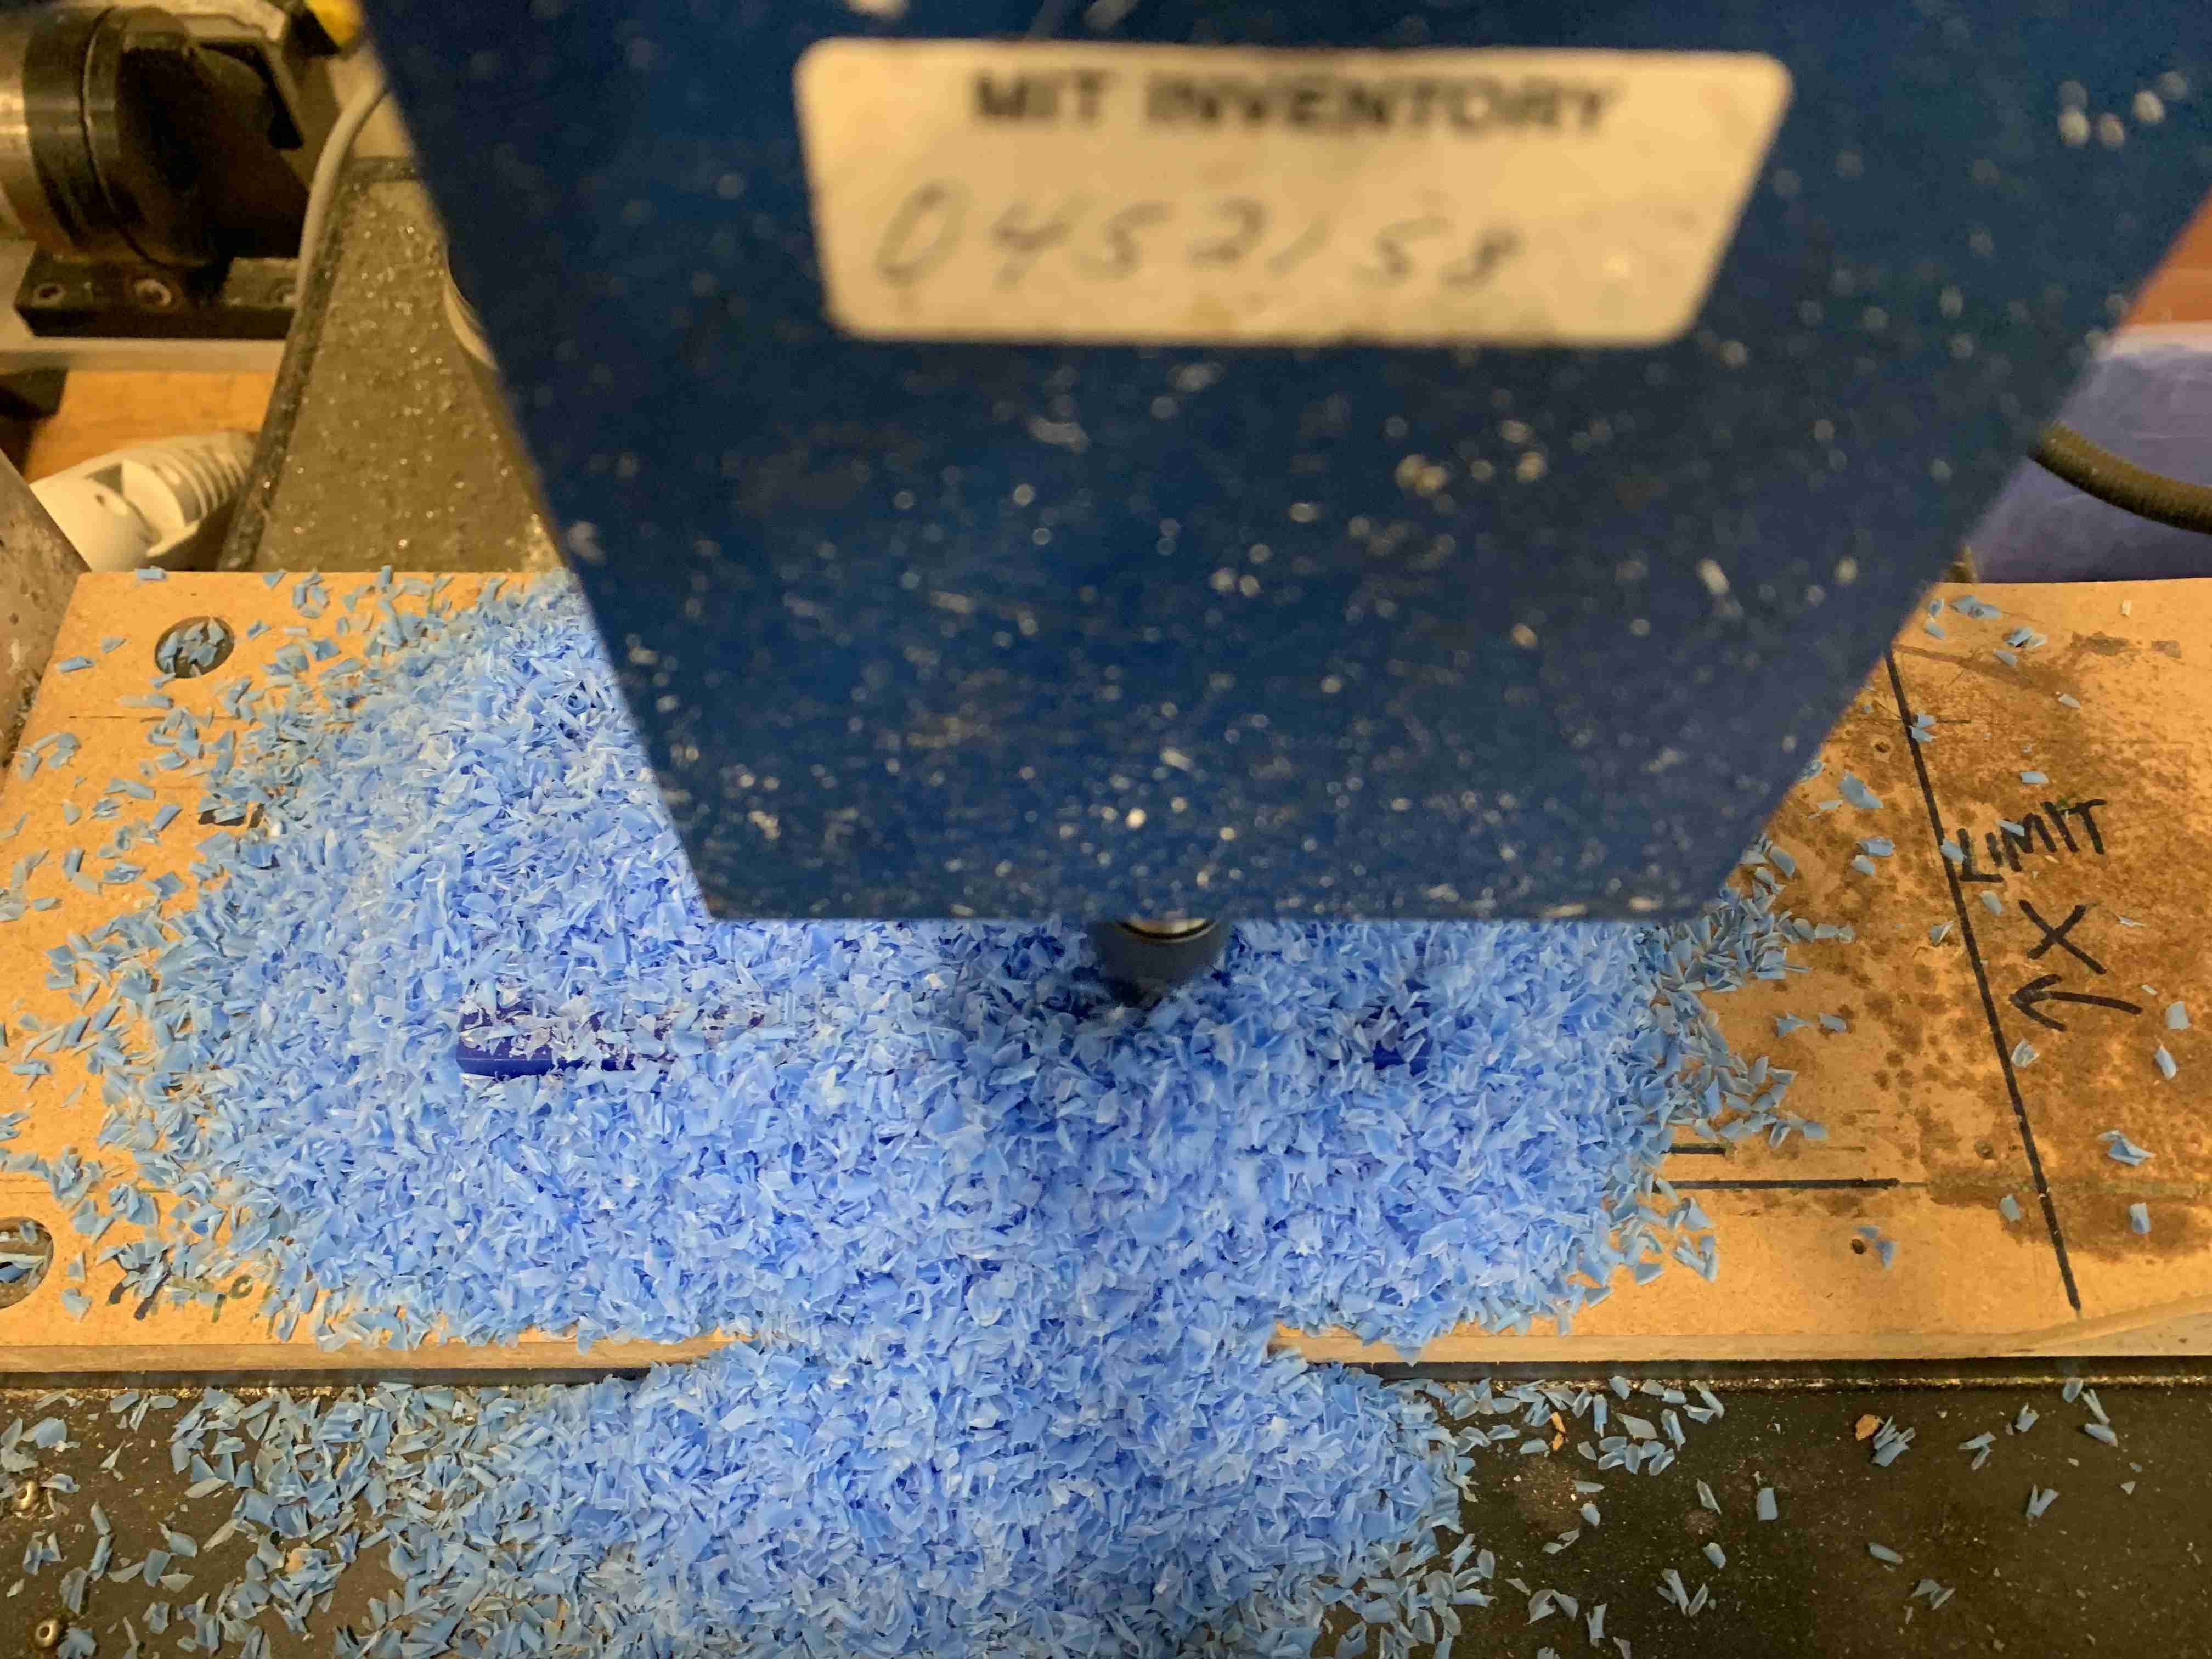
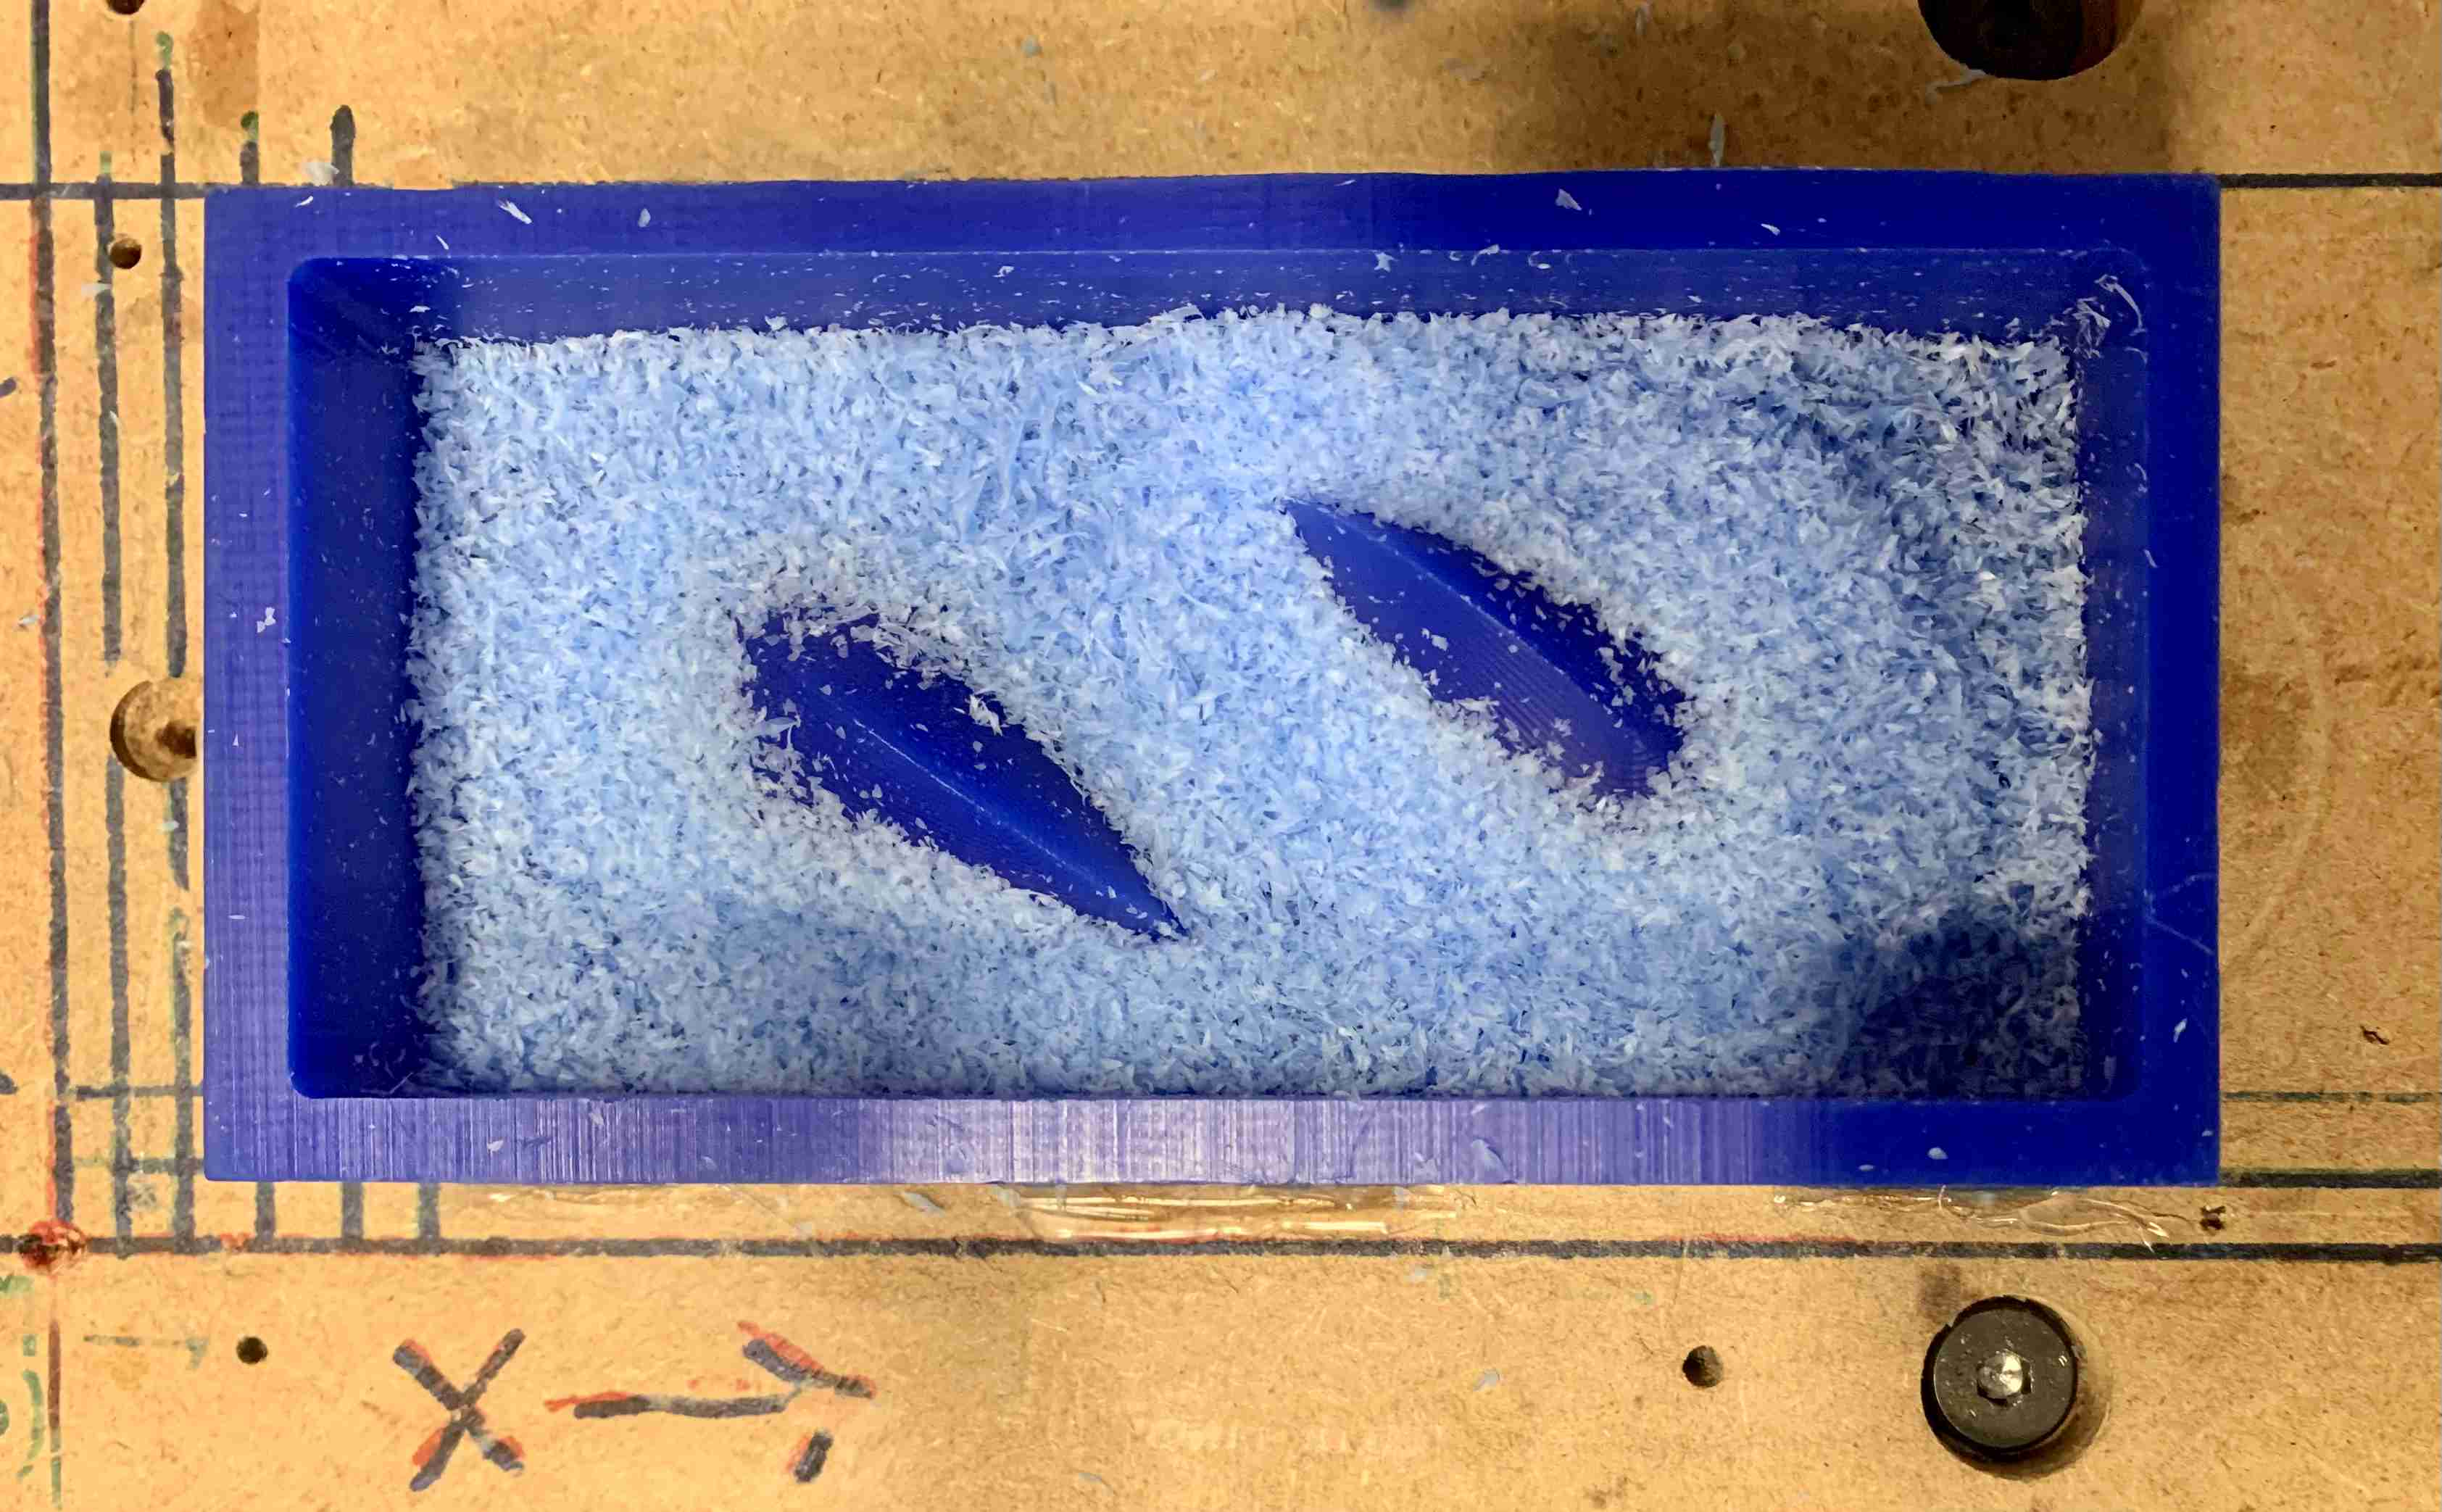
After the job is finished and you vacuum the wax, you can check for any errors. For some reason there was a line in the .gcode that the mill didn't like while milling the arcs of the oloid. After Googling the error message "K not valid here." we discovered that this message is fairly uncommon, but the fix was simple. In Mastercam, you can adjust the smoothing setting to omit "K" from the .gcode by selecting "Present arcs as line segments". After making this edit (thanks Jen) we re-milled the oloid's surface by offsetting the z by a small fraction to make sure everything was milled properly.

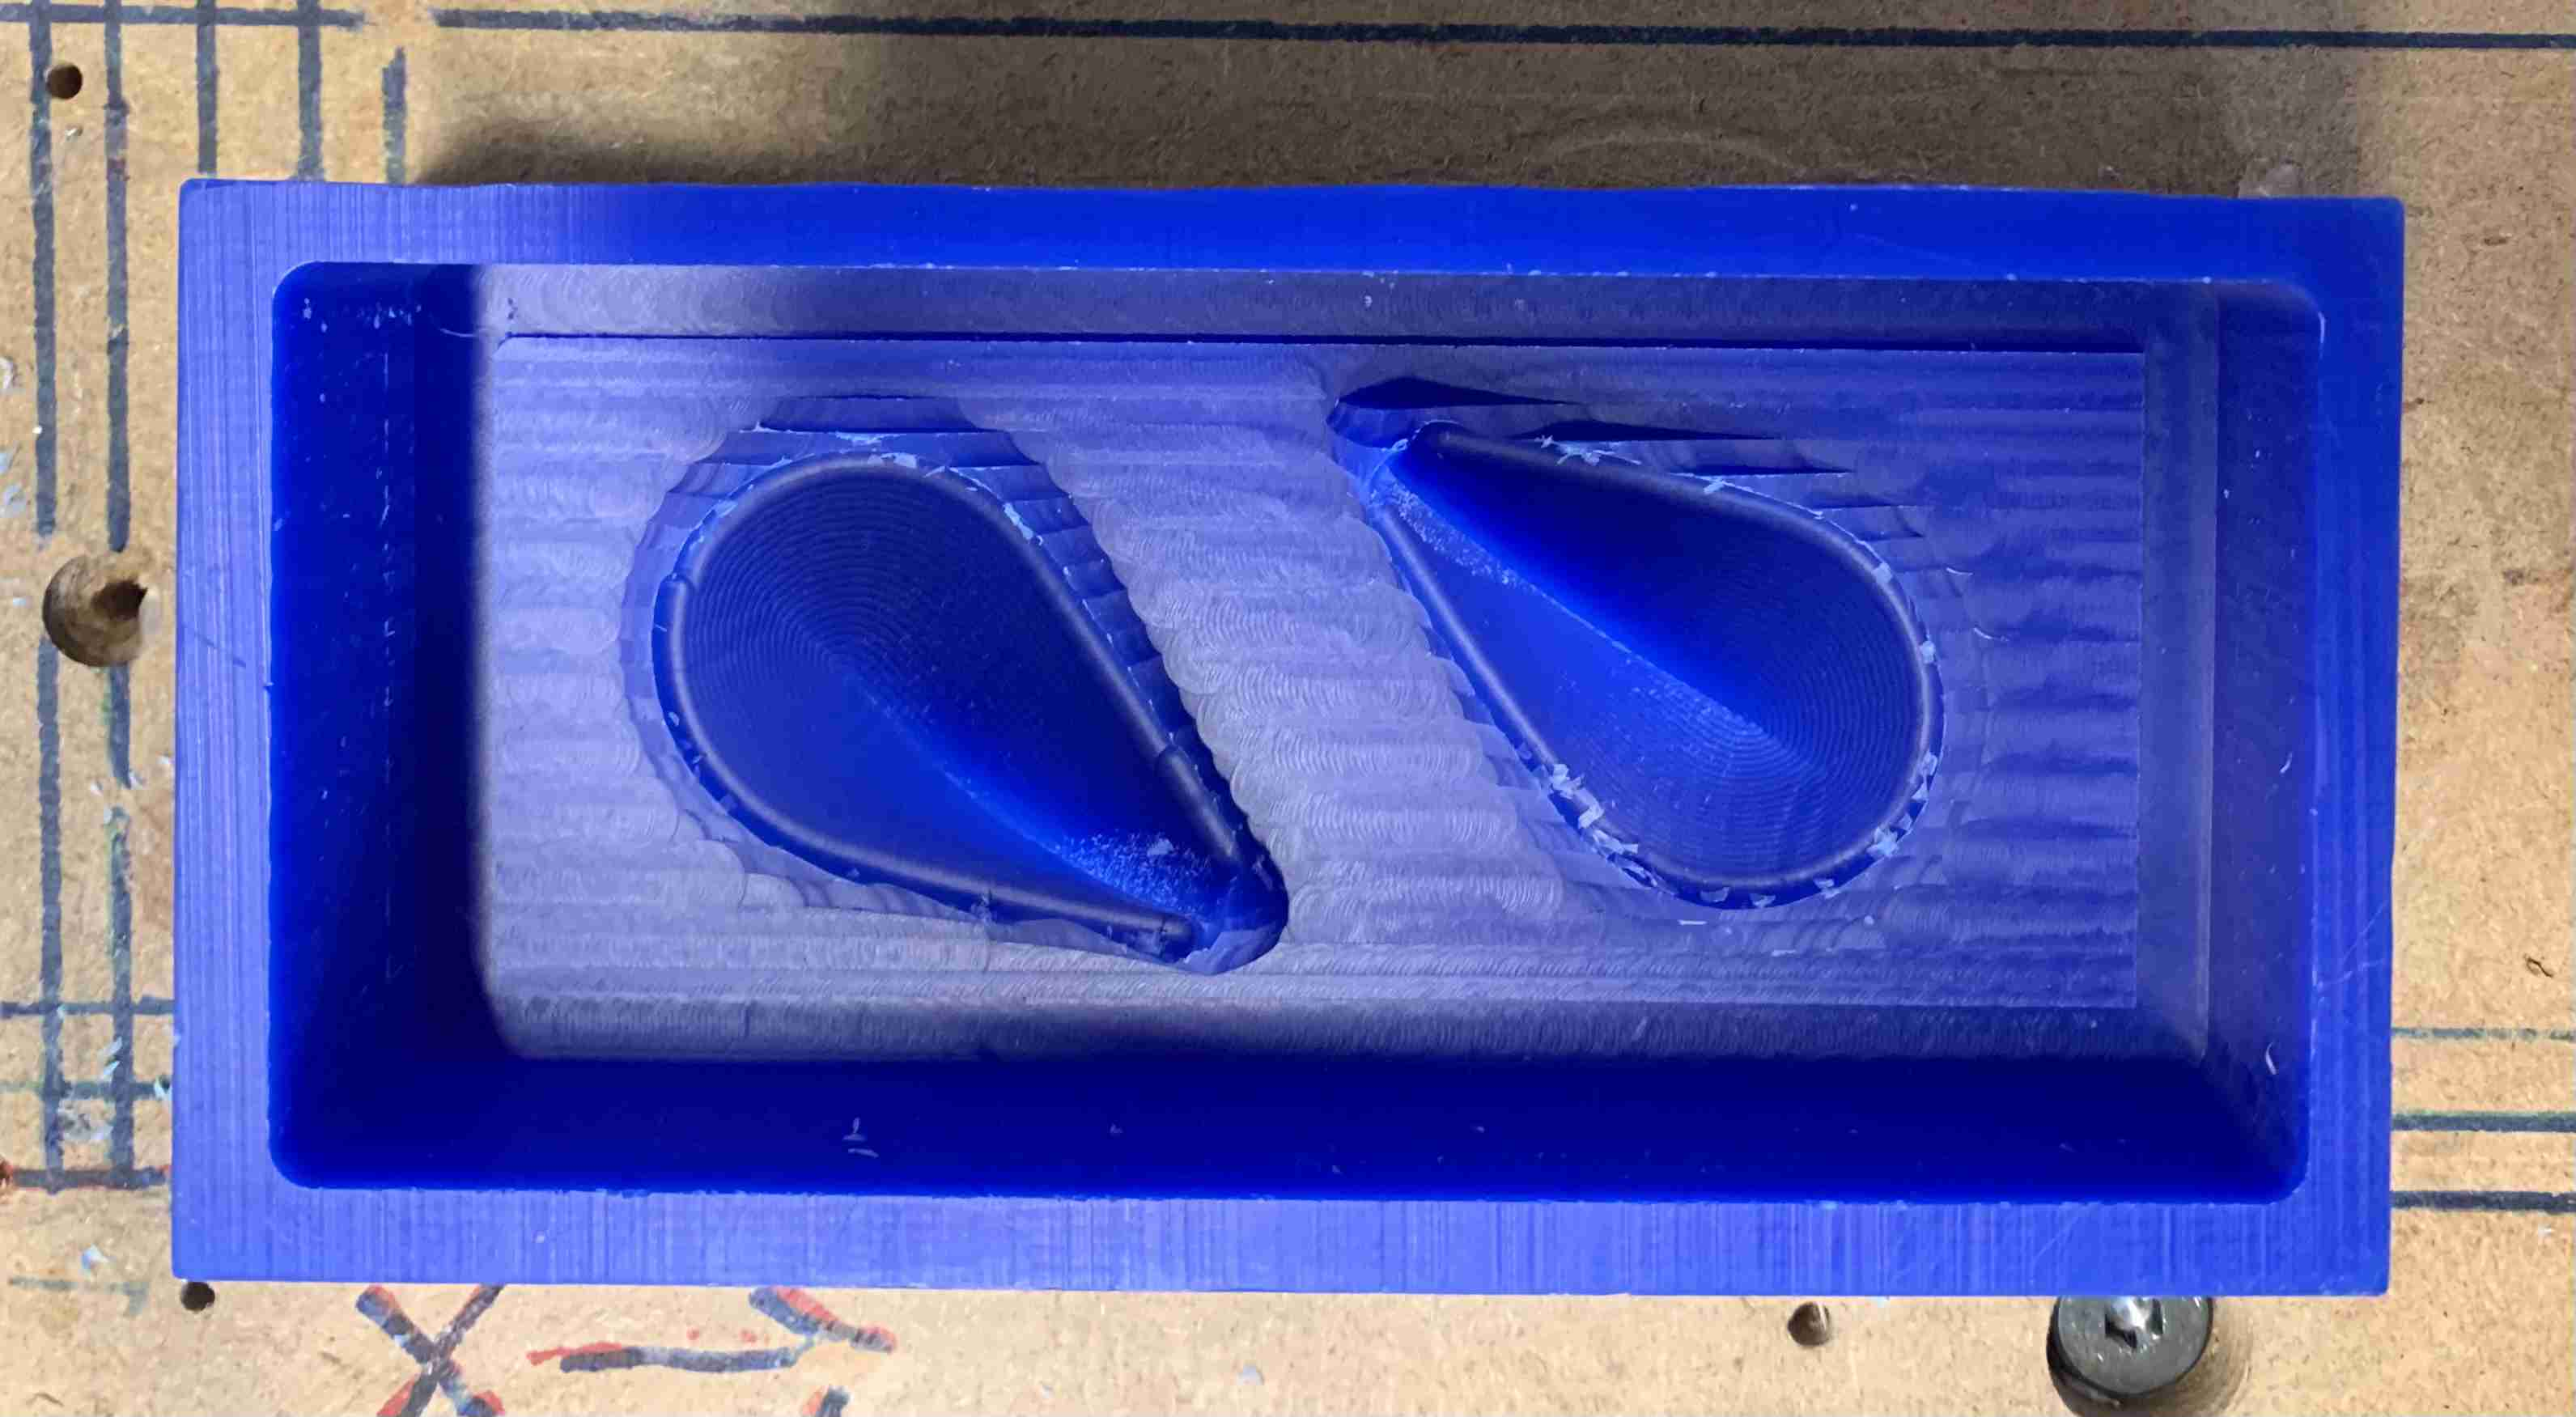


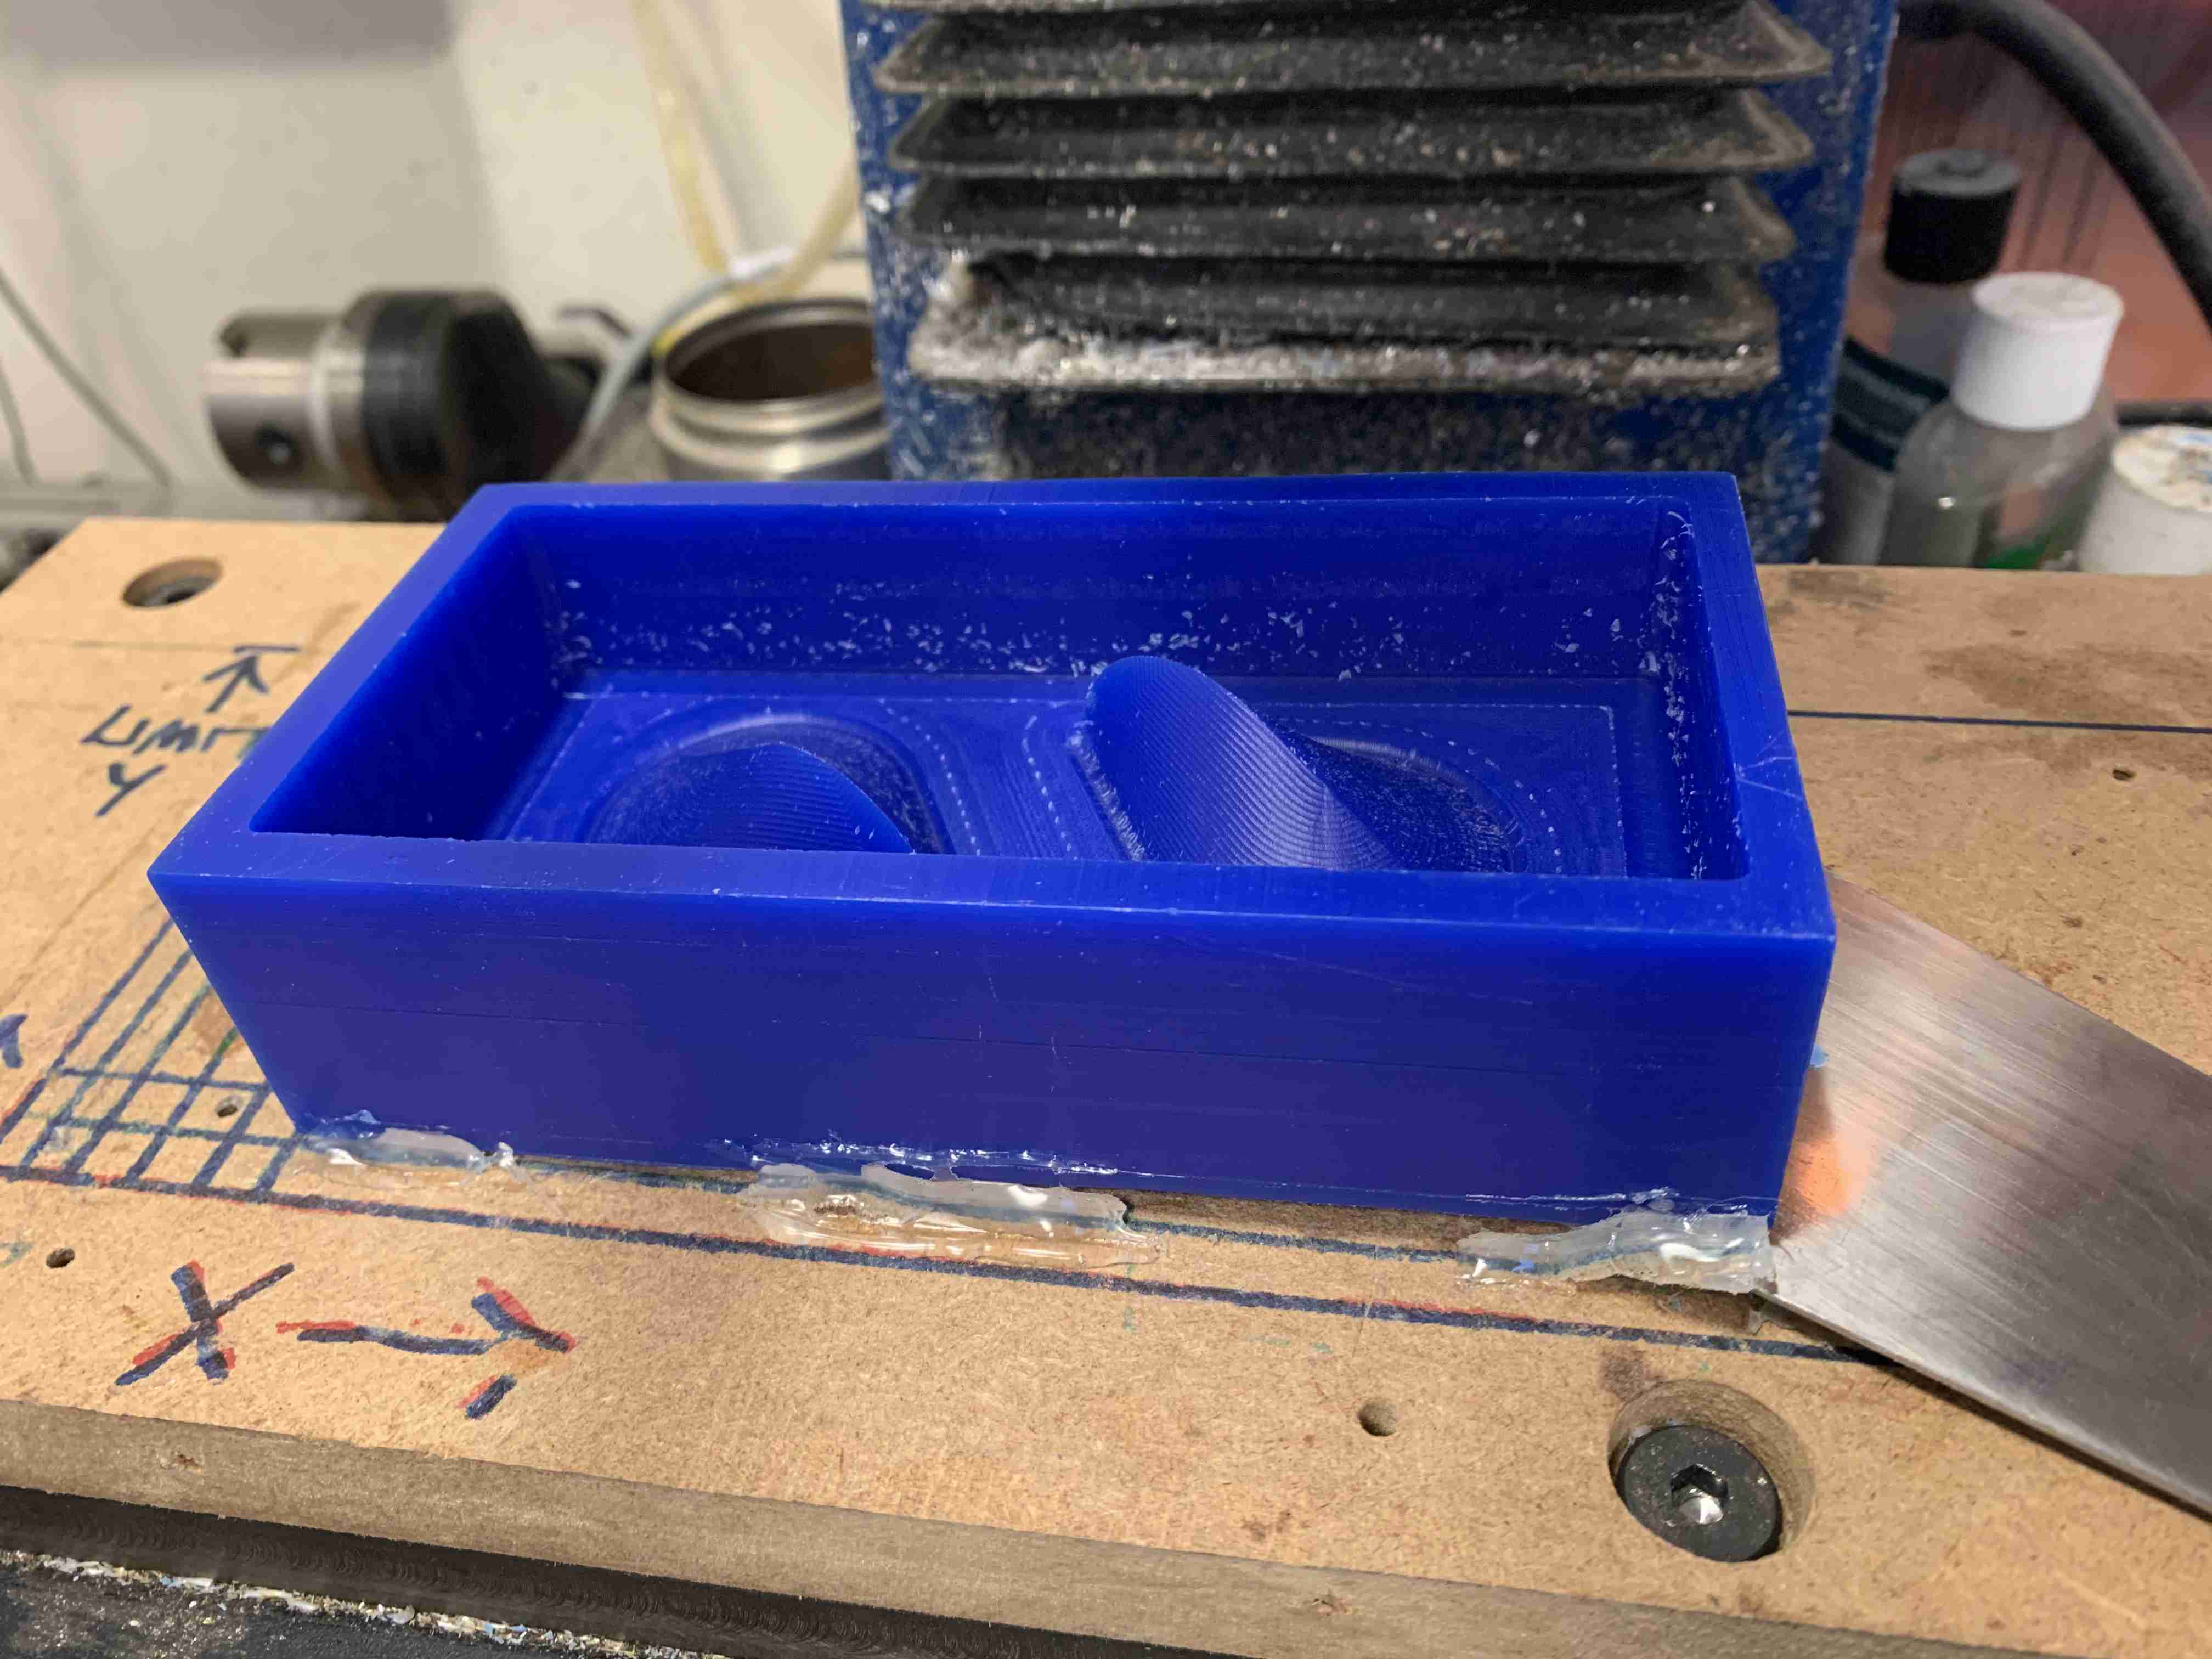
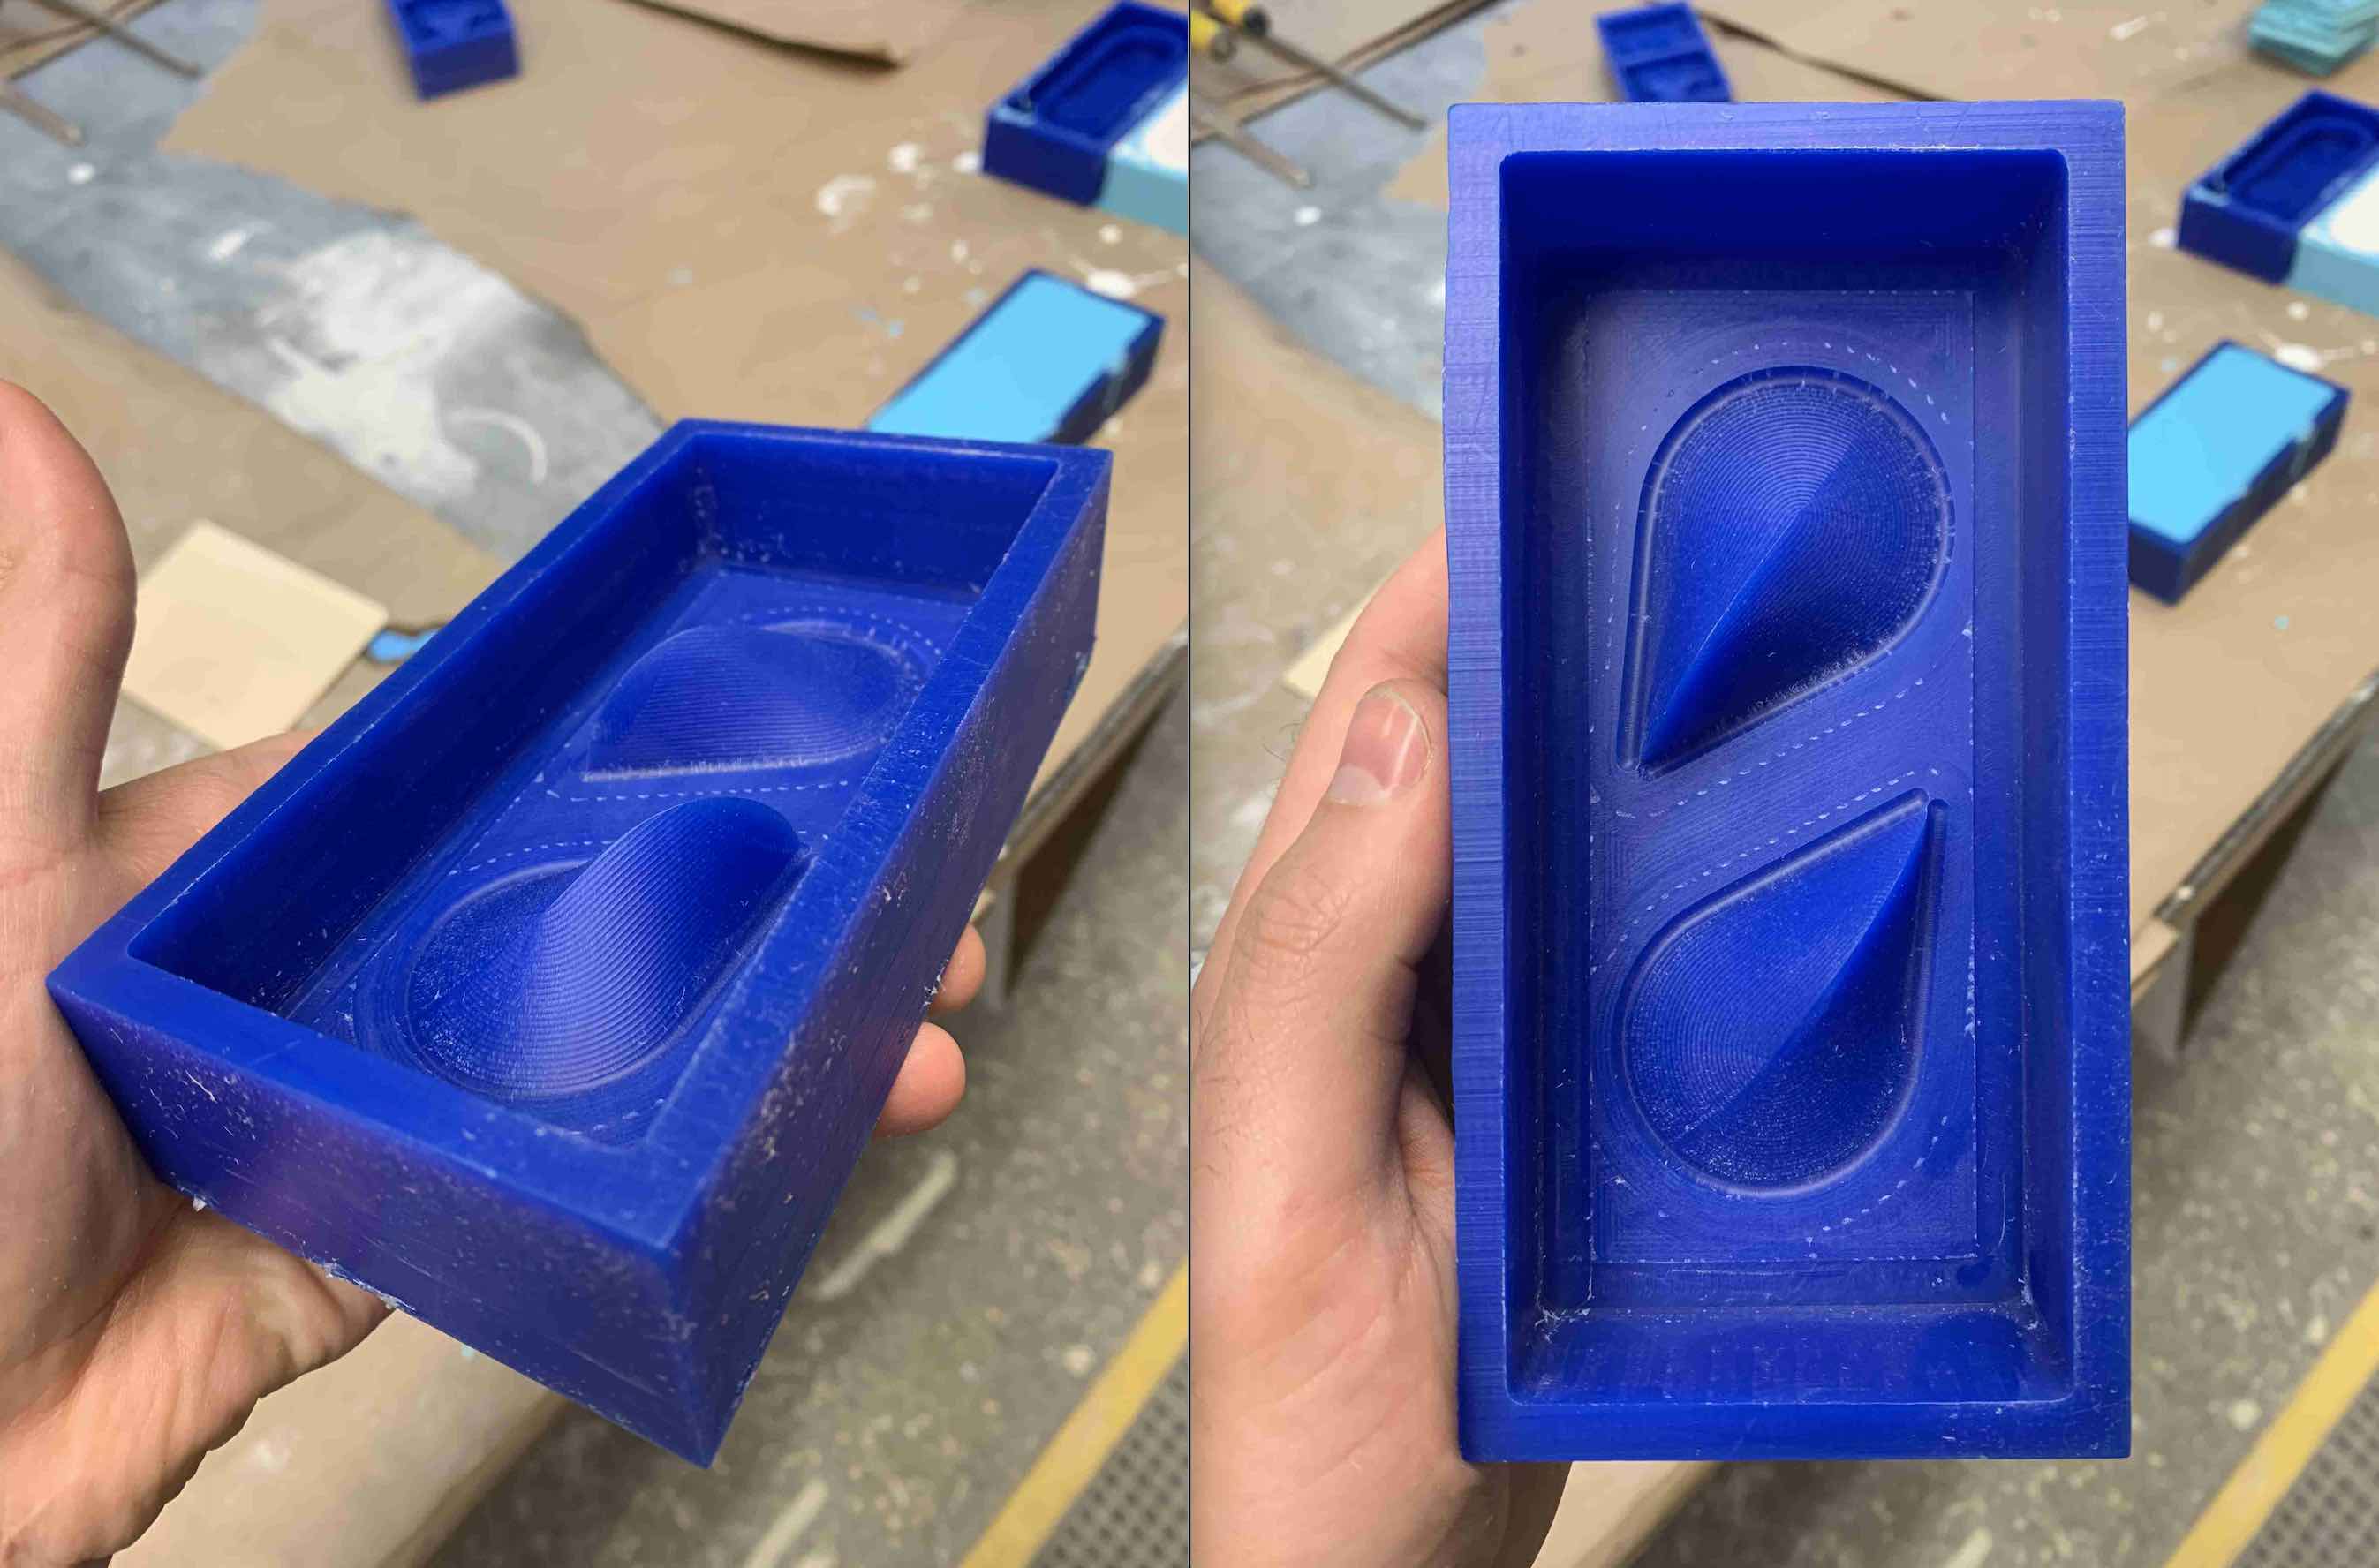
Once cleaned, and removed from the bed, the wax mold looked great, no issues. Now, casting!
Part 2, Casting:
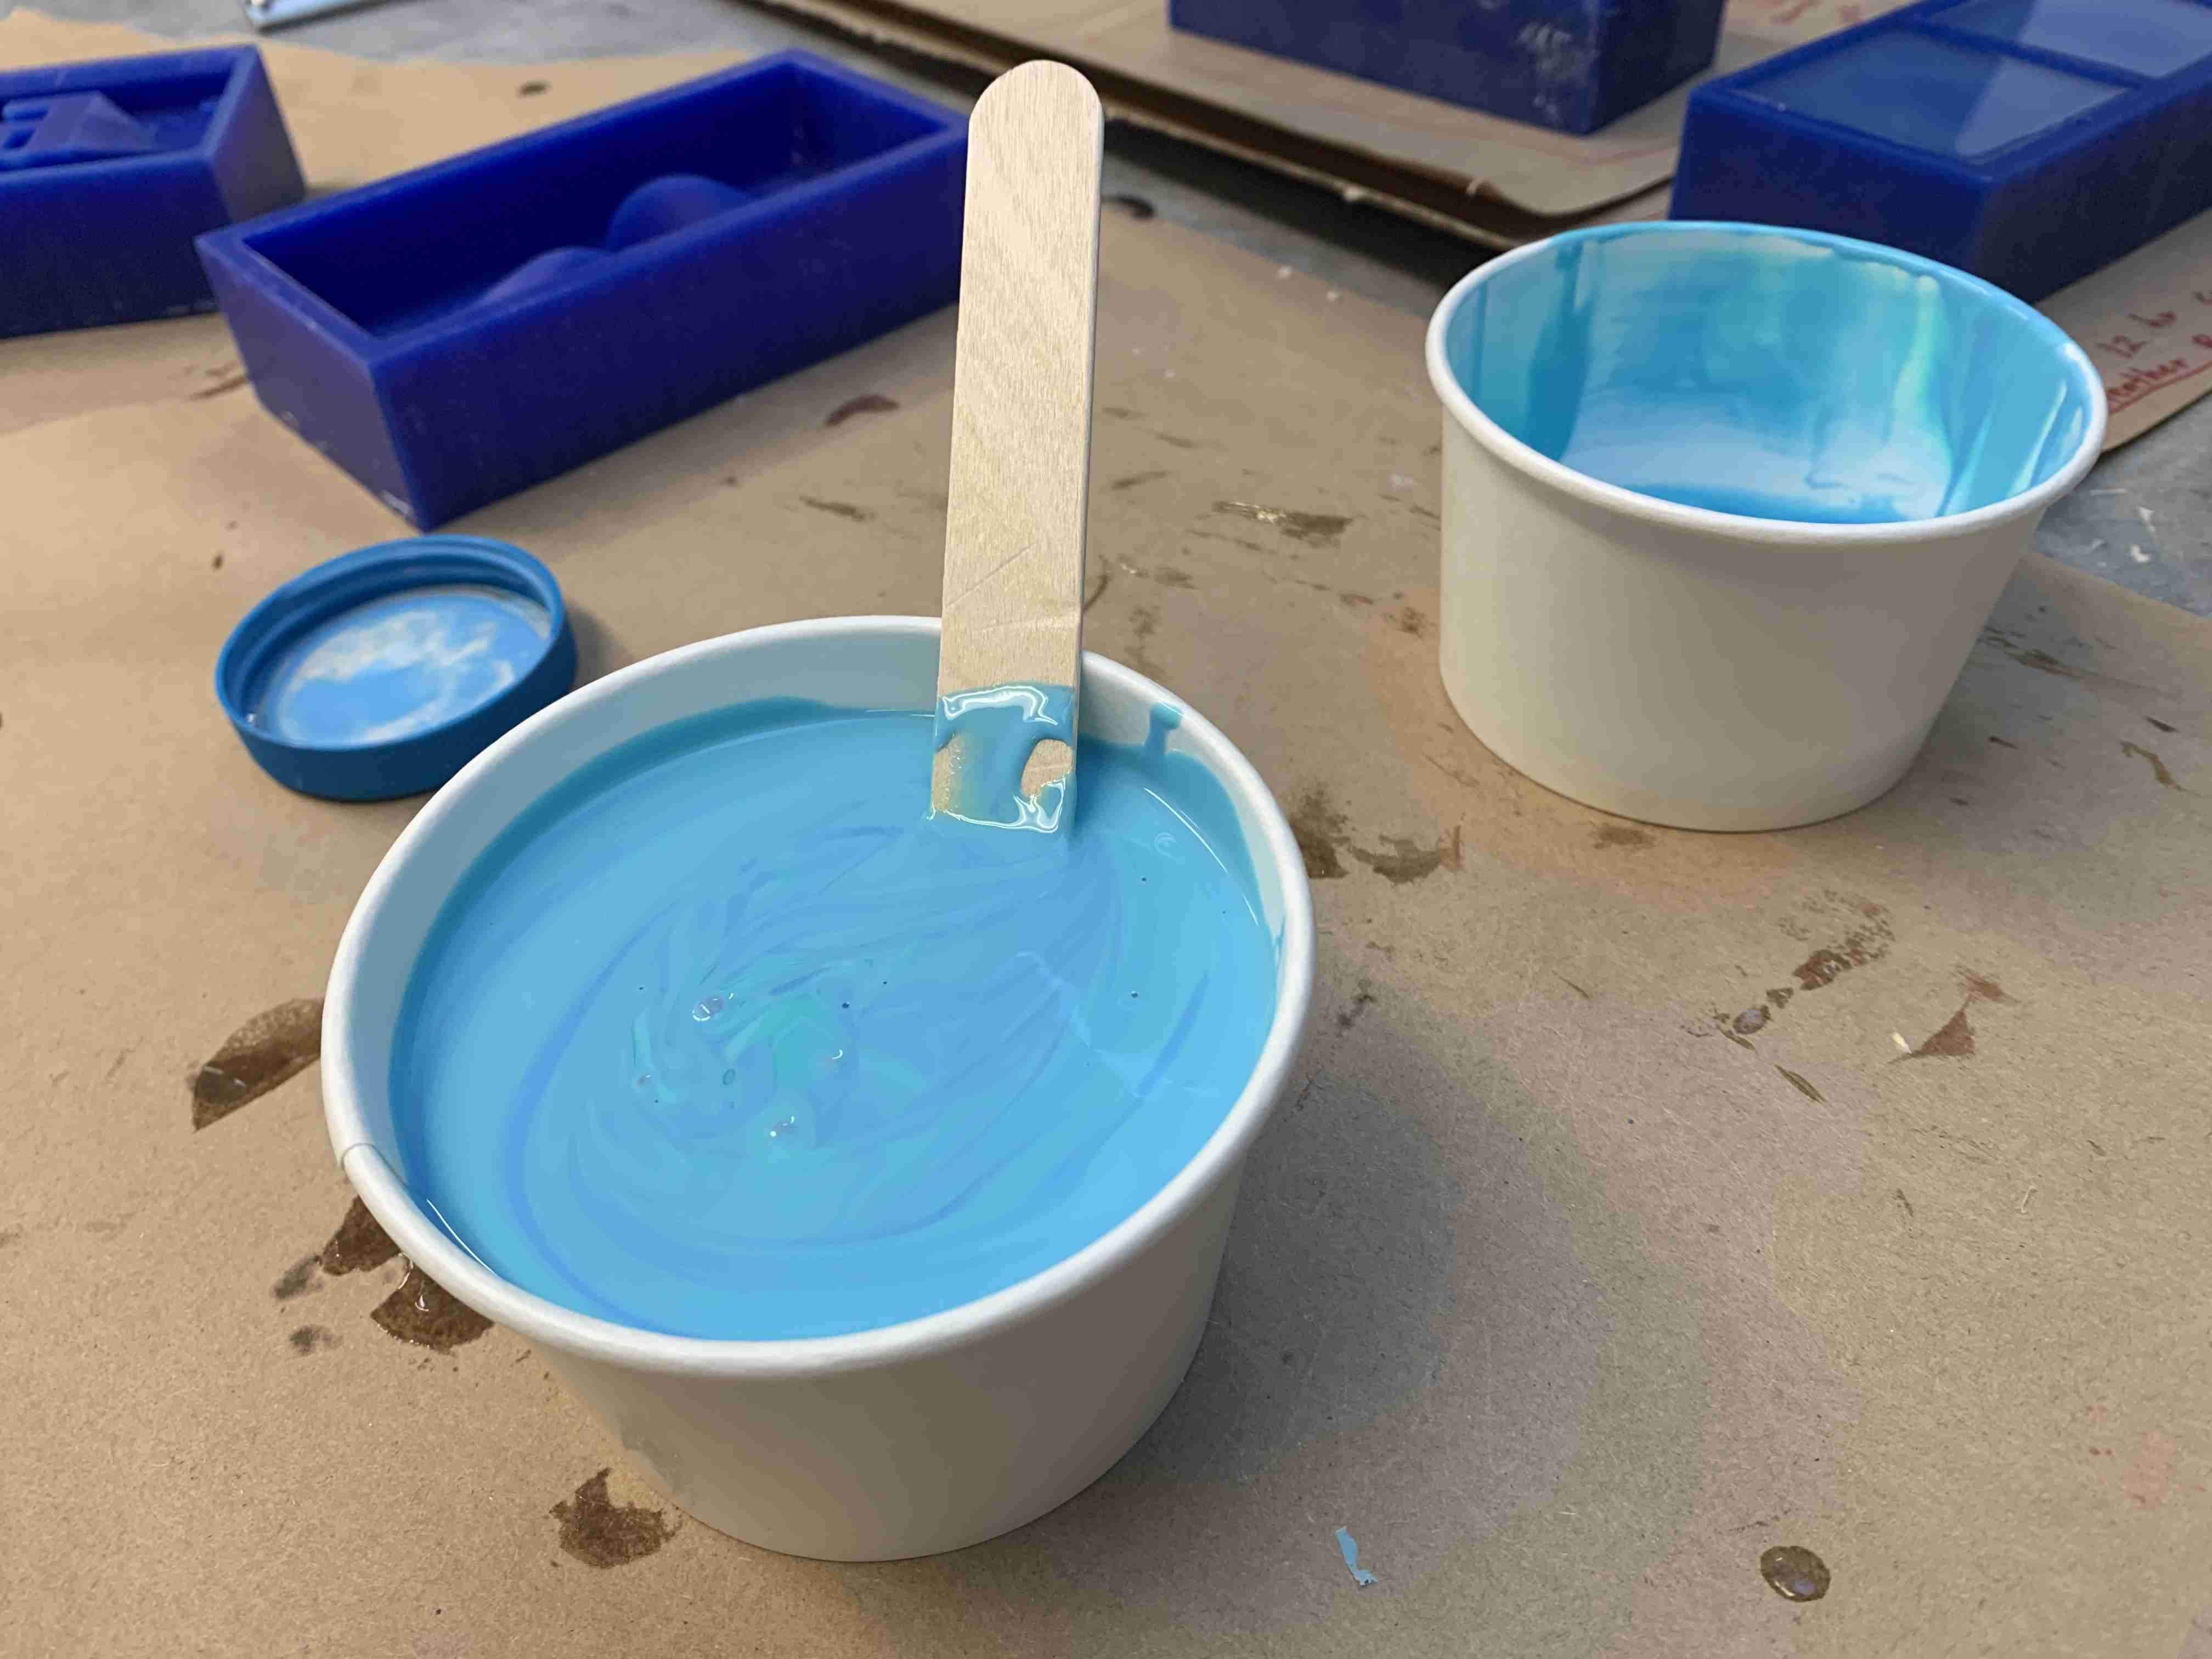
Once the wax mold has been properly cleaned, you can start to mix the Oomoo. Oomoo is a equal part mix that requires 1/2 part A and 1/2 part B. It has the consistency of caramel and needs to be very well mixed. I found it best to mix in oone single direction to reduce the amount of air bubbles. Then pour into a second cup and continue to stir, ensuring the Oomoo is properly mixed. Once mixed pour a slow bead of Oomoo into the mold, to reduce the amount of bubbles. Once poured continuously drop the mold onto the table to remove bubbles. The let sit to cure for 90-120 minutes.