week 1: press-fit kit
this week we were tasked with designing a press-fit kit. take some two-dimensional shapes, design them with slots and tabs so they can connect together in various (three-dimensional) ways, and either lasercut or vinylcut a full kit out of them. the idea is that you should be able to make multiple different objects with the same set of pieces.
fun with vinyl
this assignment was a lot of fun--i especially enjoyed learning how to use the vinyl cutter and got slightly carried away making stickers of my hall logo. it was also definitely challenging--while i'm familiar with gimp and inkscape, i have no experience whatsoever with 3d CAD modelers. this meant that i drew all of my shapes as 2d objects in inkscape rather than designing them in something more laser-cutter-friendly. luckily, i ended up using the vinyl cutter a lot more than the laser cutter--though i did laser-cut my press-fit, it was a very simple one-piece design where the only consideration i had to make was how big the pieces came out. (i made them too small, but then had a computer disaster and couldn't find time to re-cut new ones. everything still turned out pretty well, just a bit smallish.) i definitely spent the most time tweaking the files for the vinyl cutter: it was really challenging to get the fab modules and the vinyl cutter working at the same time. regardless, here's how i made the 41w (my hall--the 4th floor of the west parallel of east campus) stickers:
step 0: create an .svg or .png image file for the vinyl cutter to read. both the original logo and my .svgs (done by bouncing back and forth between inkscape and gimp) are below:
the original logo
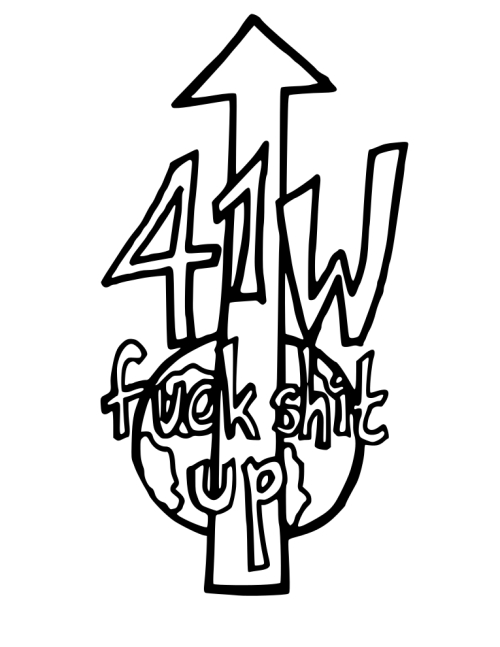
the svg i sent to the vinyl cutter
step 1: get the fab modules correctly set up. i have no pictures for this because it just took a whole lot of tweaking of different parameters to get a good path output.
step 2: set up the vinyl cutter (make sure the right colour of vinyl is loaded) and send the .camm.
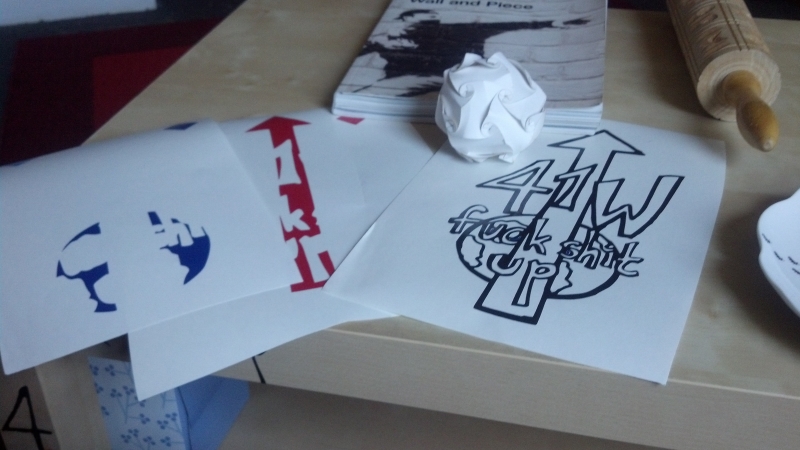
step 3: if all goes well, you should now have a cut piece of vinyl! once you extract it from the machine and weed out all the unnecessary bits, you can actually see what you've created.
step 4: cover the sticker with some tape. get super excited about the fact that you have successfully made your own sticker.
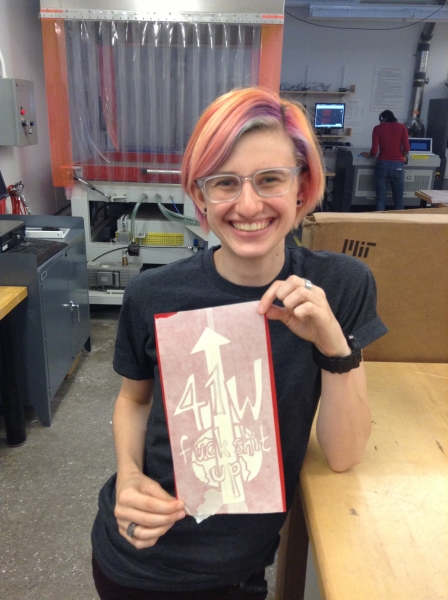
step 5: stick all over everything. i stuck this one on my laptop, but given that my laptop is still in crisis mode i don't have a picture to show you.
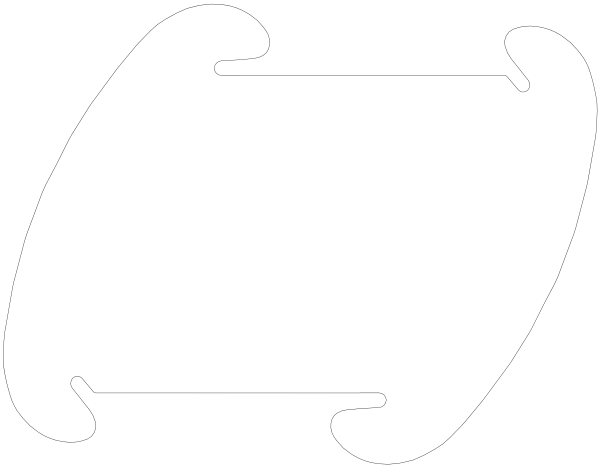
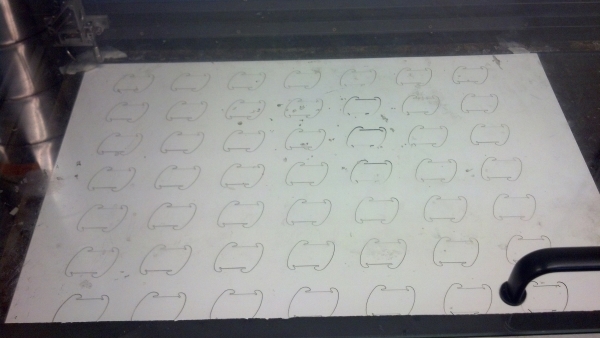
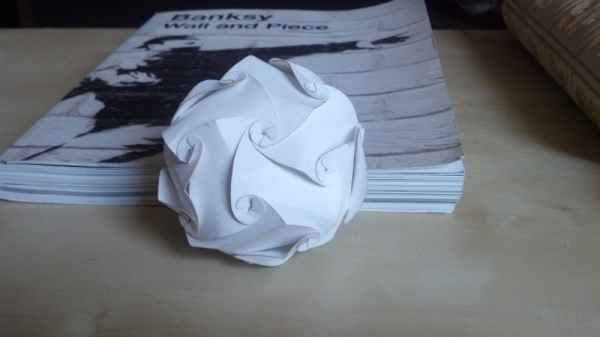
onto the actual press-fit...
i got the inspiration for the press-fit kit from this instructables site. i used the laser cutter to make about fifty pieces out of bristol paper; the paper ended up being too stiff for the small size i chose, but i made things work anyway. pictures below.