week 3: 3d printing and scanning
creating a model
i used solidworks for the first time this week! it's an amazingly powerful tool--thanks to leigh christie for providing me (and plenty of our other classmates, too) with a student license. i usually have a really hard time thinking in three dimensions, but solidworks makes visualising 3d space much easier. so for this week's project i was able to design this fun thing:
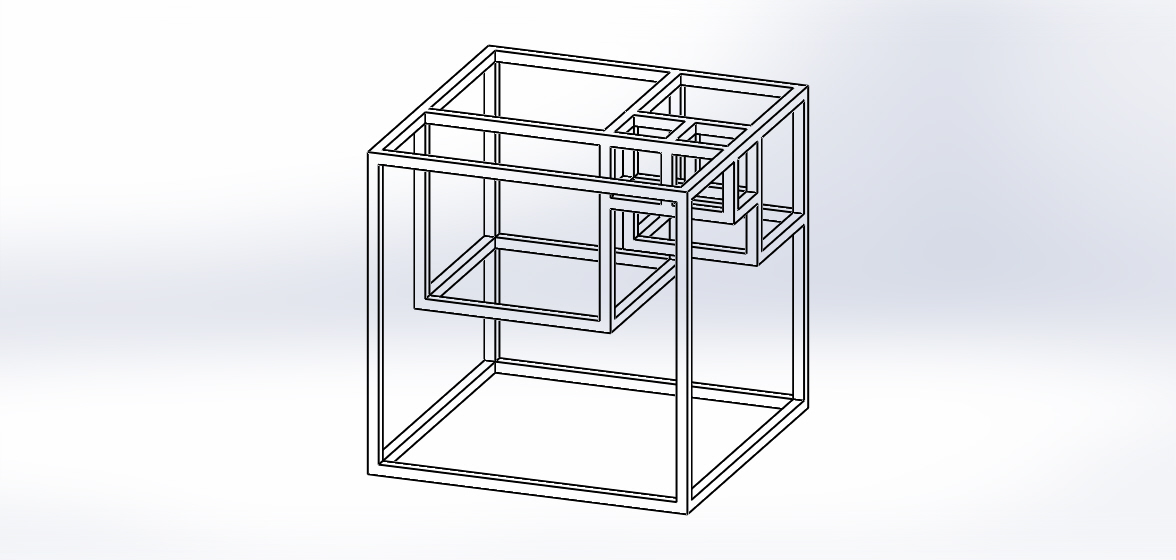
dimetric view

front/back view

left/right view

top/bottom view
this is a three-dimensional representation of the first few numbers in the fibonacci series: the smallest boxes have side length of unit one, the next biggest two, then three, then five. i spent a while playing around with good ways to nest them: i knew i wanted the whole thing to be a cube, so i wanted to contain the smallest blocks inside the largest. i also wanted to build off of each side somewhat organically, so i ended up structuring it so that each larger block grew off the side of the two smaller blocks.
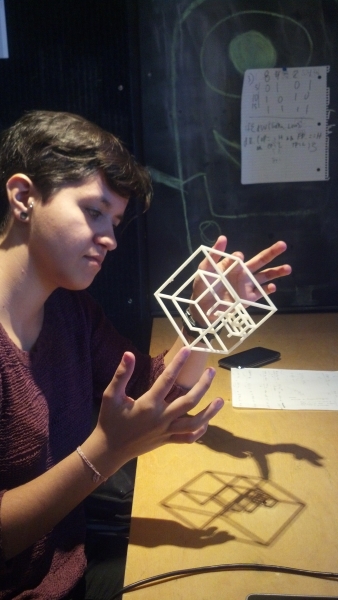
printing the model
something to keep in mind was the size of the part: i first made it so that each edge was only 1.5mm thick, which seemed like a bad plan since 3d printers sometimes have a hard time with features that small. i ended up doubling the size of the part so that the legs were 3mm thick. it's getting printed tonight; fingers crossed that it'll work out and not be terribly flimsy.
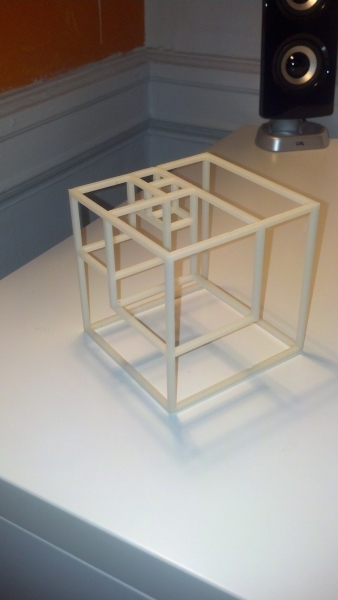
i also had to consider which 3d printer to use. MIT's architecture shop has access to two: a zcorp and an abs printer. the abs printer prints stiffer plastic so it's what i'm using for my project--it creates sort of a scaffold and builds the part onto it. the scaffold can then be dissolved away. the zcorp is almost like a plaster and is a lot better for volumetric projects; it's pretty brittle and prints as a fine dust. both pretty cool technologies, though, and i hope i'll be able to use both at some point.
unfortunately the cube didn't come out of the printer unscathed; the abs printer was having a lot of issues this week and it looks like one plane of the cube got melted and didn't print correctly. but i got a chance to reprint it (around week 5), so it's all fixed and pretty now!
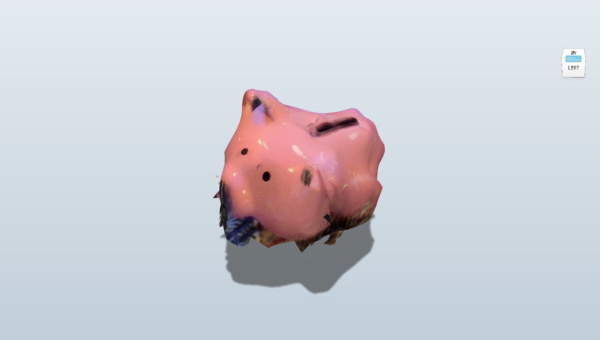
3d scanning...
... is ABSURDLY difficult, even with a supposedly simple tool like 123d catch. i actually spent some time toying around with the super-facy zcorp scanner, but the calibration process was arduous and i found it practically impossible to get correct. so i decided to try 123d catch, thinking it might be a more user-friendly process. i spent a very long time taking lots and lots of pictures in circles around various objects and the best i got was this blobby-looking piggy bank. alas.
i think the main issue was my inability to get even lighting. the exposure of the image is really important to getting a good mesh; the type of lighting i had available made it difficult to get an even exposure. maybe if i have more time this week i'll give it another go, but for now i think i'll stick with modeling my own work in solidworks.