week 5: fabduino
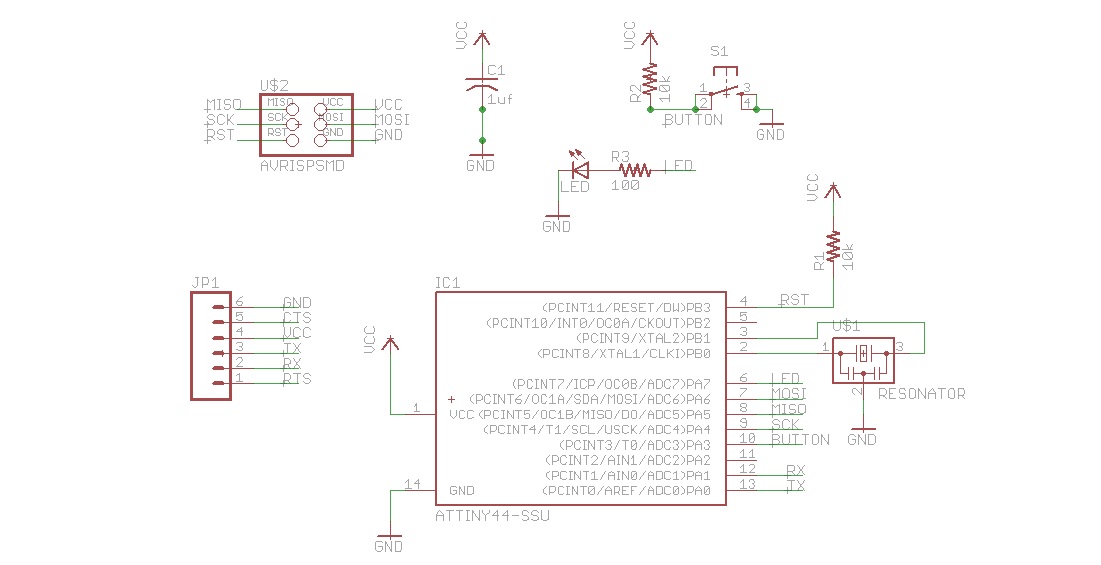
because of the long weekend, this week's assignment was pretty simple: add a button and an LED to an attiny44 microcontroller board. we got to use a software called eagle to do the schematic and board layout, which was nice because eagle is much simpler to use than some of the higher-powered softwares like altium. i also found a really good tutorial online to walk me through the assignment step-by-step: it can be found here. after laying out my board in eagle, my schematic looked pretty nice:
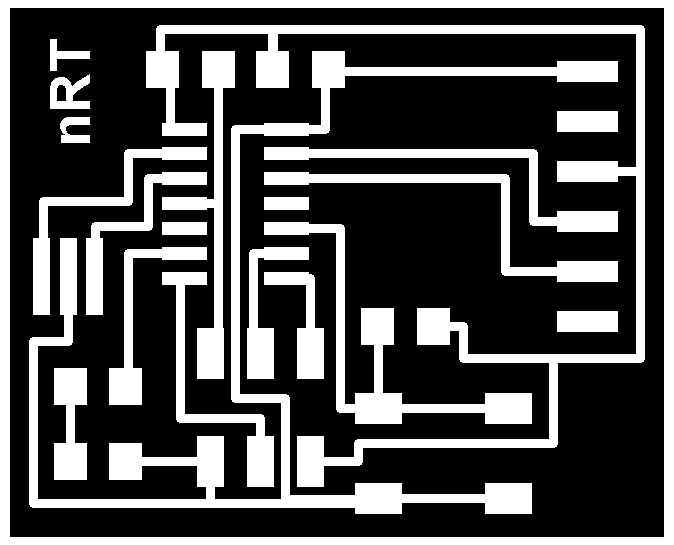
i then had to route the traces by hand (eagle's autoroute feature left a lot to be desired), which was actually kind of nice because it left me room to add my nickname. i did this in gimp so i could get bigger lettering; i also used gimp to generate the .pngs for the modela. protip for flattening an image after you add a border: make sure gimp's BACKGROUND colour is the colour you want the border to be. (this worked for me, though i could have done something funny and accidentally made the traces the background layer).
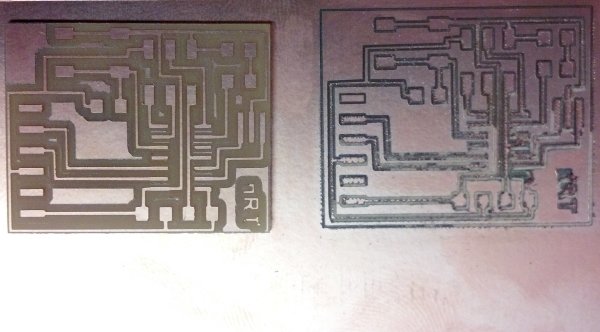
i was a little nervous about routing three traces underneath the attiny, so i decided to try milling the board with a 0.010" endmill instead of a 1/64". this turned out to be a truly terrible idea, because the bit broke halfway through milling my board for absolutely no discernable reason. so i ran a second cut with a 1/64" endmill and got much better results.
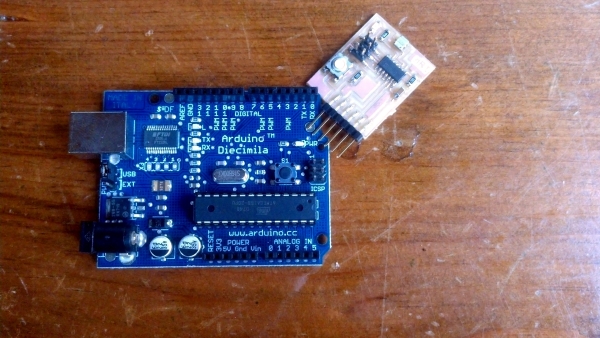
i really wanted to try programming the board (i've had a lot of experience with arduino, and this article details how you can use the arduino software to programme an attiny) but i was out of town this weekend and neglected to bring the correct cables. hopefully i'll get to it soon.