Week 2: Electronics Production
Introduction
This week our task was to assemble an ISP (In-System Programmer) in order to be able to program future electronics boards we might make in the class. In the process of creating this useful tool, we had to learn how to mill, stuff and program a PCB (printed circuit board). I have already made a couple of PCB's of my own, but each time they have been sent off to manufacturers to be etched, instead of milled. This project gave me a good opportunity to learn how to use the modela mill.
Design
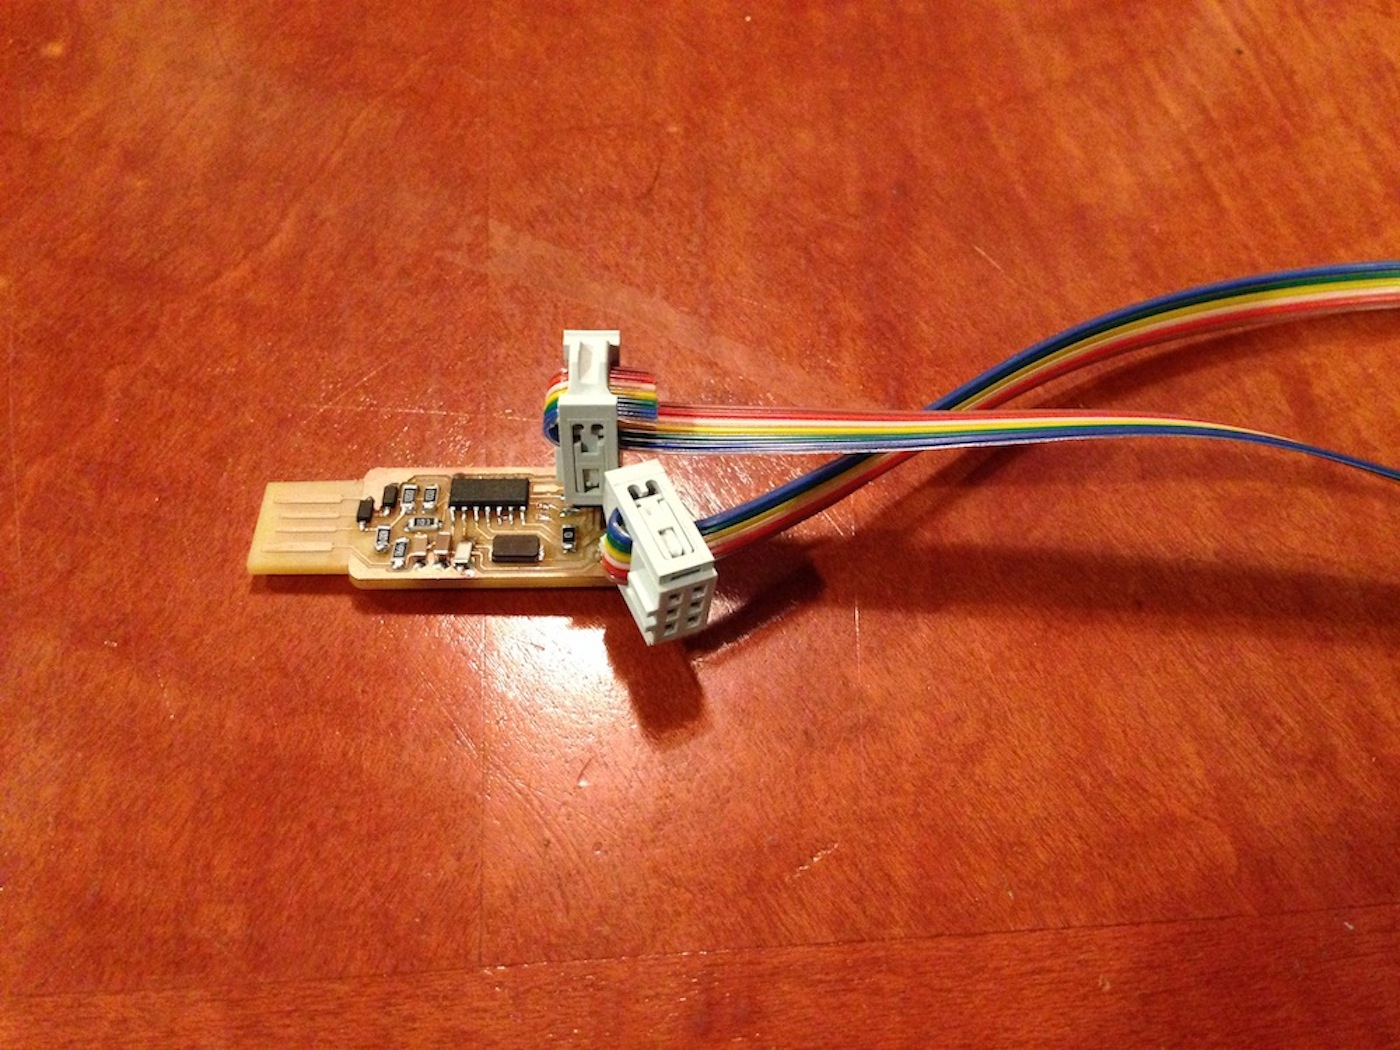
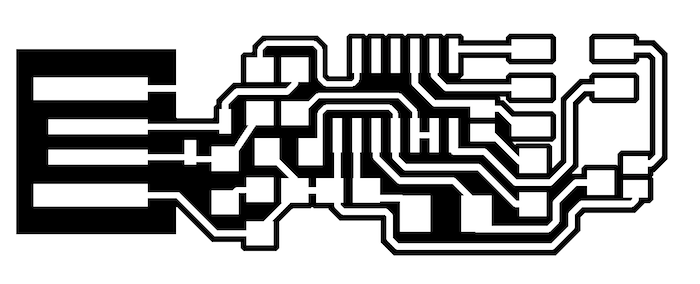
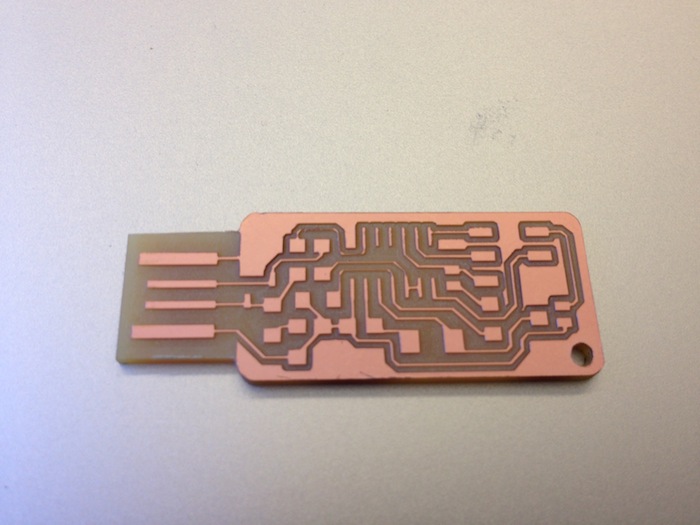
Given the importance of having a working ISP for later in the term and the relative complexity of completing all 3 steps, we were given much less creative freedom this week and asked to use one of 3 designs for the board. I decided to go with Andy's Design because it had the usb component built right in.

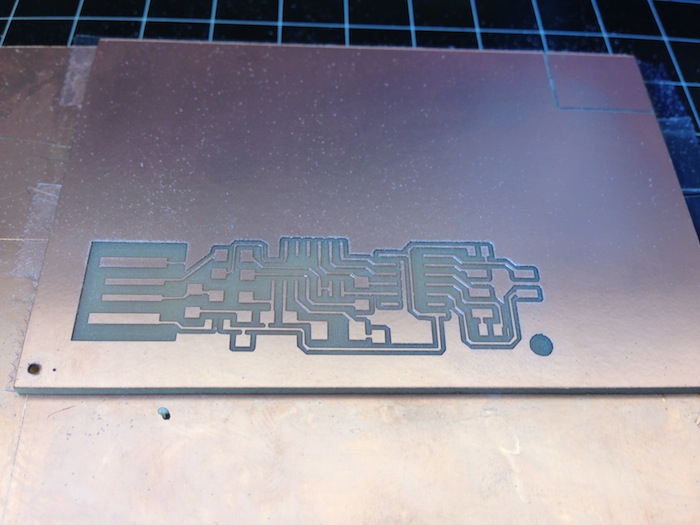
Milling
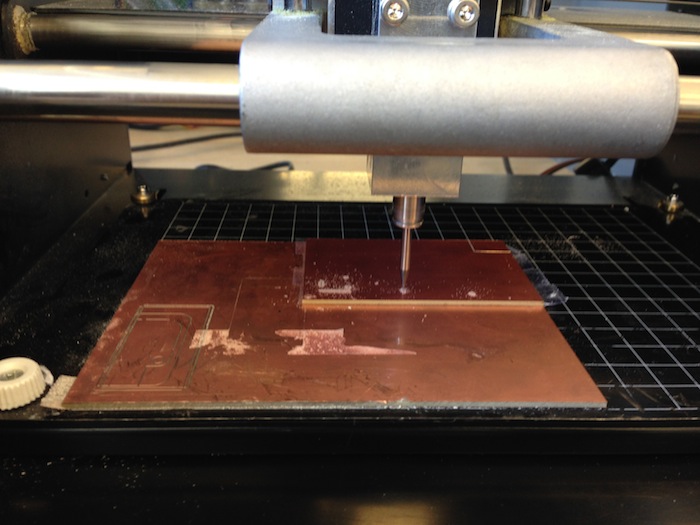
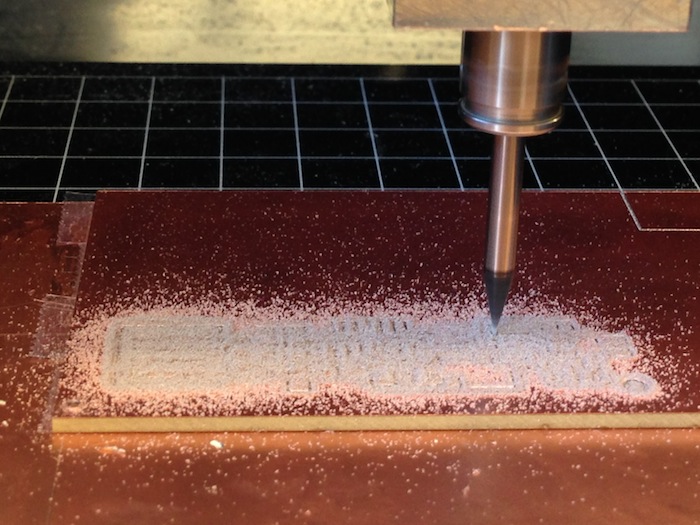
I got right into milling on Friday and found it quite easy to run Andy's files through the Fab Modules to generate the correct traces. The traces were a bit small for my liking but they worked just fine. I did run into one error where the machine had a hard time cutting through the board in one corner, but I increased the cut depth and the problem was solved.
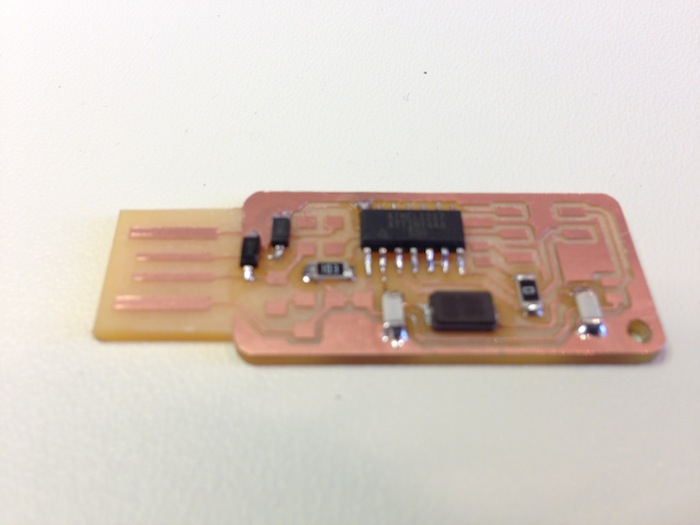
Stuffing
Stuffing, or soldering on the components, of the board was the next step. I've had a good amount of experience soldering boards before so this wasn't too difficult and the surface mount components were pretty easy to handle.
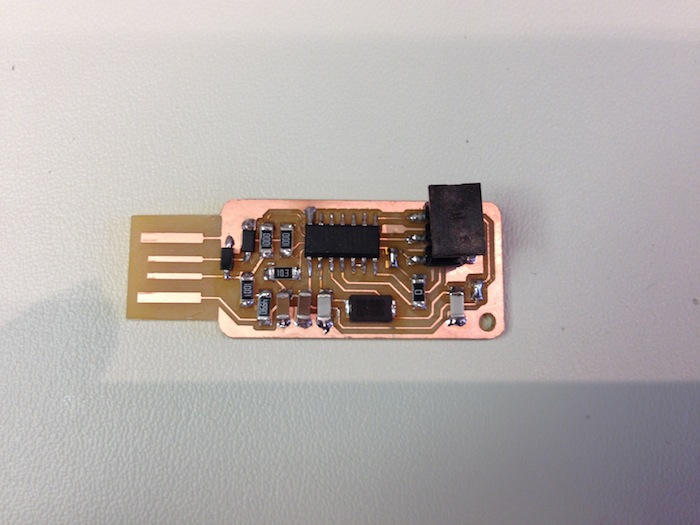
Programming
Programming these boards involves installing AVR tools onto your computer. If you have a Mac you can install the tools with Cross Pack provided you have already installed Xcode Command Line tools.
Download Files
Then we take Neil's firmware package (included above). If you have another programmer then you can install the files onto the ISP key by following these steps:
- Plug the key into USB for power
- Connect the other programmer to the computer and via the 6-Pin connector to your board
Navigate to the unzipped firmware folder and execute the following in terminal
 make clean
 make hex
 sudo make fuse
  *Respond no to the prompt*
 sudo make program
If all of that succeeds you should have a functioning programmer and should see the FabISP in your devices list as connected to your usb port. You can now use the isp in the same manner to program other boards with different firmware. Make sure to de-solder the two jumpers to take your ISP key out of programming mode and create a cable to connect 6-Pin connectors together.