Week 8: Composites
Introduction
This week we got to investigate a process I had never heard of before, composite layup. This is the process by which a lot of very strong and light materials like fiberglass or composites are made. The process basically consists of taking sheets of fibers and laying them on top of one another and compressing them with a resin. The fibers provide tensile strength while the compression and the resin produce compressive strength. The material we had access to was burlap, which is pretty cheap and makes a decent composite layup without some of the health concerns associated with carbon fiber or fiber glass.
Design
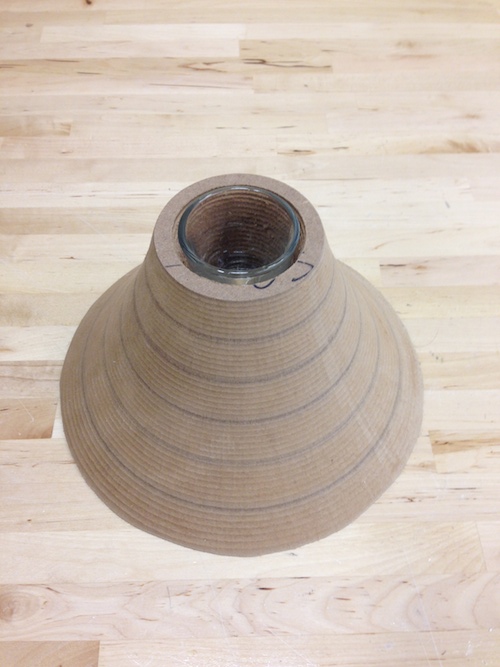
As far as designing a volcano goes, its about the simplest thing to cad, feel free to download the solidworks files below in order to make one of your own. Instead of using the provided foam, I used a piece of mdf I found, which would allow me to make more composites from the same mold, and had a little more height. I also designed a cutout for the burlap to wrap the surface, which was laser cut to speed up the process of making a bunch of these.
Download Files
Layup
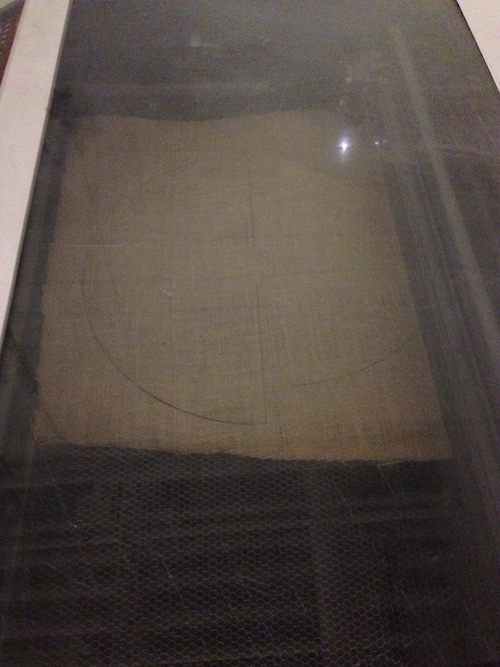
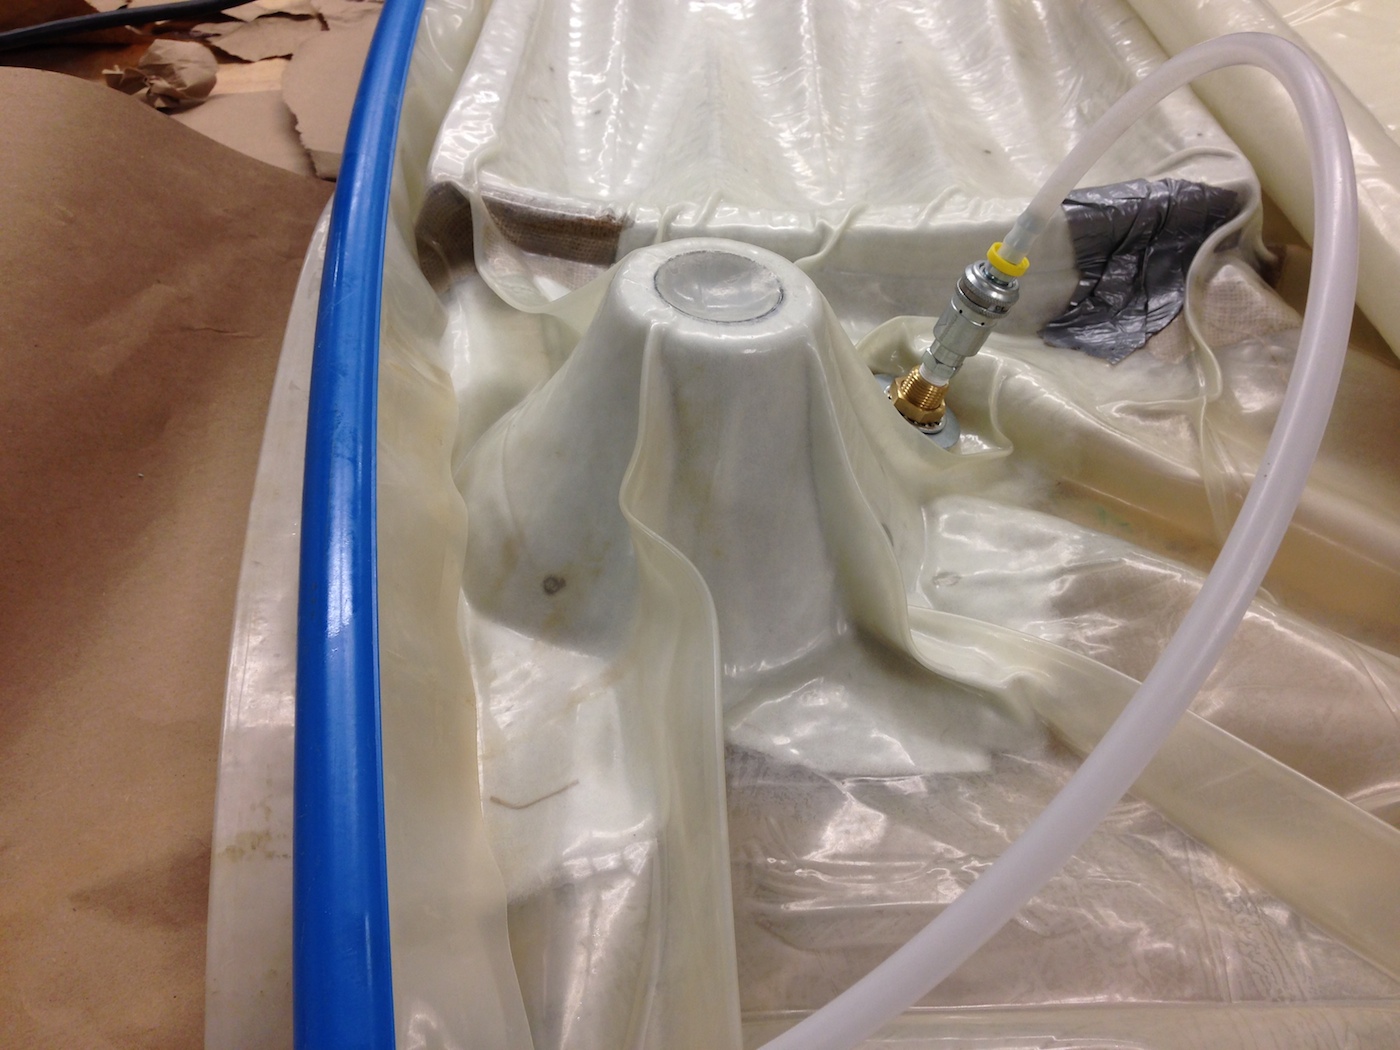
The next step was laying up the actually composites on the mdf mold. This process was pretty well laid out: cut out burlap, wet with epoxy, layup on the mold, layup with plastic wrap and bleeder/breather layers. Finally you place everything in the vacuum bag and it compresses everything so the cure is nice.
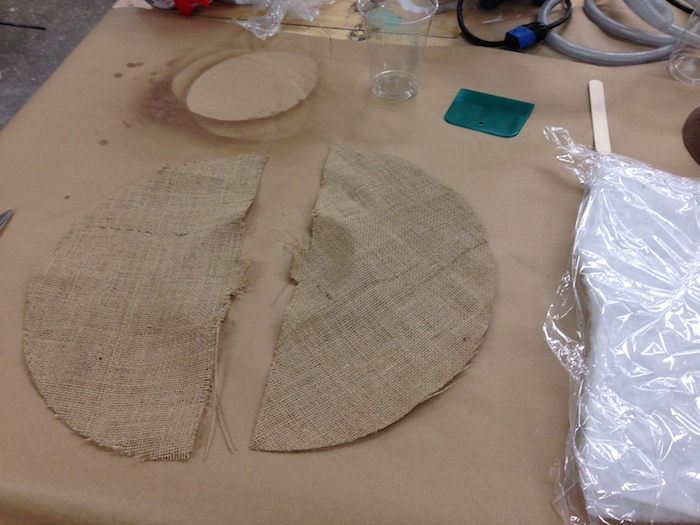
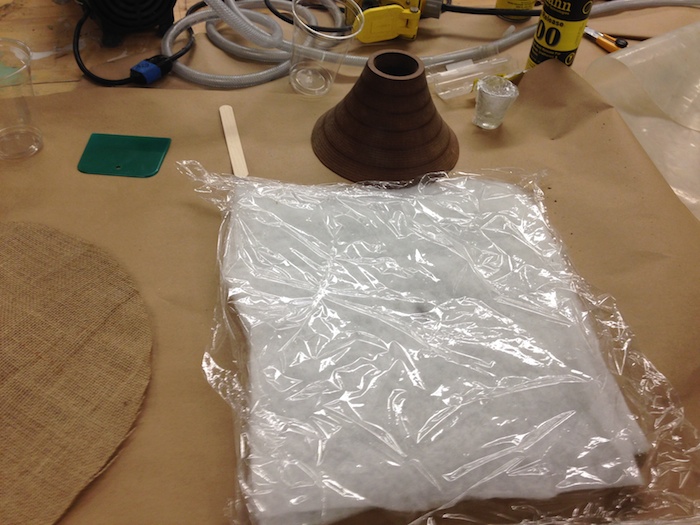
I went through the whole process with no real problems and set it to dry in the vacuum bag. I also used an actual shotglass as the plug to prevent the burlap from bridging the crater of the volcano.
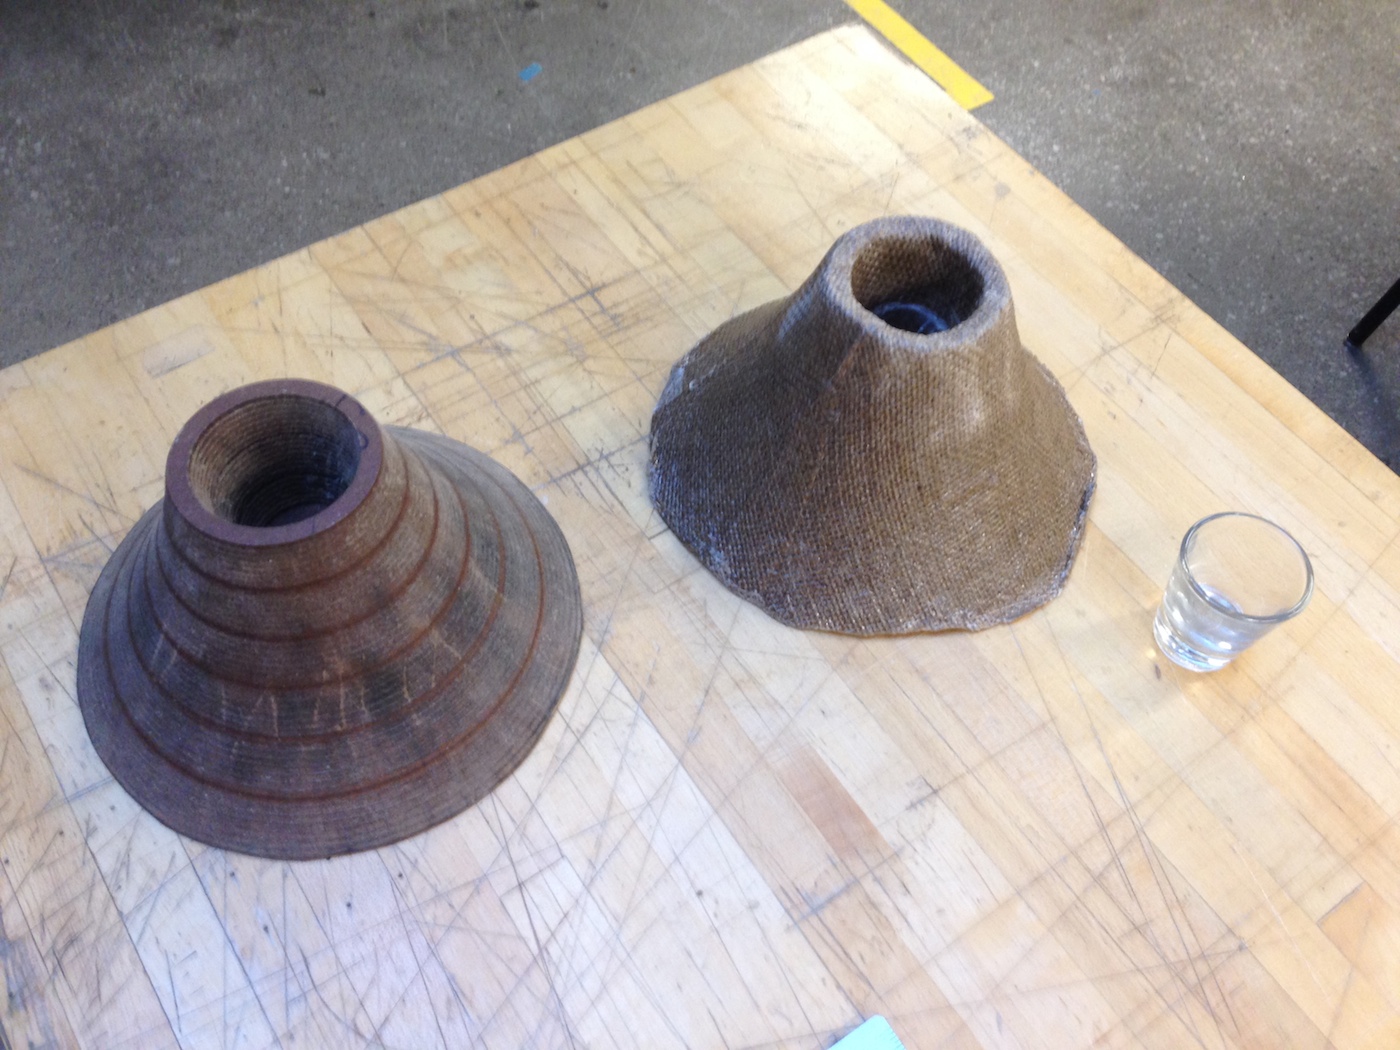
Demolding
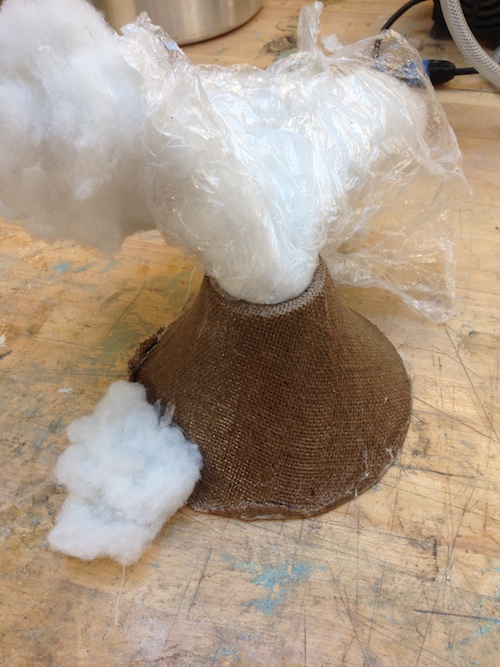
Demolding was a little more of a challenge than I expected it to be. As instructed, I waxed and sprayed the mdf with mold-release but I don't think that was enough to actually prevent the burlap from sealing to the mdf. The result meant that the shotglass was really really hard to dig out of the piece and eventually only came out after prying at it with a knife. Getting the piece itself off was even more of a challenge. I was able to use a ziptie to pry the entire outer shell off but the crater was stuck in there. After some bending, twisting and a lot of effort I got it off. Needless to say I'm going to be more proactive about demolding steps when I do this again.
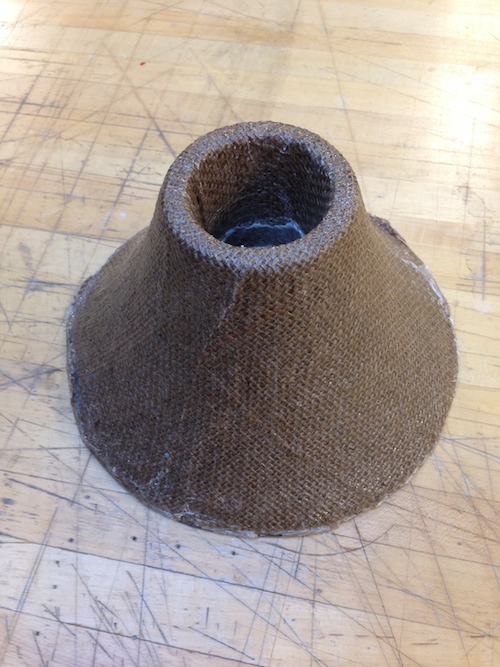
In any case the final piece was awesome and fit the shotglass really well. I'm already starting to make more so hopefully I will have 6 by the time I need to cook my meal!