Week 6: Molding and Casting
Introduction
This week the task was one of Neil's favorite processes: molding and casting. The task was relatively simple, create a positive mold by milling into wax, pour liquid rubber "Oomoo" to get a negative mold, and then fill with a casting material like DryStone.
Design
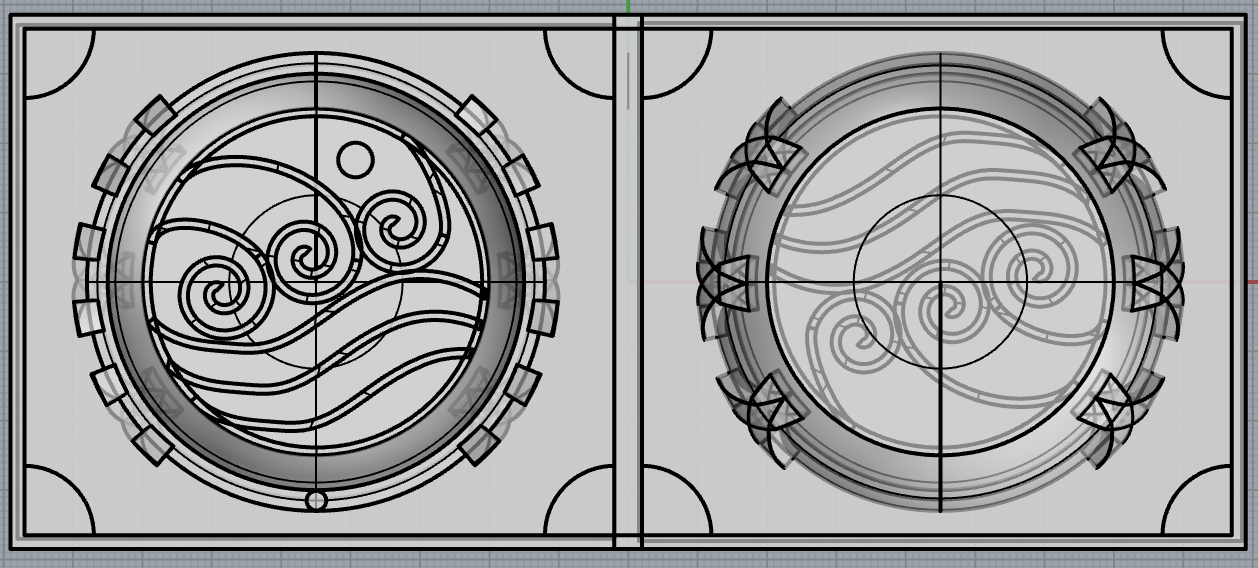
In a few weeks I'm going to be participating in a cooking competition that we hold each semester at my fraternity house. We call it "Iron Chef" and just like the TV show we have a theme each time. This semester the theme is "TV shows" so I'm going to be making my meal after one of my favorite TV shows as a kid (and now!), Avatar. I want to use some of the skills I've acquired in the class to make some props for the meal and I figured I could start this week. My goal was to make something with the emblem of one of the groups in the show, the water tribe. In honor of water I also wanted to make a mold that would make something out of ice. I designed a bowl that would look cool when made of ice and put the emblem in the bottom of the bowl.
I used Rhino again to do this design because it lent itself well to the nice abstract patterns and fluid forms in the symbol. I ran into some issues with rhino running out of processing power because my original idea was to take a crazy 2D pattern and bend it into the shape of the bowl. Turns out bending objects adds a lot of complexity and the 2D pattern which was already quite complex overloaded the program. I eventually figured out the right way to do things (make the bow via revolutions and then project the texture onto the surface). By doing this I learned a lot about the right way to do things in rhino and feel much more confident with the software, I'll probably keep switching between this and solidworks so I get a good amount of experience with both.
Production

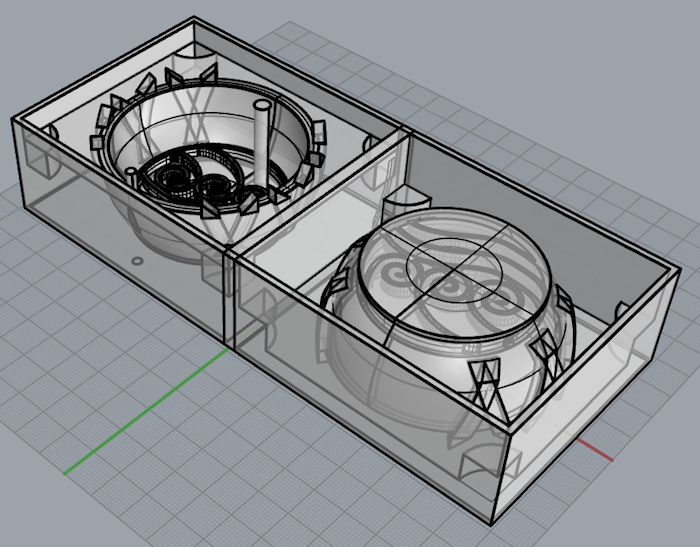
I originally intended to do the milling on the modela but my job was going to take 3hrs! I started it but misaligned the wax anyways and the mill cut right through the side wall. I then learned that I could use the shopbot and promptly did so, reducing the runtime of my job to 1hr and overall having a much more pleasant experience. I was really surprised with how awesome PartWorks 3D was given that the 2.5D software was very frustrating to use. I think if I plan on cutting out 2D parts using the shopbot again I will just use the 3D software but cut out a 2D set of parts.
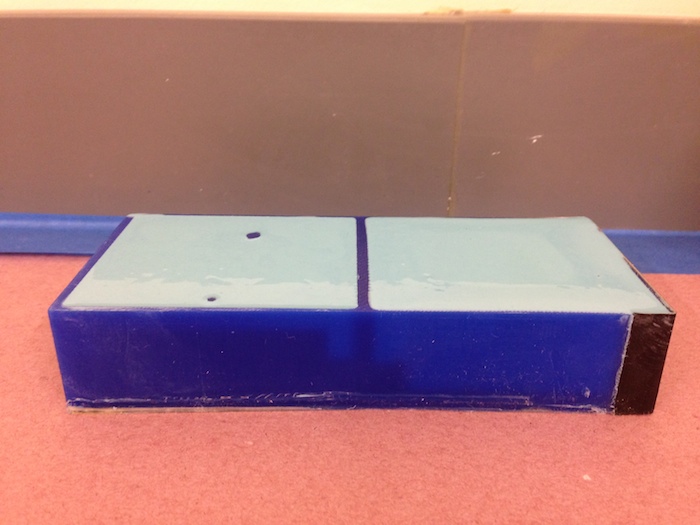
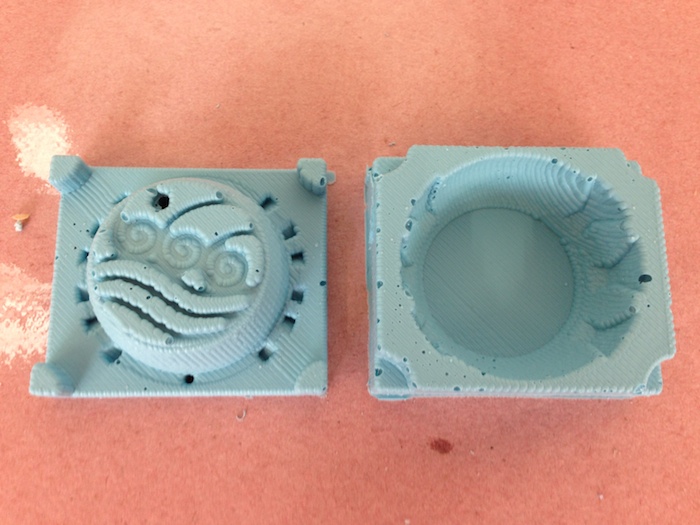
Once I had the wax mold it was a pretty simple and straightforward affair of following the actual molding and casting instructions. One thing I would have done differently was increase the offset percentage so I had a better surface finish, but since I'm planning on eventually casting ice it doesn't matter so much. The only problem I ran into with the Oomoo was that I got a lot of surface bubbles. I think that can be fixed by being a little more methodical next time now that I've got a feel for the materials.
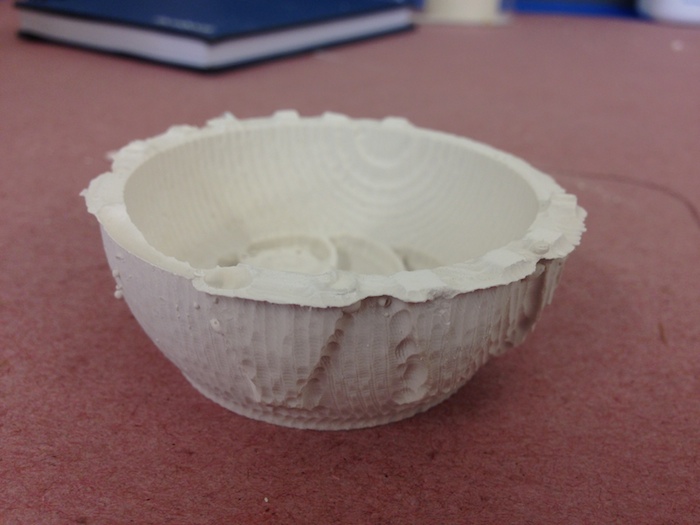
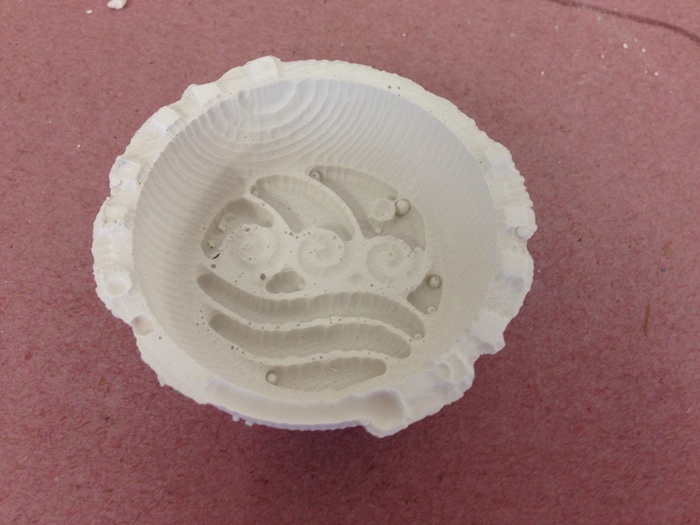
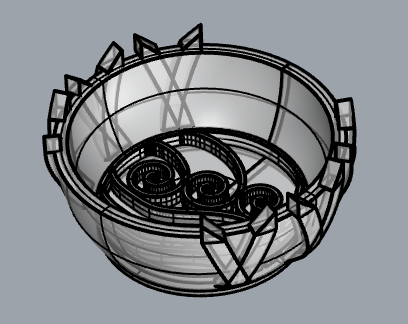
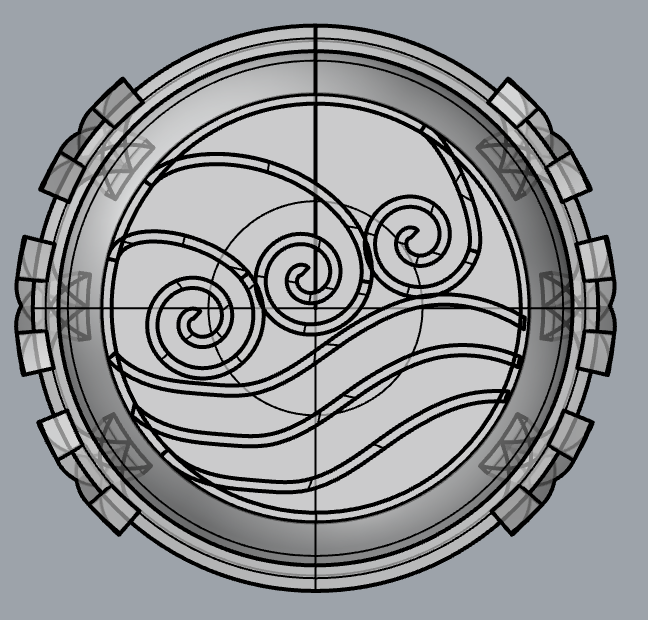
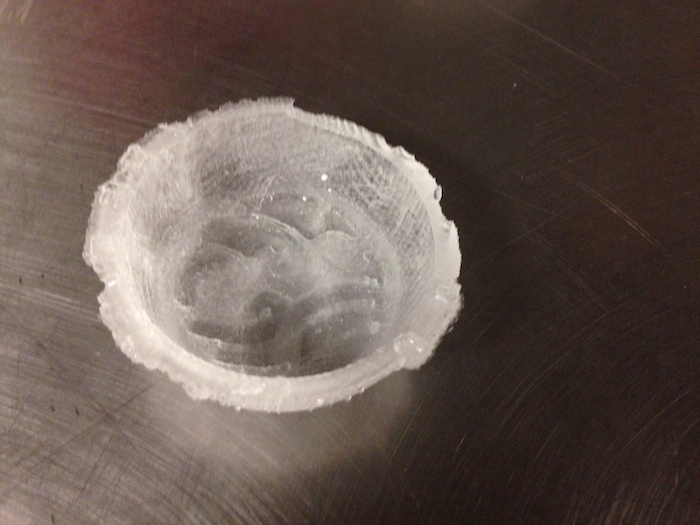
Finally I cast the parts using DryStone and got a decently good results. I think I could make the pour hole a little bigger next time because I had a hard time getting all the drystone in. Also I had a hard time securing the seam so I didn't get good results with the spikes around the rim of the bowl which were above the seam line. The bowl itself looks pretty awesome though! Even though I didn't make a food-safe mold (which I will do later and probably make the bowl bigger too) I did try casting it in ice and got a decent result.
Overall I really liked this week especially because I developed a newfound love for the shopbot and am excited that I can now make as many of these as I like!