Week 3: 3D Printing and Scanning
Introduction and Background
This week's task was to learn how to use the 3D printer and how to do 3D scanning. Neil mentioned to us at the beginning of the class that part of the intention with this week was to convince many of us that 3D printing is actually not as useful as we would be predisposed to believe. Some of the limitations included the lack of material strength and high time and material cost, for only marginal benefit. I definitely feel I learned this lesson well, read on to find out more.
3D Printing
Design
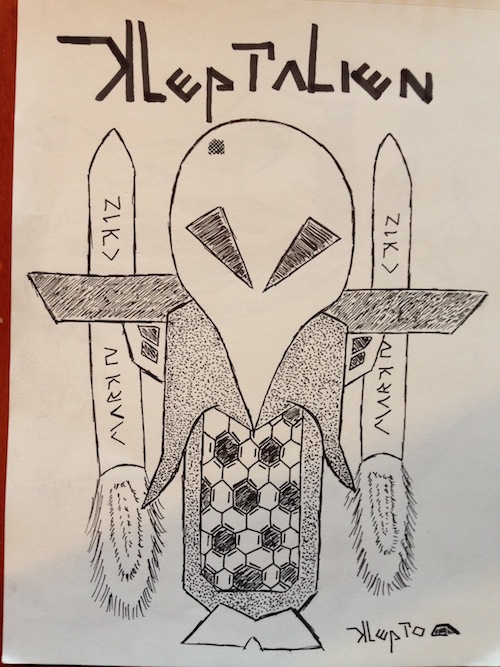
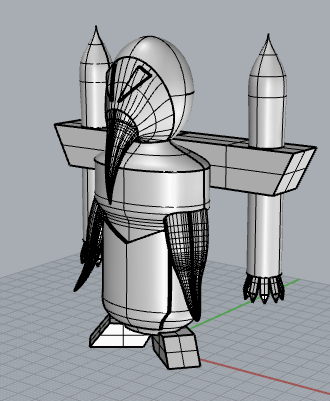
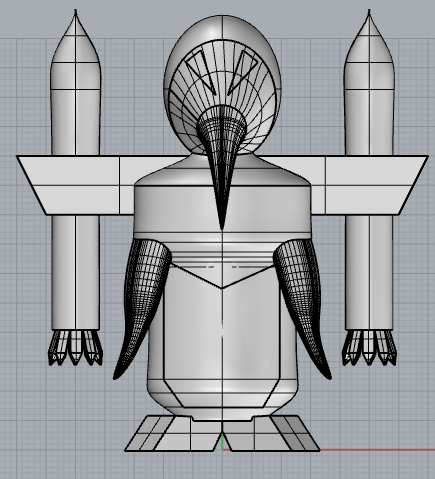
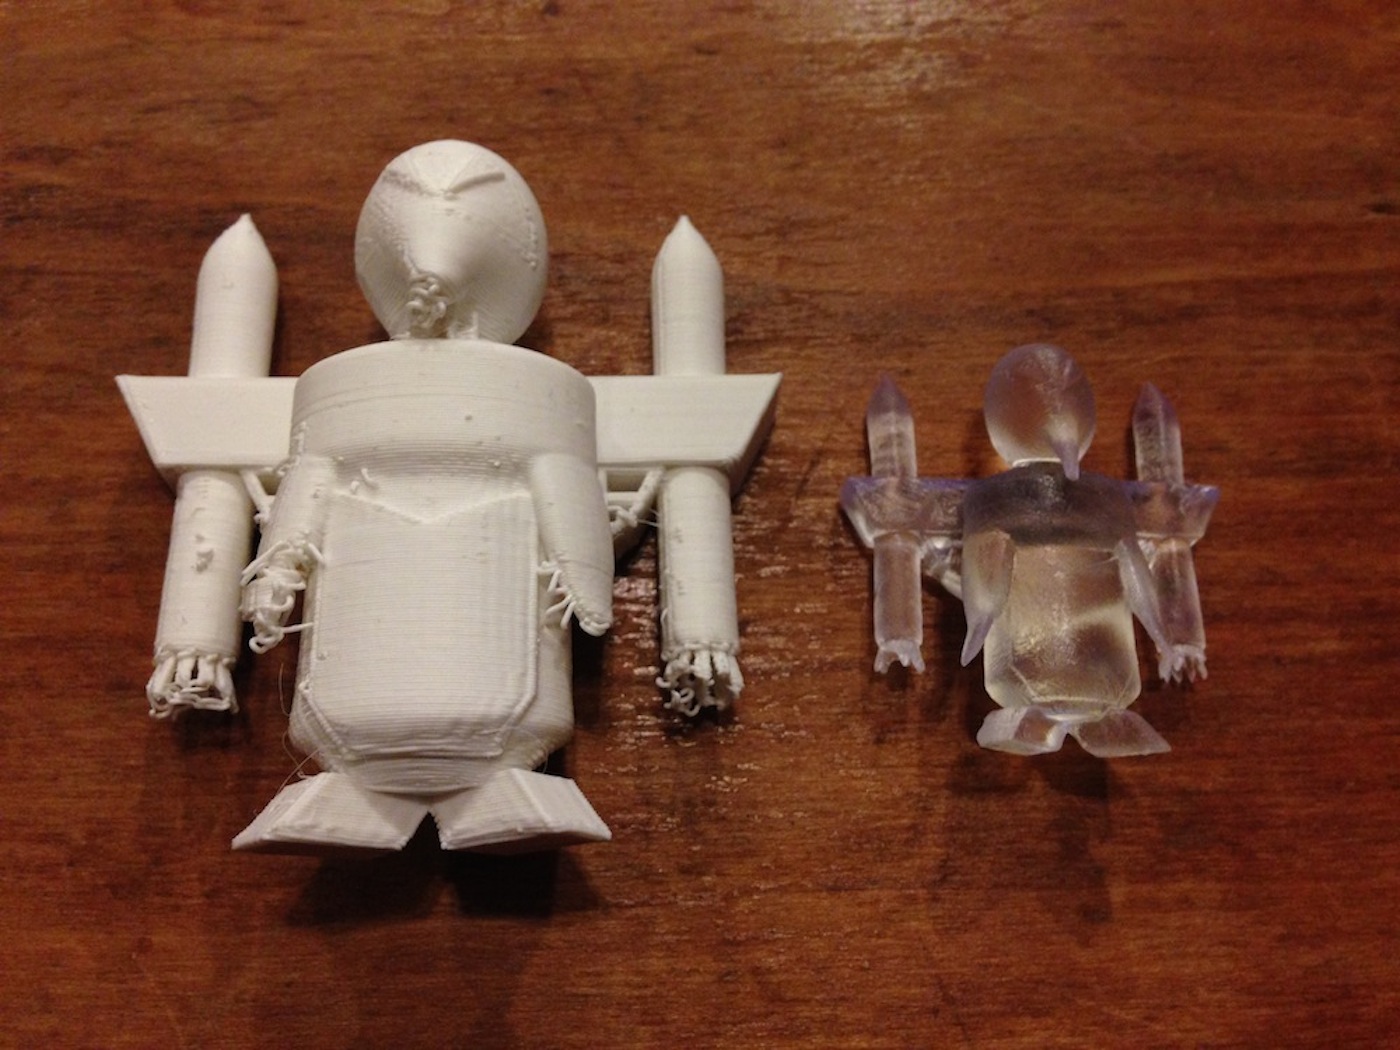
I decided to make my 3D print based on a drawing I made in the winter of 2012 for a friend of mine. The drawing is called the "kleptalien" and depicts a penguin/alien with a jetpack and a stylized backwards "k". My first step in turning this drawing into a 3D model was learning how to use a 3D modeling software. Because of the organic nature of the part (non-parametric) I thought this might be a good time to learn Rhinoceros. Rhino doesn't do parametric design well but it does do an exceptional job with direct manipulation and organic shapes, so it was really interesting making the bent beak and flippers with it. It took some time getting off the ground, but once I felt comfortable with the tool I was off and running.
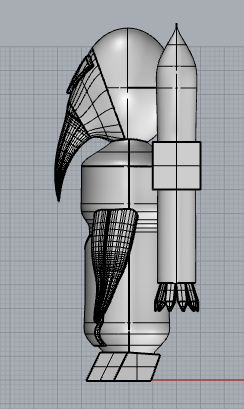


You can download the files to edit the model in rhino or just directly print the model from an stl here:
Download Files
Printing
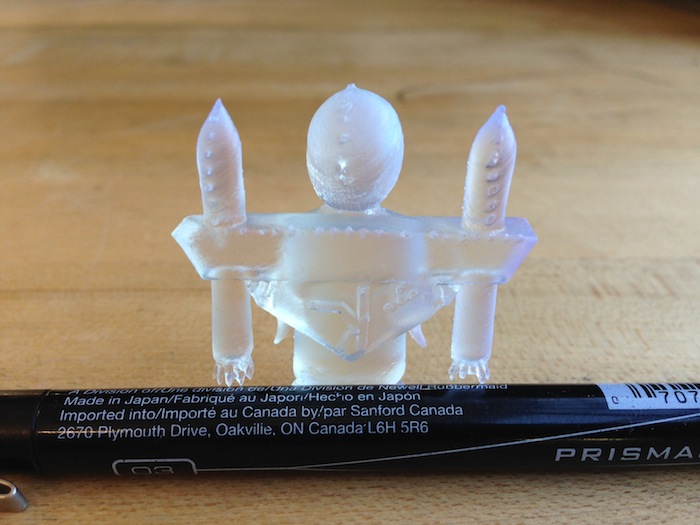
Printing this model was frustrating to say the least. I started by printing the model on the Makerbot and I kept running into issues with the float base layer not sticking to the platform. I ran into further problems when the makerbot kept knocking over its own support material which prevented many of the interesting 3D components (like the overhangs) from printing correctly. Eventually I managed to print a decent prototype model using ABS plastic on the makerbot, though it clearly still have some issues. My only advice is to learn the machine via trial and error because this one especially can be quite touchy and the settings are kind of hit or miss.
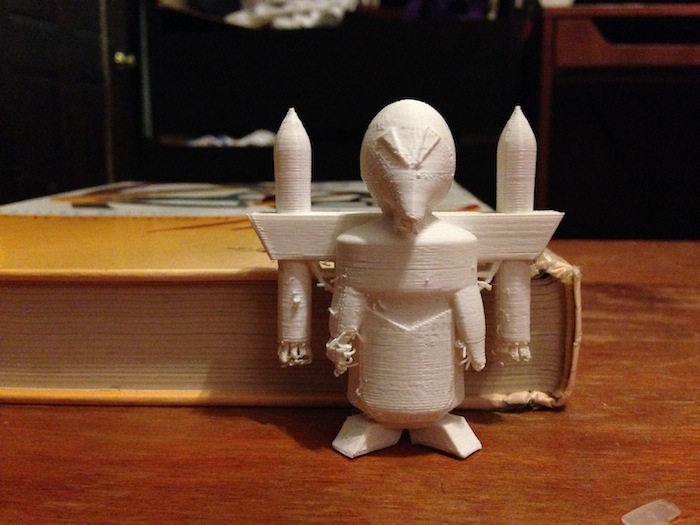
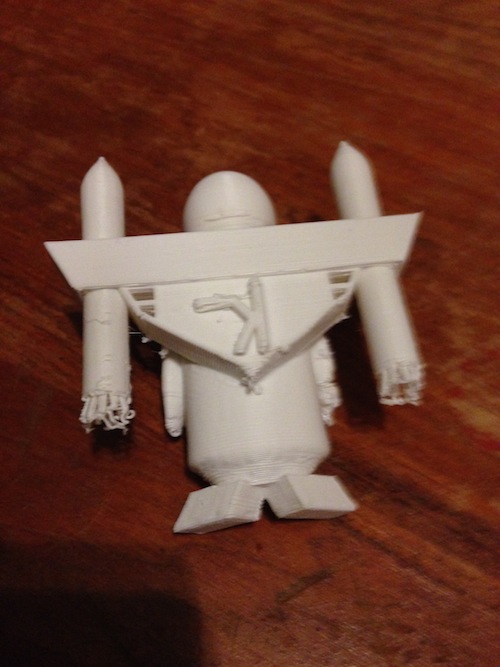
I also learned from this printing that I didn't design the model with the correct center of gravity because the feet were too far forward. For this reason the model wouldn't stand up on its own.
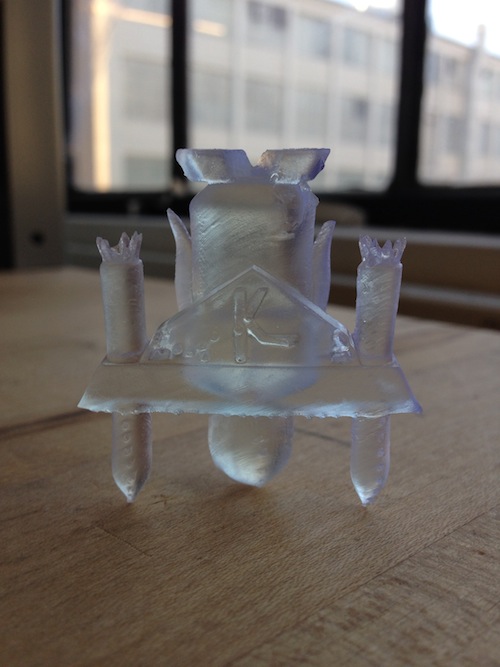
When I printed the final version I got much better results, mostly because I used a much better printer. This job was really well suited to the Form 1 printer and it came out quite well. This print was much smaller but I was still really pleased.
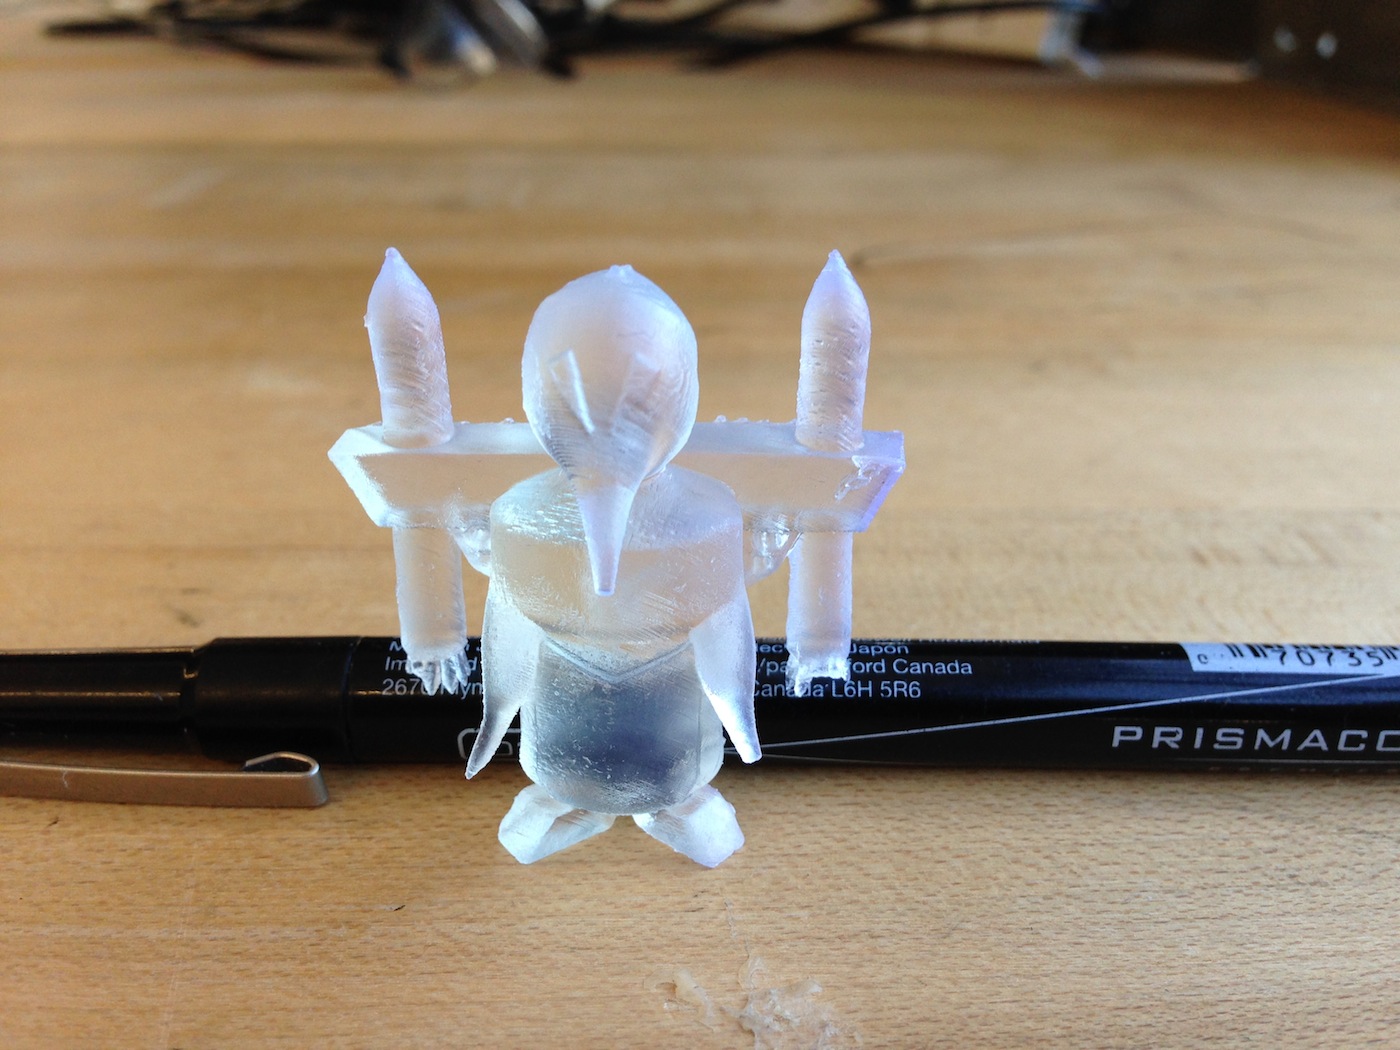
This model also didn't stand up very well. But I figured out you that the models actually did stand when placed upside-down!
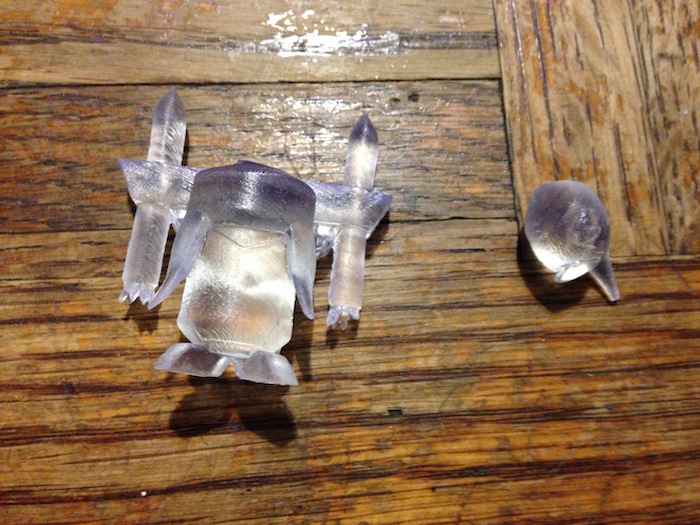
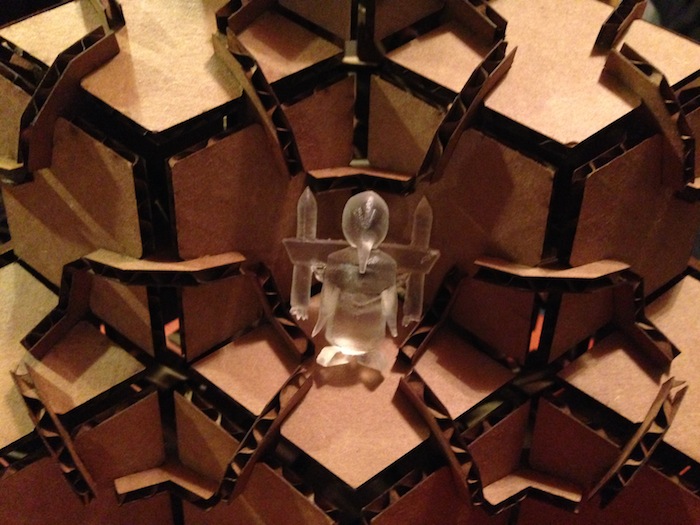
I also discovered that the model was indeed quite weak! I dropped it once and the head popped off with ease. Neil wasn't kidding about these materials not being strong. After super gluing it back together I also found that even though the model didn't stand very well it fit nicely between the connectors from my Week 1 Project.
3D Scanning
I was really excited for this component, especially because I was excited to scan something intricate and then print something from that scan easily. As with everything else this week, I learned it wasn't so easy.
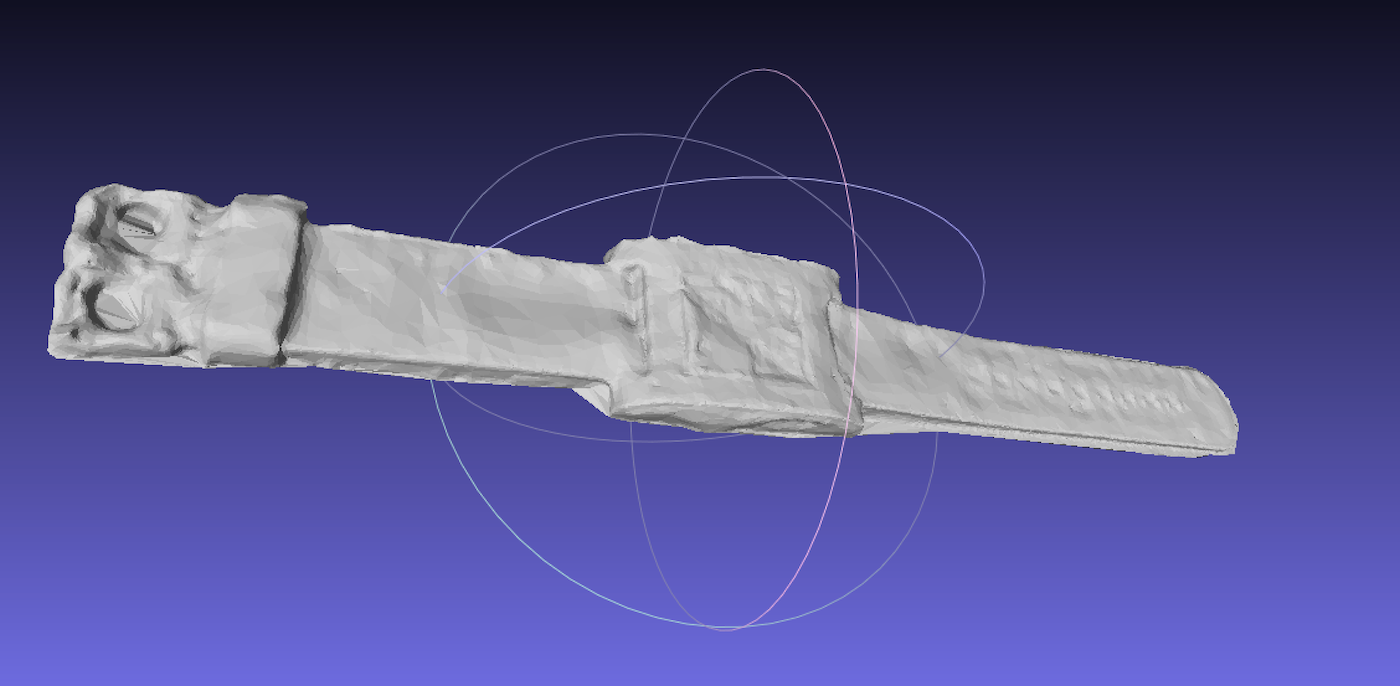
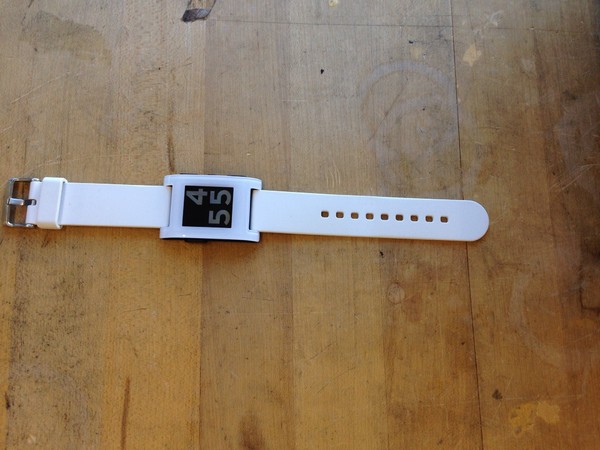
I started by trying to use the NextEngine 3D scanner to scan my Pebble watch, but the scanner produced horrible images and failed to match up each scan with the last. I was later told that might be a result of intruding sunlight but never got a chance to try again.

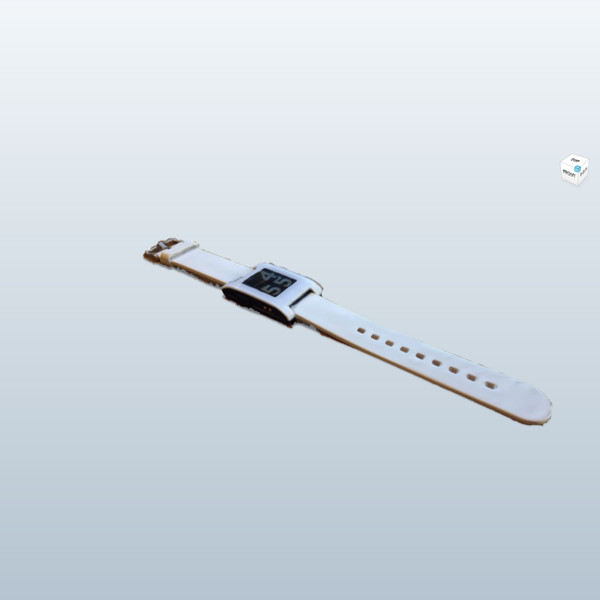
Instead I decided to go ahead and scan the whole watch, using 123D Catch which is an app made by AutoCad that takes a bunch of pictures of an object and then constructs a 3D model out of it. I actually found the results of this one quite good. You can view the model online at 123D catch, or download the .obj file to edit in meshlab below:
Download Files
In the online tool I was able to edit the meshes with textures involved but it was very slow using the browser version. Eventually I imported the files into Meshlab and cleaned up the file a little more, but I lost the textures. In the end I was able to fill all the holes except for the ground plane. Everytime that I tried to fill the ground plane meshlab would crash. It looked like I would be able to print it, however, as long as I used the 123D printing utility which then forwards on to a makerbot. I didn't explore this possibility but I might in the future.