Week 4: Computer Controlled Machining
Introduction
This week our task was extremely open ended: "make something big." In order to do this we were taught how to use two machines that are staples of computer controlled machining: the waterjet and the shopbot cnc. The waterjet is like a laser cutter but uses a stream of pressurized water to cut through items like metal. The shopbot is a giant mill which is used for cutting large pieces of wood and other millable material. Essentially our design required creating something to be cut out of 2.5D parts (2D with partial cuts allowed) and then assembled.
Design
I started thinking of things that I could make that would be big and most of the ideas I had would be furniture of some point. Being that I live in a fraternity, there isn't much need for extra furniture so instead I decided to build something to put my snowboard on, a stand to display it. I also decided this would be the best time to learn solidworks, and I had a bit of a learning curve after coming from rhino.
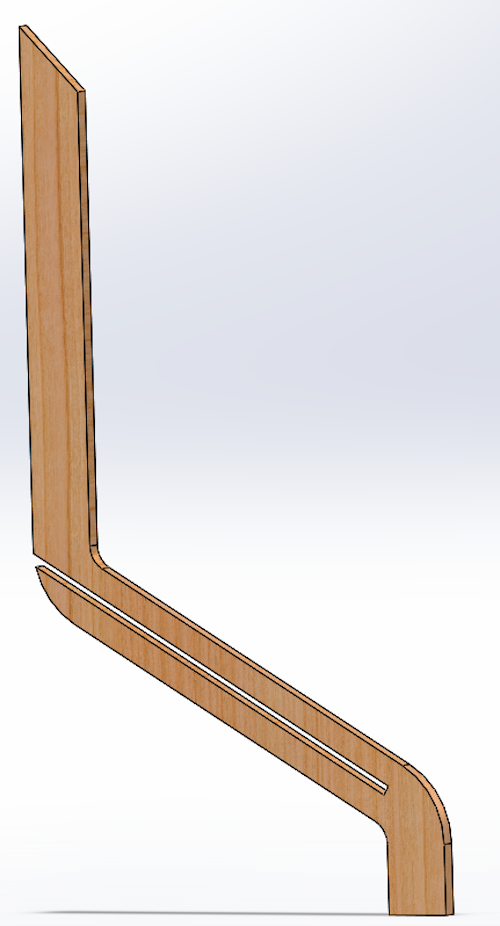
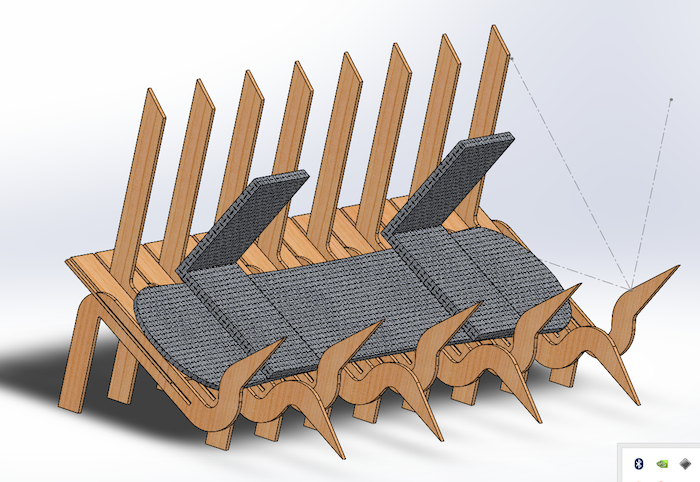
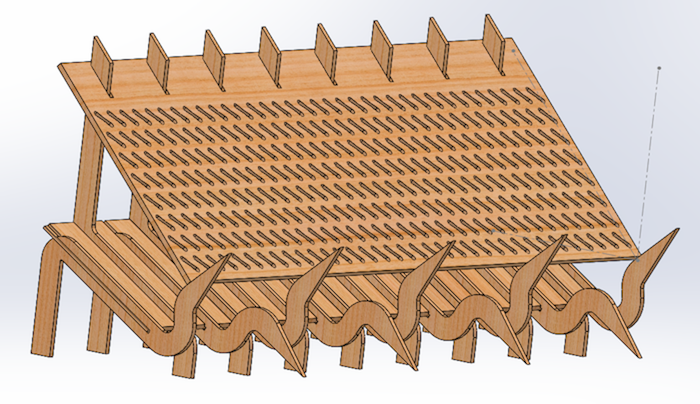
I spent a lot of time designing the board and make several switches between mechanical and aesthetic choices. Eventually I landed on the design using an array of alternating front and back leg supports. Each leg was also given some interesting visual flair to make the stand something to be admired on its own.

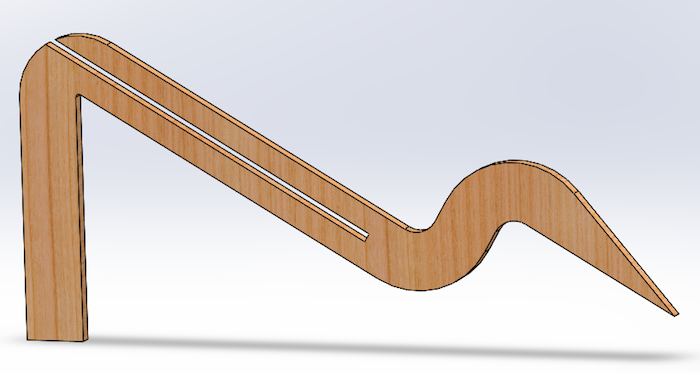
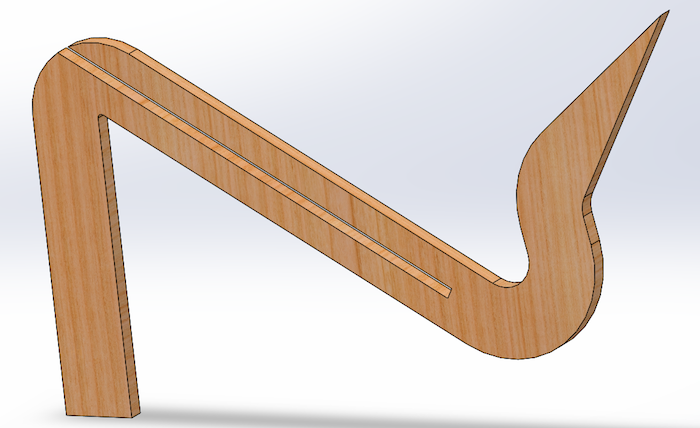
I also had to come up with a scheme for connecting it all together. At first I wanted to have a hole run through each of the legs and simply slide a board through them all, but this would have required having the legs run up against one another, which would have required a ridiculous amount of wood. Instead I decided to have a connector with slots milled into it which would like into the back of each of the legs. The connector geometry is shown below with the connector pulled out of its eventual slot.

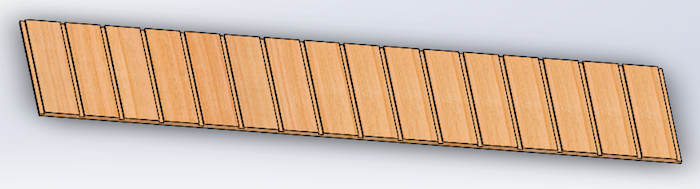
I was also interested in creating a semi-see-through lid for the stand, and I wanted to do something with cutting out small snowboards. I first created the mini snowboard shape and then tiled it across the lid to cut it out. This was to be the largest piece and even though I designed it, it was a reach goal to have enough time to print and actually use it.
Download Files
Above you can download the solidworks part, assembly, and drawing files as well as the dxfs which were eventually used for transfer to the shotbot.
Machine Set Up
One of the lessons I'm learning in this class is that "just because you can cad it doesnt mean you can make it." This proved to be especially relevant to this week because the learning curve on the machine was steep. I ran into two significant hiccups when using the machine: toolpath definition and part spacing.
With regards to toolpath definition, something about my solidworks files meant that all the line segments and curves I created weren't joined into polylines. As a result it was hard to the software to figure out which cuts to make inside and which to make outside of the line.
As a result I adopted the following strategy. For things of finite scale, start by selecting the whole part and making it an outside cut. Then view the preview and find the errors, go back and select those error lines and curves and set them to a new toolpath defined to an inside cut. This is a really annoying process but maintains the integrity as long as the number of parts is small enough to make it manageable.
For things that were repeated enough to make it unreasonable to select the right lines by hand, I simply opted for using on-cuts: cuts that went right on the middle of the line. In order to do this effectvely I needed to re-scale my shapes to take into account the half of a tool-diameter which will be cut into the shape.
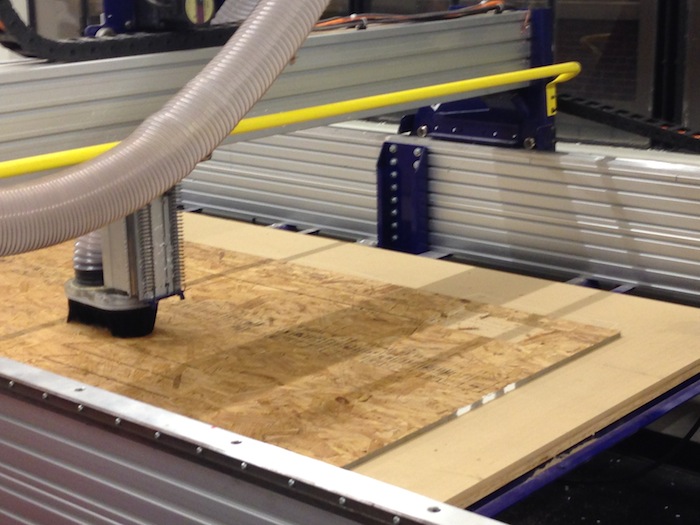
Cutting
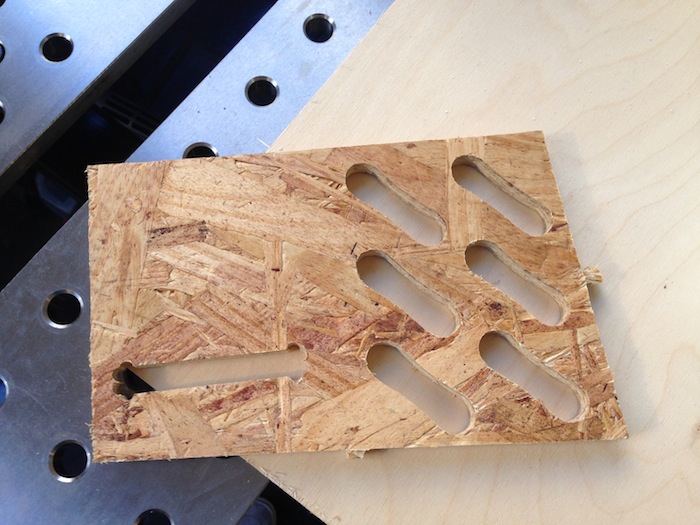
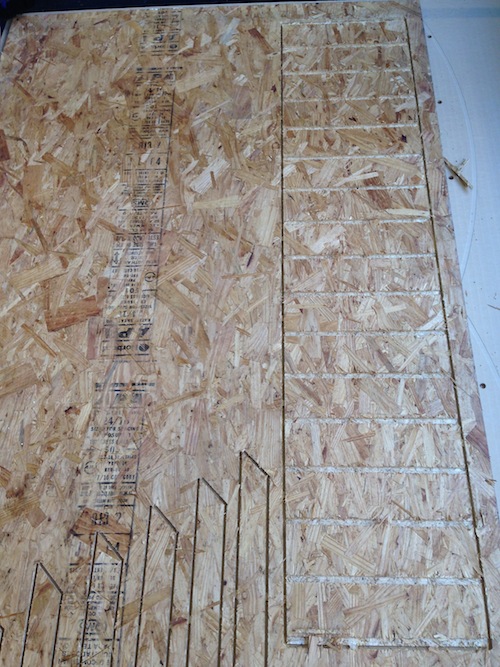
I started to get a feel for the machine by cutting out a sample piece of the lid, with the mini snowboard cut-outs. I used on-cutting for the snowboards and the results were quite good.
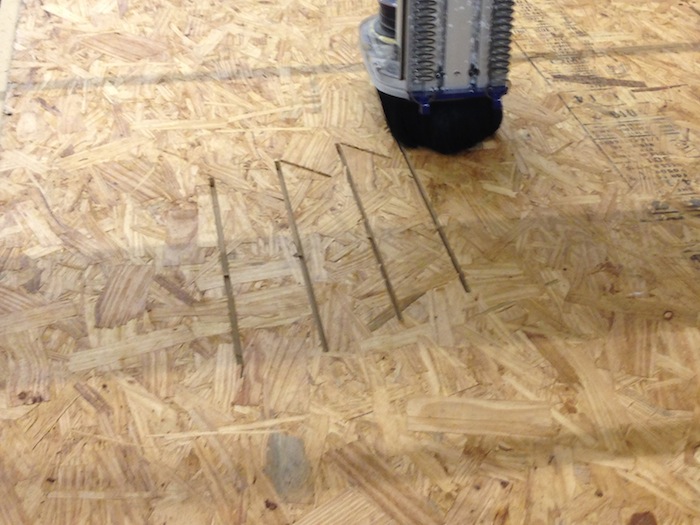
It took me sometime to get used to the machine and I had my second hiccup after we really started getting to cutting. The problem I ran into was that the parts were spaced too closely together and the tabs were too small so they broke mid-cut. This resulted in a lot of vibrations and the parts getting broken up.
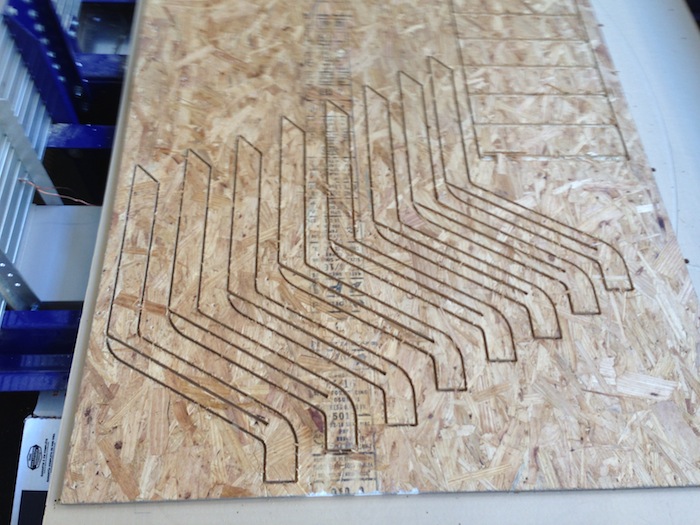
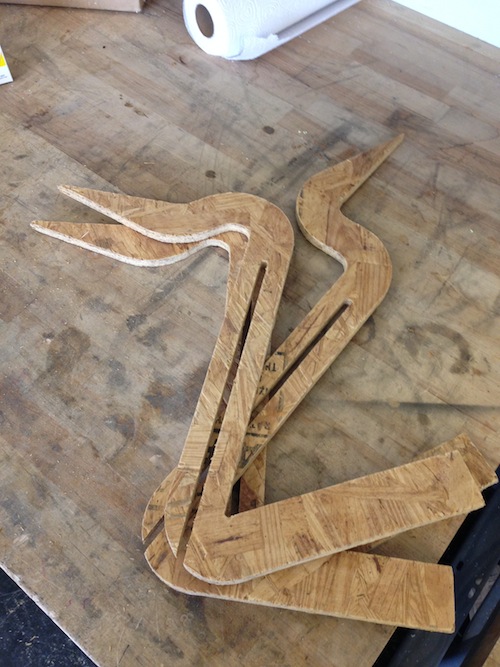
Finally after a couple of tries I managed to get all of my pieces cut out and looking good! Next up was processing the pieces and putting it all together.
Post Processing
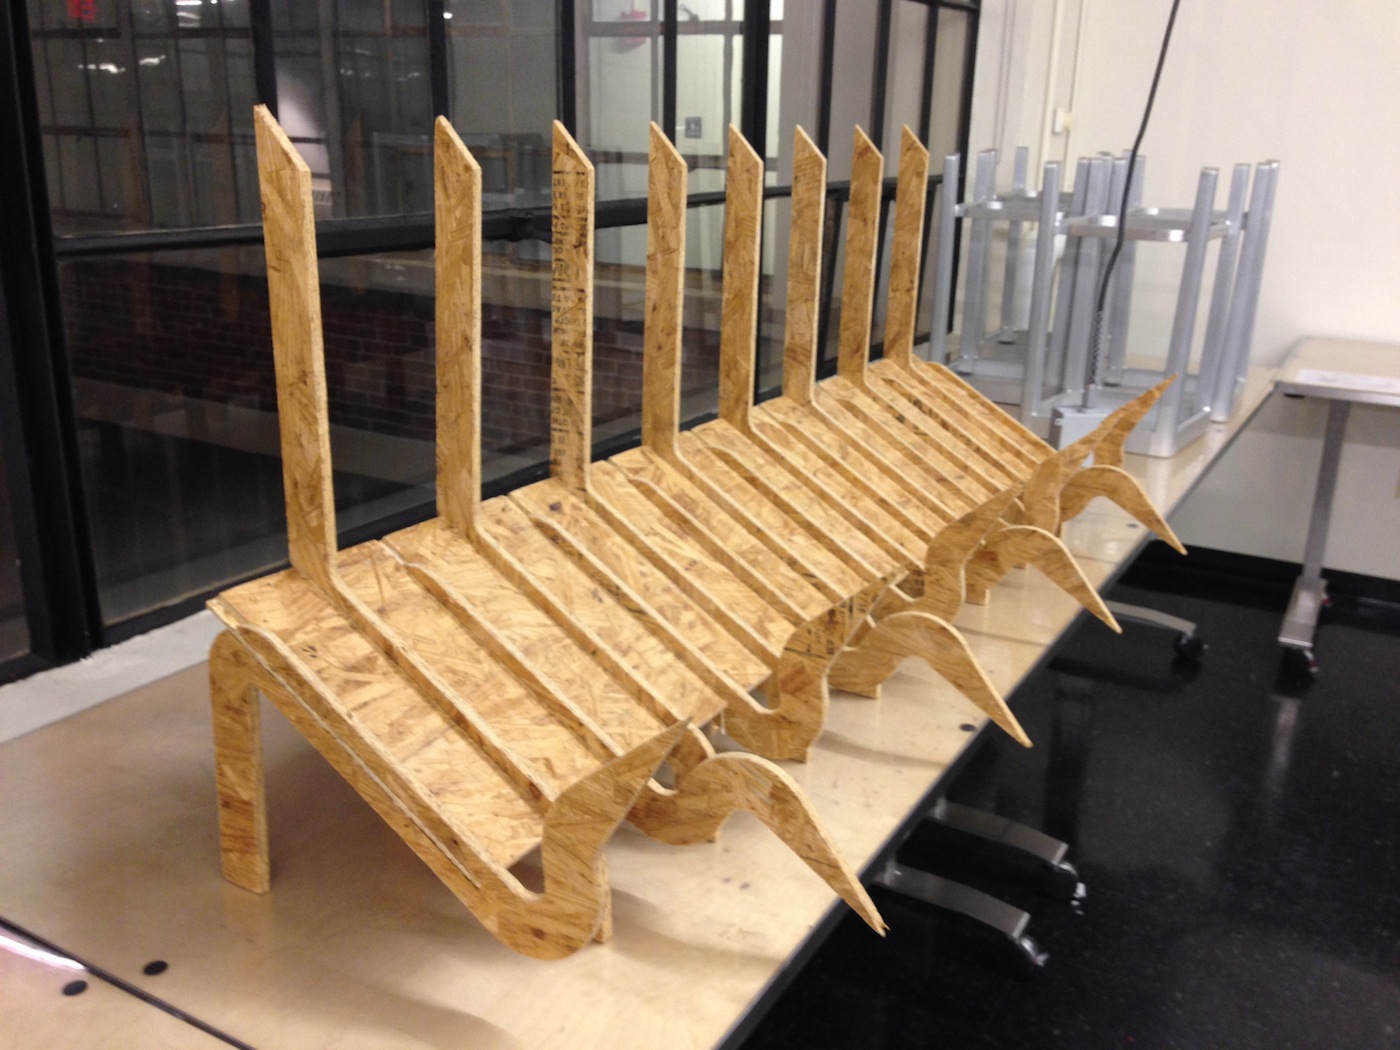
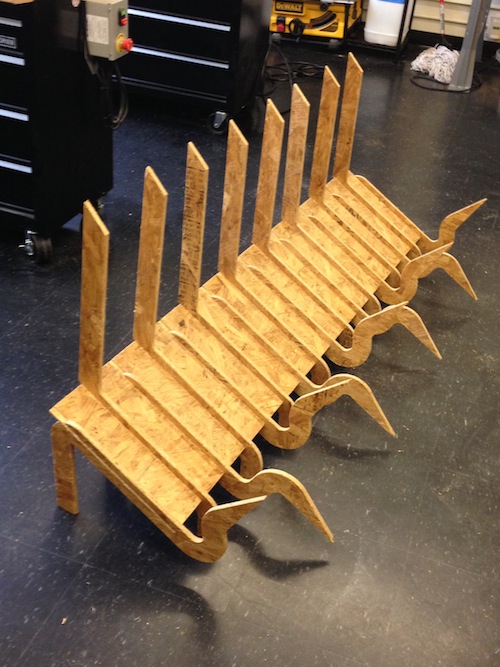
Unfortunately, the material that we had was Oriented Stand Board (OSB) which is made of very splintery material. This meant that there was a lot of sanding that needed to be done to make the parts nice to work with. Once sanded the parts looked good and ready to go! I then started to put all the pieces together before getting ready to glue.

Finally I got to put the whole thing together and glued all of the legs on with wood glue.
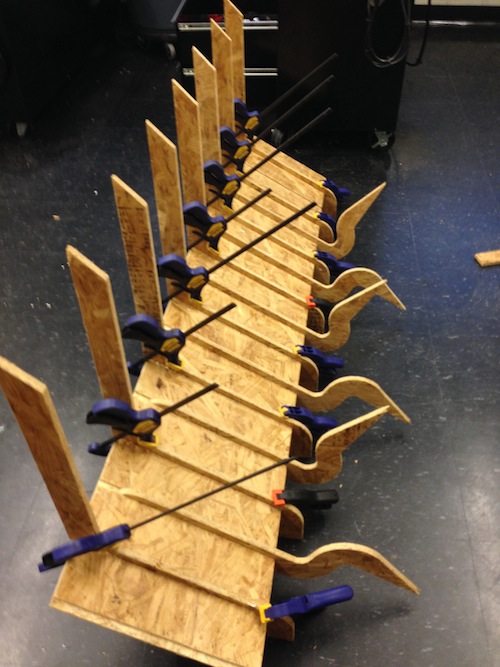
The finished product looking good! I'll post a picture of the stand with the board in it when I take it home later this week.