
Molding and casting was quite a memorable ex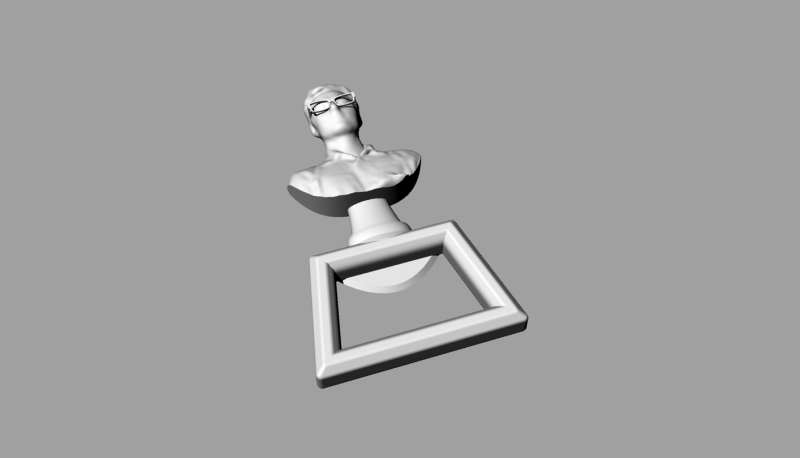 perience. This was a straightforward assignment: make a mold from a 3D design and cast something out of it.
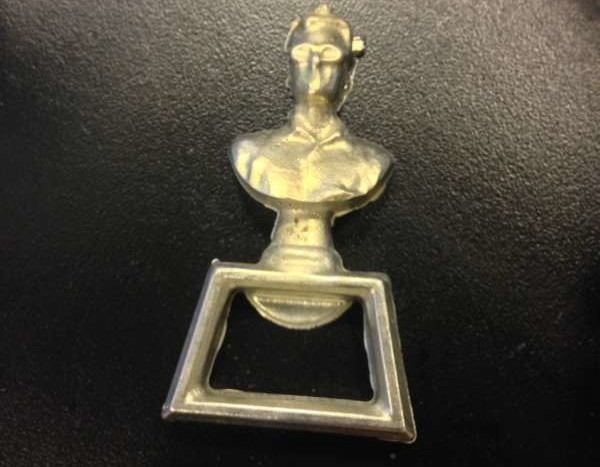
I’m always inspired by things of function, and this year was the first time we students were allowed to make a mold out of metal. Of course, as it was my first molding and casting experience, I didn’t want to get too crazy. So I opted to make a simple bottle opener following my self-branding theme.
 I won’t go over how to use the shopbot, this was done very well in this tutorial by Jin Joo. I do have to give a lot of props to Basheer Tome, as he helped me take my final design through all the stages of the tutorial and helped explain to me all of the nuances of using the small ShopBot.
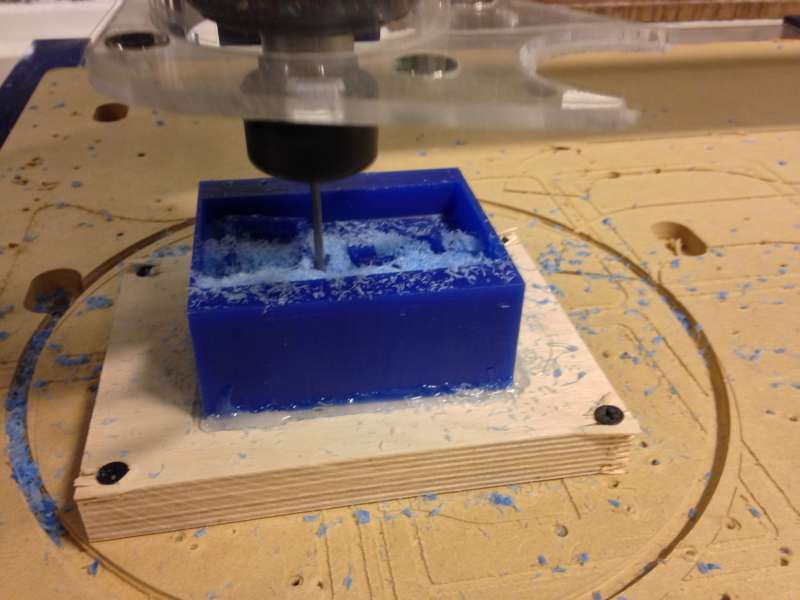
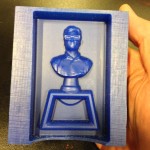
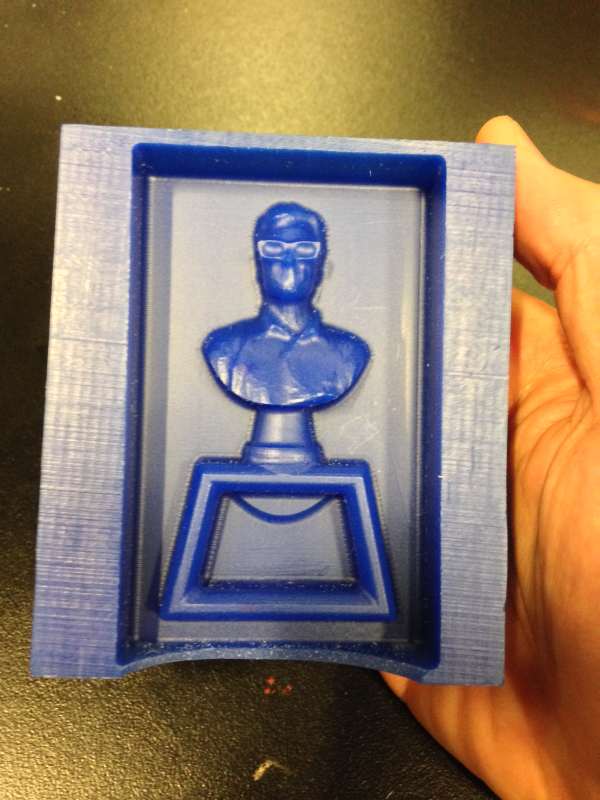
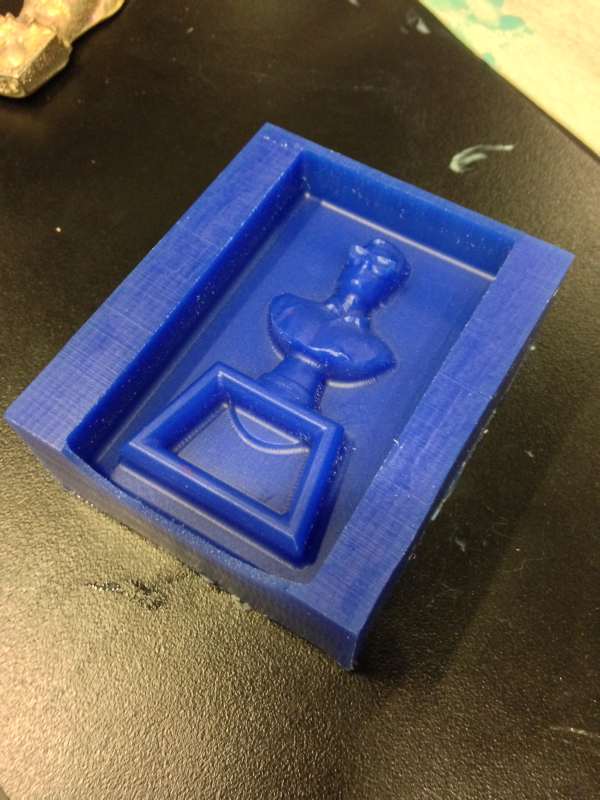
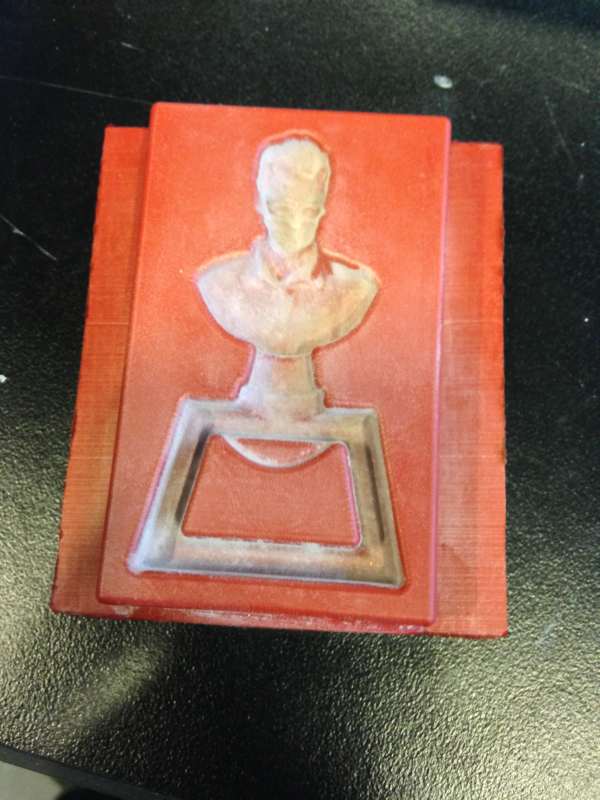
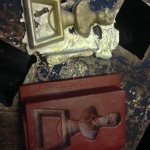
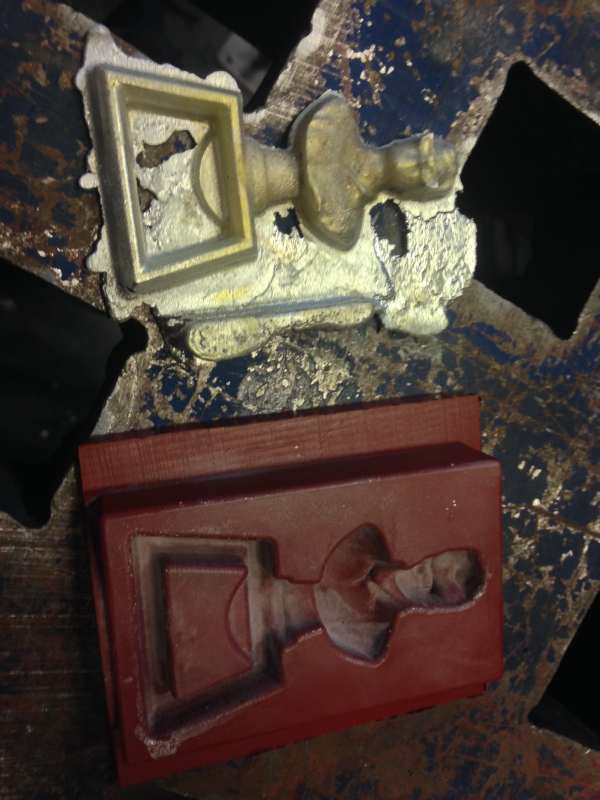
Here are some images of what the mold looks like on the wax block after milling process with the ShopBot. Note that I accidentally broke the wall while trying to get the block free from the wooden base. Oops.
-
- Another angle of the finished mold
-
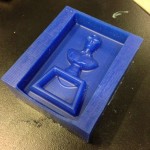
- Broke the wall, no sweat
-
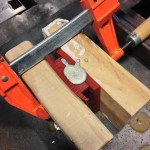
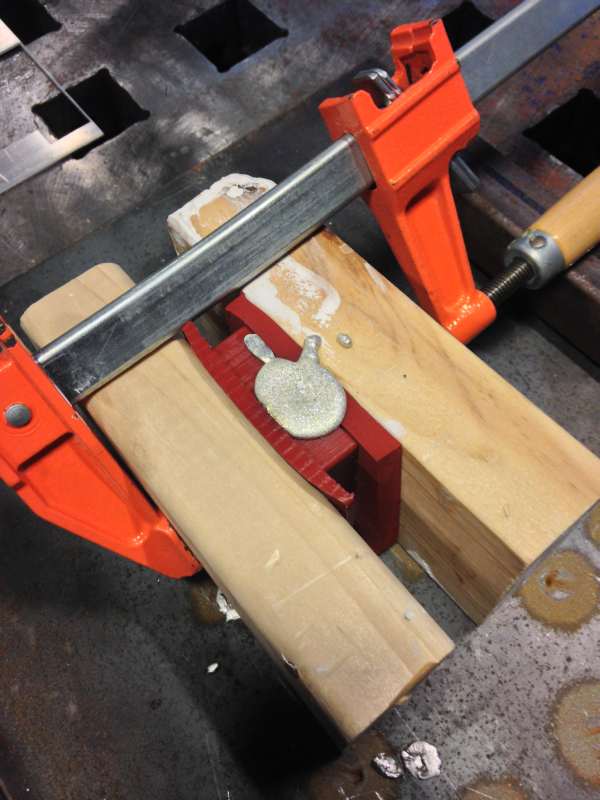
- Use a scalpel to cut through the hot glue
-
- Free Ermal

-
- 3.5 x 3 x 1.5 in. wax block

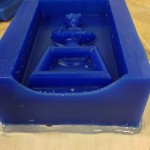
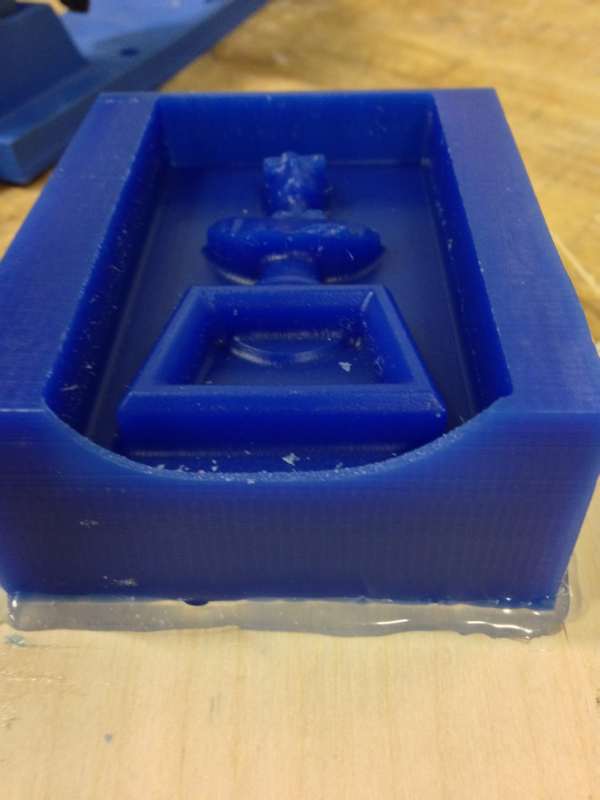
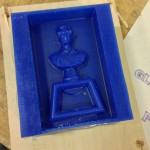
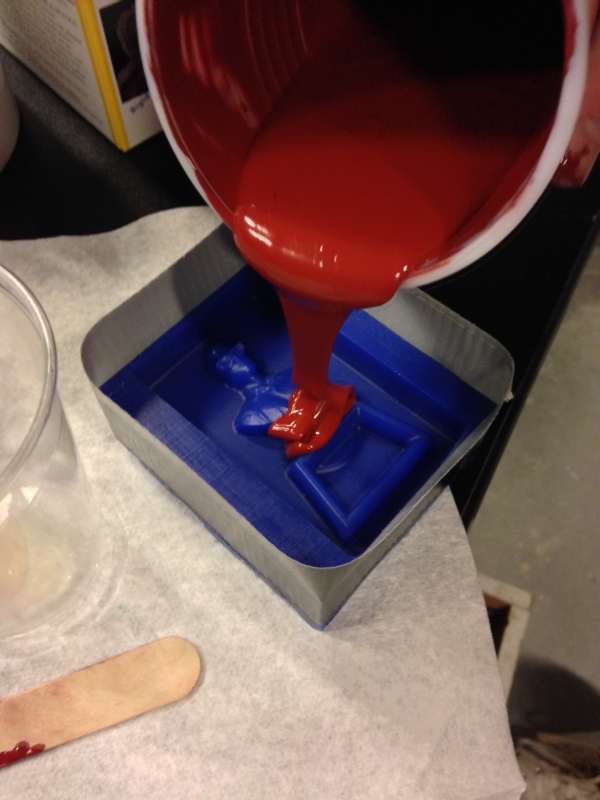
Making the mold out of the wax cutout was a bit more complicated. Will Patrick and I stayed up into the late hours to make the perfect mixture of MoldMax 60, which is a high-temperature silicone mold (absolutely necessary for casting metal). This has a 3-to-100 part mixture component, so it isn’t the easiest stuff to get just right. Someone had stolen the scale from the molding and casting room, abut we were able to find another scale and made the mixture and poured into our wax block. Since I broke the wall off my block, I used duct tape to cover one side.
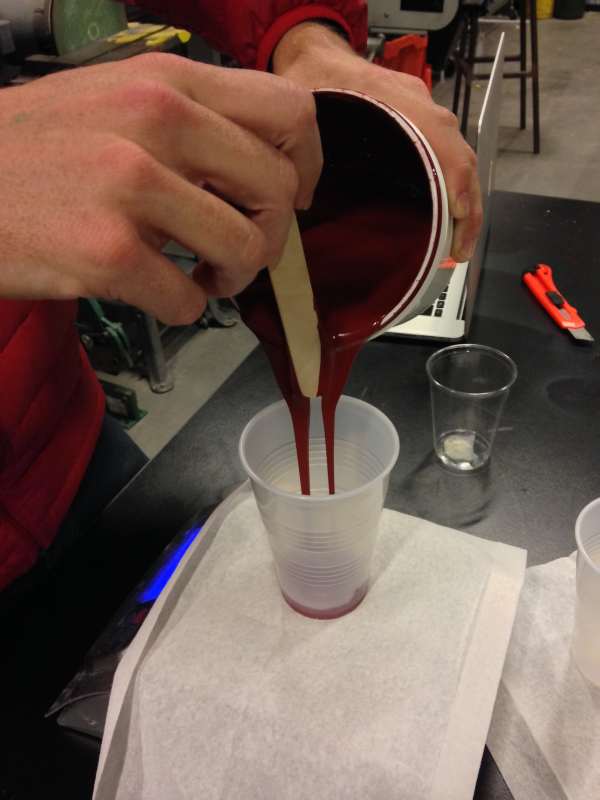

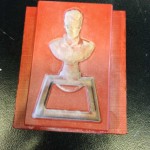
Finally, casting was the best part. I used the supplied aluminum alloy ingots, which was melted at 700 deg F in an oven, then poured the contents directly into the mold. I poured a bit too much, so the opening of the bottle opener was covered in the metal, rendering it unusable. As a result, I tried to pour from the top, similar to how a two-sided cast is done, by cutting a sprew and a vent hole on top.
-
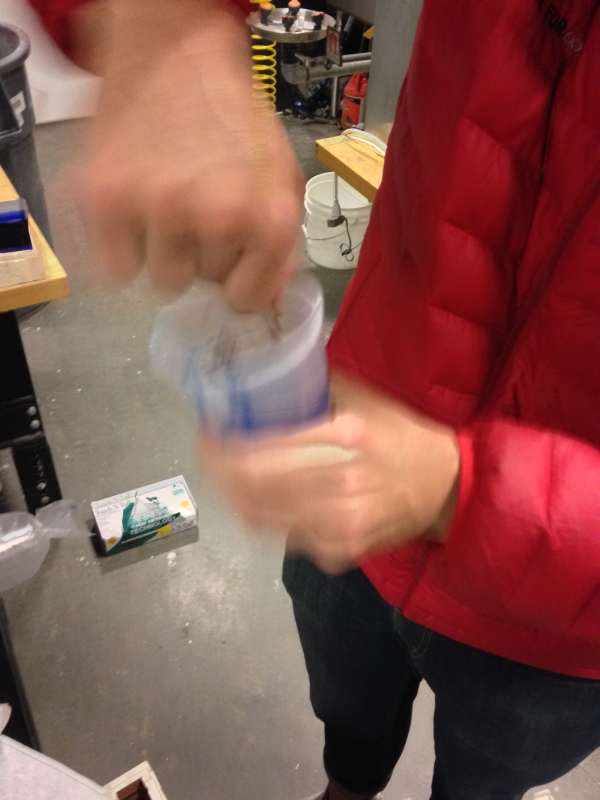
- Talcum powder keeps from bubbles forming on cast
-
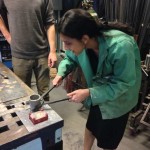
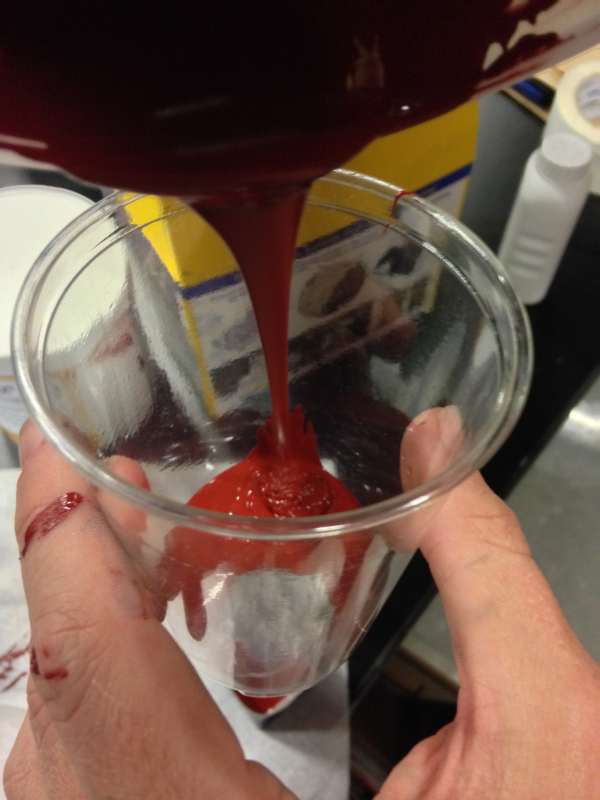
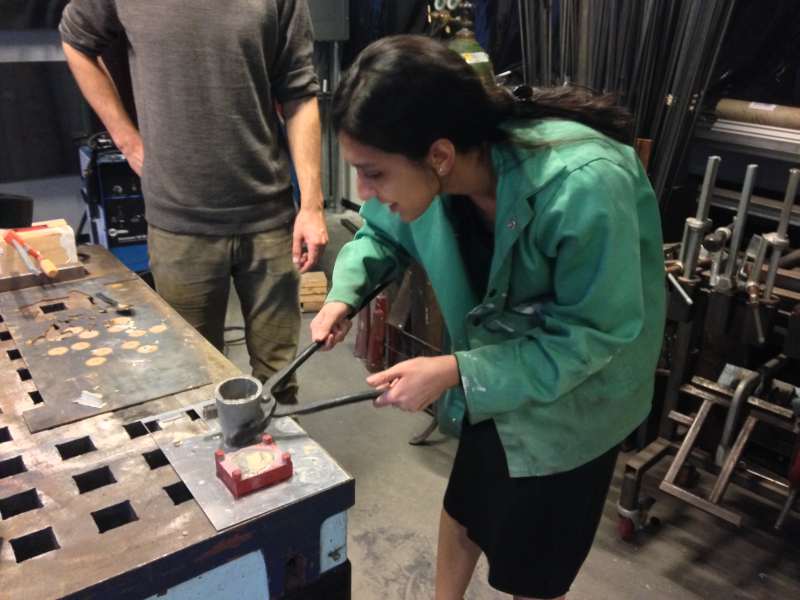
- Alisha pouring hot metal alloy into her mold
-
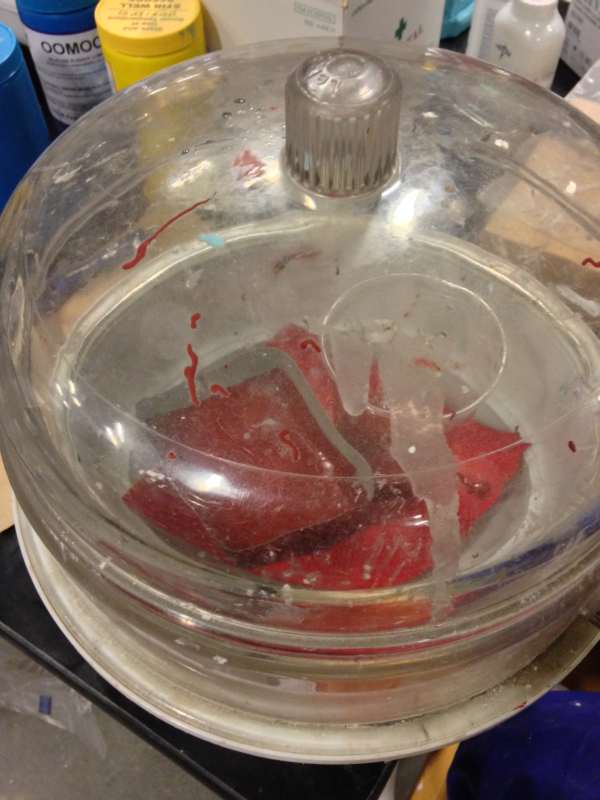
- My first cast had overflowed
-
- Successive casting was done via the sprew
After some sanding and filing down, I got great results from the first one. I actually regret that I cut the sprew, and I only did it because I thought I wouldn’t be able to get rid of the excess metal without destroying the cast. As it turns out, some handy work with a file was all I needed to get the metal down to a good-looking and functional state.

And voila, they work!