Final Project Update
This page contans updates on my flower wall! :)Flower Wall
Old updates include week0, week5, week7, week9, and week12.
13/12/04:
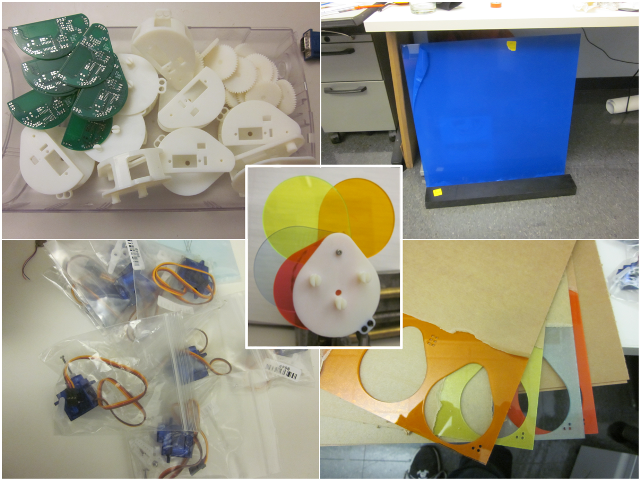
This week I obtained the final parts for my project, all I need now is to machine, cut, assemble and program(!). The parts include 3D printed flower shells, acryllic sheets for the flower pedals, clear acryllic sheet for the wall, square nylon rod to hold the bottom of the wall, 8 PCBs for the flowers, 10 servos, and plenty of sensors.
13/12/05:
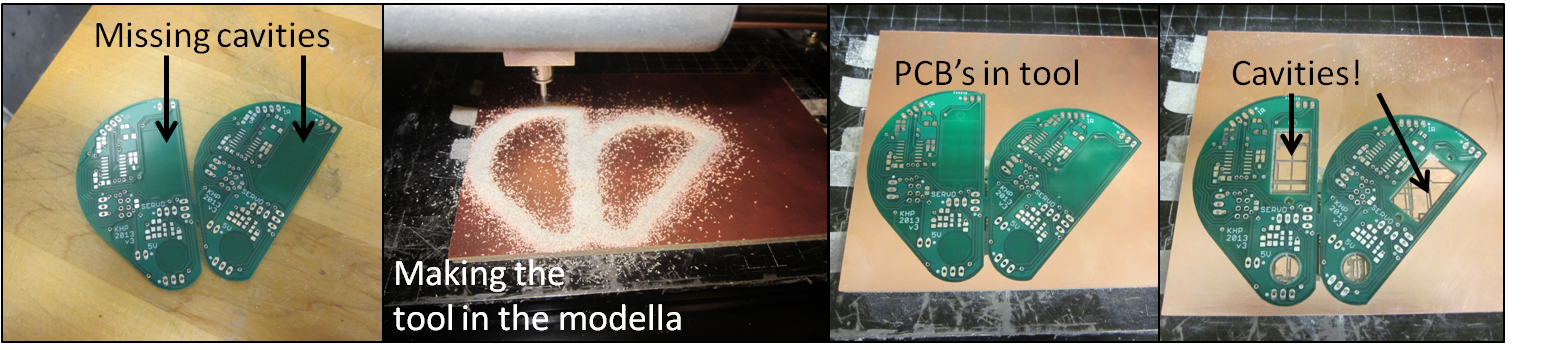
I spent today milling out the inner cavities in the PCB's. (4PCB would have charged extra for that). First I made a 'tool', basically just a copper plate with the right whole in it, so that I could control the orientation and position of the PCBs. Then I used the modella to cut out the remaining cavities. The entire process took only only about 2hrs for all 8 PCBs and the tool.
13/12/10:
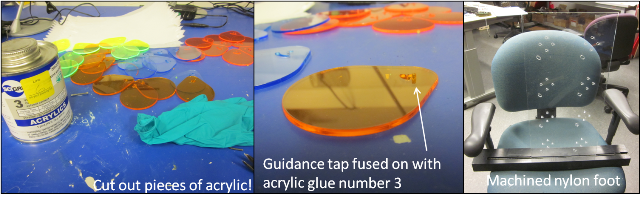
I have spent the last couple of days, first cutting out all of the acryllic flower pedals as well as the wall which will hold all the agents in place; second, milling out the foot which will hold the wall in place.
Next I soldered all of the PCB's, mounted them on the 3D printed pieces along with the servos (after having cut down all the wires to length, sigh!).
Finally I popped all of them onto the wall and wired it all up...
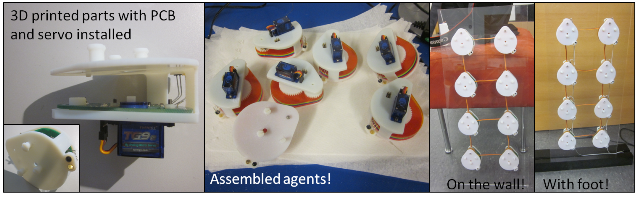
I have already realized some optimizations for a second iteration, most importantly I definitely should have replaced the wired signals between the flowers with infrared transceivers. That would get rid of a lot of the ugly wiring! Also, the taps for attached to the wall are currently a little too big, and needs sanding down to fit. ...and if I had more time, I would probably do a nicer foot-piece.