Molding & Casting
This week we tried out 3D surface milling in wax, molding and casting.
Group-badge ...in chocolate maybe?
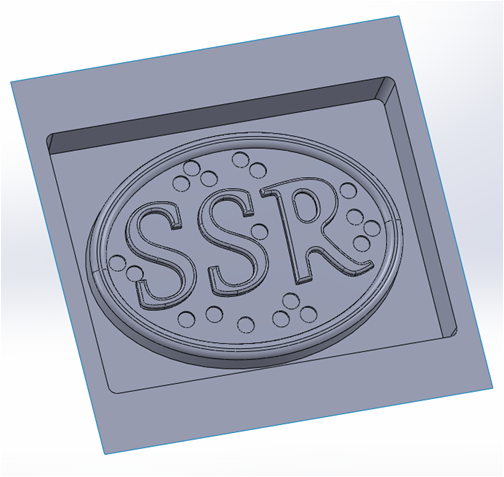
First thing was to design a small item (less than 3x3x1.5"), without anydeep/small features where the casting material could not flow in to. Especially if I am to end up casting in chocolate. I figured the rest of my research group would love it, if I could cast some SSR-chocolate pieces. So I designed an SSR-badge.
The badge:
|
|---|
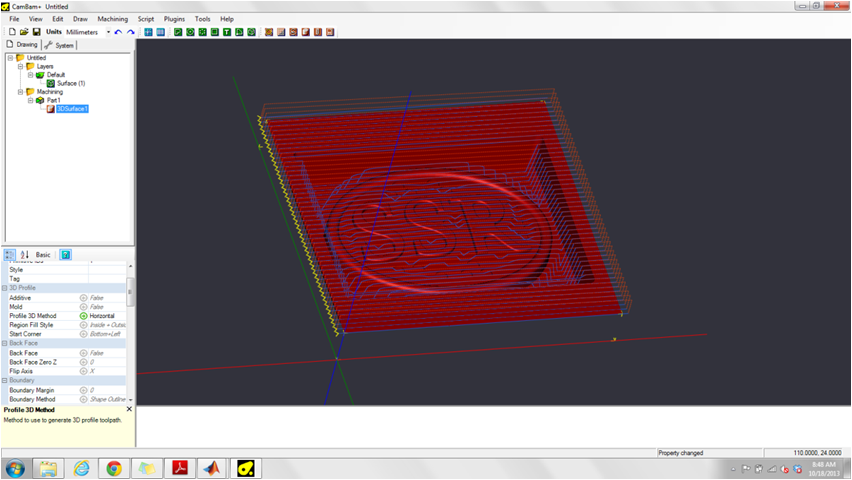
Unfortunately I did have a chance to attend the tutorials on the Modella/shopbot at MIT, so I borrowed a milling machine from Rob Howe's lab at Harvard. I produced the g-code for the machine in CamBam:
I then added a 3D machining tool to my surface. The machinable wax is very soft, so using a 3.175mm (1/8") end mill, I set the feed rate to 500mm/min, with a depth step rate of 4mm, and a stepover of 0.5. Then I generated the toolpath which can be seen in the image above. The blue line show cuts, the red is where to tool passes over the material. |
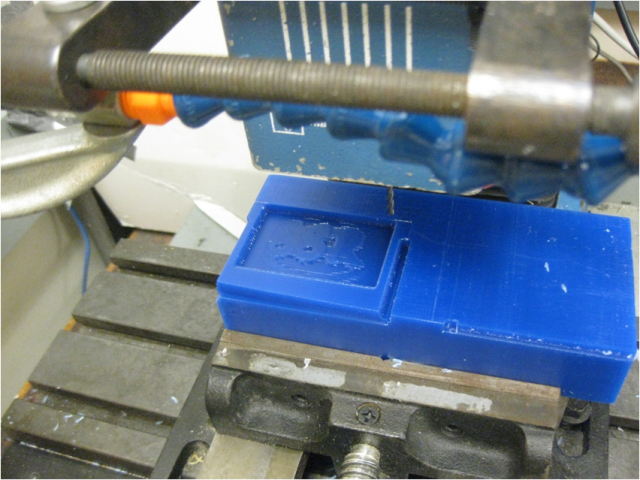
..And off we go!
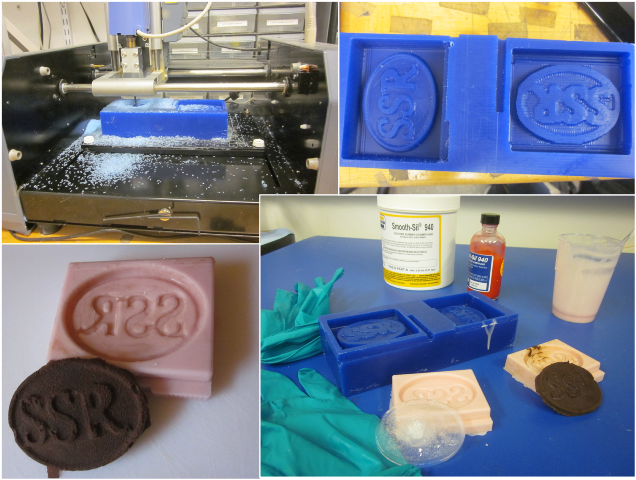
(I ended up milling both in the horizontal and vertical plain to get a decent resolution. ) The results came out ok, but a bit coarse. Next I poured Oomo60 in (mostly because that was the only material left in the shop, but it also has a nice thick consistency when it hardens).
|
....but the mold was definitely a bit too coarse to cast nice chocolate pieces, so a week later I came back to the archshop and redid my piece in the modella. The difference between the two cuts is very clear (see left vs right in the picture below). However, I had to leave the modella running for about 2hours!
|
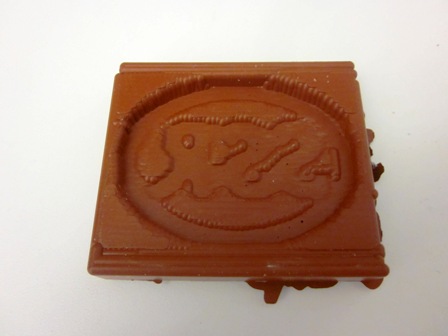
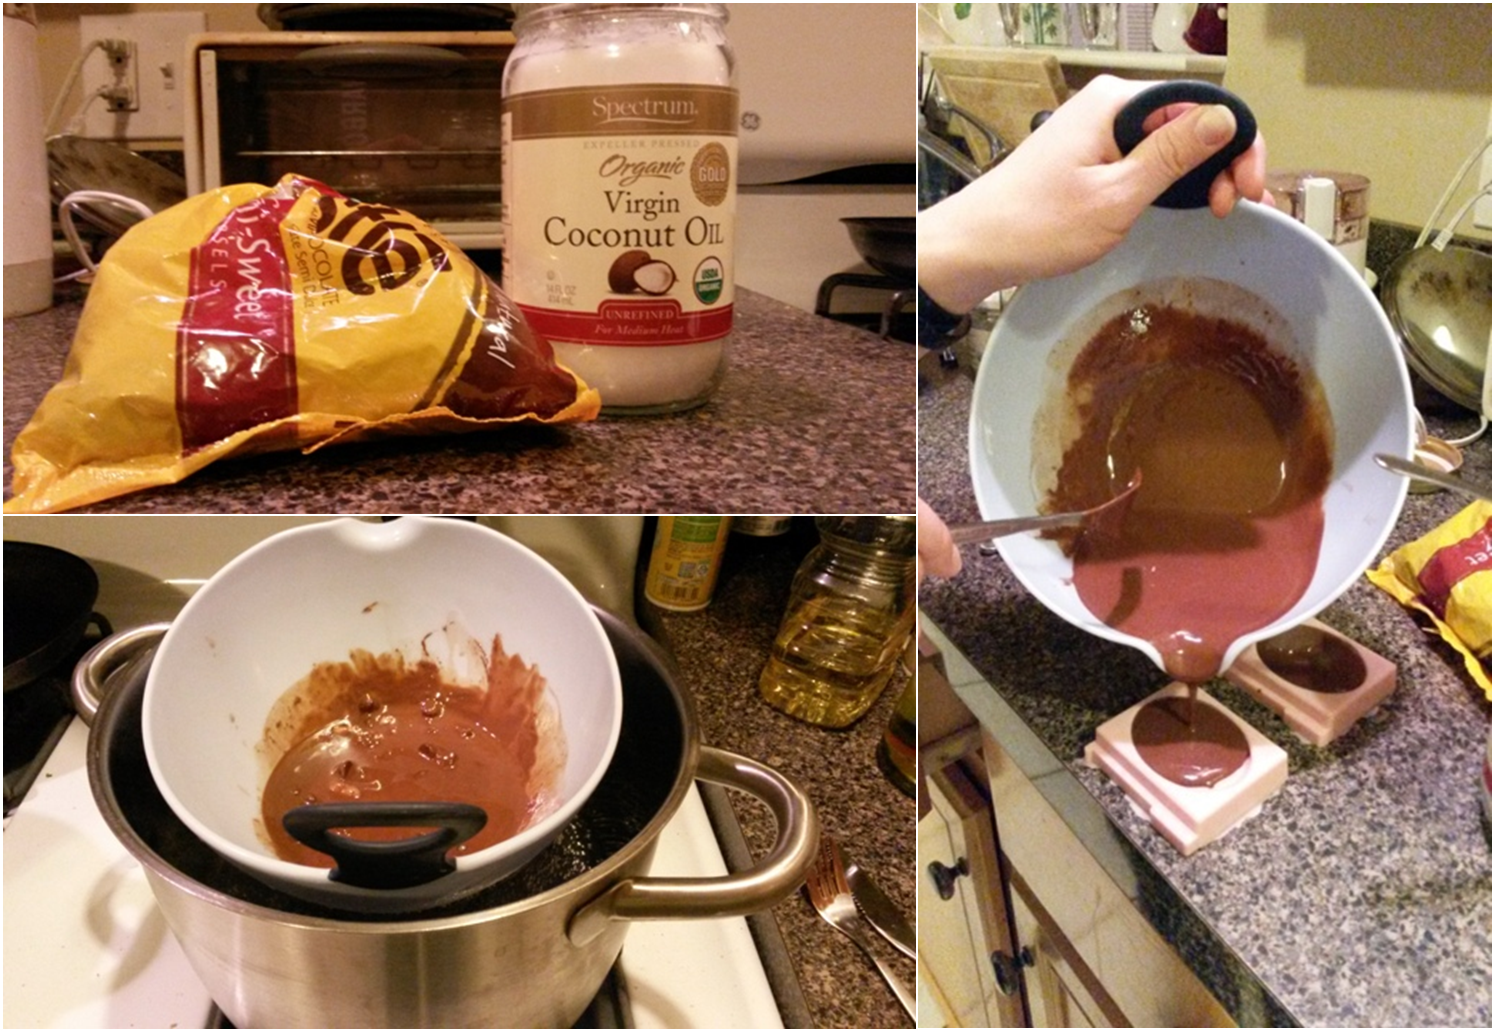
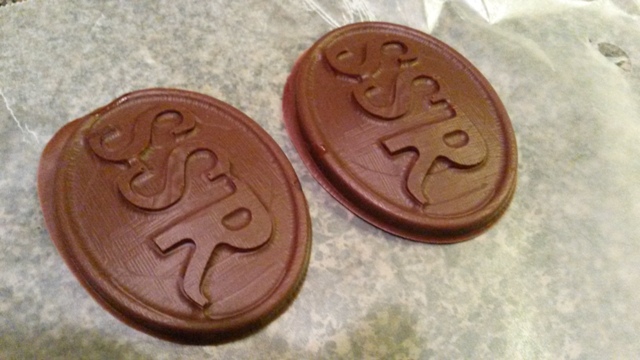
Update! I recently got a bit more time to experiment with the chocolate-casting, and found a pretty good solution. Heat up chocolate and mix with coconut oil, then stuff it in the fridge for 1 hour, to give it a beautiful smooth surface. In the case below I used 50% chocolate, 50% coconut oil, and it tastes great, but melt quickly. In a second iteration I would probably do 75% chocolate and 25% oil.
|