This week, we focused on 3D printing and scanning. I've been learning and using Solidworks for this class as I find it easier to make parts that fit together, but this week I decided to use Rhino. I wanted to experiment with some of the Transform tools like twist, bend, taper, and stretch.
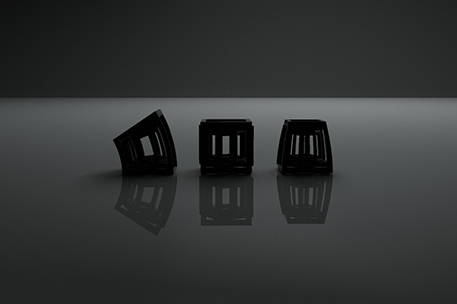
Rhino render of cubes
I made a simple base object (some nested cube skeletons rotated within the outside frame) and then used the taper and bend tools to create a set of three objects. I wanted to create simple objects with different emotional qualities communicated through form.
I have also been working on a mechanical toy. For the toy, I tried to print all of the moving parts in one go, and ordered from Shapeways. These parts were printed with an SLS process where nylon powder is fused together by a laser. Unfortunately, I did not leave enough tolerance between the parts and they do not move. I learned my lesson - next time I will leave more space!
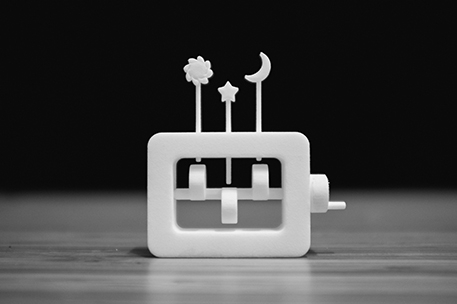
3D printed mechanical toy from Shapeways
The cubes were printed on the Invision printer with wax supports. After they were printed, we put them in the oven at a low temperature to melt away the wax. After the oven, the prints were still a little shiny, though I could have removed more of the wax with an oil bath (oil bath procedure explained in more detail here.)
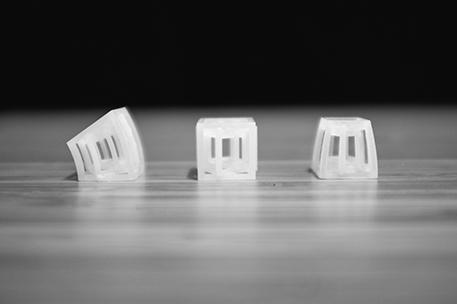
Finished cubes!
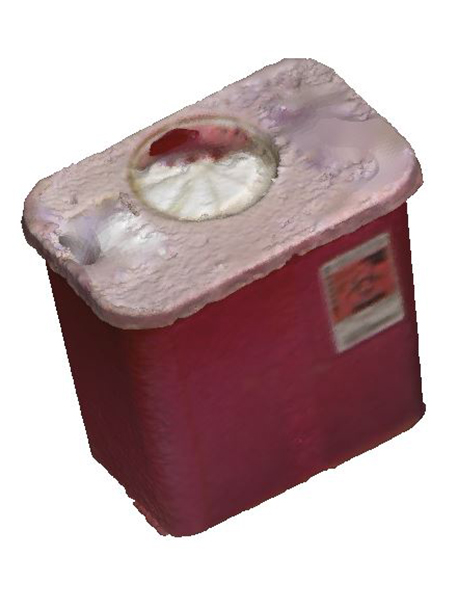
Tomer and I also experimented with the Sense 3D scanner. We tried scanning various objects around the shop, including a squeeze bottle with a small tip extending from the bottle. The Sense wasn't great at picking up the details of the tip, so we tried another object that was a bit simpler and more solid. We found that you had to maintain a very consistent distance from the scanned object, and that bigger objects were much easier to scan. After we scanned the object, Jon helped us import it to a nearby computer where we patched up some of the holes with AutoCAD.
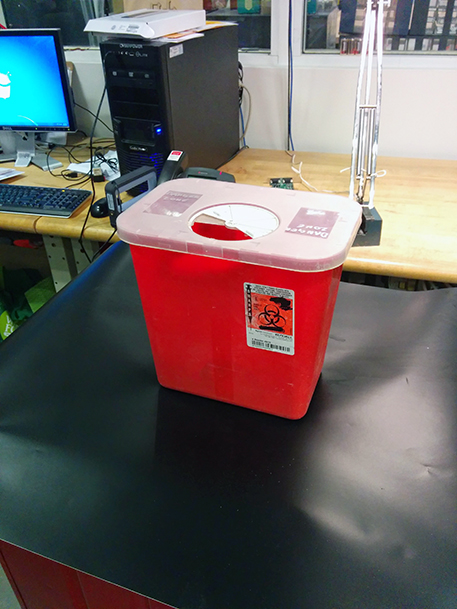
Scanning the biohazard container
Model of the container