This week, we focused on electronics production. Our assignment was to mill, assemble, and program the FabISP in-circuit programmer. An in-circuit programmer is a board that allows you to program the microcontrollers of other boards, and will come in hand later this semester as we begin to design our own boards.
Materials and tools:
- Eagle (to design circuit boards)
- Copper-plated sheet
- Modela milling machine with two sizes of end mills: 1/64” and 1/32”
- Fab modules to communicate directly with the Modela
- Solder, flux, tweezers, copper braid, components
- Music to help the soldering process go smoothly
- USB cable for programming the board
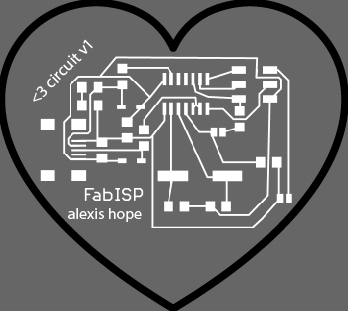
First, I tried to design and mill a custom board (<3circuit v1), but out of fear of overtightening the end mill and stripping the screw, I undertightened it. As a result, the end mill slipped out while milling and began to cut more deeply before eventually breaking.
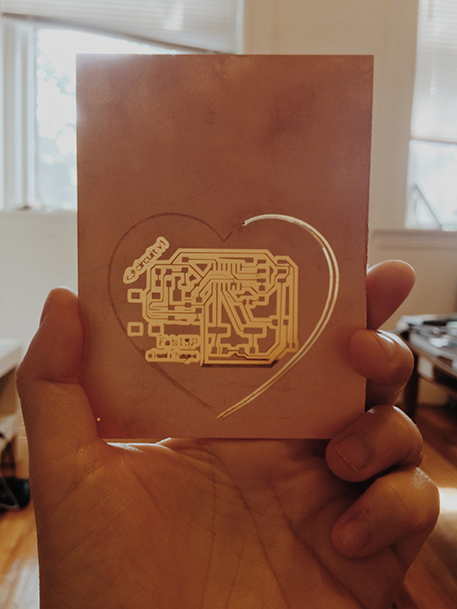
An unfinished heart! I learned my lesson.
Then, I decided to mill the standard FabISP board with the resonator so I could stay on track this week, and save experiments in circuit design for future weeks (since I don't really know what I am doing). I used the 1/64” end mill to mill the traces, and the 1/32" end mill to cut the outline of the board.

Newly milled board, ready to stuff.
I successfully milled the resonator board and then moved on to the next step: soldering. Although I have soldered before, I’ve never soldered surface mount components They were so tiny! First, I used the circuit diagram to source all of the components, and then (learning from past classmates) I taped the parts to a piece of paper and labelled them. This made the process go much more smoothly.
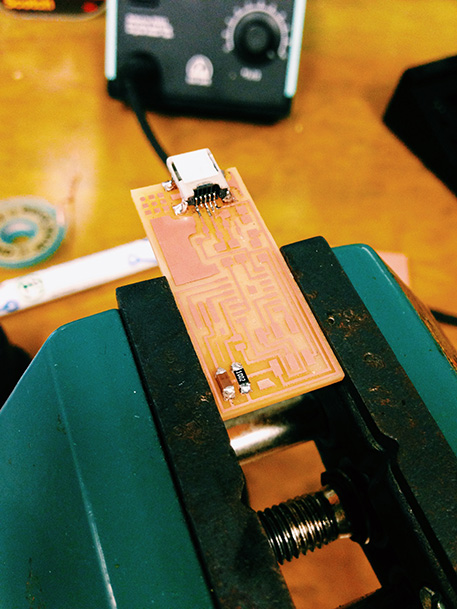
Soldering the parts with the help of a clamp.
I used a clamp to move the board up a little lower than my hands, and got to work. I put on some music to help me get in the zone, and spent an enjoyable couple of hours soldering the components. It was actually pretty relaxing. While I was there, Charles Fracchia stopped by and gave me a few pointers. He showed me how to put a thin layer of solder on the copper pad first, heat it up to reflow the solder, and quickly place the component to tack it down on one side. The flux pen helped the solder stick and flow smoothly, and the copper braid helped me fix my mistakes.
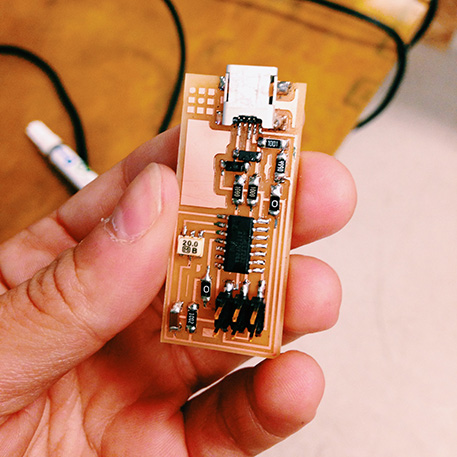
Finished board! Now off to go program it.
As I was finishing up, Dan Chen came down to fix his board and then we both went up together to try programming our boards with Palash Nandy, who already had a working board. At first, my board was communicating with the computer but we could not set the fuses. Palash helped me check my board for short circuits by following along with the diagram and using the multimeter. I found a short between the pins of the resonator so I removed and resoldered the piece to fix the short, and then tried to program it again. This time, we successfully set the fuses, but the board was only working intermittently. Seems like I have some troubleshooting ahead for the next week…
And, I still want to finish my heart board!
Next week's challenge: <3 Board v2