This week, we focused on computer-controlled machining and learned to use a Shot Bot CNC router to "make something big." For this week I wanted to make some furniture, so I designed a simple stool for my bedroom using the press-fit principles we learned during the lasercutting week.
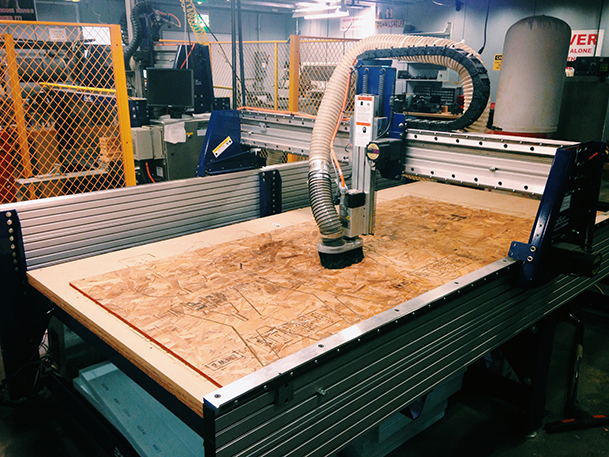
Shop Bot cutting out my parts.
I designed the stool in Solidworks, using equations to define the relationships, and using the Mate feature to ensure everything theoretically fit together. I first made a stool that was 26" high, but decided it was too tall and decided to make it 22" high instead. I designed the stool with a thickness of two sheets of Oriented Strand Board (OSB), so I cut each of the three pieces of the stool twice, and the slot holes were the width of two pieces of OSB. I used the 0.25" end-mill on the Shop Bot with the following settings: 10000 rpm, ~0.52" cut depth, feed speed 160, and an outside-the-line cut. Test pieces came out smoothly so I did not need to add any tabs in PartWorks.
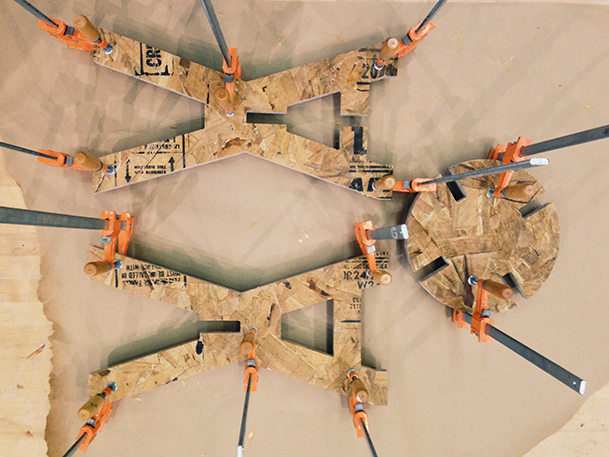
Using clamps to hold glued pieces together overnight.
Once the pieces were cut (which took about twenty minutes) I sanded the edges by hand, and then glued and clamped the pieces to dry overnight. The fit of the two legs was a little bit loose (the measurements I took were a bit off - I need to improve my caliper reading skills) but luckily the stool top fit tightly and held the legs together really well.
Yay! I can sit on it! And so can Tom, so it's pretty strong.
After gluing the two pieces of each part of the stool together, I painted parts of it to make the OSB pattern of the top and middle of the stool stand out.
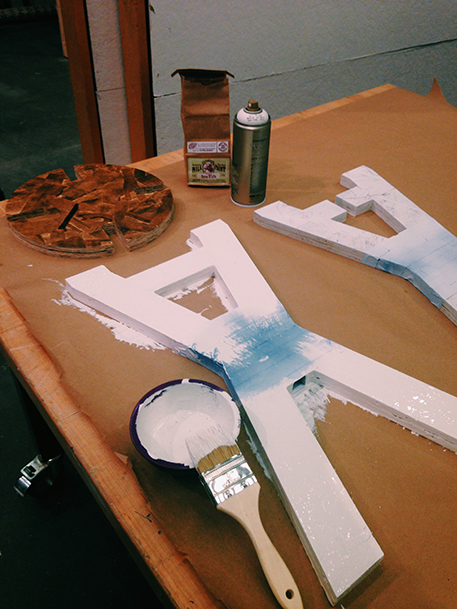
Painting the stool with Milk Paint.
The Milk Paint I used ended up flaking quite a bit, which wasn't exactly the look I was going for, so I ended up spraypainting it.

Painted and assembled stool.